
Add the Cleats for the Plywood Top
I’ll use some scrap lumber to make cleats for the plywood top. You can also make these from some of the leftover plywood. These cleats were 1-1/2″ square. This will allow you to remove the plywood top if needed. I attach the cleats with screws onto the inside face of the long side aprons. I set them slightly lower than the top edge of the apron by about an eighth of an inch. I used the GRK #9 x 2-1/2″ R4 screws for that.
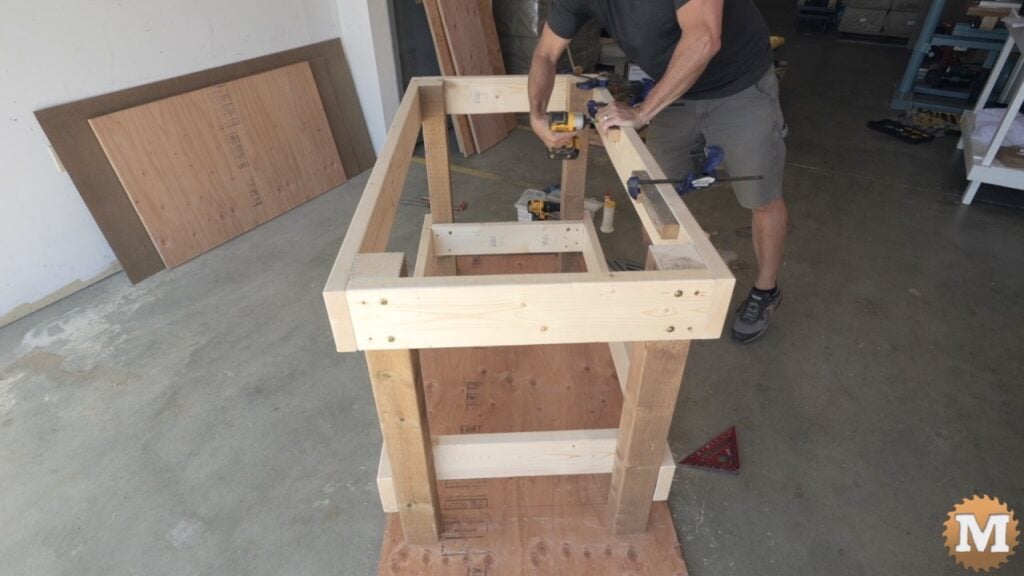
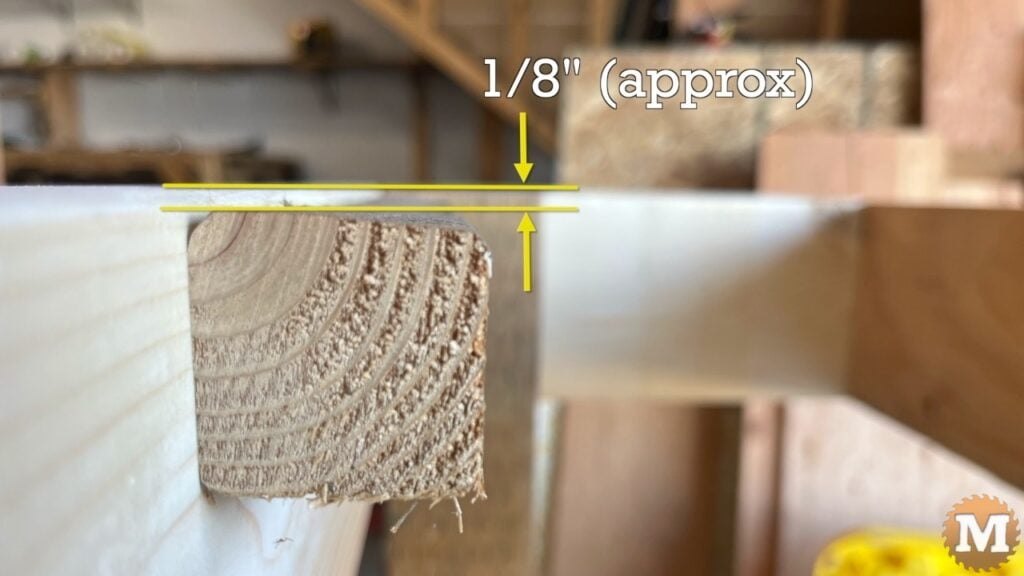
I drill some pilot holes down through these cleats for the screws that will run up into and secure the top. The eighth gap will help pull the top down tightly to the aprons.
Some quick grip clamps are useful on this build (and many others). I have these Irwin ones and use them all the time. They are a good investment for sure.
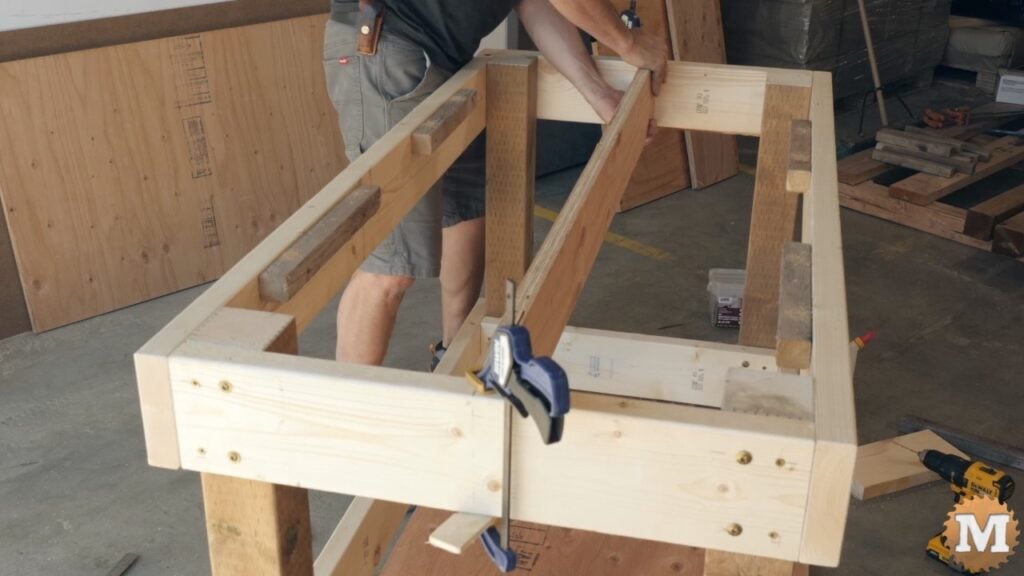
Add the Plywood Brace
I cut the brace from the 1″ plywood leftover and will center it and screw it to the inside of the end apron pieces. And I used the #10 x 3-1/8″ R4 screws to attach the brace.
Attach the Plywood Top to the Workbench Frame
Now I can set the plywood top on the frame, check that it’s centered then run screws up through the cleats to secure it. For this I used the #8 x 2-1/2″ GRK Cabinet Screws.

The standard plywood top has a few voids along the edges. I lay the bench over on its side and fill these with some fast setting epoxy.
Trim the Plywood Shelf to Size and Attach it to the Frame
I used a straight edge and C clamps to trim down the plywood shelf. My 4×4’s were a bit oversized so the space between them was a quarter inch under 48″. I also cut down the shelf hardboard panel the same way.
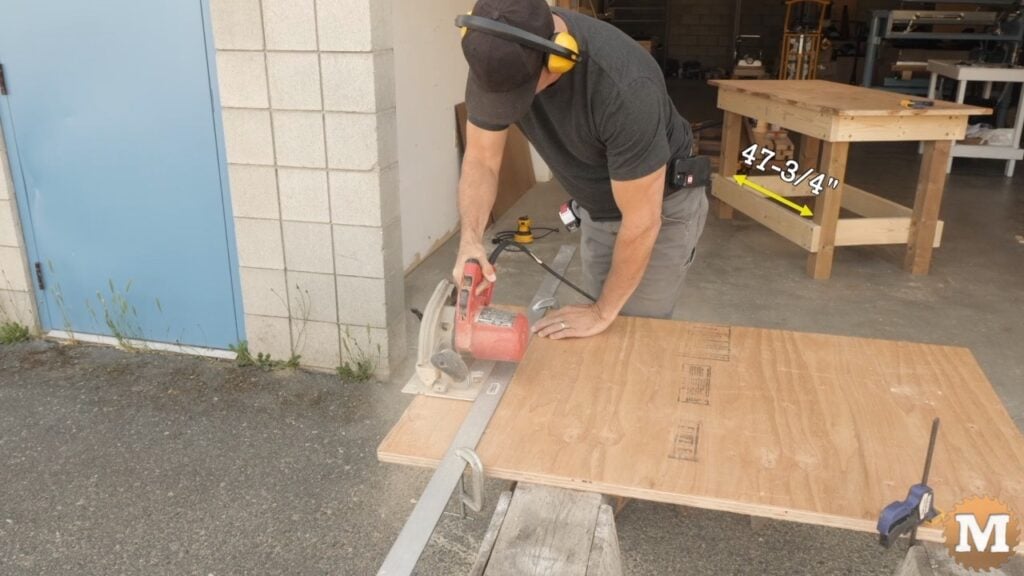
I’ll set the shelf in place, drill some pilot holes, then run in some 2-1/2″ screws. I drilled the pilot holes so the head of the screws would have an easier time sitting flush with the plywood. Otherwise the screw heads can push the plywood out and cause a bump in the wood.
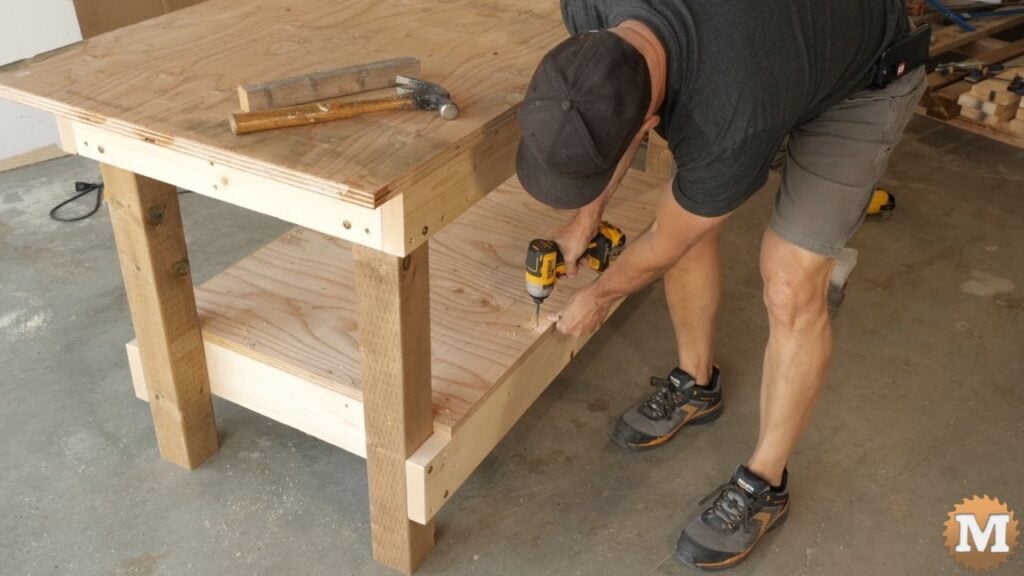
Attach the Workbench Casters to the Legs
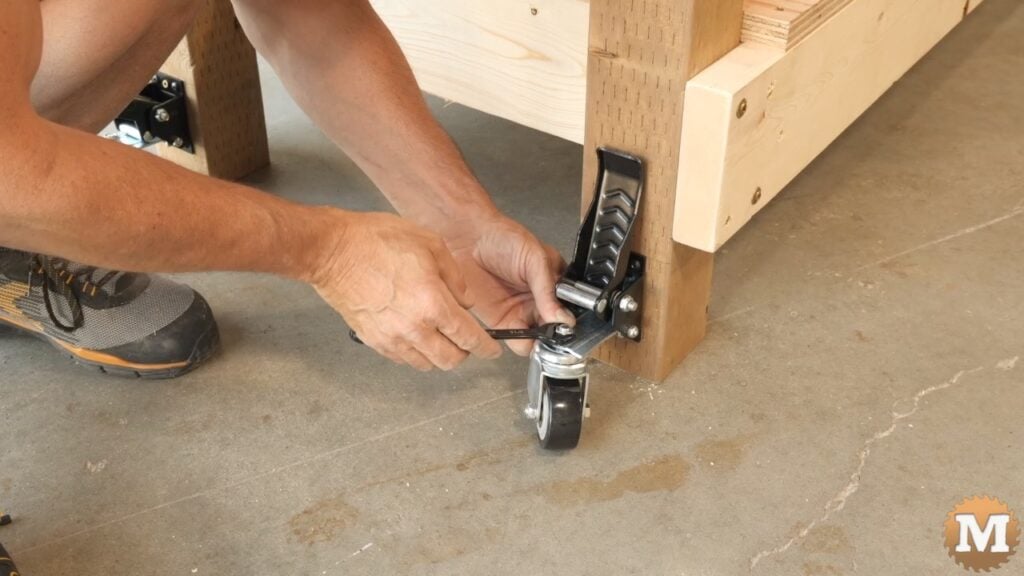
I have a set of workbench casters and I’ll unbox them and attach them to the legs. I marked the top edge of the bracket and ran in screws to secure them. Then I can bolt the wheel to the frame. For me, I really like to have my benches on wheels.
(Disclaimer: As an Amazon Associate I earn from qualifying purchases. Thank you for helping to support my content this way. )
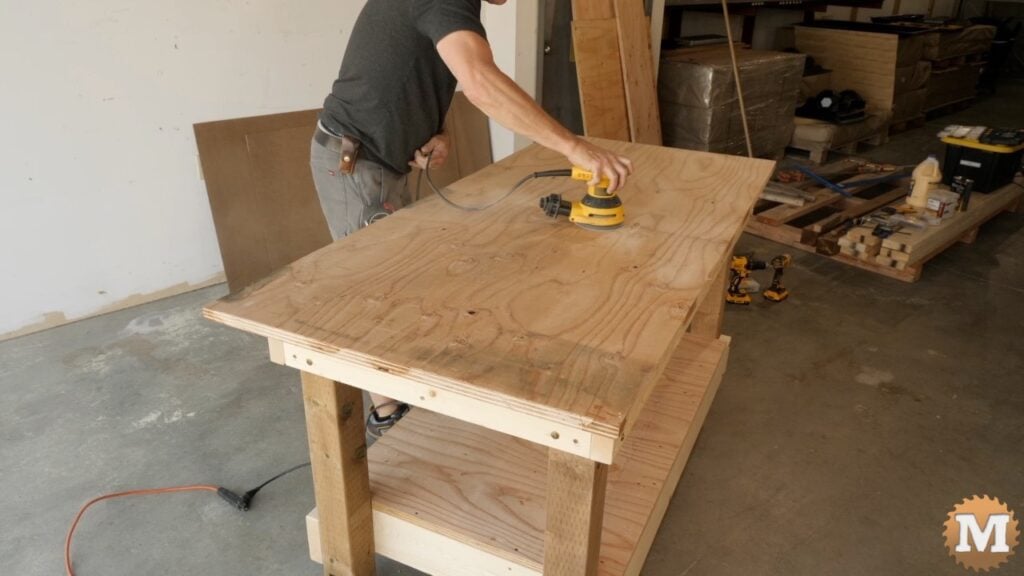
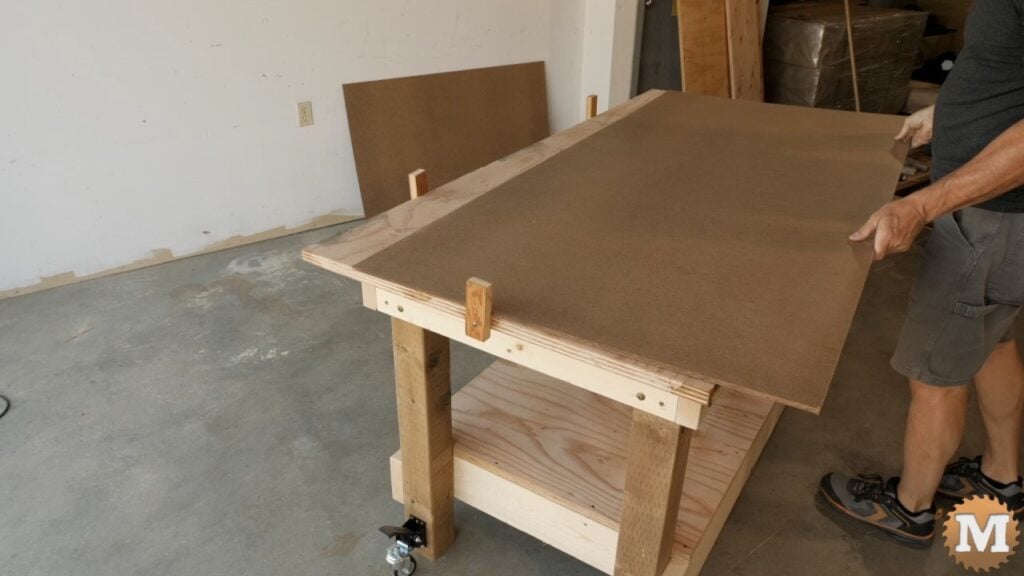
I’ll give the top and the shelf a light sanding to ensure there’s no small bumps in the plywood. Then I’ll use some scrap plywood to attach some stops to the edges. This will help align the hardboard when I set it in place. I use three stops on the top and two on the shelf.
Apply Woodglue to the Top
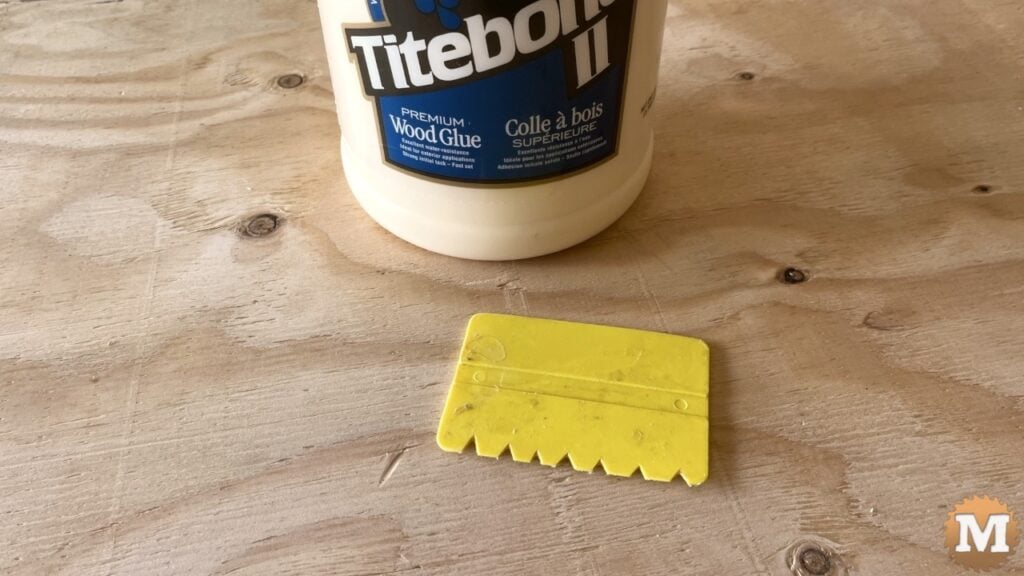
I made some V cuts into a small plastic spreader to help distribute the glue evenly. You have to work pretty quickly here so The glue does not skin over before you lay the hardboard in place.
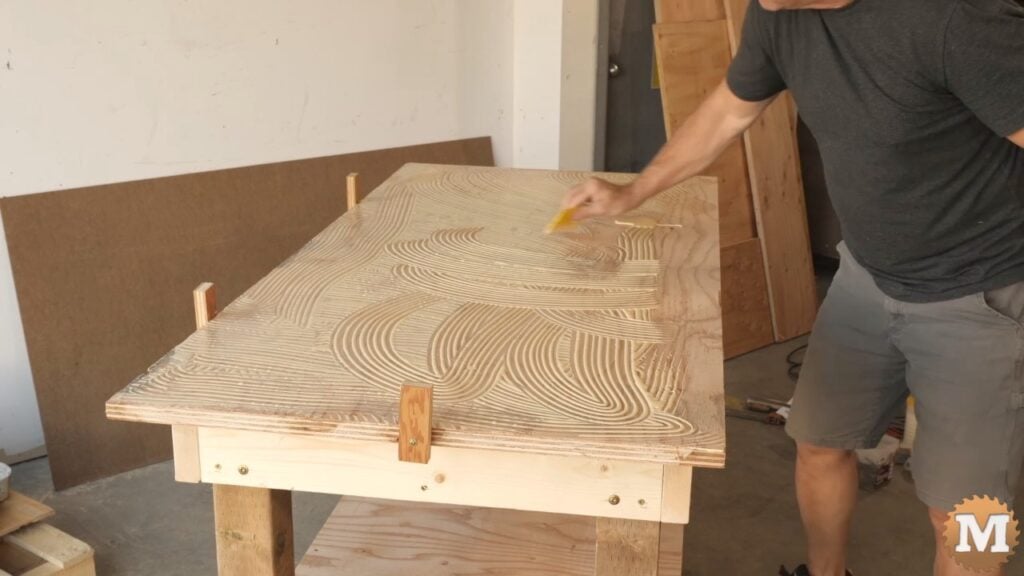
I like to be very generous with my glue here. The plywood will absorb a good amount of it plus the underside of the quarter inch masonite is very rough. Be sure to get glue right to the edges.
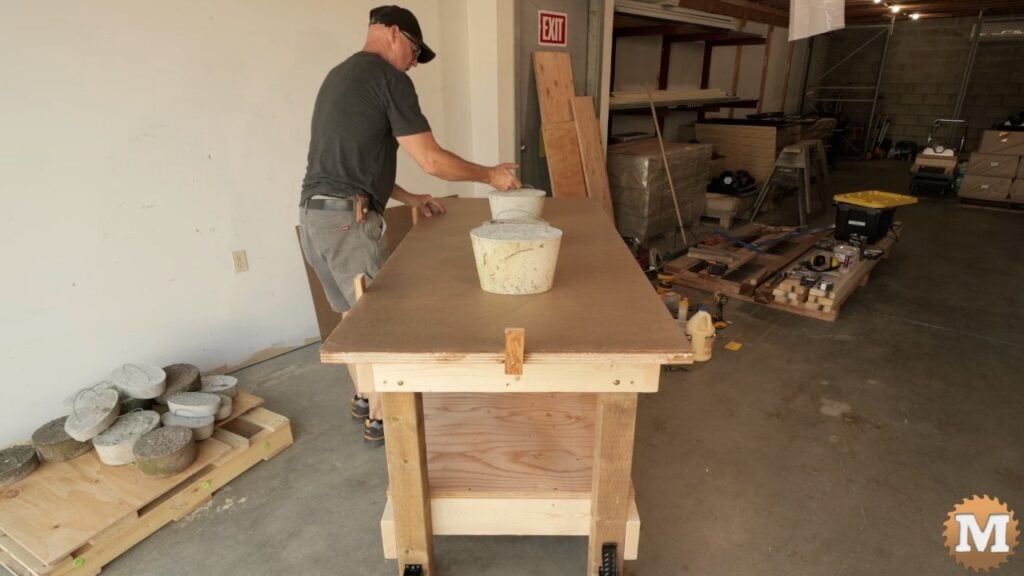
I’ll set the hardboard in place right against the stops then press it in by hand. I have a collection of weights I made with any leftover concrete from pouring garden bed panels. I’ll use these to press the masonite into the glue. You can use bricks or extra lumber as well.
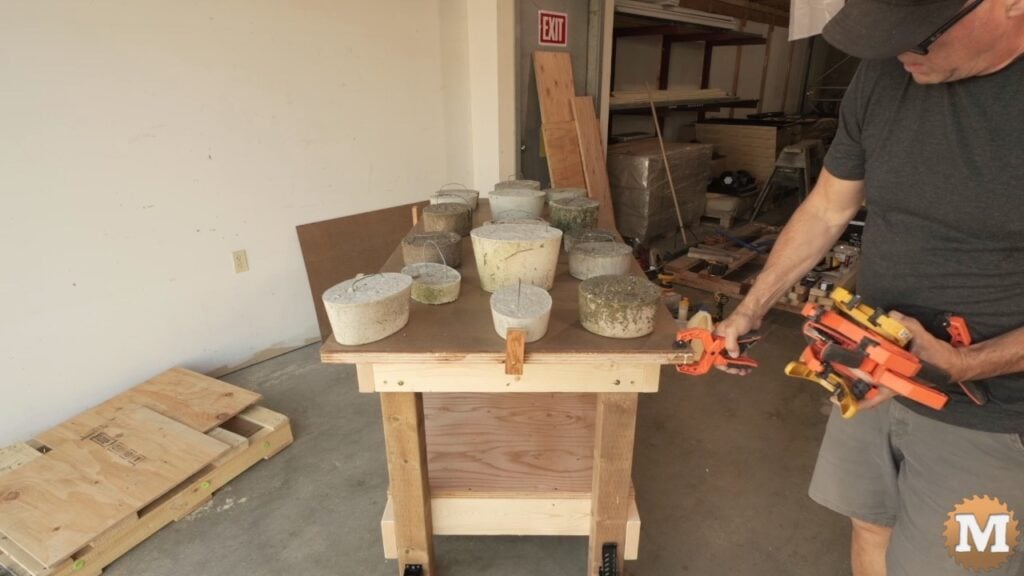
I’ll use any clamps I have along the edges. Some are quick clamps and some are C clamps. I think I even had some welding Vice grips that I used here. This falls into the “you can never have too many clamps” idea.
Glue up the Lower Shelf
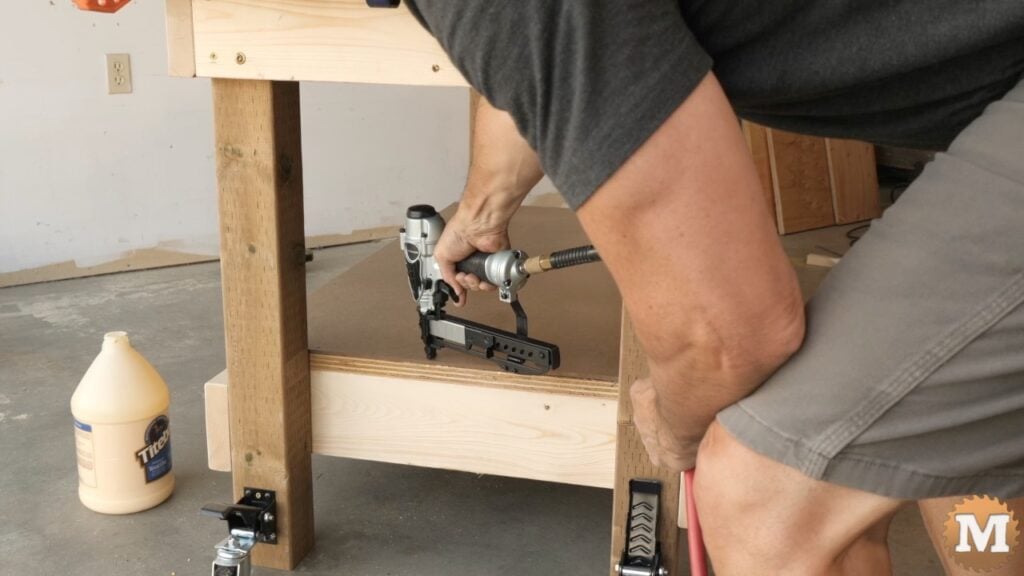
Now I’ll spread glue for the shelf and lay in the hardboard. For the shelf hardboard I’ll use a stapler to secure it. I used 18 gauge 1″ staples with a 1/4″ width. You can use screws or finishing nails if you like. I have used both in the past and they all do the job. Whatever you use have the heads flush with or slightly below the surface.
After 2 hours I removed the clamps and weights and gave the top and edges a light sanding. I used 220 grit paper on my orbital sander for this. Also, sand the edge of the plywood to smooth it and to even up the hardboard top.
Apply Polyurethane
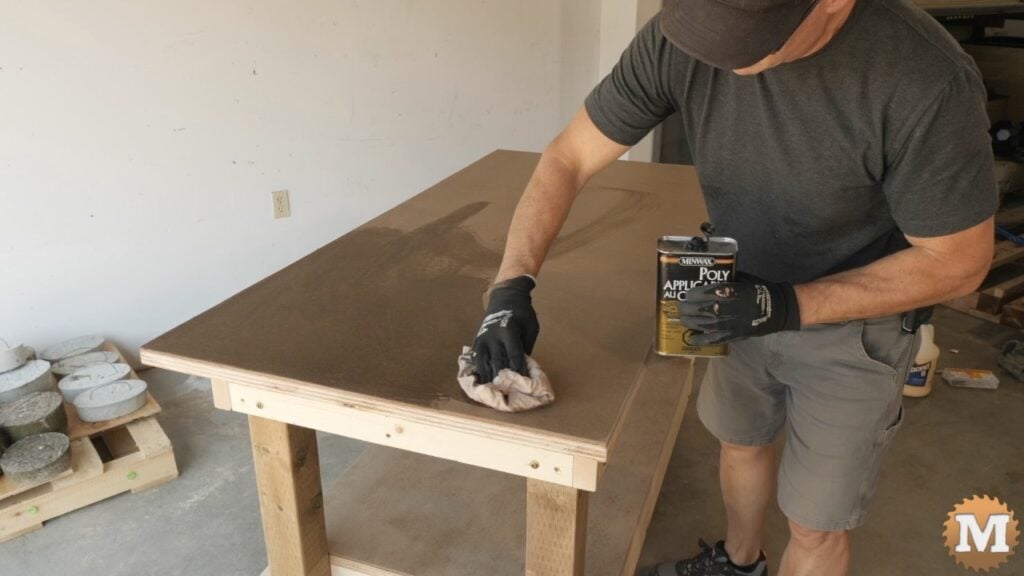
I’ll wipe an a coat of polyurethane to the top, the shelf, and the edge of the plywood to seal it. I used the MinWax Wipe-On Polyurethane here.
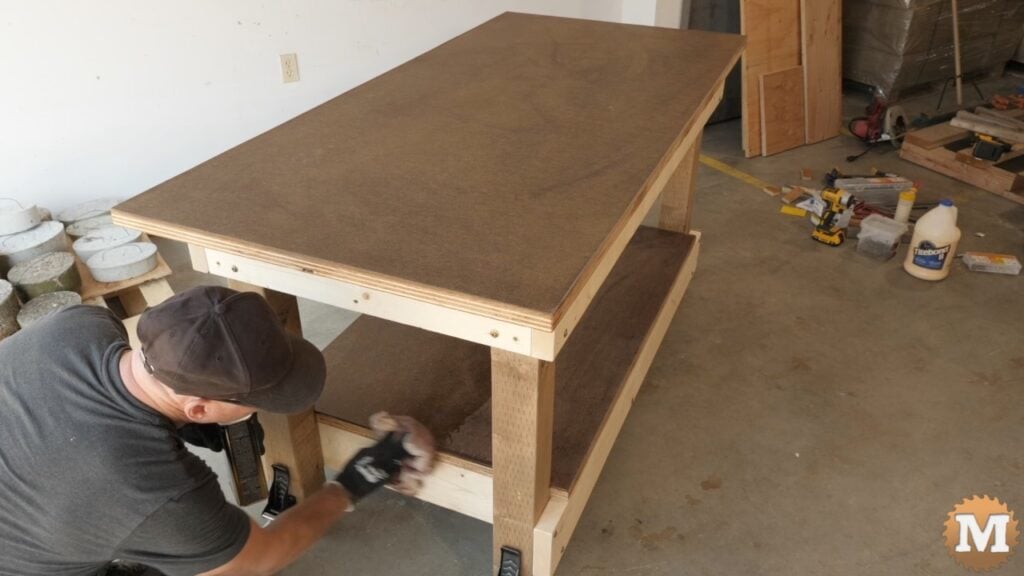
The DIY Simple Sturdy Workbench is done!
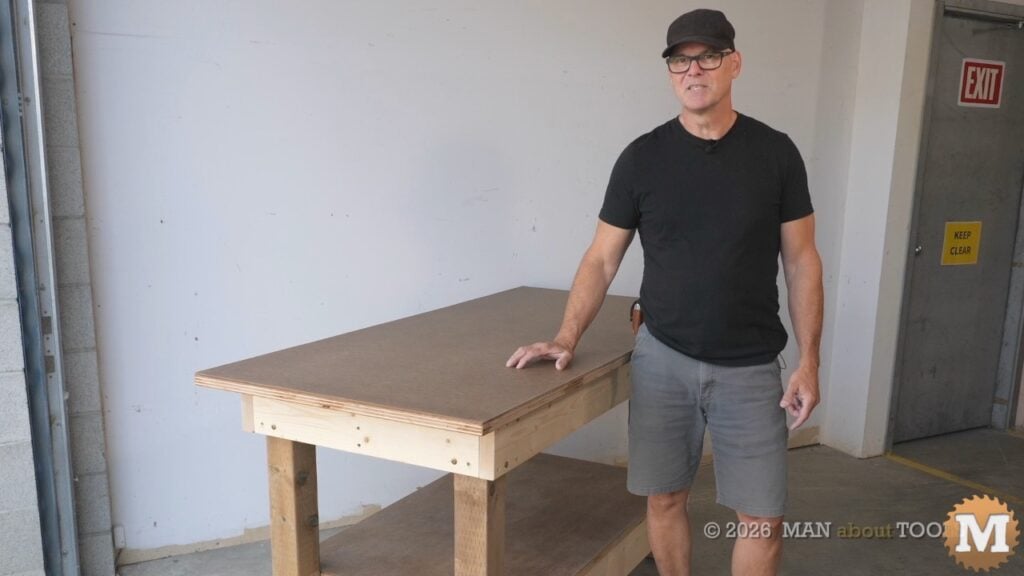
And that’s it. See the video on YouTube. Now, I’m going to build another one. We’ll see ya next time.

