Install Firewood Shed Beams
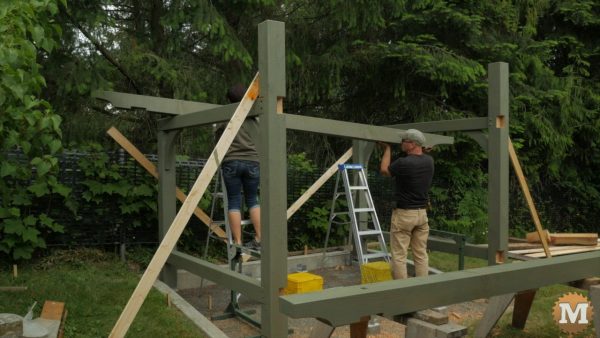
To place the beams I enlisted the help of my wife Marilyn. It’s definitely a two person job. Red cedar is not a heavy wood, but too awkward to do this safely single handed. The rear beam fell into place easily.
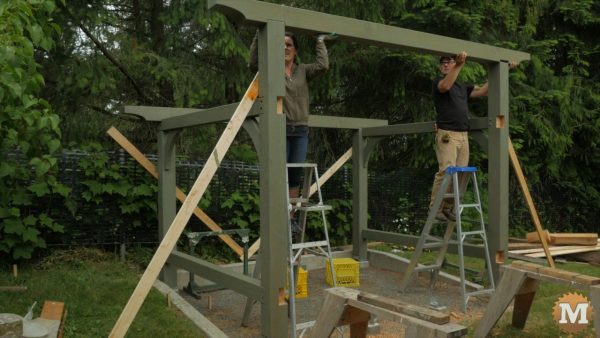
The front beam was tight so I tapped it in with a hammer.
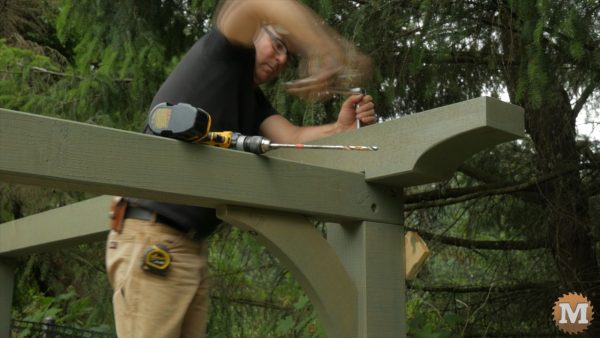
I drilled into the posts with a long bit, then secured the beams with big lag bolts. I’ll attach the braces to the posts and beams. Now I can remove the temporary bracing.
4×4’s for Back Wall and Front Door
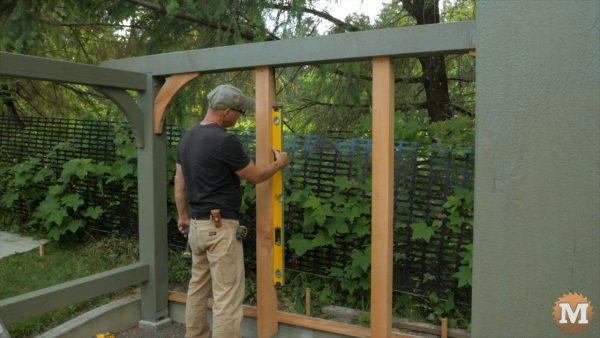
The back wall of the shed has two vertical 4×4’s to add additional support to hold the weight of the stacked firewood. These are cut to length, screwed into the saddles, plumbed, then secured to the rear beam with screws. Across the back will be a pair of horizontal 2×6’s.
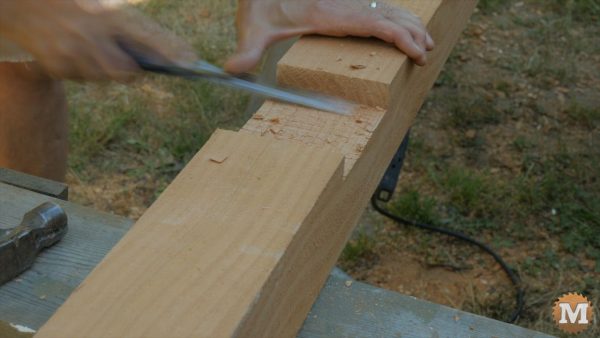
The front doorway is made from 4×4’s and installed same as the back wall except that they will have slots cut in to accept the front cross members.
Cross Members
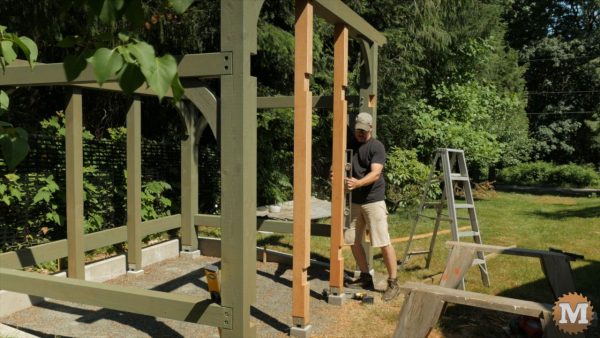
They are identical to the girts except only shorter.
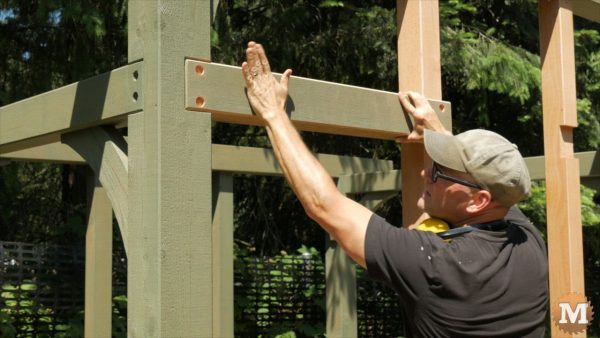
I countersink and drill the ends then tap into place. Then drill into the posts and run in some lag bolts.
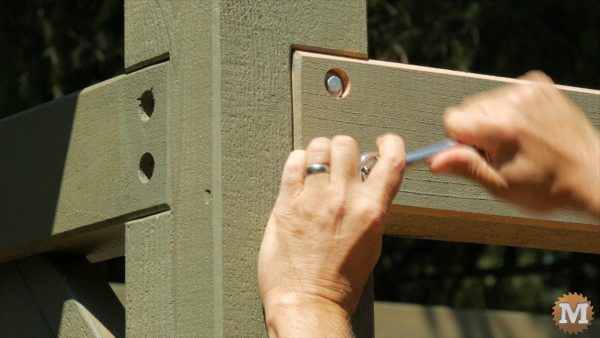
I’ll hand tighten the last few turns with a socket wrench so I don’t strip the wood out or break a bolt.
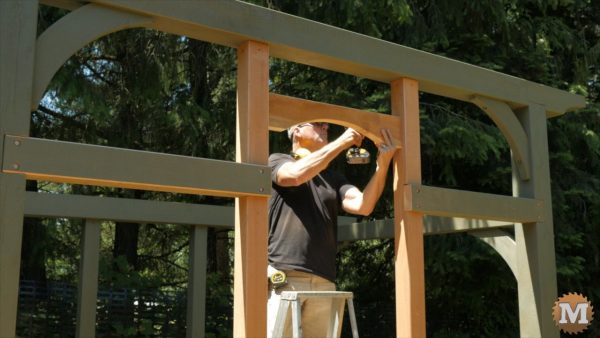
The doorway header is cut to length on the miter saw then the curve copied from a brace and cut on the band saw. It’s toe screwed into place.
(Disclaimer: As an Amazon Associate I earn from qualifying purchases. Thank you for helping to support my content this way. )

