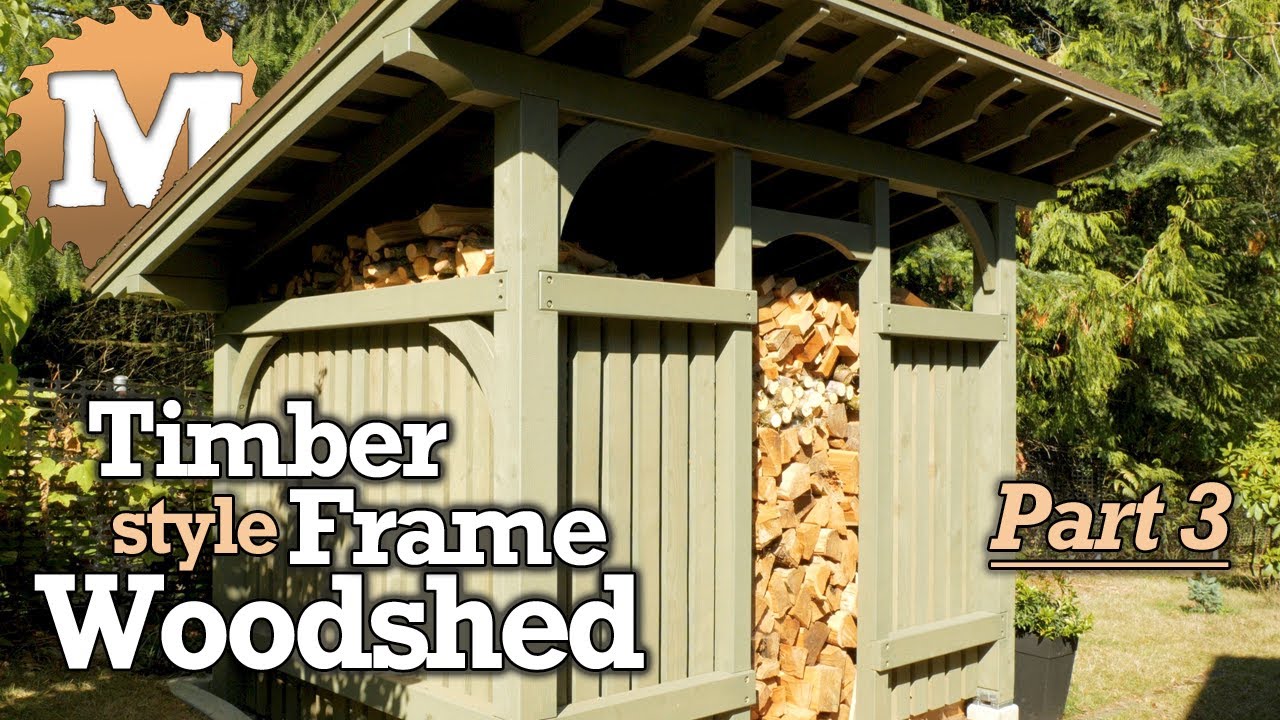
Build your own firewood shelter with these Wood Shed Plans for Storage and Drying. These Woodshed Plans are available for download in PDF Format. This craftsman style Woodshed is made from Western Red Cedar and Douglas Fir. Plans available for download in PDF Format.
Part 3 of 3
back to Part 1 | back to Part 2
See the How to Video.
We heat our house with wood and need a drying and storage shed as close to the wood stove as possible. There’s a perfect spot right beside the house here that has easy access through the front or back door. It’s also close to the driveway for loading with my truck. The internal volume of the wood shed is 392 cubic feet (11.1 cu meters). A full cord of wood is (4’ x 4’ x 8’) 128 cubic feet (3.62 cu m). So stacked to the top of the walls, this shed holds 3 cords of firewood.
Building this Structure from the Wood Shed Plans – Part 3
Rafters
I had limited space so I stared everything by measuring the site and drawing up the wood shed plans first.
The rafters are now selected and the crown marked for their upside and orientation on the top beams. They are cut to length and the quarter ellipse drawn and cut on each end.

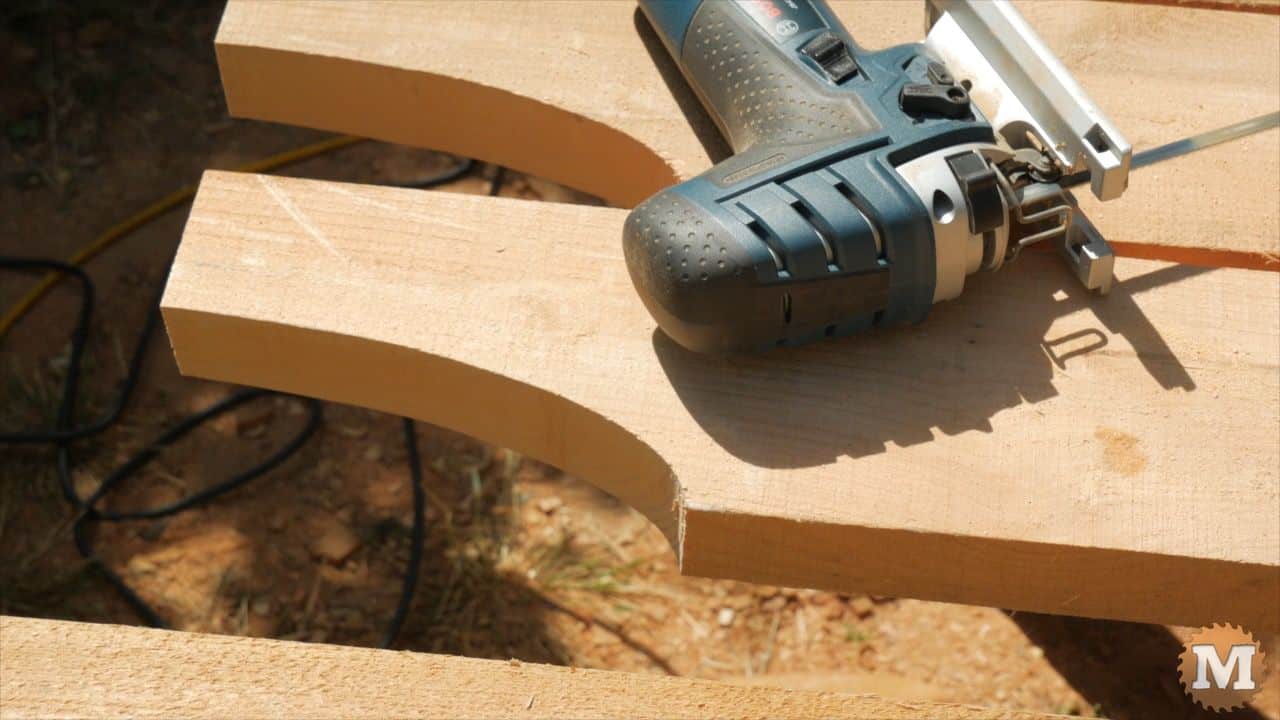
The rafters are 2×6 fir and the profiles are cut with the jigsaw in the same fashion as the beams, albeit with a shorter and thinner blade.
I stain all the rafters and let dry overnight.
One finished rafter is laid in place across the beams and the birds mouth marked.
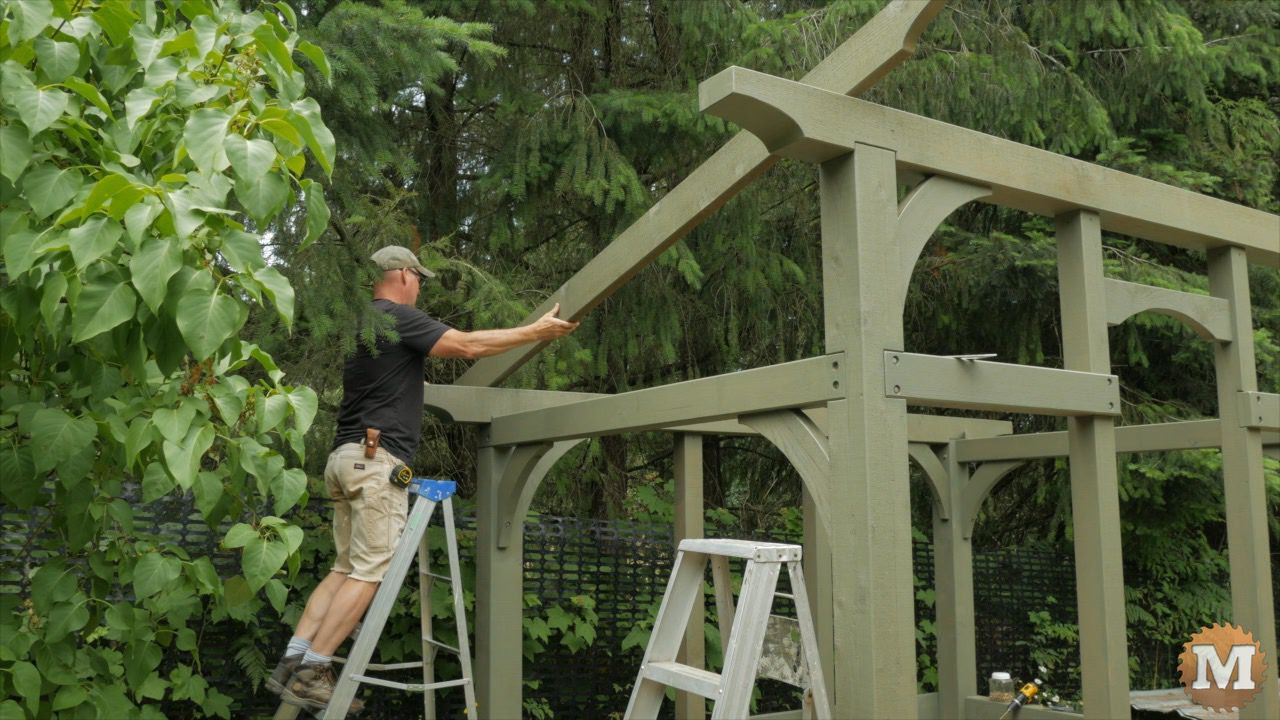
A horizontal seat cut and a vertical plumb cut.
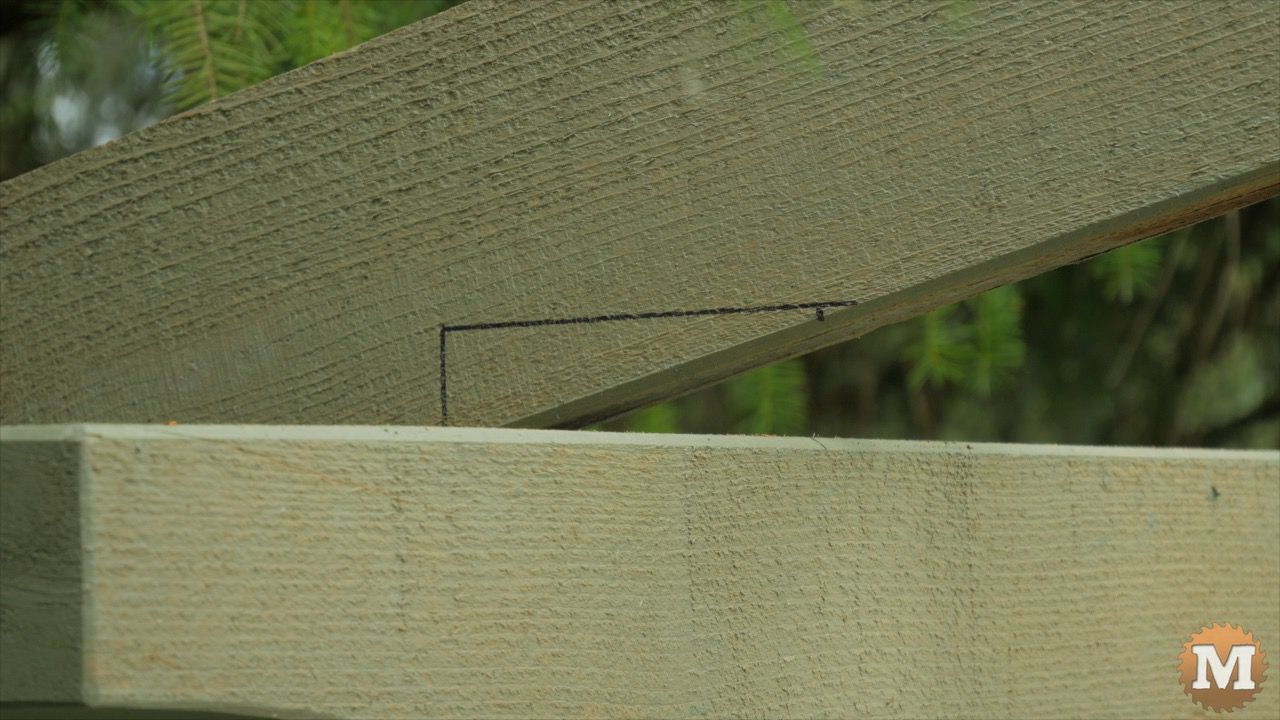
I use a block of wood that will mark the seat of the birds mouth equal to the width of the beam. On the wood shed plans I show the birds mouth cuts but, these are for reference only as you really need to mark and cut these during the build.
(Disclaimer: As an Amazon Associate I earn from qualifying purchases. Thank you for helping to support my content this way. )
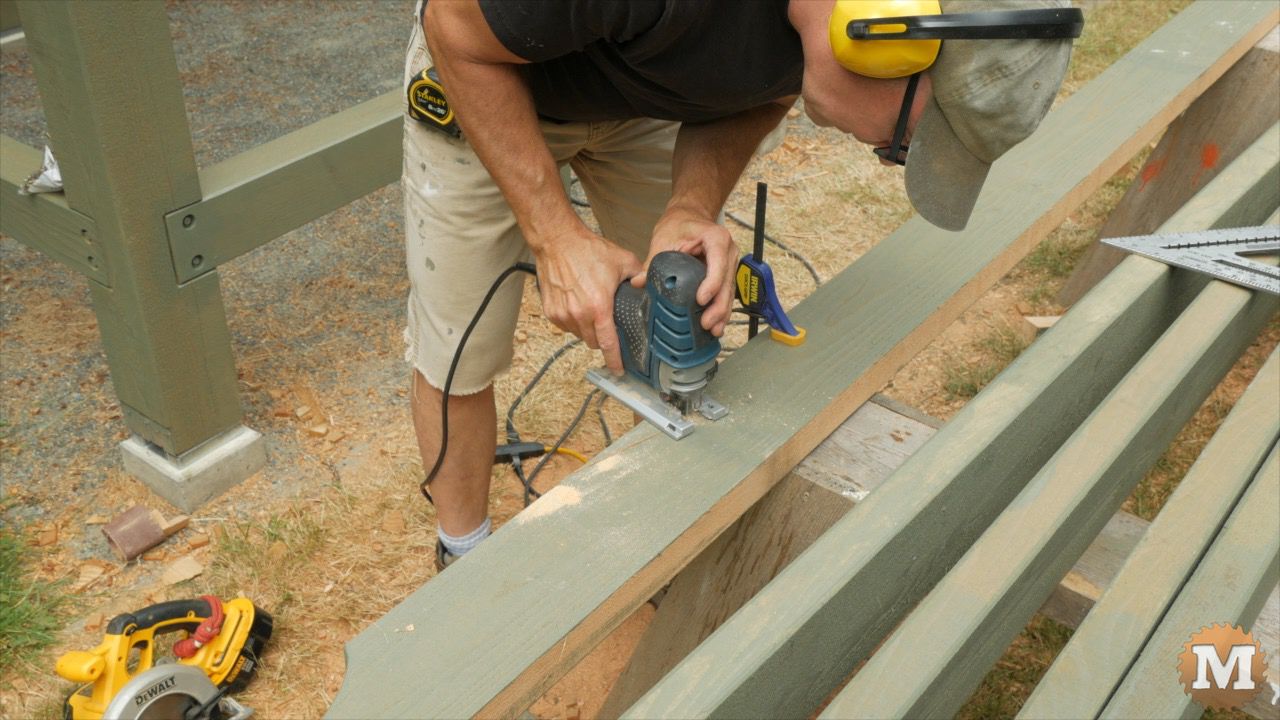
I take it down to the sawhorses and cut the birds mouth with a circular saw and finish with the jigsaw. It is test fitted then screwed into place.
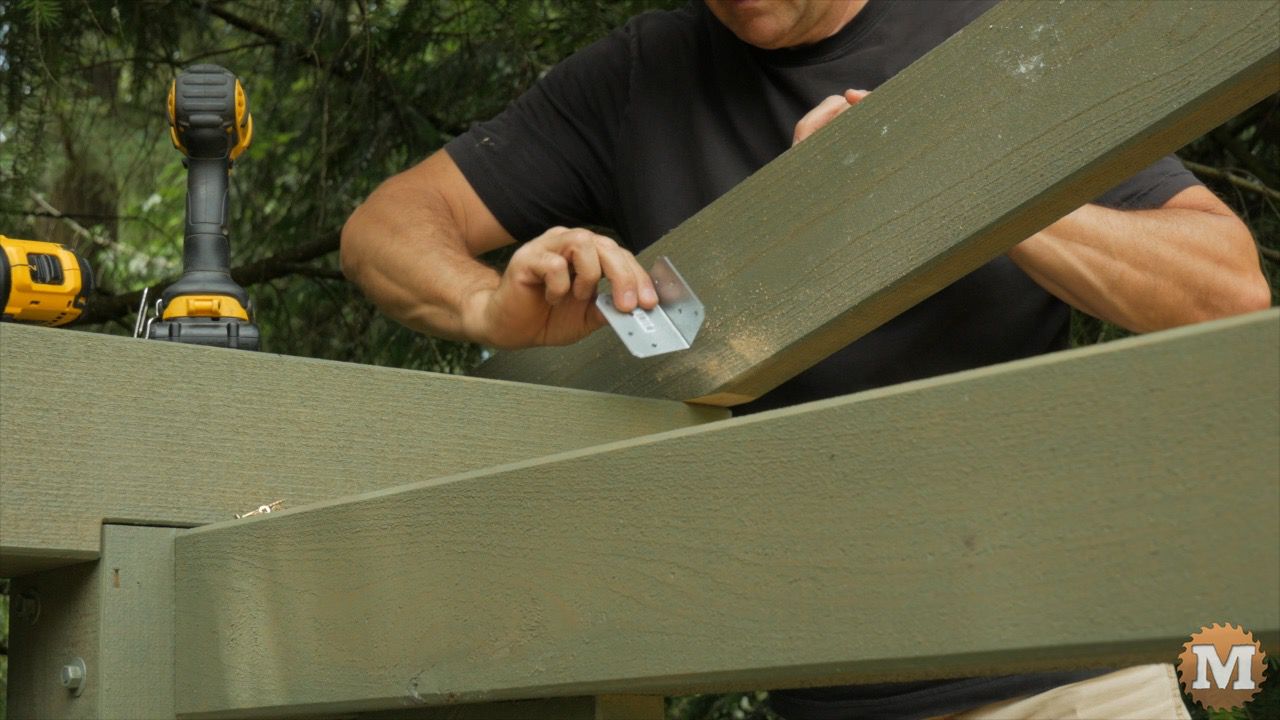
The middle rafters are toe screwed and the end ones attach with a small galvanized angle bracket.
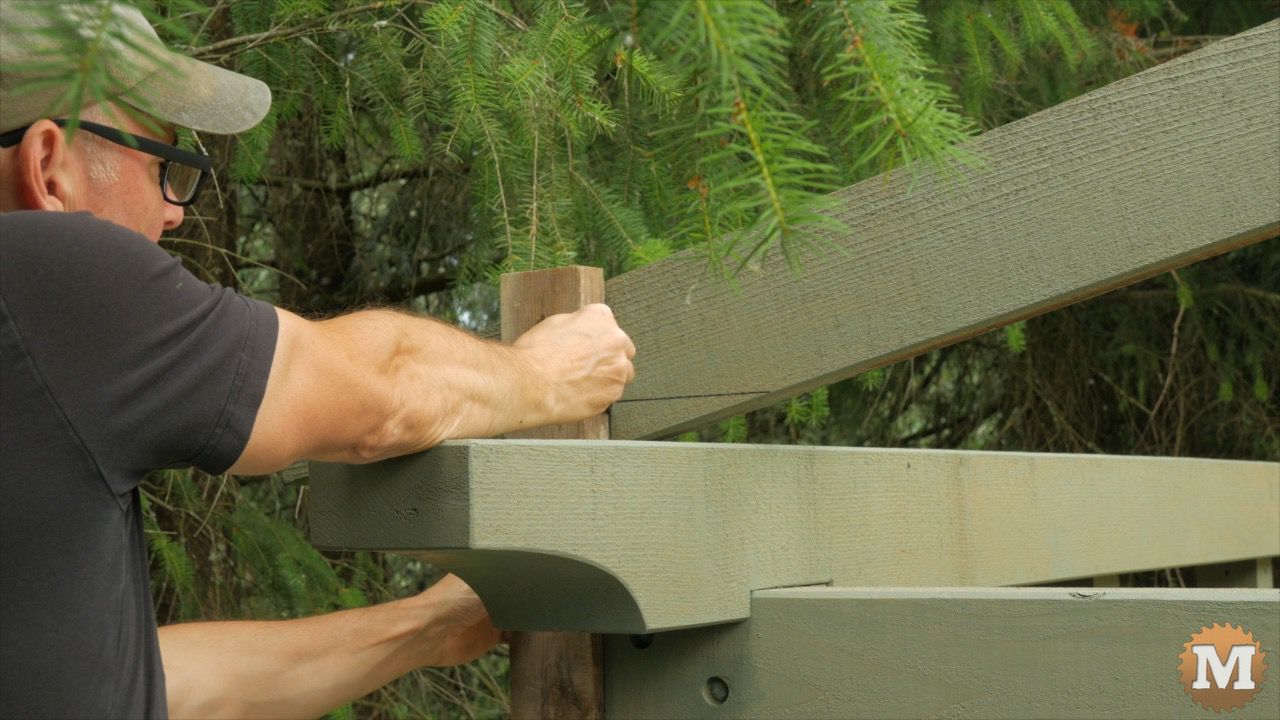
Rafter Support Blocks

Blocks are cut and installed between the rafters to add lateral support. One block between the front rafters, and another at the back. I also add these blocks to help straighten any rafters that may have a twist to them.
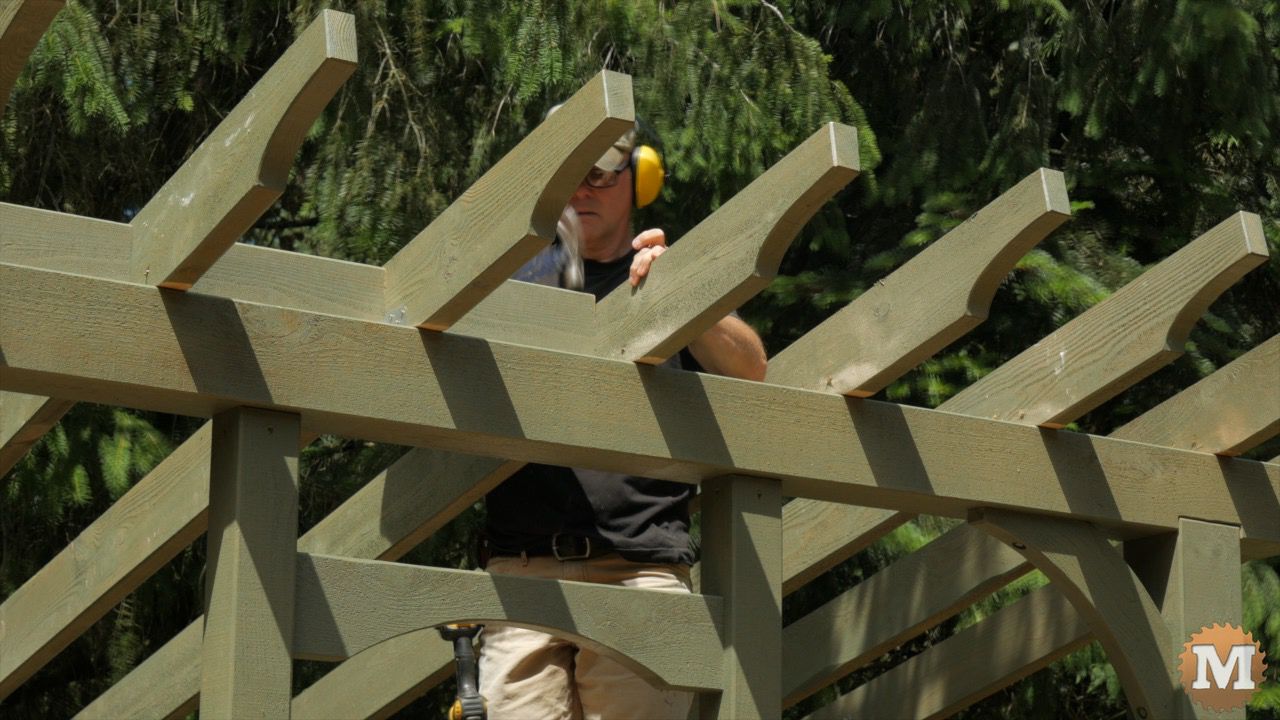

Alternatively, you can add these blocks at the time you are installing each rafter. That might be easier than trying to cut and fit each one after the rafters are in.

