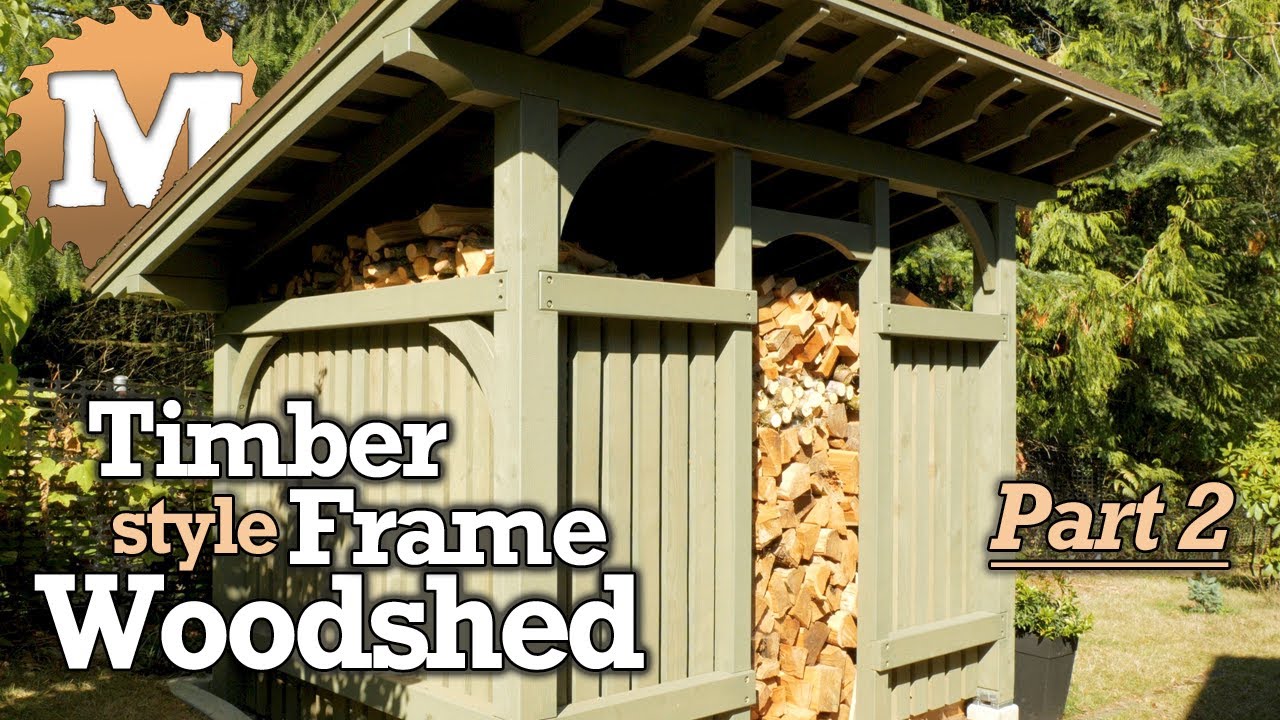
Build your own Timber Frame Style Firewood Shed for Wood Storage and Drying. Plans available for download in PDF Format.
Part 2 of 3
back to Part 1 | ahead to Part 3
See the How to Video.
We heat our house with wood and need a drying and storage shed as close to the wood stove as possible. There’s a perfect spot right beside the house here that has easy access through the front or back door. It’s also close to the driveway for loading with my truck. The internal volume of the wood shed is 392 cubic feet (11.1 cu meters). A full cord of wood is (4’ x 4’ x 8’) 128 cubic feet (3.62 cu m). So stacked to the top of the walls, this shed holds 3 cords of firewood.
Building the Post and Beam Style Firewood Shed – Part 2
Make the Braces
I made the braces the day before using 2×8 full dimension red cedar.
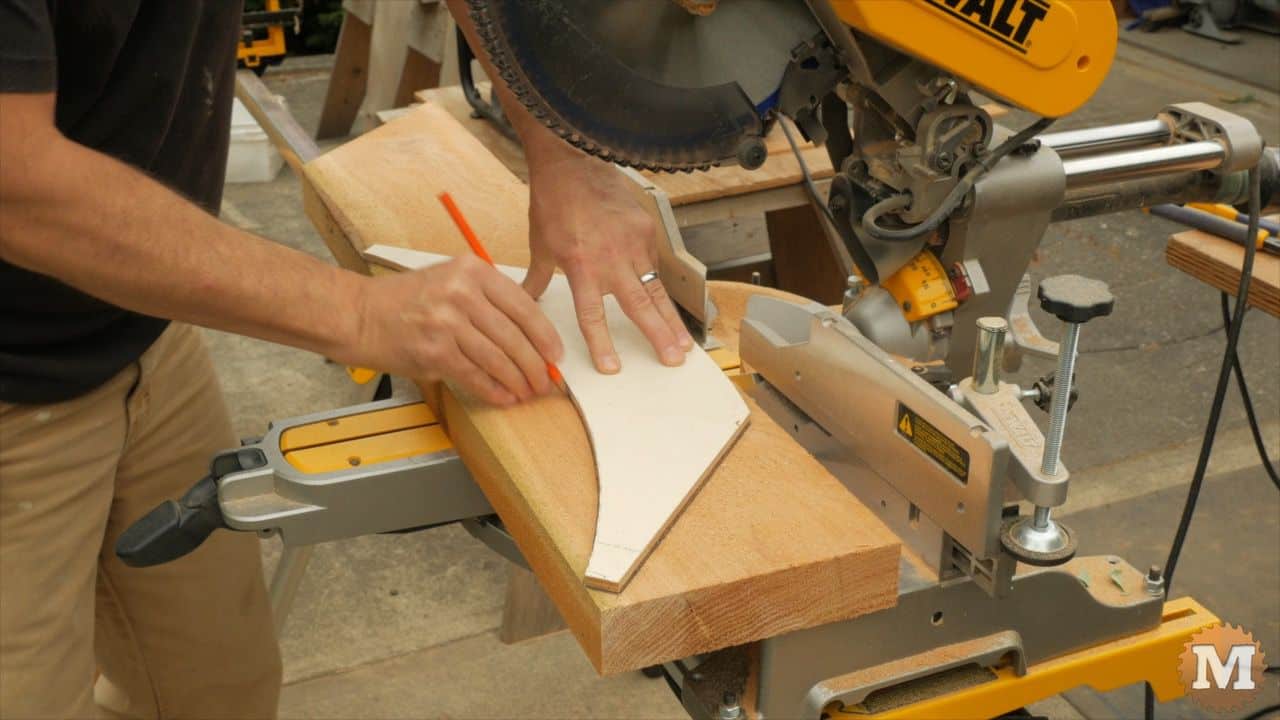
I laid out and cut a plywood pattern according to the plans. I trace the pattern then cut opposing forty five degree angles on the miter saw.
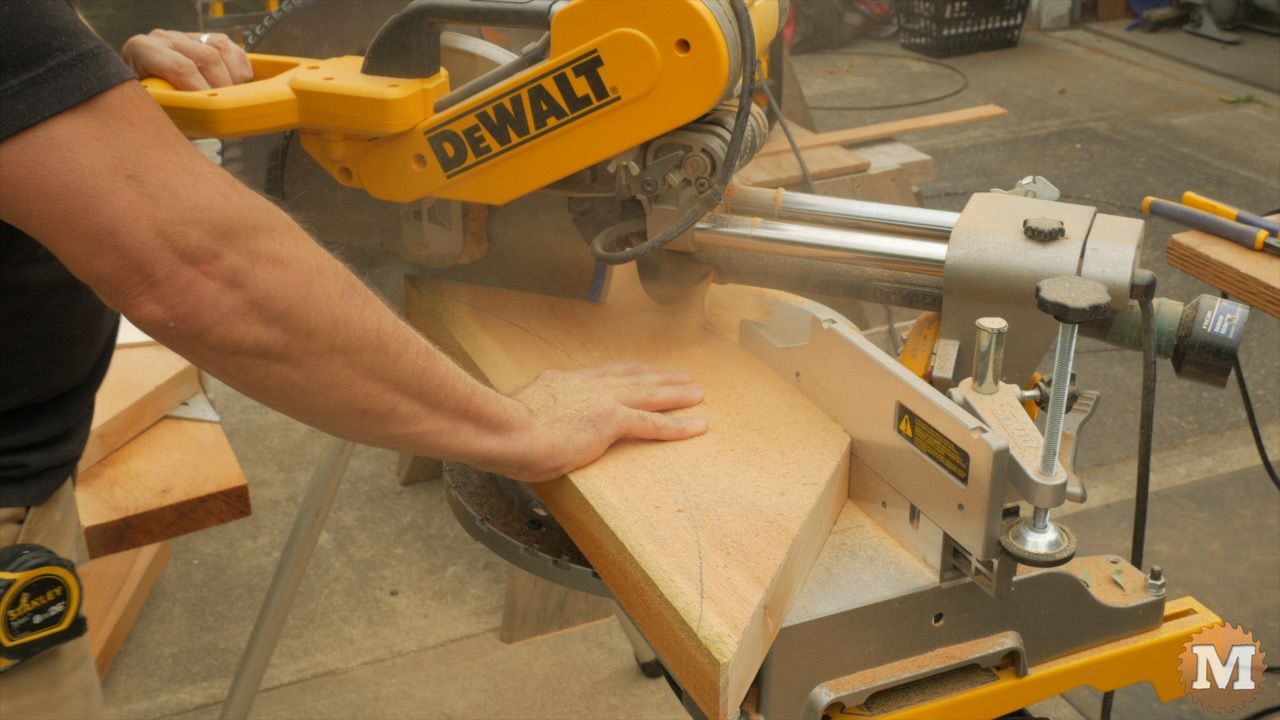
This ensures the brace will be ninety degrees.
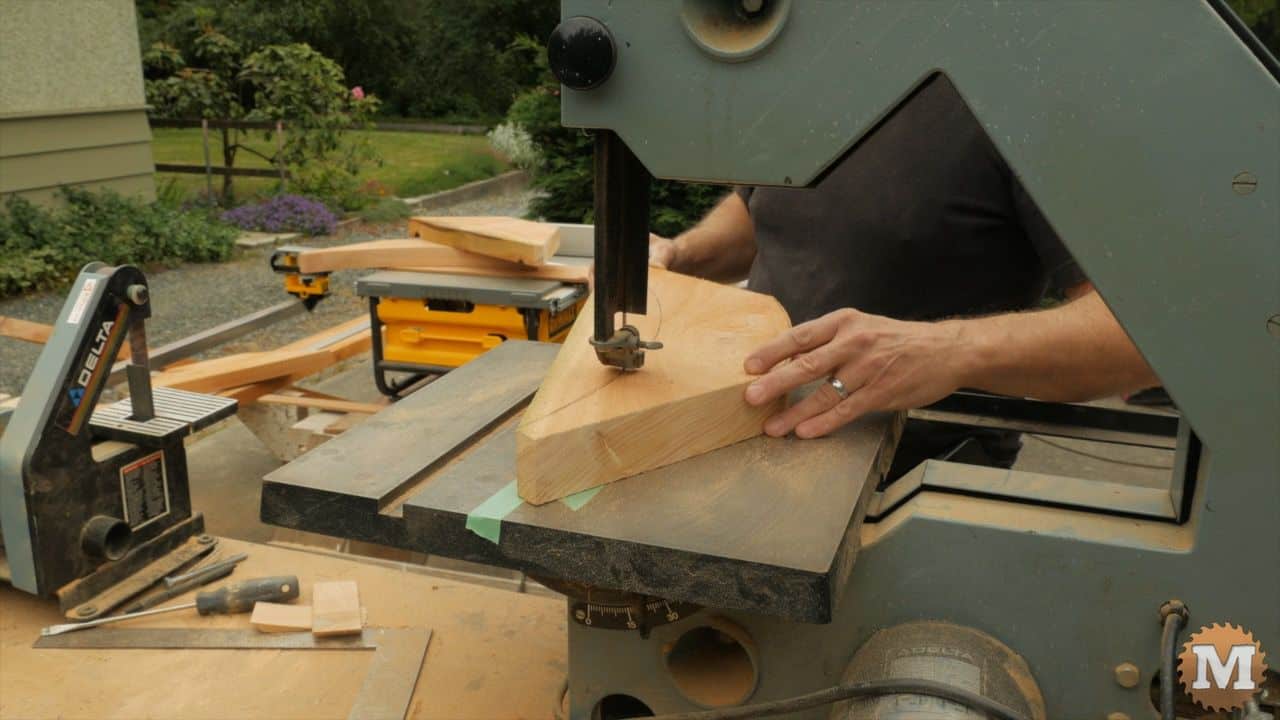
I cut the curved sections on the band saw.
Belt Sanding
I sand this cut smooth with a small hobby belt sander.
(Disclaimer: As an Amazon Associate I earn from qualifying purchases. Thank you for helping to support my content this way. )

The flexible sanding belt follows the curve of the brace quite well. The braces will be attached to the shed posts and beams with a long lag bolt at a twenty degree angle to help pull the brace tightly into the corner.
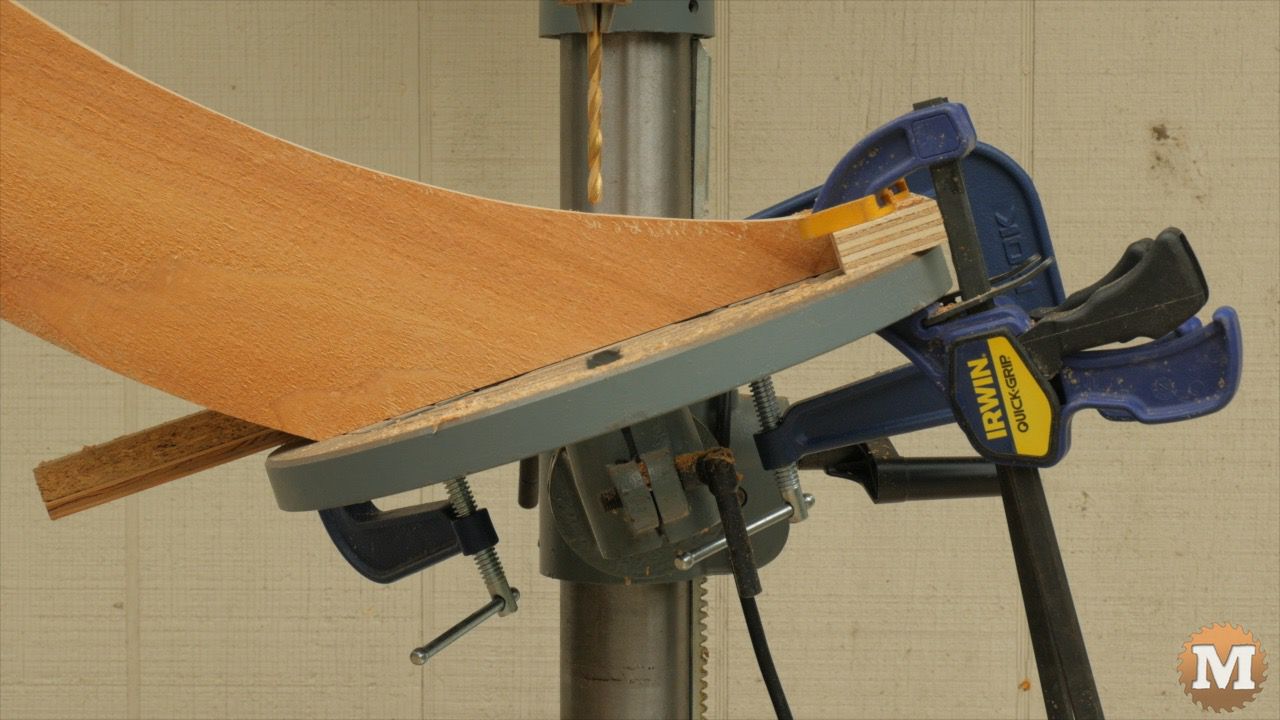
I tilt the table on my drill press to this angle, mark the hole center, and clamp some simple stops to the table to hold the pieces in place.
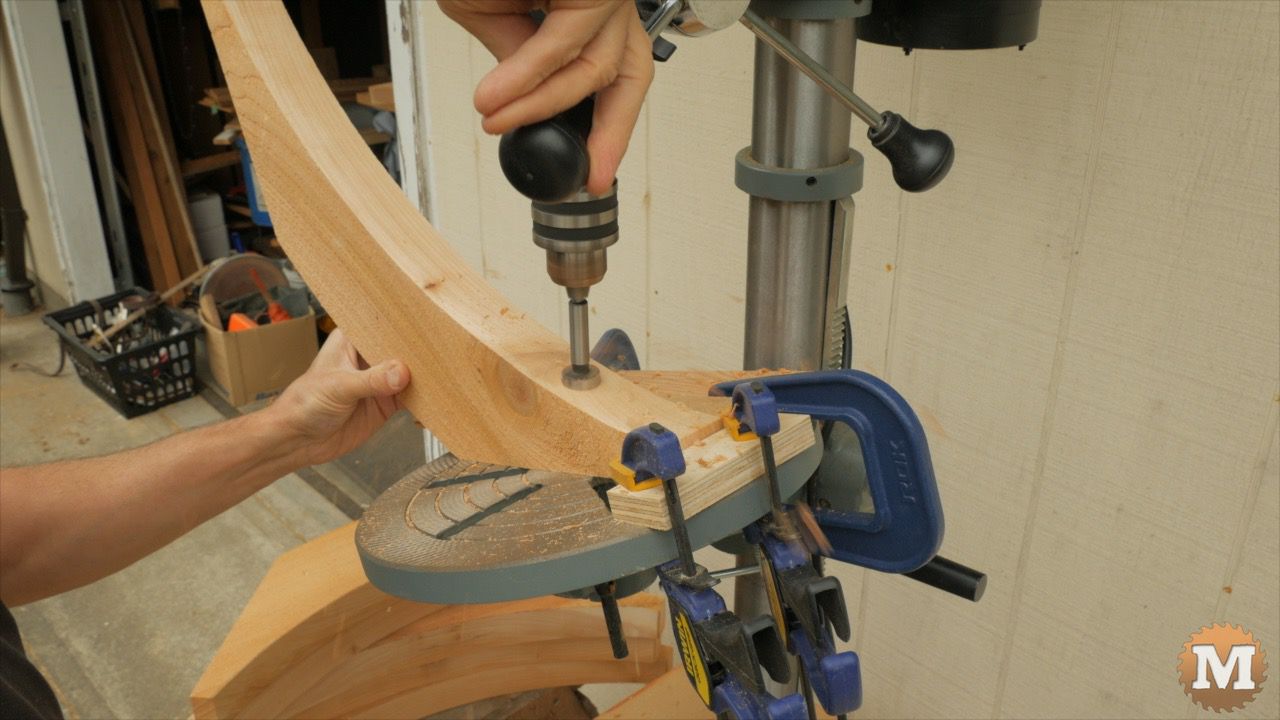

A countersink with a forstner bit drops the head of the bolt neatly below the surface. Then I switch bits to drill the pilot hole for the shank of the lag bolt.

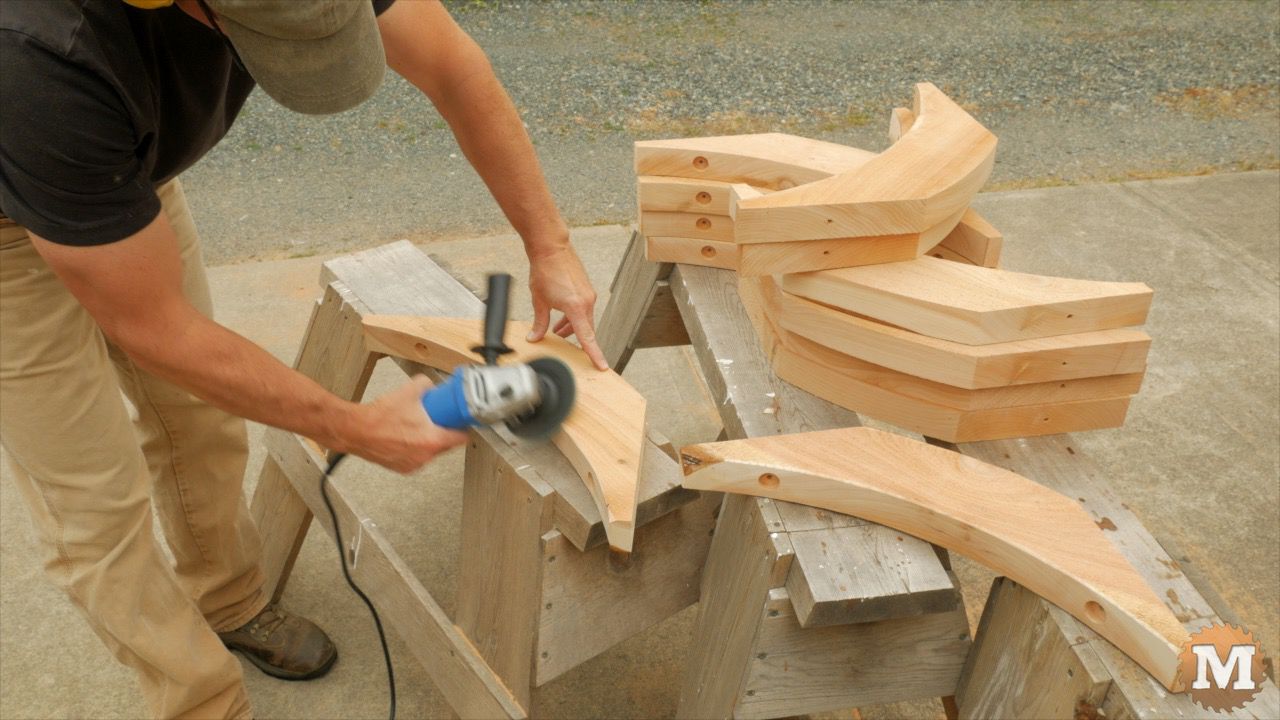
Using my angle grinder with a sanding disc, I bevel the edges of each corner braces except the edge that mates with a post, girt, or beam. So all the outside edges.