Timber Frame Gazebo, Design, Plans & Build – Part 2

Install Main Roof Rafters

Rafters are hauled back up and screwed to the beams. Support blocks are added to each beam as the rafters are installed.
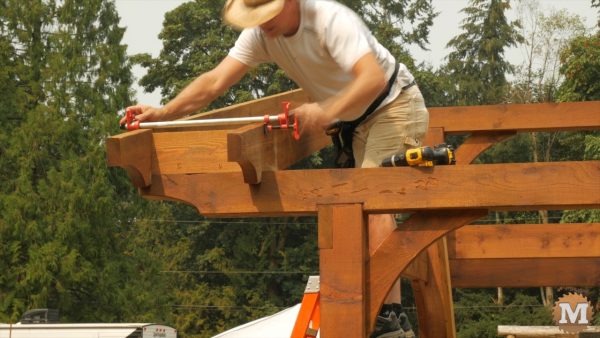
I secure each rafter to the beam and the support blocks between rafters. I straighten them with small pipe clamps

I’ll be using the blocking along with short pipe clamps to straighten each rafter as I go along. I put the straightest rafters on the outside edges of the pavilion. And the most twisted ones on the inside.
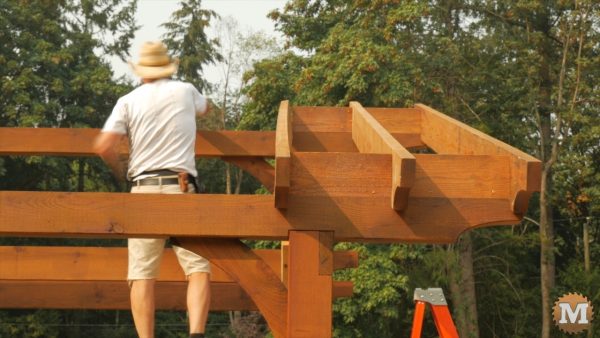
Timber Frame Gazebo - This rafter was twisted and bowed - Timber Frame Gazebo
Timber Frame Gazebo – This rafter was twisted and bowed

This third rafter on the east side was twisted AND bowed. But not so bad that I couldn’t use it.
This rafter had the most twist, maybe more than 10 degrees or so.
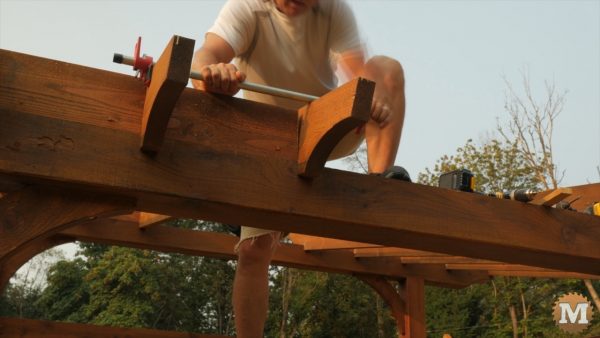
One by one the rafters where hauled up and secured with blocking and screws
The pipe clamp worked very well at straightening the twist and holding it in place for screws

But the pipe clamp worked like a charm to straighten it.
So this process was repeated for each of the twelve rafters. It took the better part of a day but it went well.
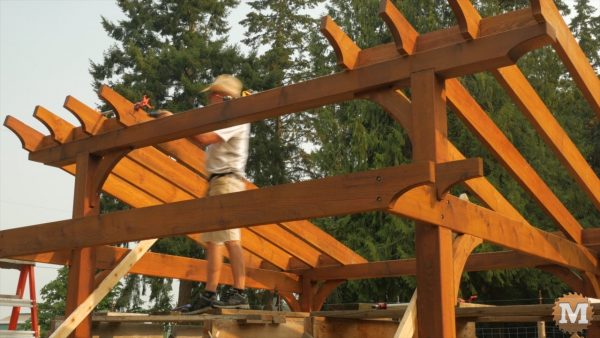
The pipe clamp worked very well at straightening the twist and holding it in place for screws
One by one the rafters where hauled up and secured with blocking and screws

Full dimension 2×8 fir is heavy so I slept well that night.
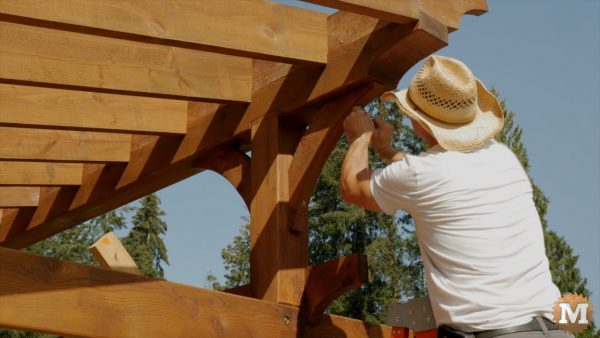
Last corner braces added

I had a few outside braces left to put on so I did that next. The timber frame gazebo is starting to take shape!

See Part 3


Related Posts

  1. YouTube Thumbnail Pavilion V1 Part 3
  2. YouTube Thumbnail Three Gable Timber Frame style Pavilion Pergola Gazebo
  3. YouTube Thumbnail Pavilion V1 Part 2
Shopping Cart
Scroll to Top