DIY Post and Beam Gazebo. Plans available for download in PDF Format.
Part 3 of 3
See the How to Video.
In this the last part of our Pavilion Construction, we’ll finish the roofing.
Part 3 – Roofing the Post and Beam Gazebo

Install Strapping
Strapping made from one by eights is then screwed to the top of the rafters.
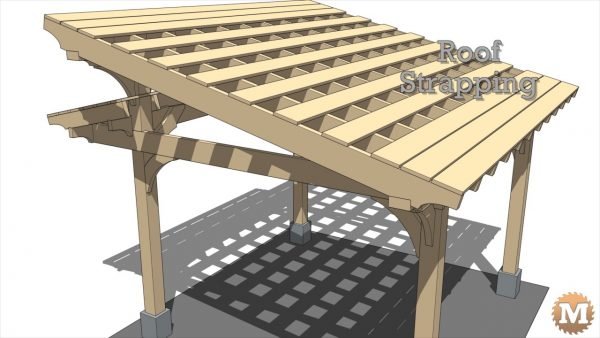
I space them about 8 inches apart and add an extra board at the top and bottom of the slope to cover the overhangs.
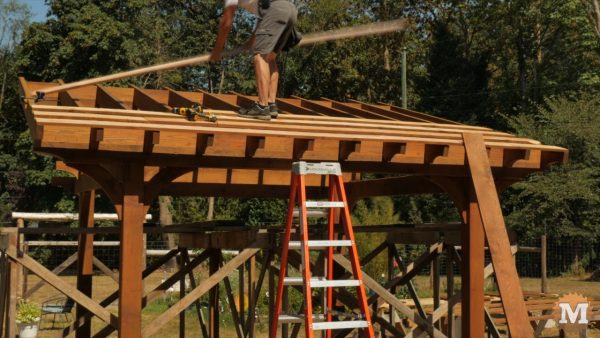
I laid the boards out on sawhorses and rolled on a coat of stain on what would be the underside and edges.
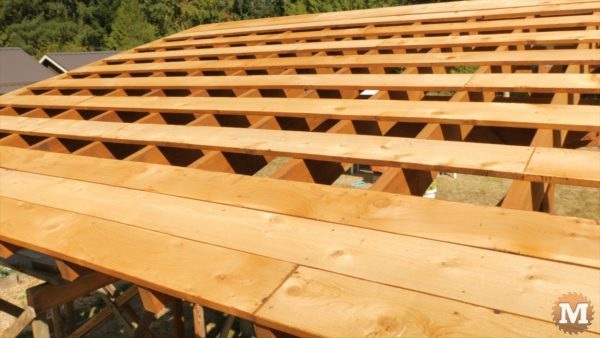
Even if you are used to being on roofs it can get get tricky sometimes. You always have to watch your foot placement walking on rafters and strapping. I added extra boards at the top and bottom of this Post and Beam Gazebo.
Front Roof Rafters
The front roof rafters are 2×6 cedar.
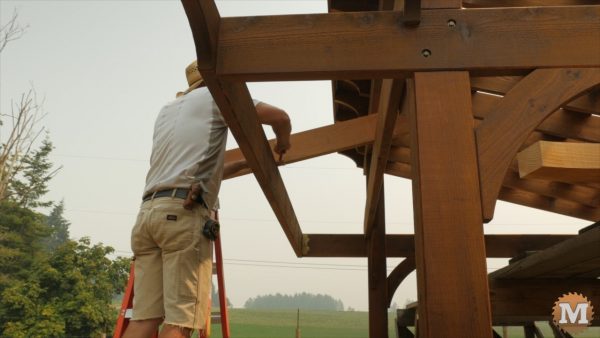
I cut them to length, trace the ellipse profile on one end, then lay them across the front beams to mark the birds-mouth cuts.
(Disclaimer: As an Amazon Associate I earn from qualifying purchases. Thank you for helping to support my content this way. )
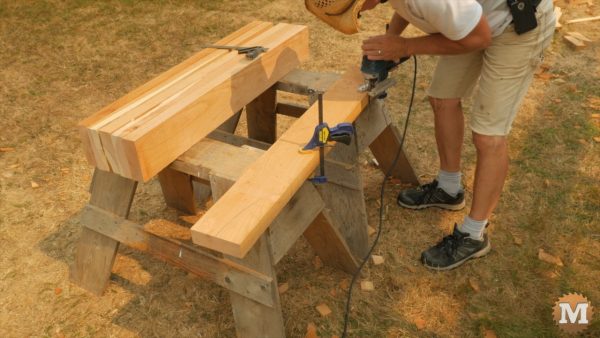
I clamp the rafter to a pair of sawhorses to make the cuts with my jigsaw.
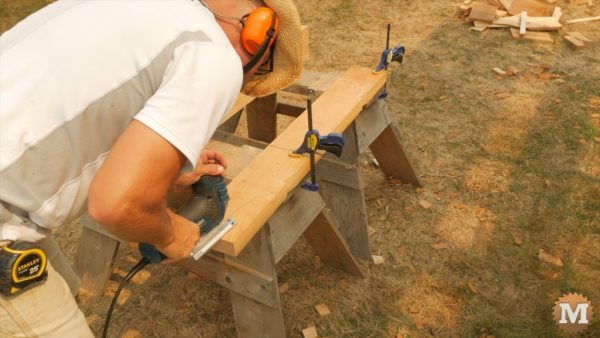
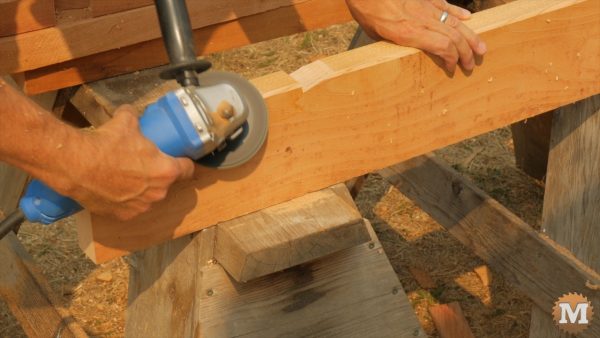
When they are done I chamfer the edges with power plane and angle grinder with a sanding disc.
A quick single coat of stain is applied with a small roller.
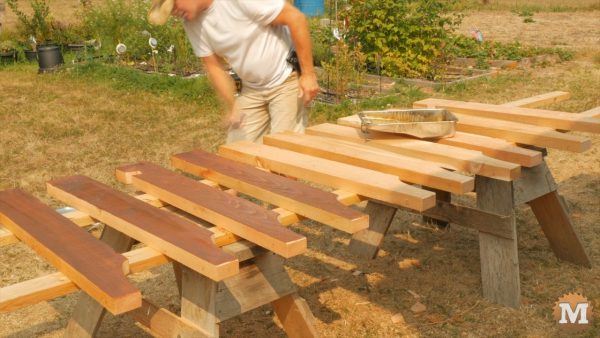
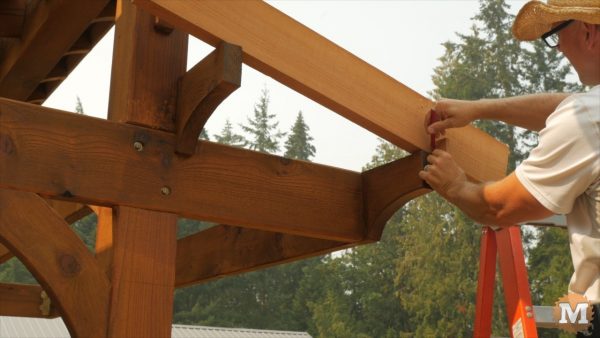
When dry, I take them back up to the beams and attach with screws.
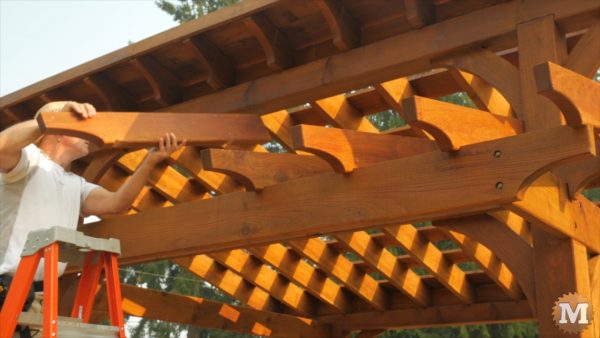
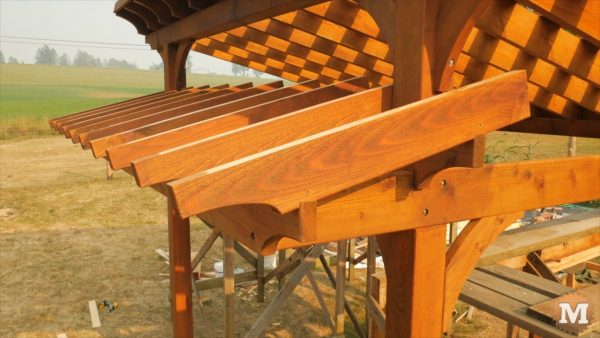
Across these rafters I attach 1×6 strapping. I had a few extra so I spaced them a bit tighter.
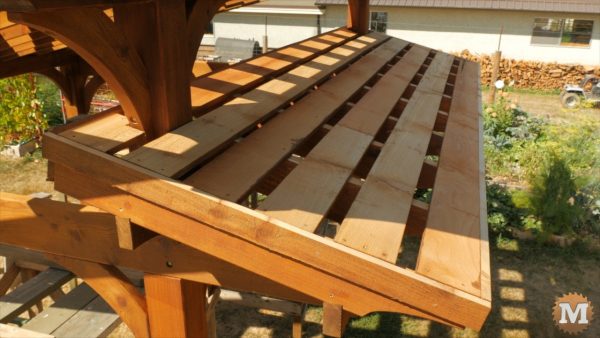
Trim is ripped down on the table saw and stained and screwed to the end rafters and across the front and back edge.
