Brace Options
As another option, I have included another brace variation in the plans that allows for a flush mount onto the inside of the girt or front roof beam.
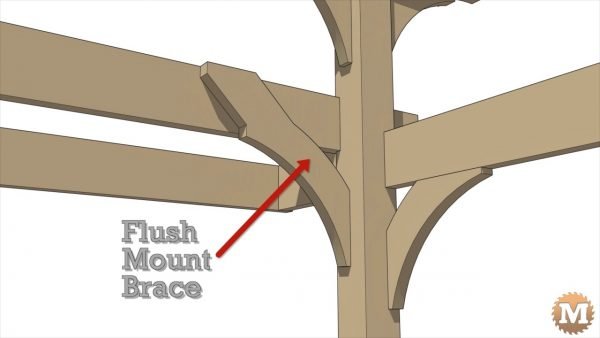
This matches the look of the other braces from the outside.
Front Roof Beams
The front roof beams are made from two by eight stock.
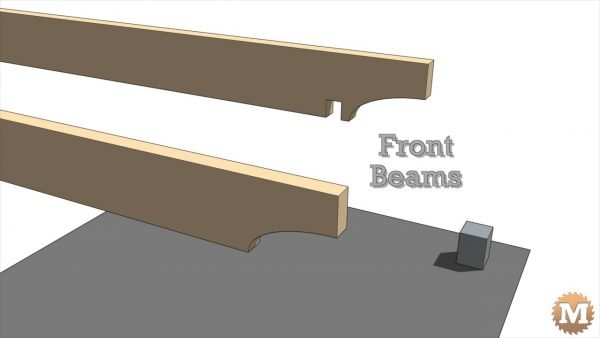
A similar ellipse profile is cut in the ends as the upper beams.

And the beam that mounts on the front post has a small groove cut to make clearance for the girt. These are also chamfered with the power plane and angle grinder.
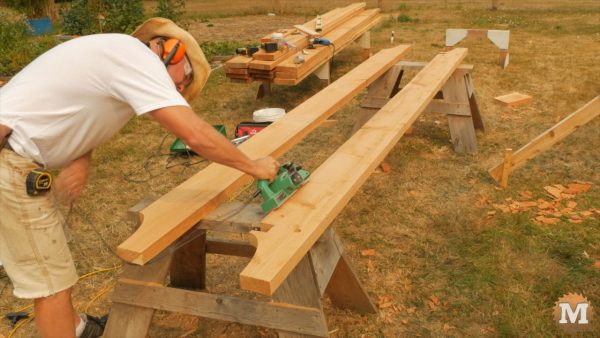
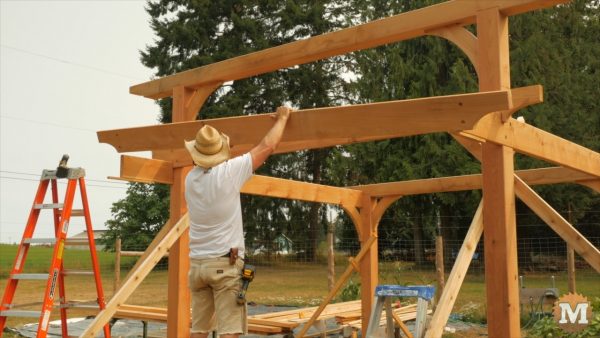
First I attach the beam to the front posts with construction adhesive and lag bolts.
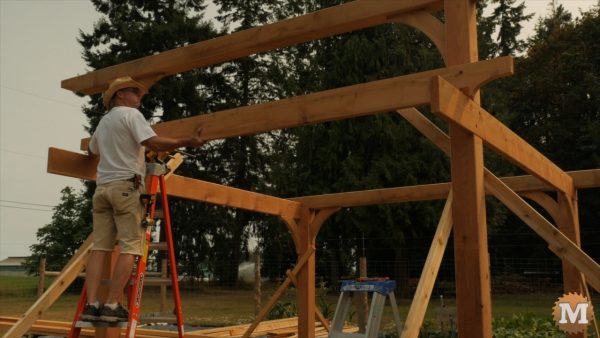
To help attach the lower front beam I screwed on some temporary boards to the bottom edge of the girts. This allows me to rest this beam on these supports while I drill and run in lag bolts.
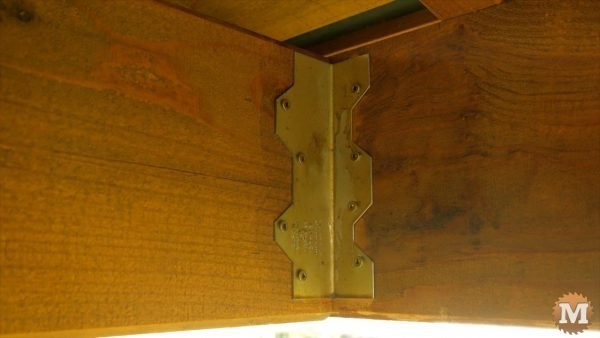
In addition to these lag bolts I add a galvanized corner brace to the inside of the lower front roof beam where it meets the girt.
Main Roof Rafters
The twelve best fir two by eights for the rafters are pulled from the pile. These are inspected, marked for their crown then cut to length.
(Disclaimer: As an Amazon Associate I earn from qualifying purchases. Thank you for helping to support my content this way. )
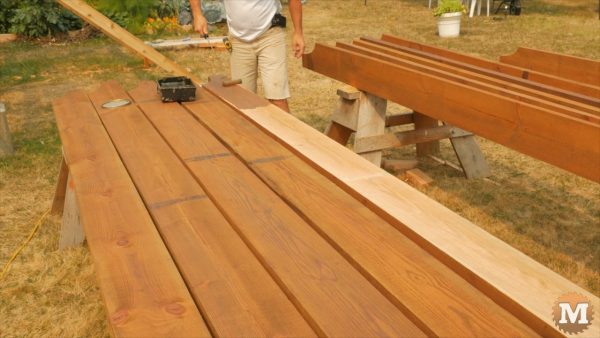
The ellipse profile is copied onto the ends and cut with the jigsaw. They are stained and let dry overnight.
I also rolled on a coat of stain on the pavilion frame the same day. It’s easier to do now than after the rafters go up.
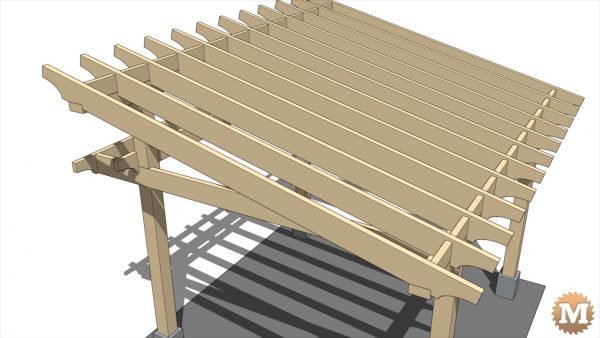

Each rafter is hauled up and positioned across the top beams.
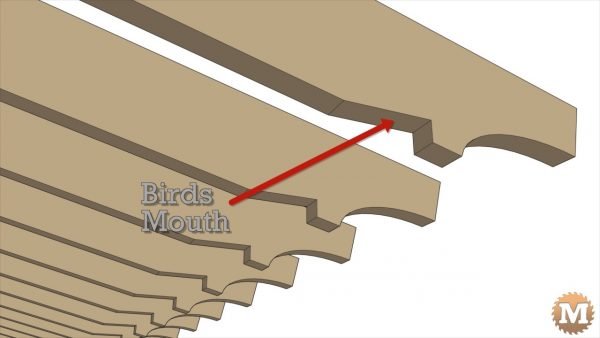
The birds-mouths are marked then it’s taken down to the sawhorses.
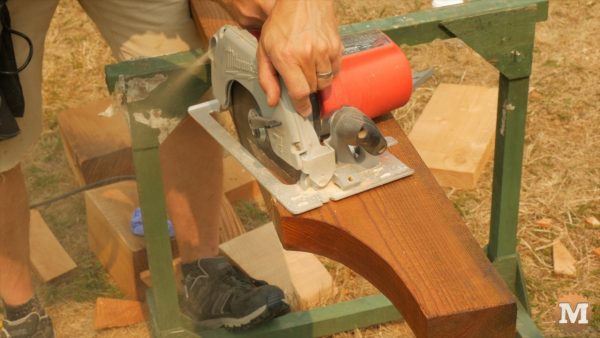
They are cut with a circular saw, then finished with the jigsaw.
To start I clamp some blocks to the ends of the top beams. On the rafter I pre-marked the point where it will contact the upper beam. At this mark I cut a small saw kerf to help hold it in place while I mark the birds-mouth.
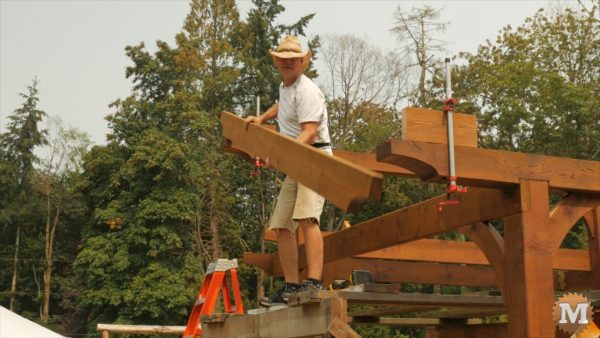
I haul up the first rafter and clamp it to the block to hold it. I have some wooden home-made scaffolding and planks to stand on so I set those up.
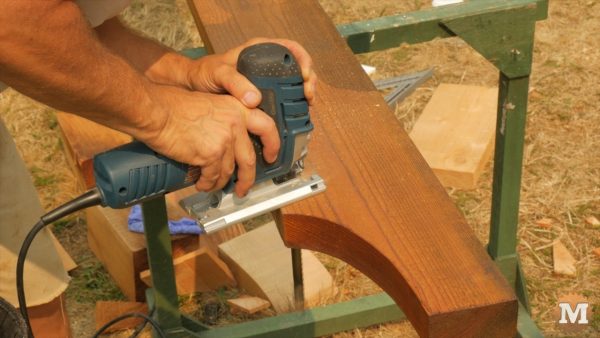
I take the rafter down to the sawhorses and cut the birds-mouth. Then permanently attach the blocks to the beams.
