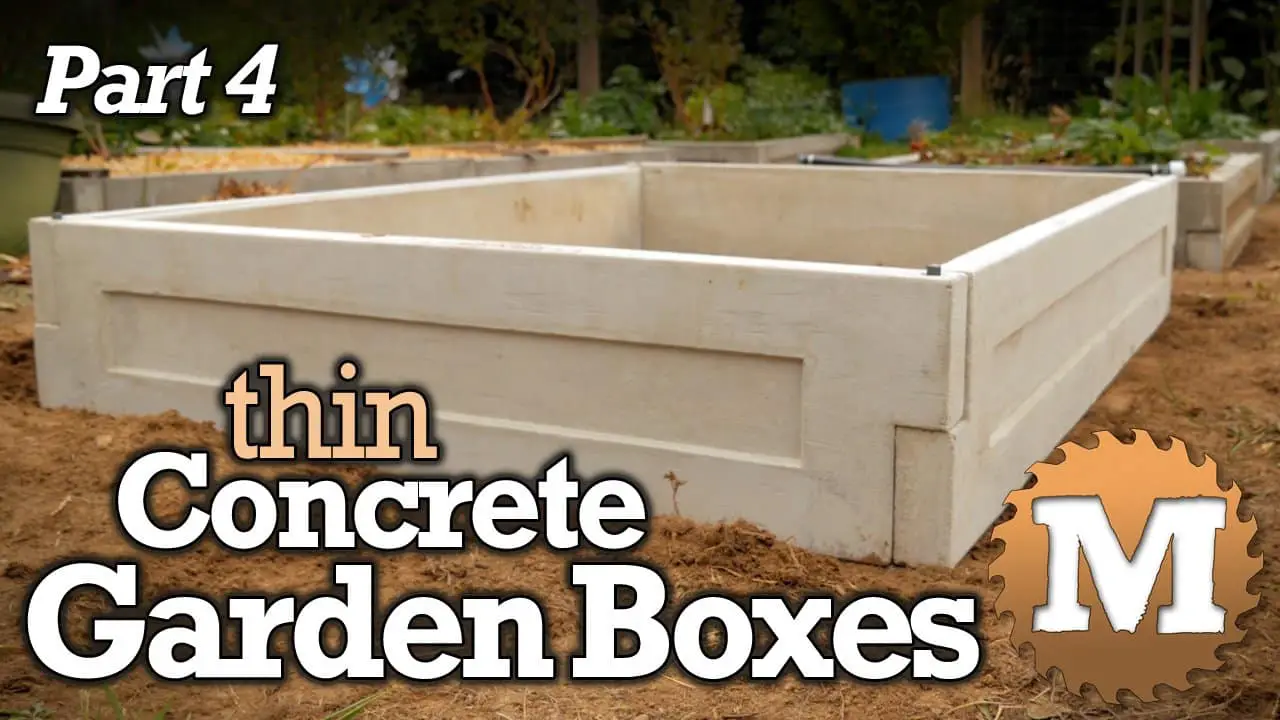
yet MORE CONCRETE
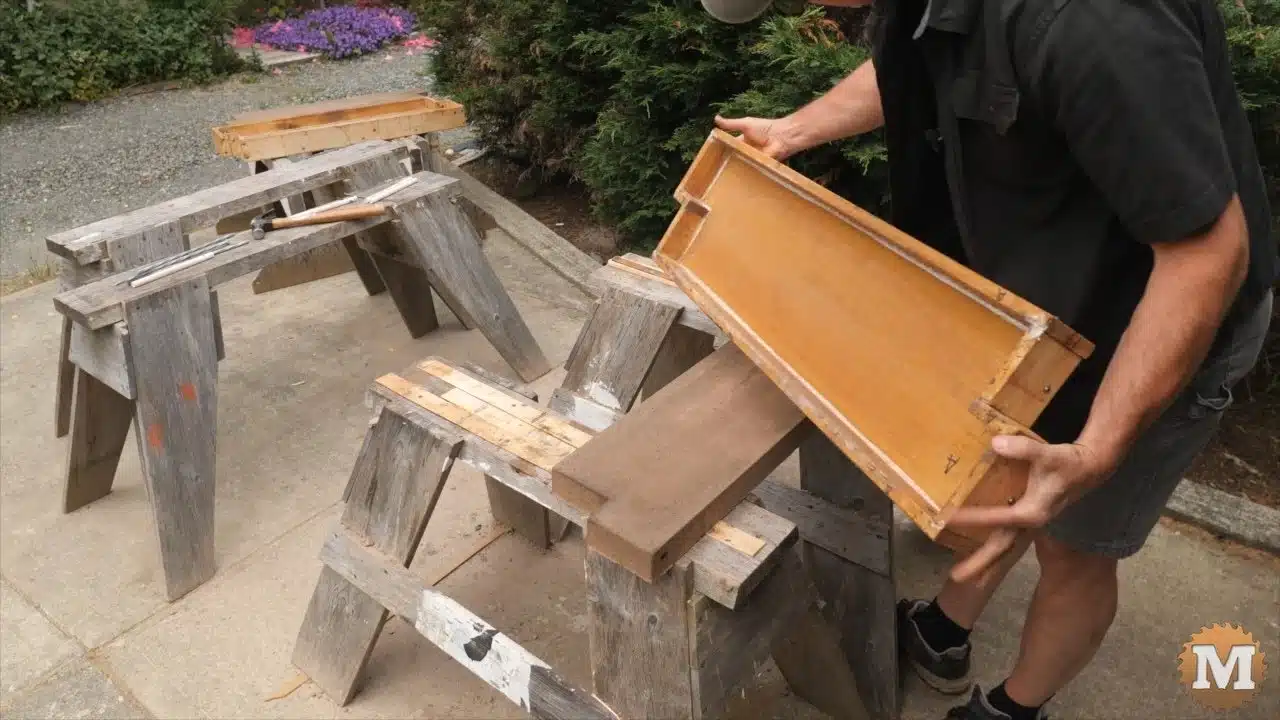
All right let’s see how this one come out. It came out very clean.
Concrete will cure to its maximum strength if kept wet for about three to four weeks after casting.
If you have a paint scraper or, whatever you have, scrape off any excess concrete that’s on the surface and then i just take a rag and give it a wipe any of the concrete dust that’s left over. If the forms are getting pretty dry to the touch then I’ll put another coat of mineral oil on them. Or if I’m going to store the forms for a period of time i will put a coat of mineral or oil on at that time as well.
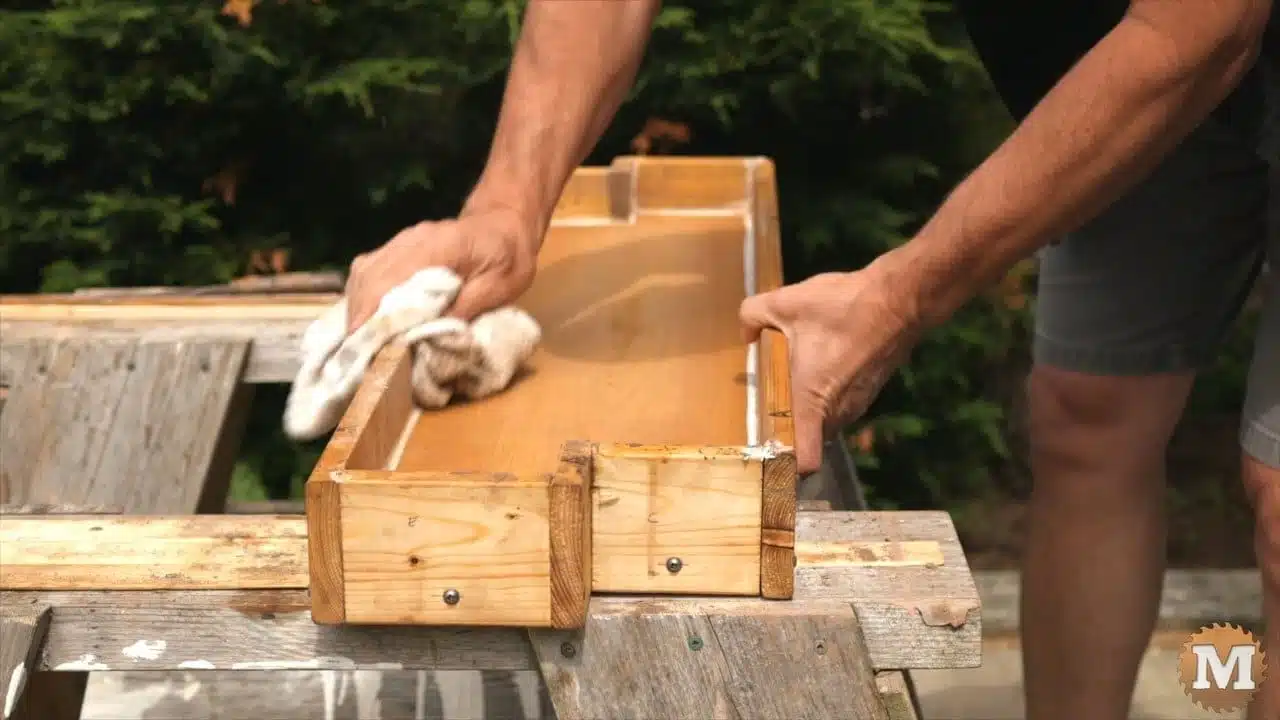
It only just takes a few minutes and also checking the latex caulking if I’ve got some cracks there i might replace a little bit of that as well.
Okay that’s it we’re ready to go again and pour more panels for a DIY Concrete Garden Box.
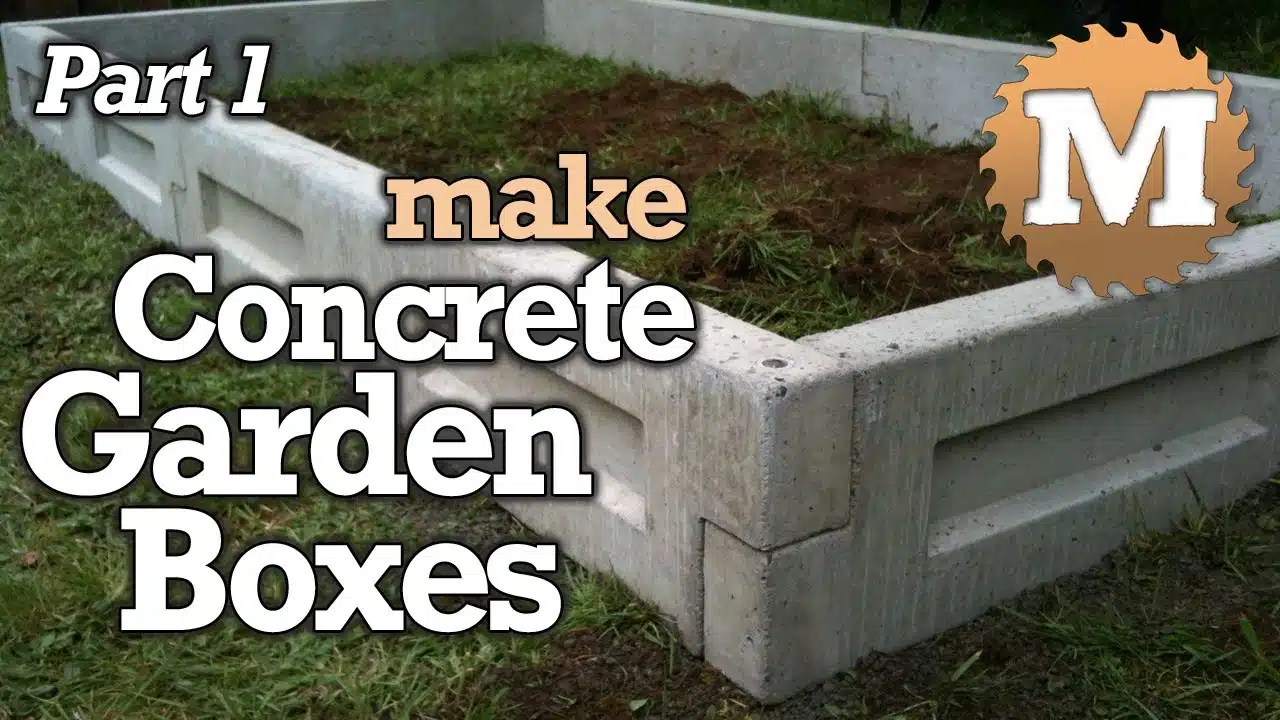
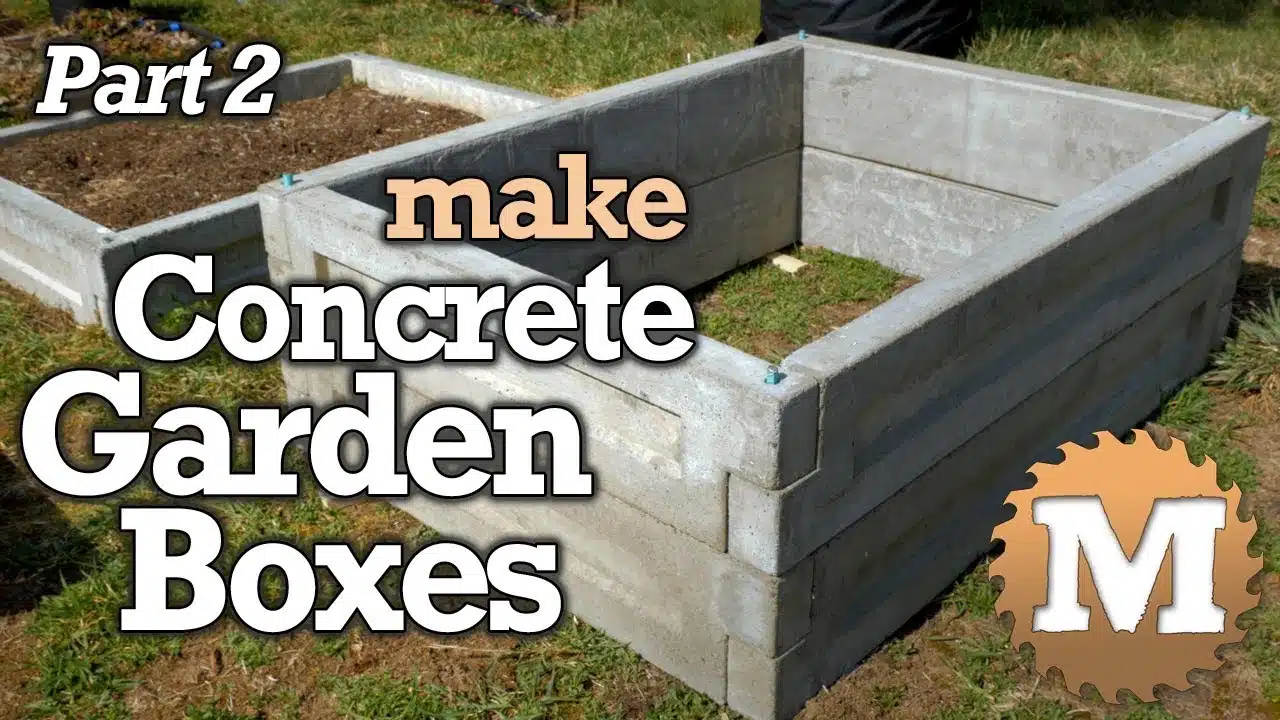
BUILD the DIY CONCRETE GARDEN BOX
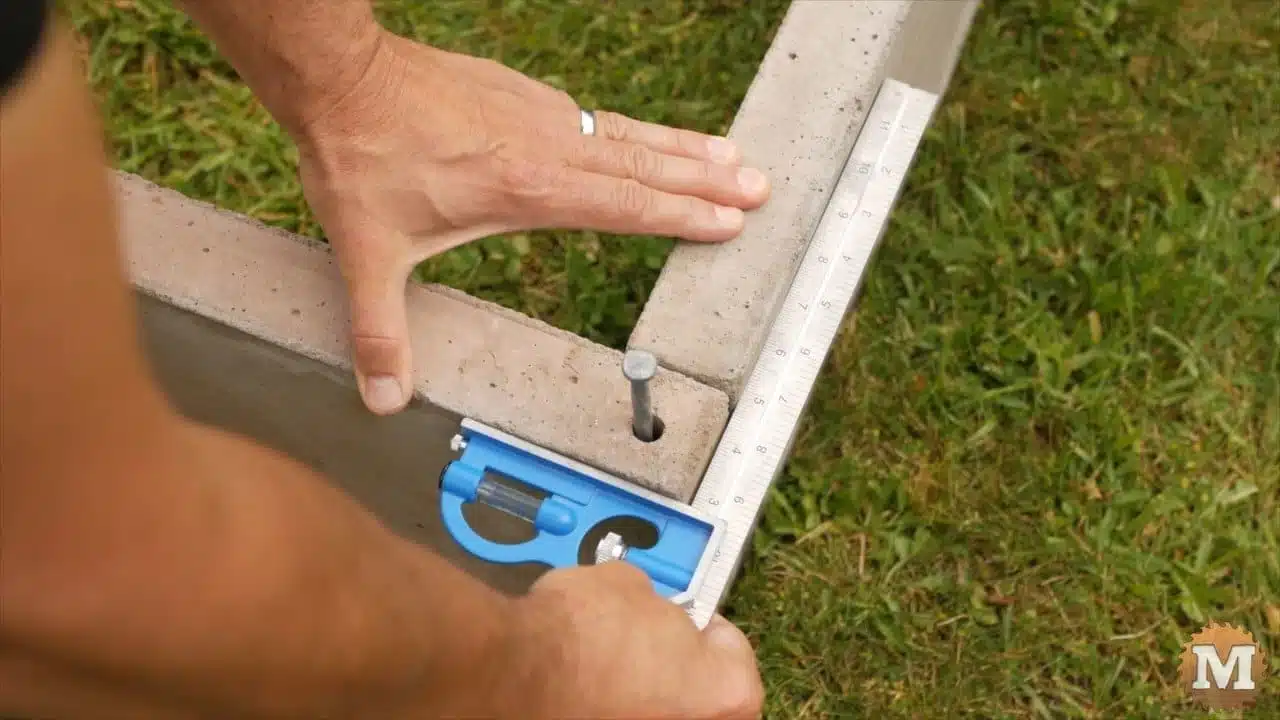
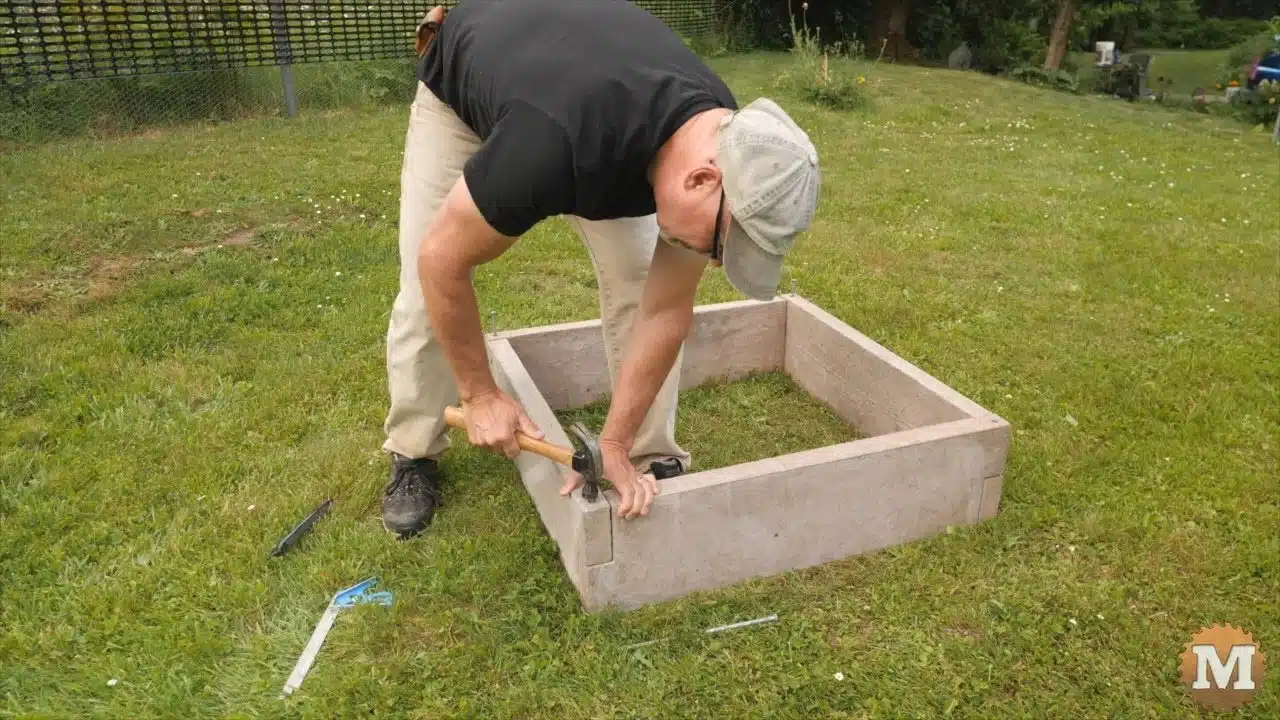
I level a spot in the garden to assemble four of these panels into a box.
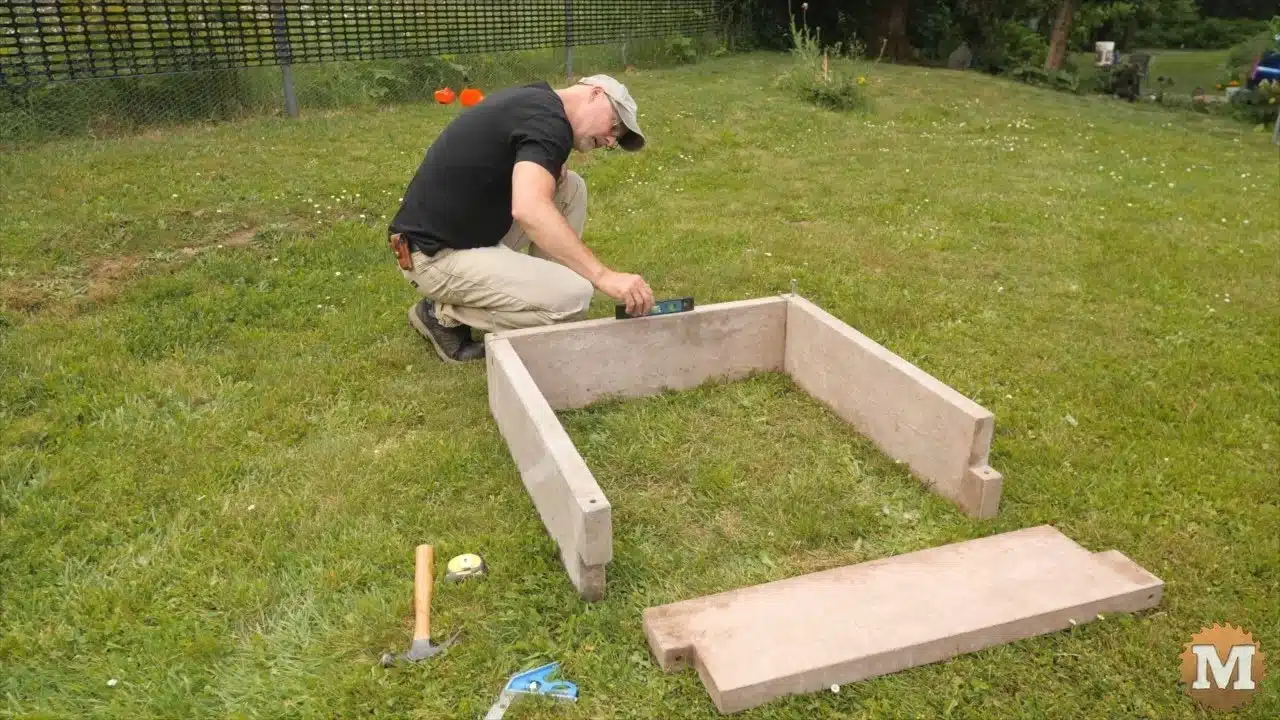
I use a level and square to position the panels, then drive in some 12 inch galvanized framing spikes to hold the corners together.
WRAP UP and final thoughts for the DIY Concrete Garden Beds
With these no-frills panels, I have traded off some strength reinforcements for the sake of simplicity. In my previous 3 versions I have added a wire mesh during the casting process to give the panels greater resistance to a sideways load. In what may occur in the winter freeze of the garden bed. I have a three part series showing the results of strength testing various panels that you might find interesting.
You can add some reinforcements to these new panels if you think they need them. It’s hard to estimate the stress they may endure so I’ll leave that up to you.
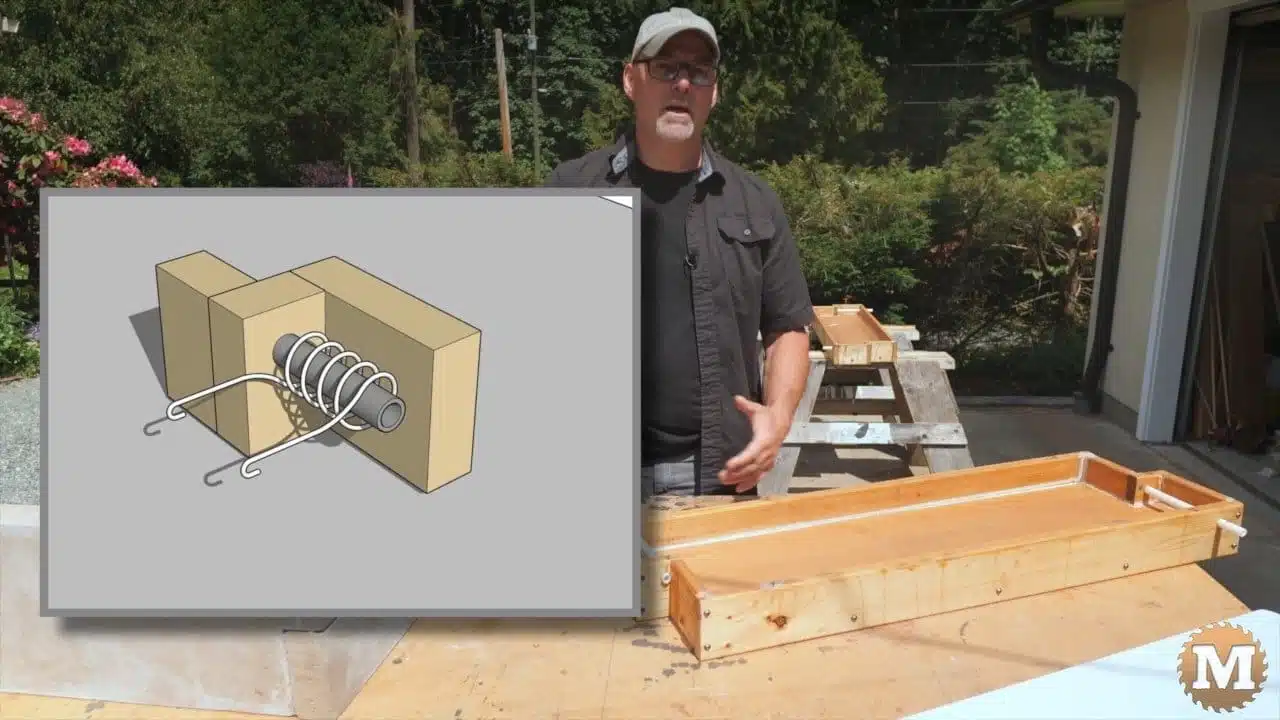
I also left out the wire wrap around the pipes where the panels connect that I have been advocating in the first two versions of the forms. This too is an optional step. You could also add that to these panels here as well if you like. Have a look at the other videos in this series if you want to see how that’s done.
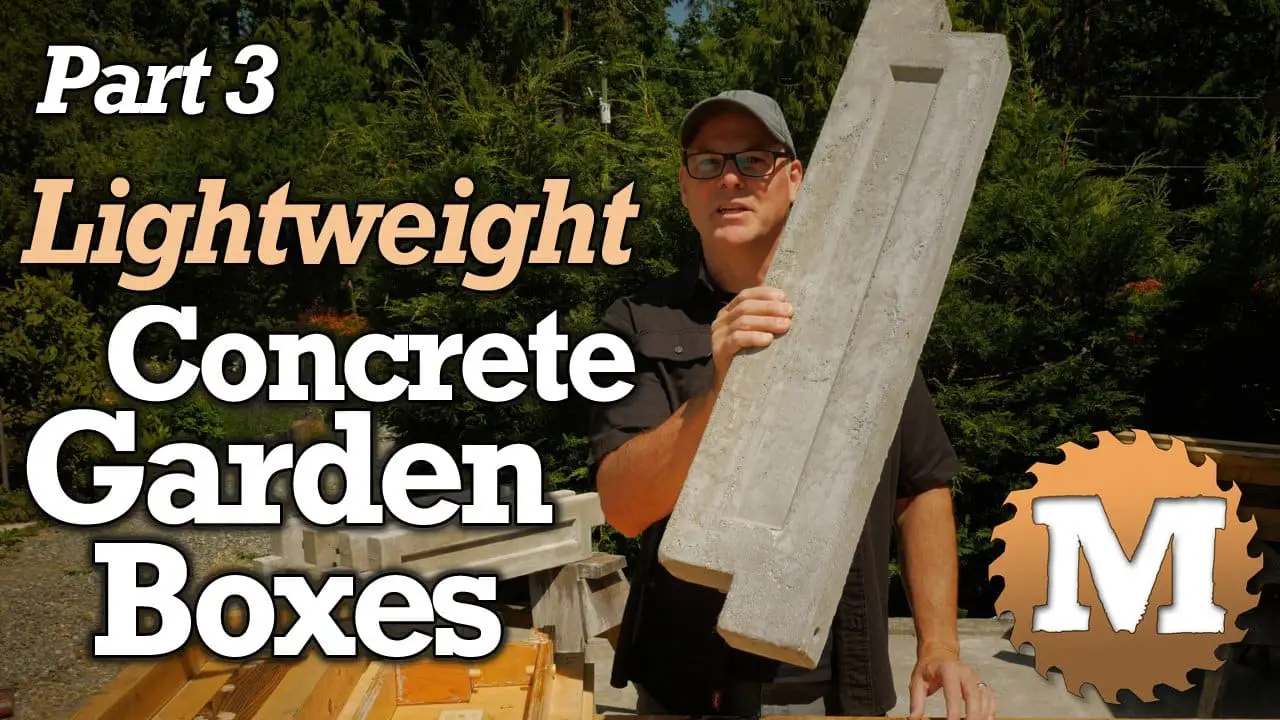
These 36 inch panels weigh around 50 pounds. And if weight is an issue for you I have some alternative lightweight concrete blends you might want to try. I particularly like the vermiculite blend from part 3 of this series. Or the Perlite blend from part 3.6. I haven’t tried them in this new form yet but I think they would be fine.
As you saw, I wanted to use wood dowels to form the connection holes in the concrete. And that didn’t go as well as I had hoped. I decided to leave that in the video as I believe there’s some benefit to showing what doesn’t work, as well as what does. The plastic pipe worked great and slid out easily. Also with this new design it’s a real time saver that the panels can be dropped out of the form without disassembly.
See the Cost Breakdown
(Disclaimer: As an Amazon Associate I earn from qualifying purchases. Thank you for helping to support my content this way. )
So I hope you have enjoyed this post and the DIY Concrete Garden Boxes, and thank you so much for reading. If I make any further improvements or changes I’ll post them here.
And, while you are here, please hit the Support Link to help us make more projects and videos like this. We really appreciate anything you can do to help us out!