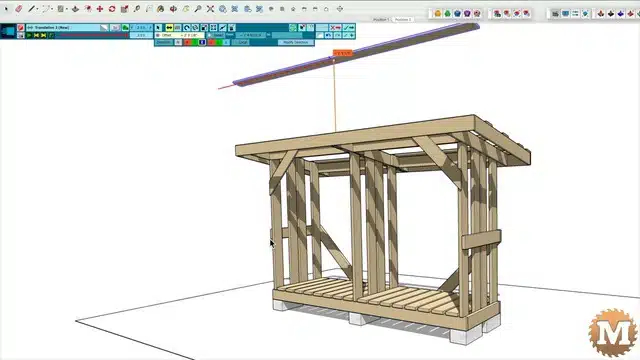
Secrets of Sketchup Animations
So one of the key concepts to showing a model being assembled is to create the animation in reverse. Animate it being pulled apart as I have started here, then play that back in reverse so it looks like it is coming together. I find that to be the easiest way to do this.
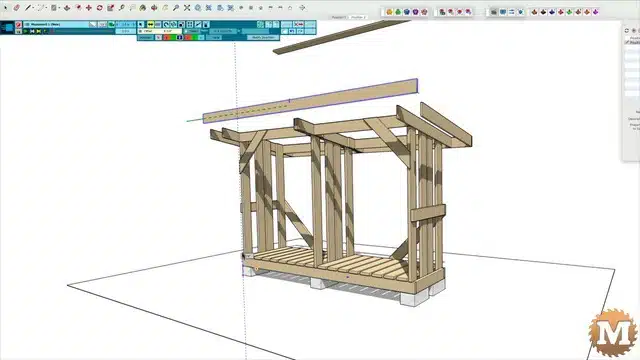
More Units of Movement added to the Timeline
Okay so lets add another unit of movement in the timeline. And select a roof slat. Then select the translate button and click the blue vertical axis. Then pick a reference point anywhere on the model and drag that skyward. When I release the mouse button I can key in 20′. And that will take place over 1.5 seconds. And click to save that sequence.

And you can see the new blue line in the timeline starting at 6 seconds. And having these units of movement overlapping is also important. I mean that the roof metal is still in motion when the first roof slat takes off. And I have to remember to set the type of easing I need.
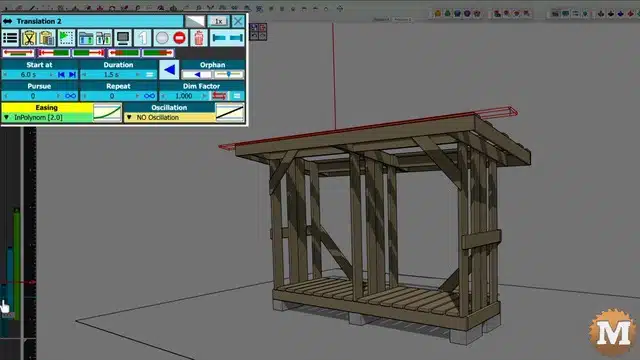
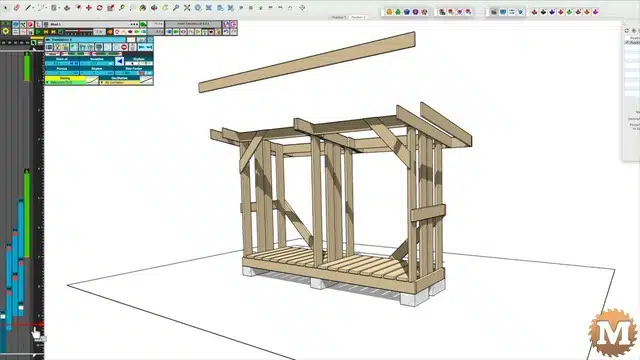
Sketchup Animation Attributes Block
When I select that bar it brings up a detailed box showing attributes for that unit of movement. And on the model it shows the outline of the slat in red and a line going skyward.
To keep the timeline more organized (because it’s soon to get busy and crowded) I like to change the colour of the bars. I can select a red colour from the panel and it adds a swatch of that colour on the blue bar.
Copy and Paste Sketchup Animation Bars
Now I’ll right click and copy that bar and paste it at six and a half seconds. To use this unit of movement on the second roof slat I need to click the Number 1 in the panel to make it unique and not connected to the first slat.
Then I double click the bar and hit the X selection box to disassociate the first slat from the movement. That allows me to pick a new part of the model to move skyward by 20′. So I’ll select the second roof slat.
Now I’ll play the animation and you can see the second slat following the first skyward.
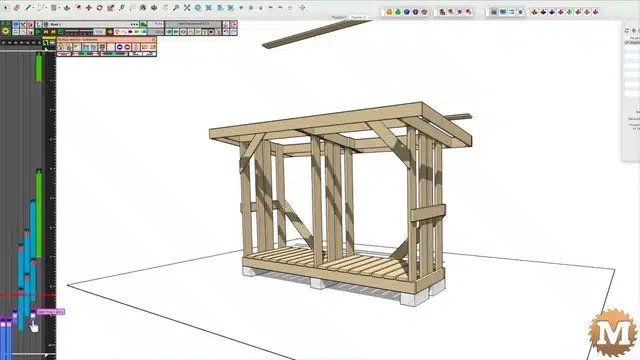
And I can continue this copy and paste method and reassigning the same movement to a new roof slat. And these 5 movements I’ll leave with the same red swatch.
(Disclaimer: As an Amazon Associate I earn from qualifying purchases. Thank you for helping to support my content this way. )
And if I play the animation backward the roof is being assembled.
Animate More Complex Movements
So far, everything has gone in a straight line upwards. And has slowly accelerated and ended (outside of view) quickly.
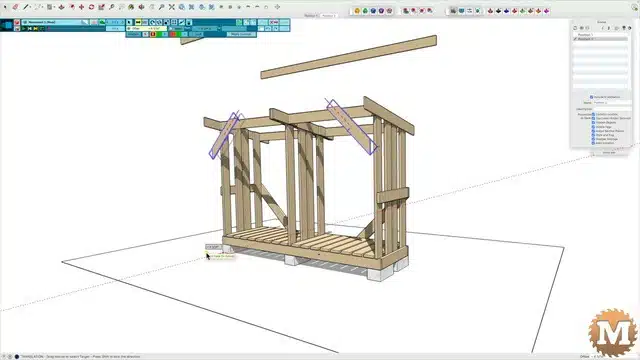
Next I’ll animate the front facia board. I’ll select new movement, pick the board, and then I’ll select the x axis as I first want it to move forward. I’ll drag it forward, release the mouse button, then key in 6″. And I want that move to occur over a half second. And I’ll make the swatch on the bar a light colour. And select an easing that slowly accelerates and slowly decelerates when it ends.
Now I’ll add another movement to that same facia board that starts half way through the first move but goes vertical by 20′ over 1.5 seconds.
So the affect when I play the sketchup animation is it looks like the board curves away from the shed before if goes skyward. This is what an overlap of these two moves creates. For a quarter second or so the board is moving both toward the viewer as well as upwards.
So I can then copy that first move in the x direction and apply it to the facia on the back of the shed. And change the direction to minus 6″.
And I can copy and paste the move upwards, make it unique, then apply that to the rear facia board as well.
Now both facia boards move at the same time.
I can select several movements in the timeline and drag them to change their start times.
Or paste copies of several selections as well.
I’ll make all 4 of those copies unique and with a different colour. And then I can apply each move to a different board. Here I’ll apply them to the facia boards on the right and left side of the shed. And those side facias will first move in the Y direction.
So that’s what we have so far.