Sketchup Animation for Fredo6 Plugin Animate
To generate the animated sequence I’ll be using a Sketchup plugin called Animate from Fredo6. I love and hate this plugin. I love the results it can generate and all the features it has.
I hate how clunky it is to use. It is nothing short of tedious to work with. But hey, the price is right and it does work. Fredo6 has a whole collection of other very excellent plugins for Sketchup. The dude is truly talented.
Save the Geometry Orientation and Positions
To start with, I need to freeze (or record or save) everything as it is using the Positioner. As I’ll be moving pieces around they can be challenging to get back to their starting positions.
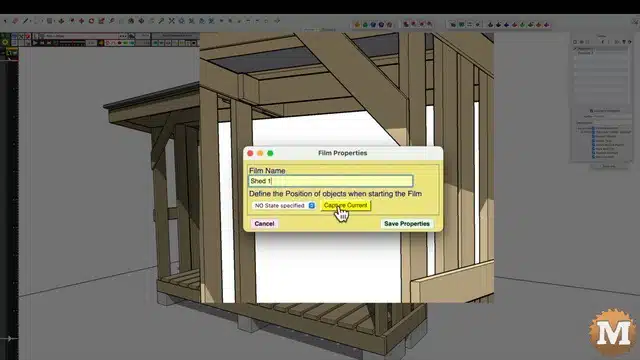
Next, I’ll create a new Film and give it a name. I’ll call it Shed One and Positioner 3. (These are just names)
First Sketchup Animation Task – Cameras
First, I’ll add a camera (or scene) to the timeline. The timeline is the black bar down the left side. The timeline will hold all the camera positions and all the moves that each of the components will be making. And this is where I will define the length of time for each move.
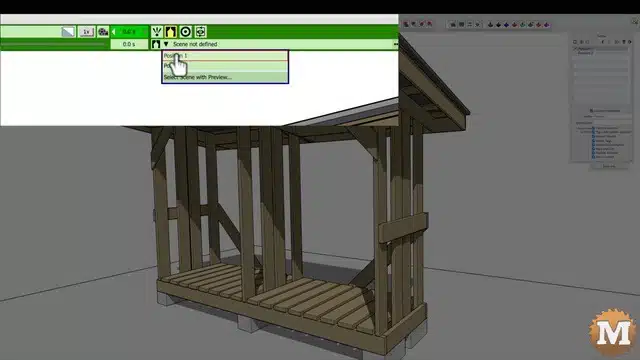
In the timeline there’s a green bar for the first camera position. And it is the Scene “Position 1”. I can then set how the camera is going to move from one scene to the next. It defaults to a linear motion but, I want it to smoothly ease in and ease out.
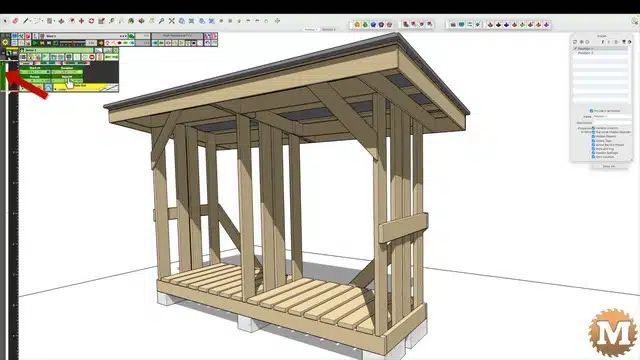
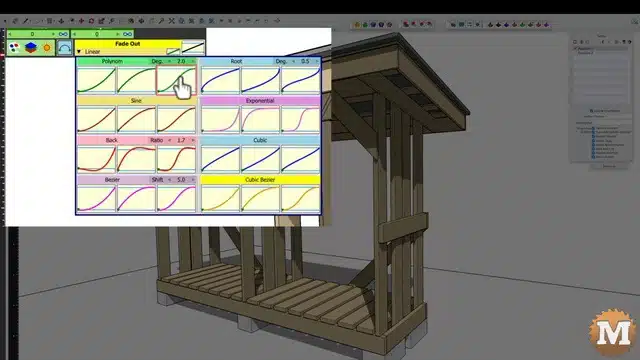
I’ll add some more time to the overall sequence, then at 4 seconds down the timeline I’ll add another camera green bar at Position 2 (the slightly zoomed out view). And also change the ease in-and-out to be smooth.
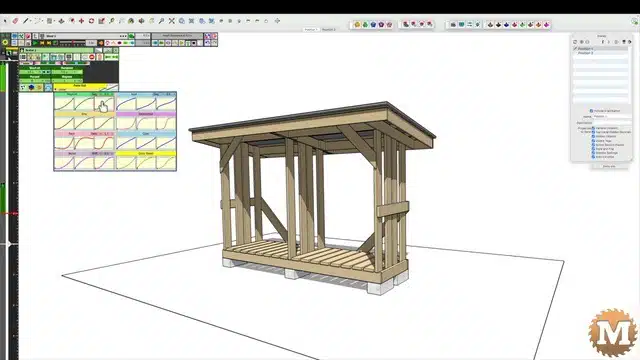
Now, I can hit the play button to preview the animation.
Sketchup Animation – Unit of Movement
Now I’ll enter a Unit of Movement in the timeline. Then select what I want to be moved. I’ll pick the roof sheet metal component. Then select the Translate button, pick the vertical axis, pick a reference point anywhere on the model, then drag the roof skyward. I’ll then key in 20 feet as the distance.
(Disclaimer: As an Amazon Associate I earn from qualifying purchases. Thank you for helping to support my content this way. )
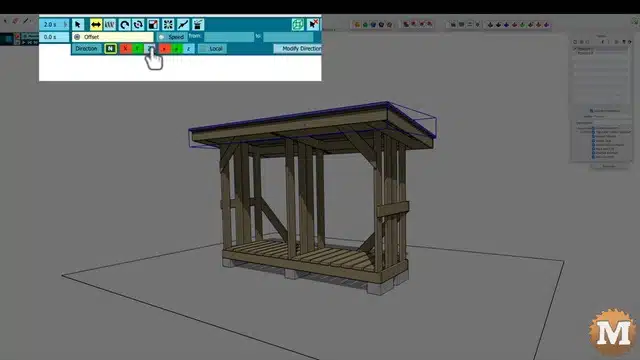
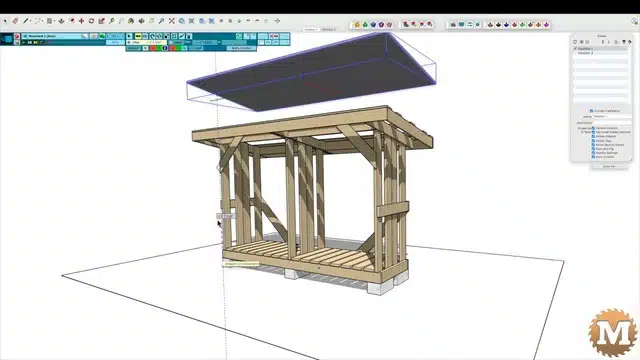
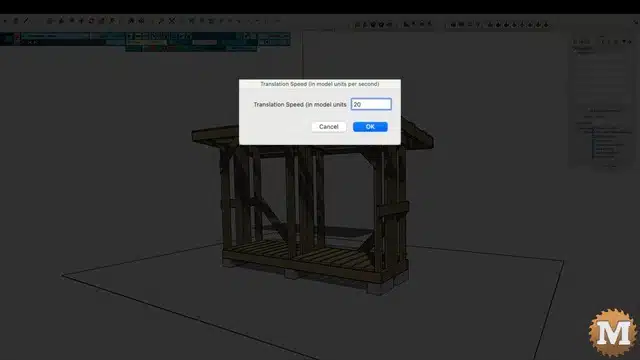
I’ll save that sequence and you can see the blue bar added to the timeline at 5 seconds. And the length of that move is 2 seconds. Next I’ll adjust the easing so the roof starts off gradually and quickly comes to a stop 20 feet up.
Correct the Shadow Settings
I noticed that the shadow of the roof 20 feet up was still visible so, I’ll exit of out Animator and change my shadow settings. And deselect “On Ground”.
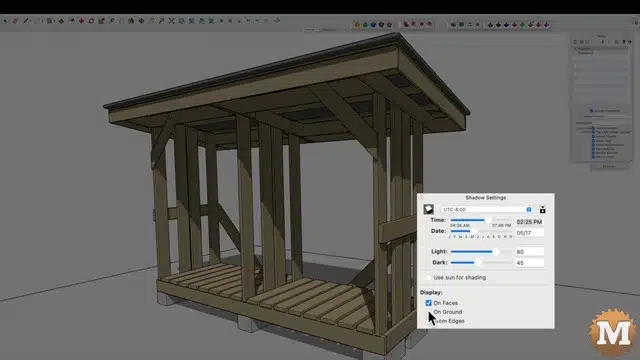
Now, when I go back into animator the shadow disappears from the ground and only falls on the rectangle.
