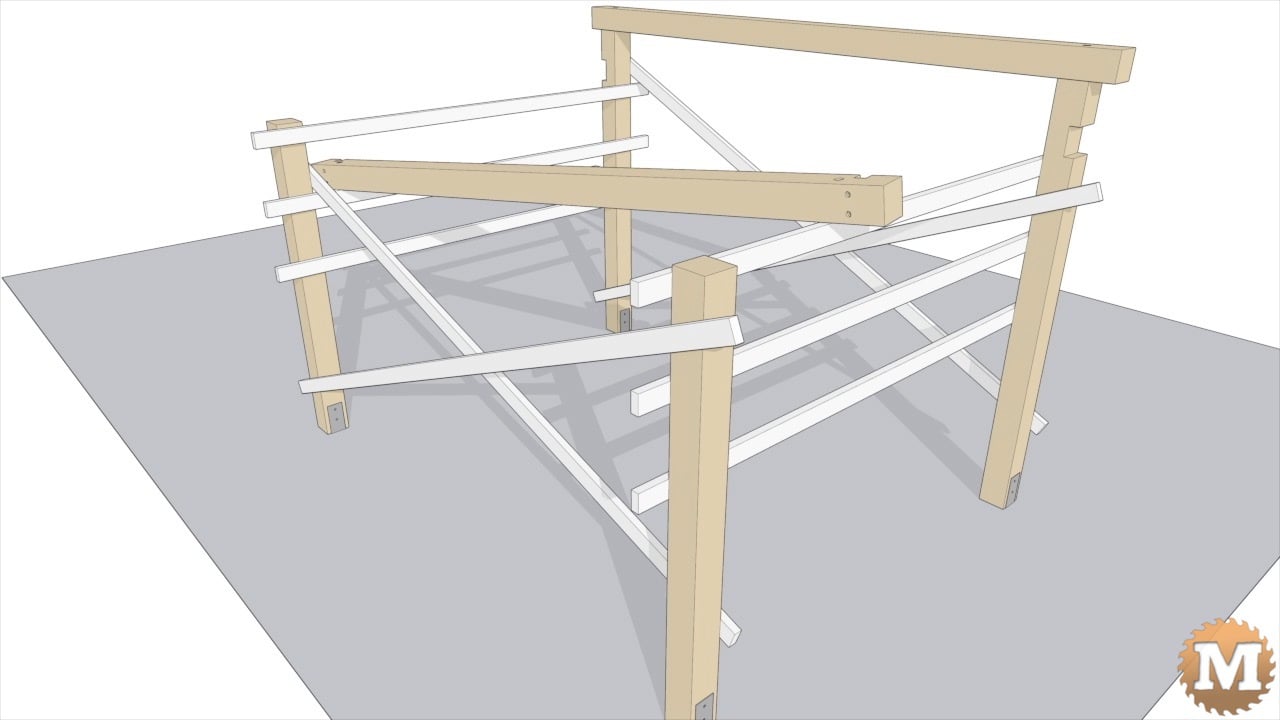
Ladder Animation
So yeah, I can slide the beam across the first two lower 2x4s. Then I can rotate and lift it to the next rung of my improvised ladder. Then move to the other side and do the same. Then when it’s on the top rung I can (while on a step ladder) do a final lift to get the beam up on the post.


Visual Elements
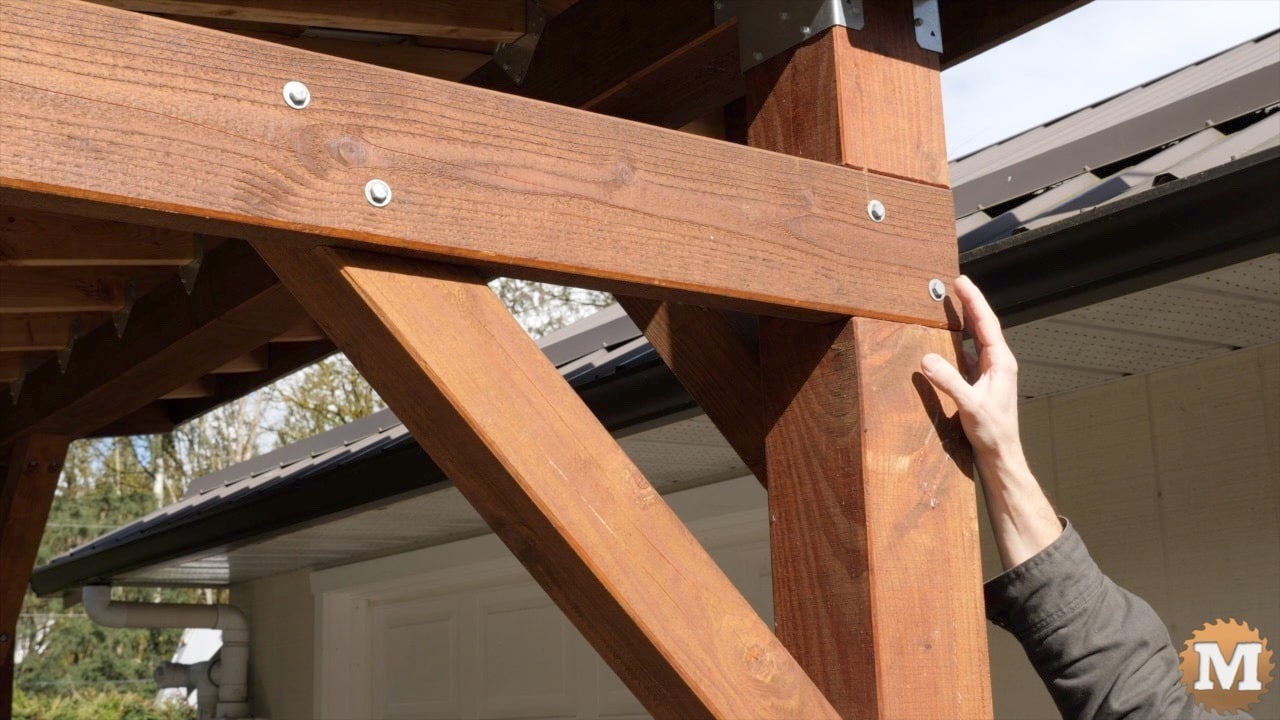
The 2×6 tie beams are secured to the low end beam and front posts with galvanized lag screws. I take the time to mark my lag bolt locations and angles carefully as they become a visual element.
Lean-to Pavilion Corner Braces
I made the corner braces from 4×4 Fir and secured them to the posts and beams with two lag bolts on either end. I drilled and countersunk the holes for the bolts on my drill press at 45 degrees so the bolts would be running in horizontal to the posts and plum to the beams.
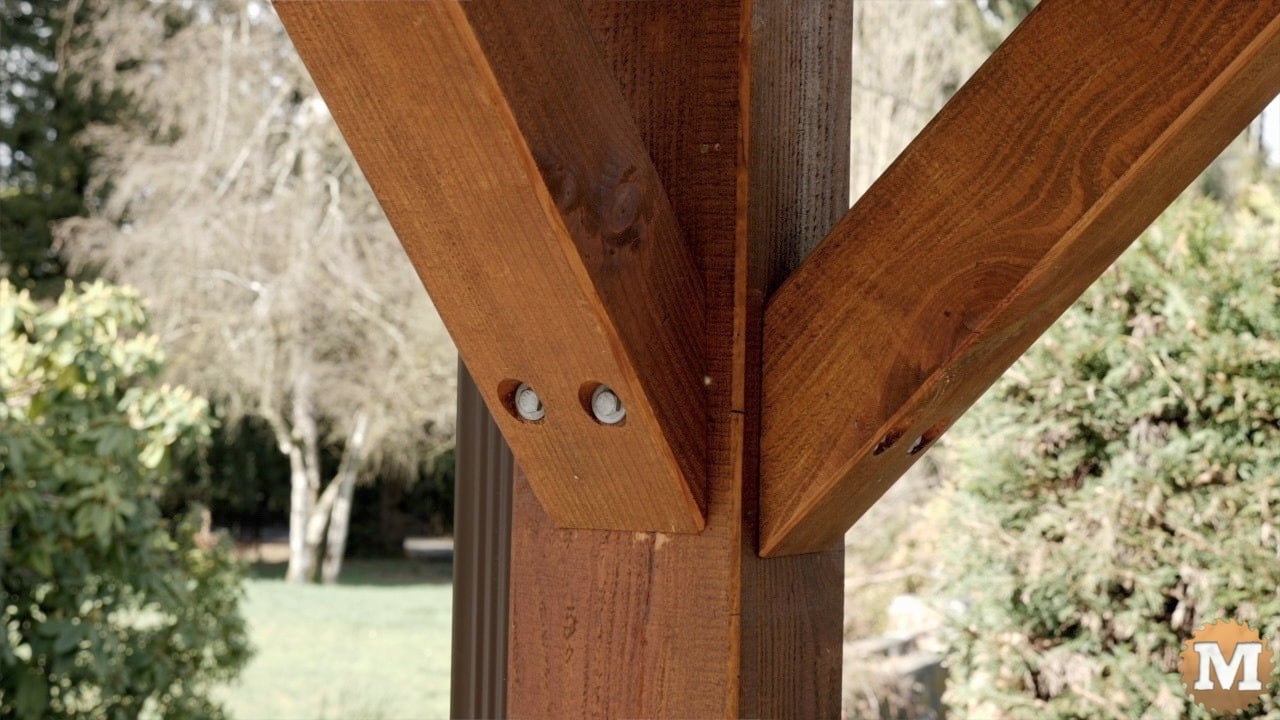
I chamfered all the corners of the posts, beams, and braces with a power plane and angle grinder with a sanding disc. I also stained everything before assembly.
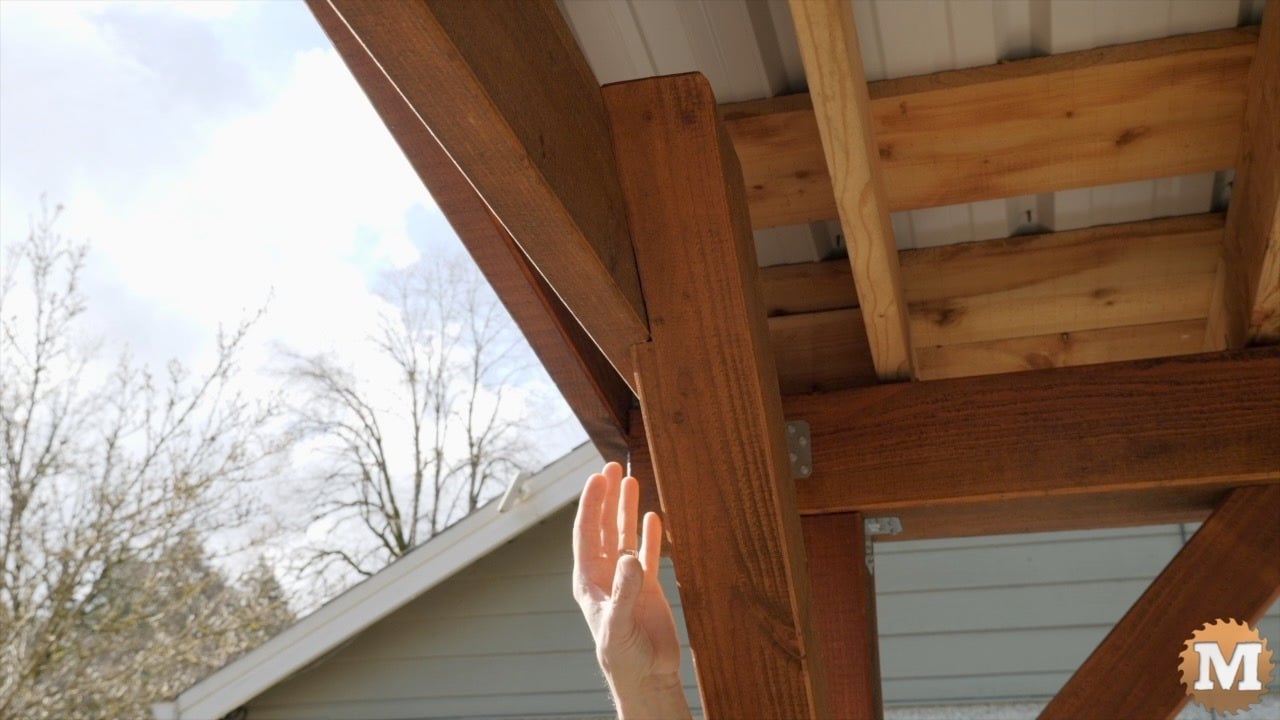
Where the corner braces meet the girts, I removed some material to make a lap joint. This was a bit tricky to do and I found it worked best to do this on my small portable table saw. And finish the cuts with a handsaw.
Make a Brace
All the lumber for this project was milled full dimension, except for rafters I didn’t have and had to buy. Those were nominal dimension so they would fit the rafter ties as I’ll talk about a bit later.
The braces that attach to the tie beam have a lap cut. I thought I would show that part of this build in more detail.
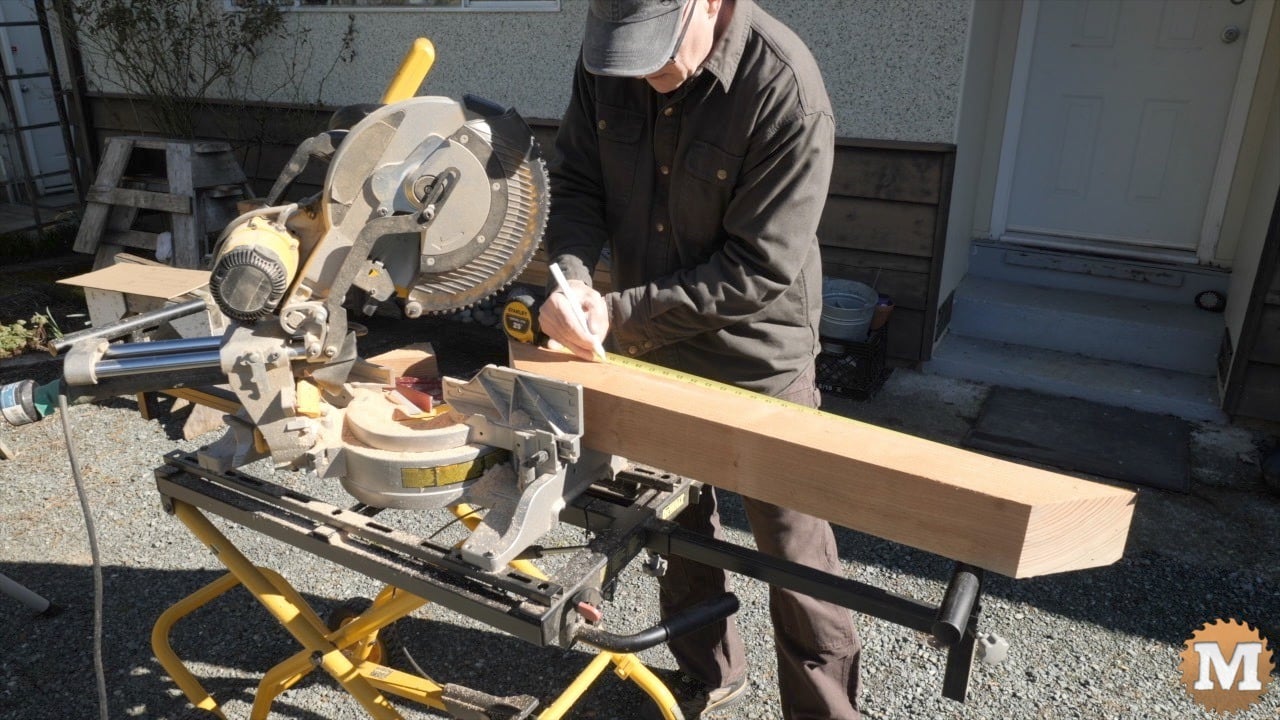
I start with a full dimension 4×4 rough sawn Fir. On my miter saw I’ll measure and make my first 45 degree cut. I’ll mark my finish length and layout that next cut for the opposing angle.
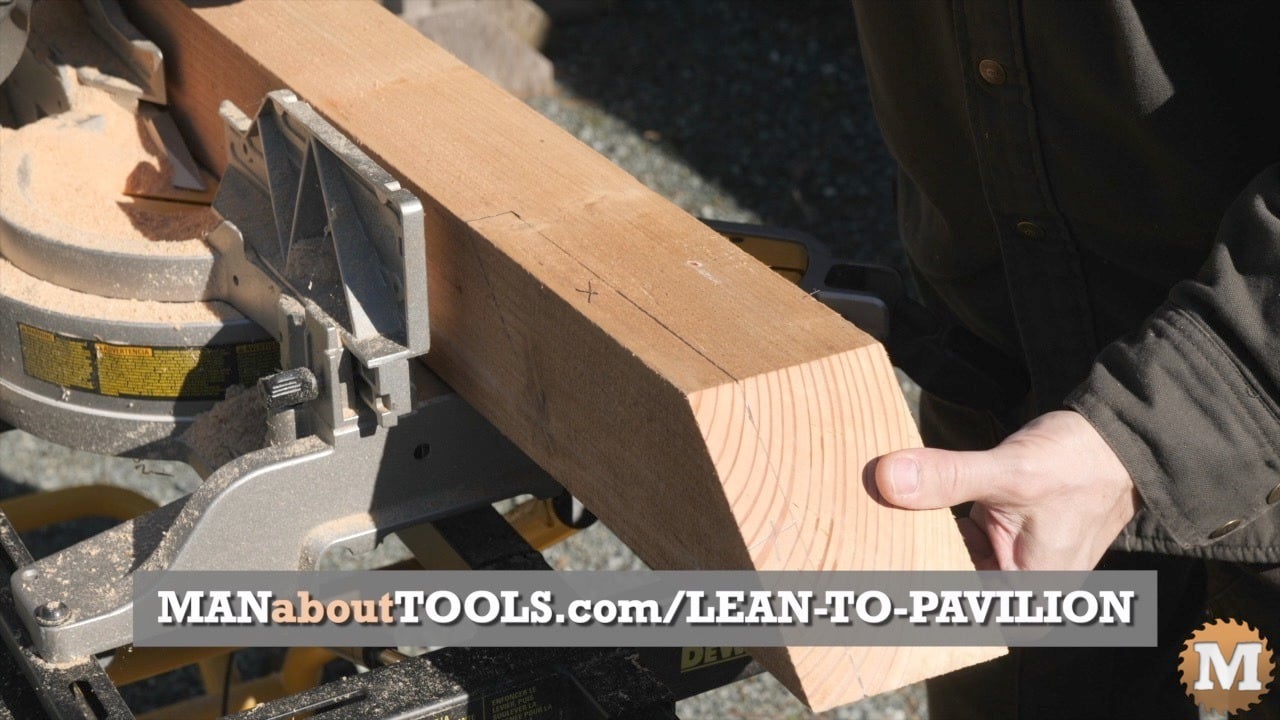
Now I’ll layout the lap cut.
(Disclaimer: As an Amazon Associate I earn from qualifying purchases. Thank you for helping to support my content this way. )
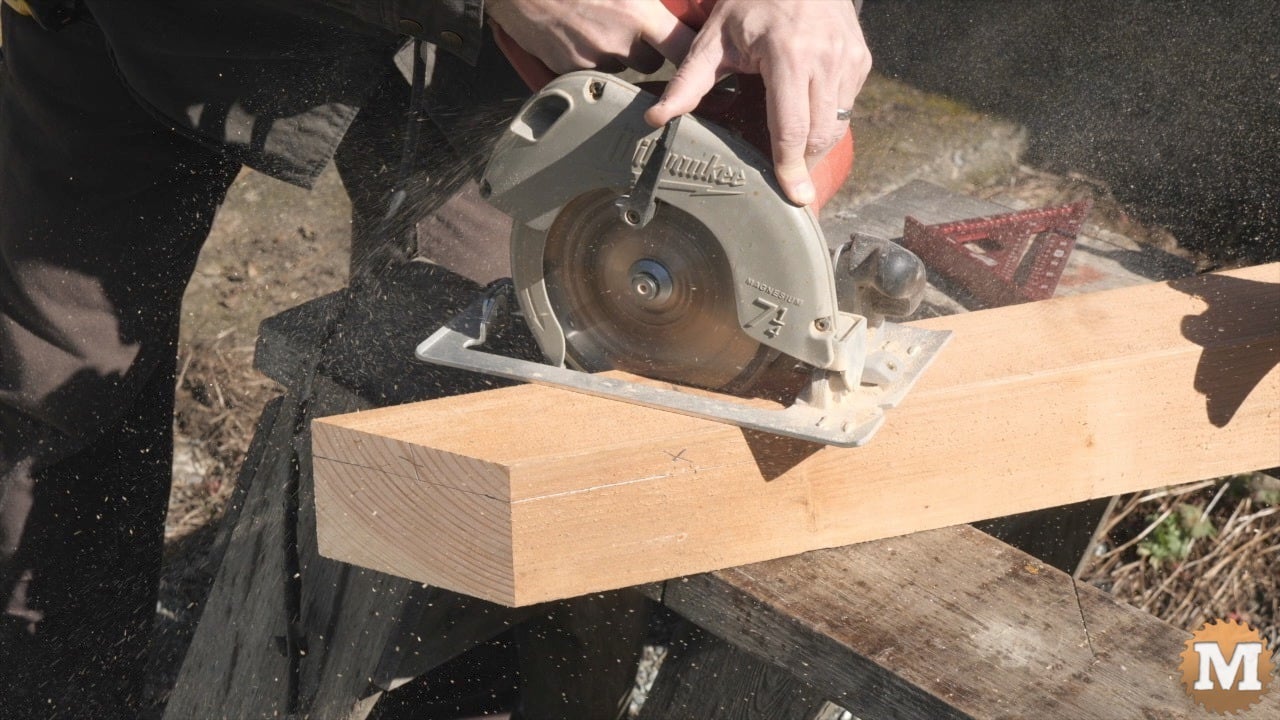
With a circular saw set to 1 inch deep, I’ll make the shoulder cut. This is the 45 degree shoulder that sits up under the tie beam.
On my table saw I need to make two cuts. I’ll set the fence to 1″. I’ll make a partial cut up to a pencil line I marked on the fence. I removed my blade guard for this demonstration.
Then I’ll adjust my fence for the cut on the other side. I’ll make another mark on my fence so I don’t go past the shoulder cut.
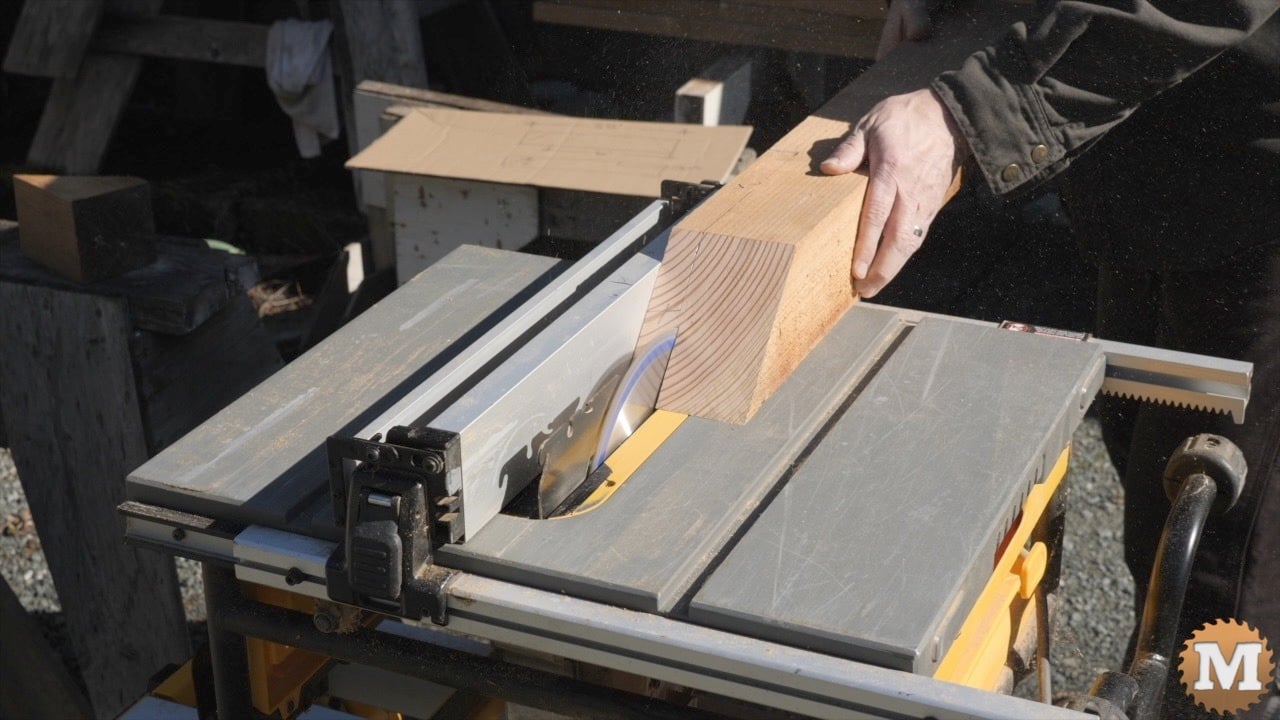
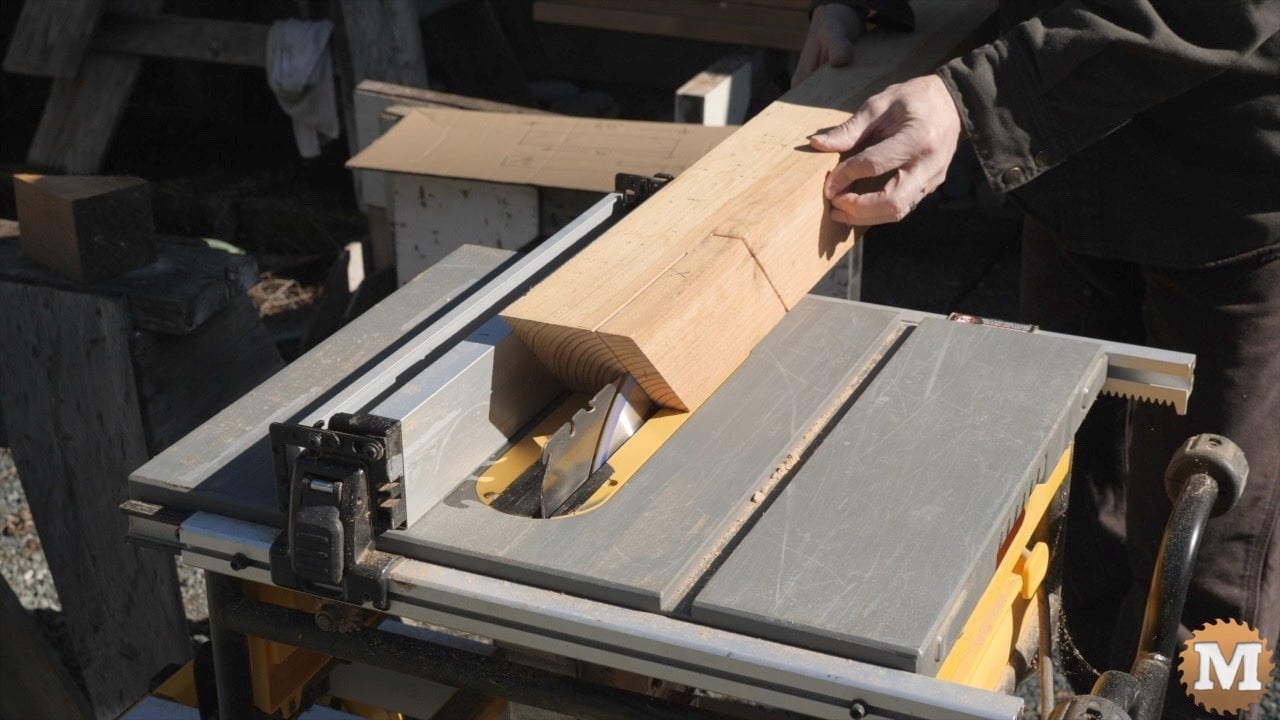
Table saws are dangerous tools. I feel comfortable making these cuts this way. It’s also possible to do this entire cut with a handsaw. Or a bandsaw would be ideal.
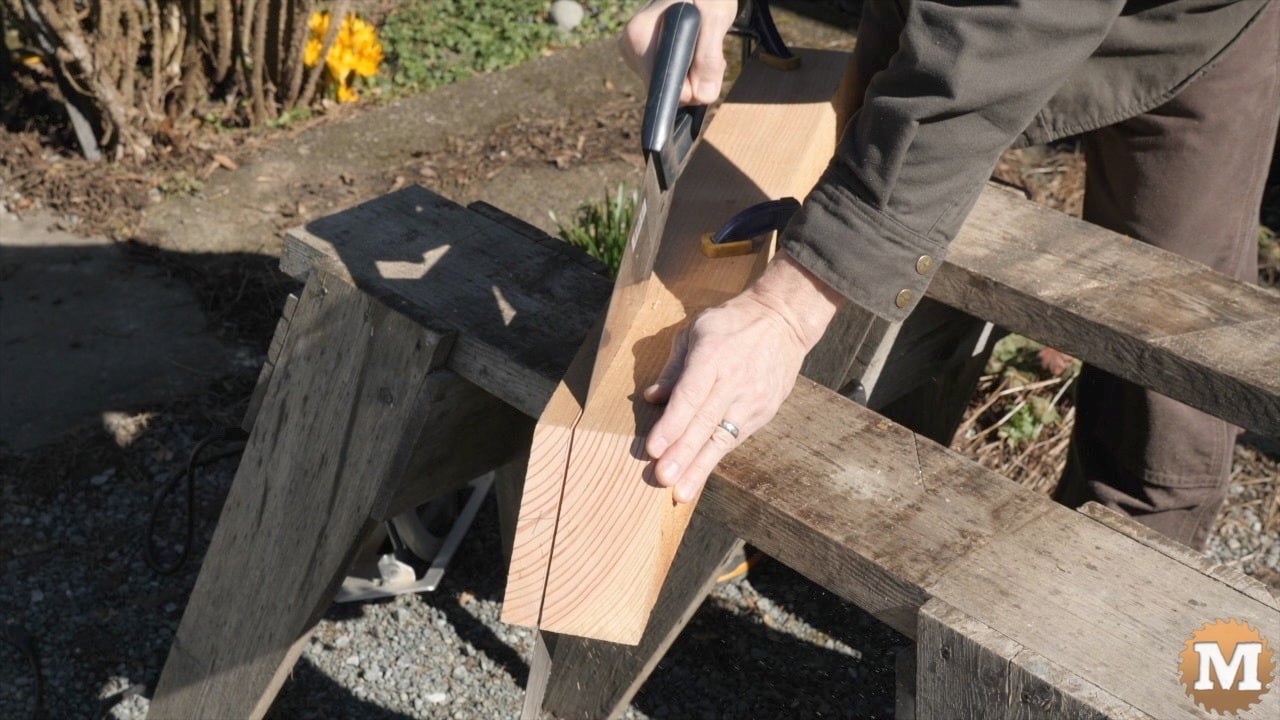
I’ll clamp the brace to a sawhorse and finish this lap cut with a handsaw.

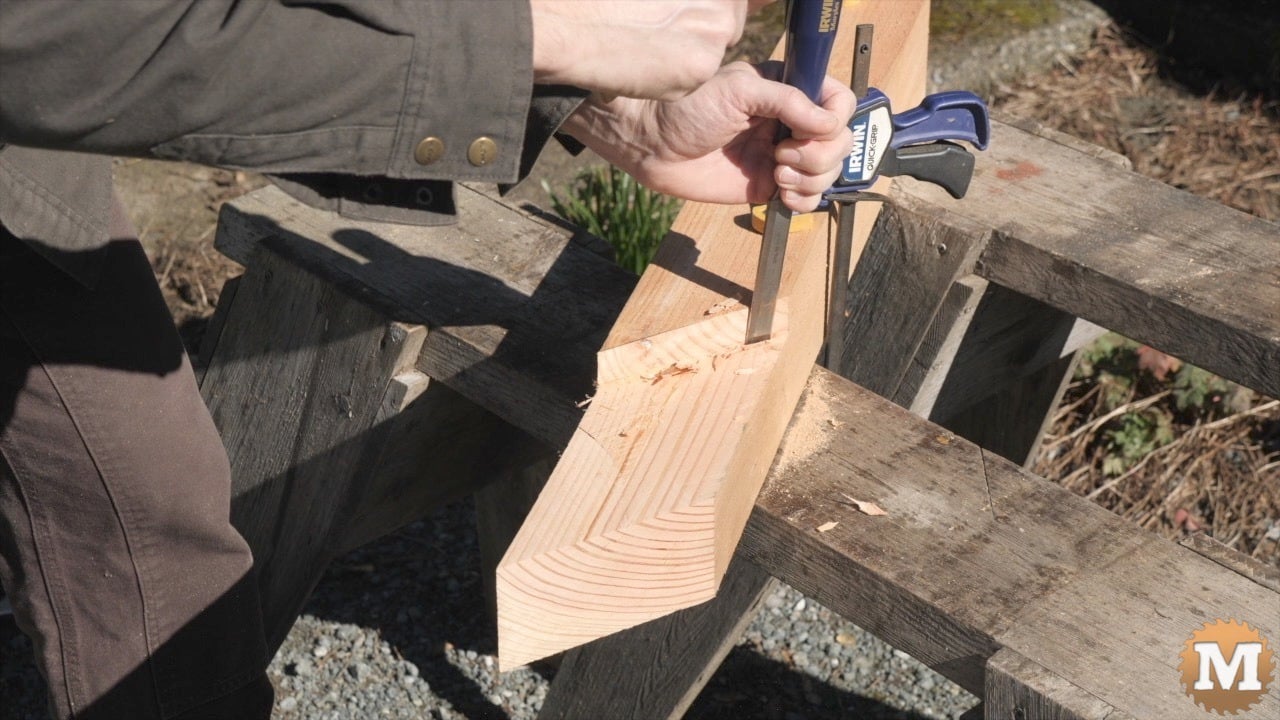
I can clean that up with mallet and chisel.
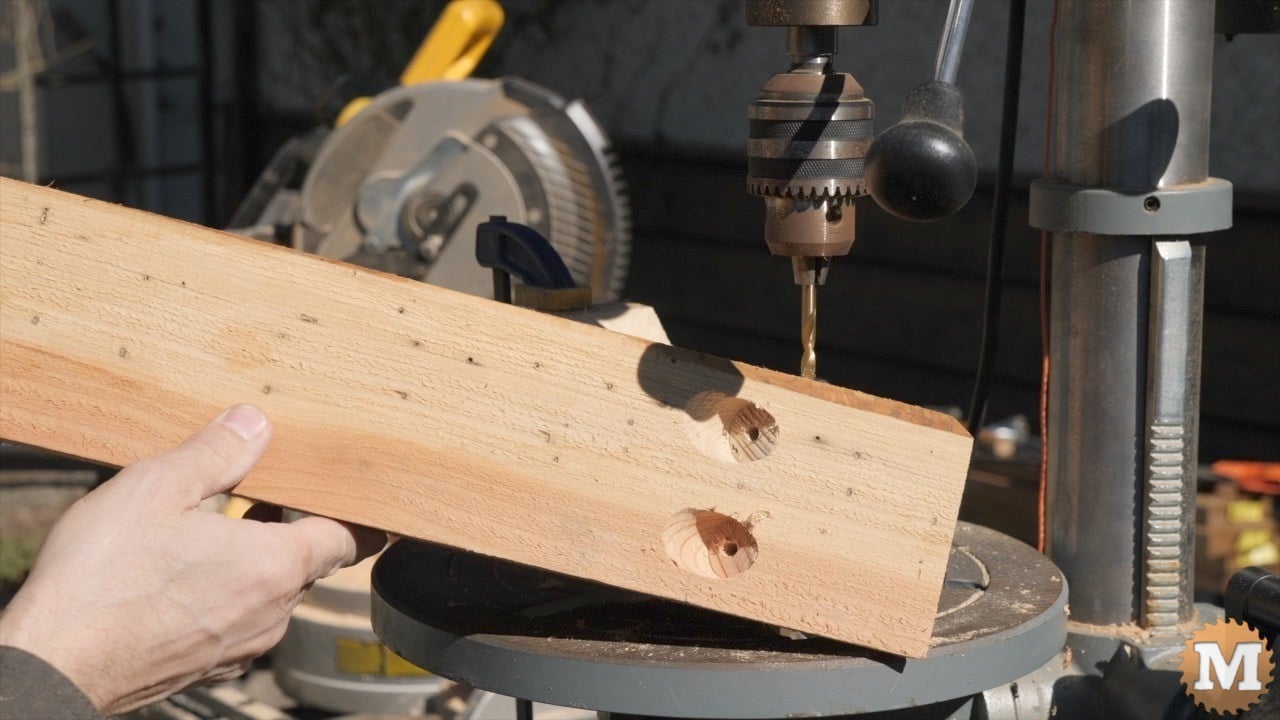
I’ll mark the hole locations for the lag bolts and use a forstner bit on my drill press to make these countersinks. An extra stop clamped to my drill press table would have helped steady the workpiece as it was moving around a bit.
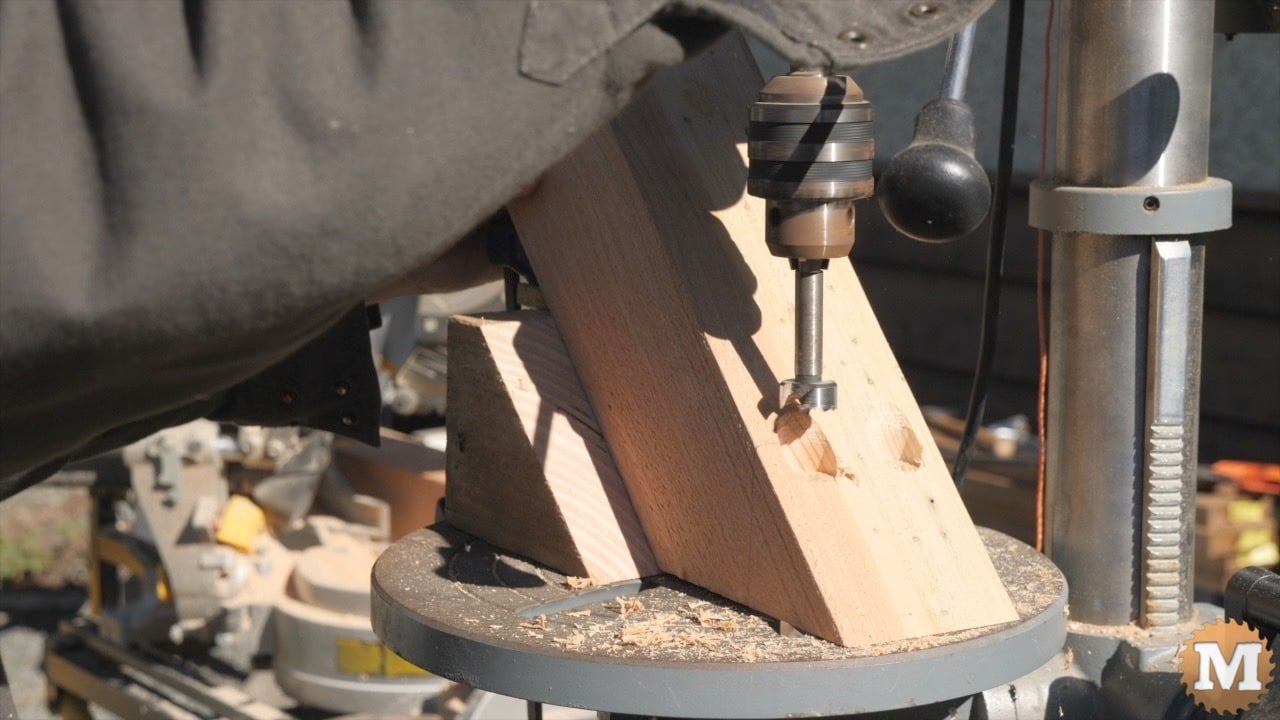
Then I’ll switch to a drill bit. This bit was not long enough to go right through but that’s no problem. I’ll finish it with a hand drill later.
I’ll chamfer the corners with my power plane and sanding disc on an angle grinder.
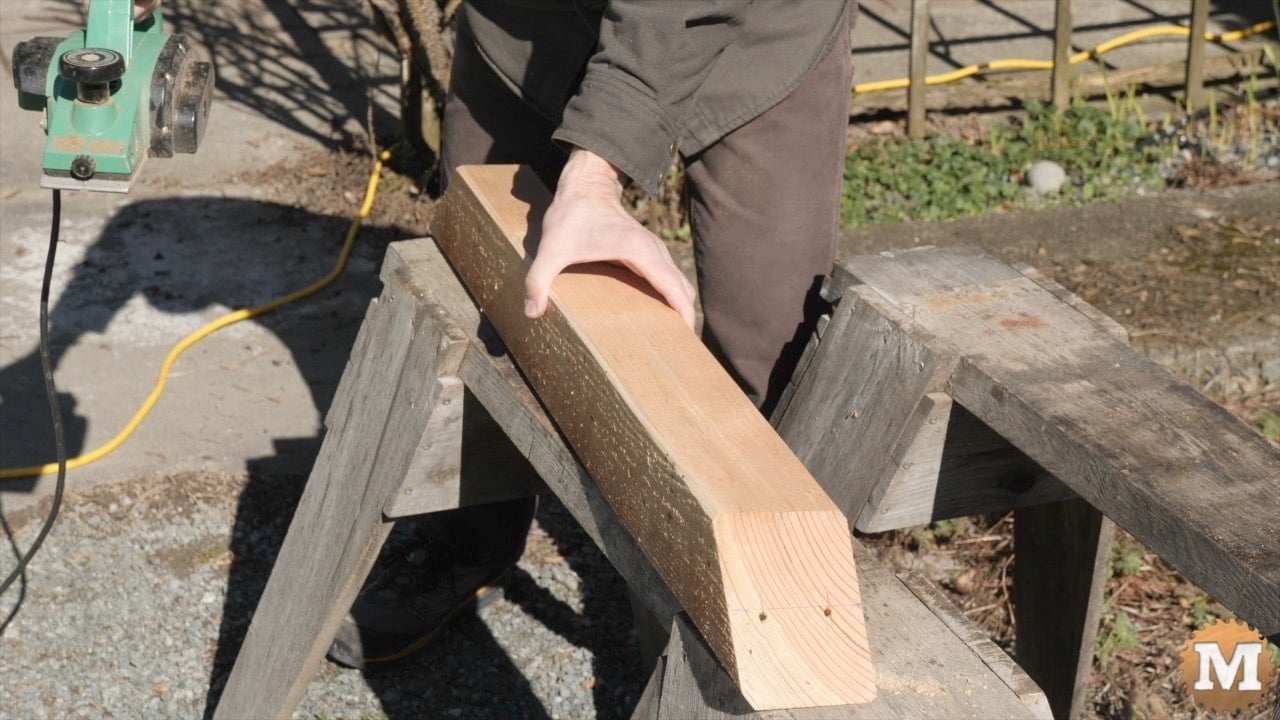
A little sanding and some stain and this brace is ready.


