Cutting Dados for Lean-To
These are posts from my garden pavilion project that had a similar tie beam design. Where the tie beam sits in a dado of the post.
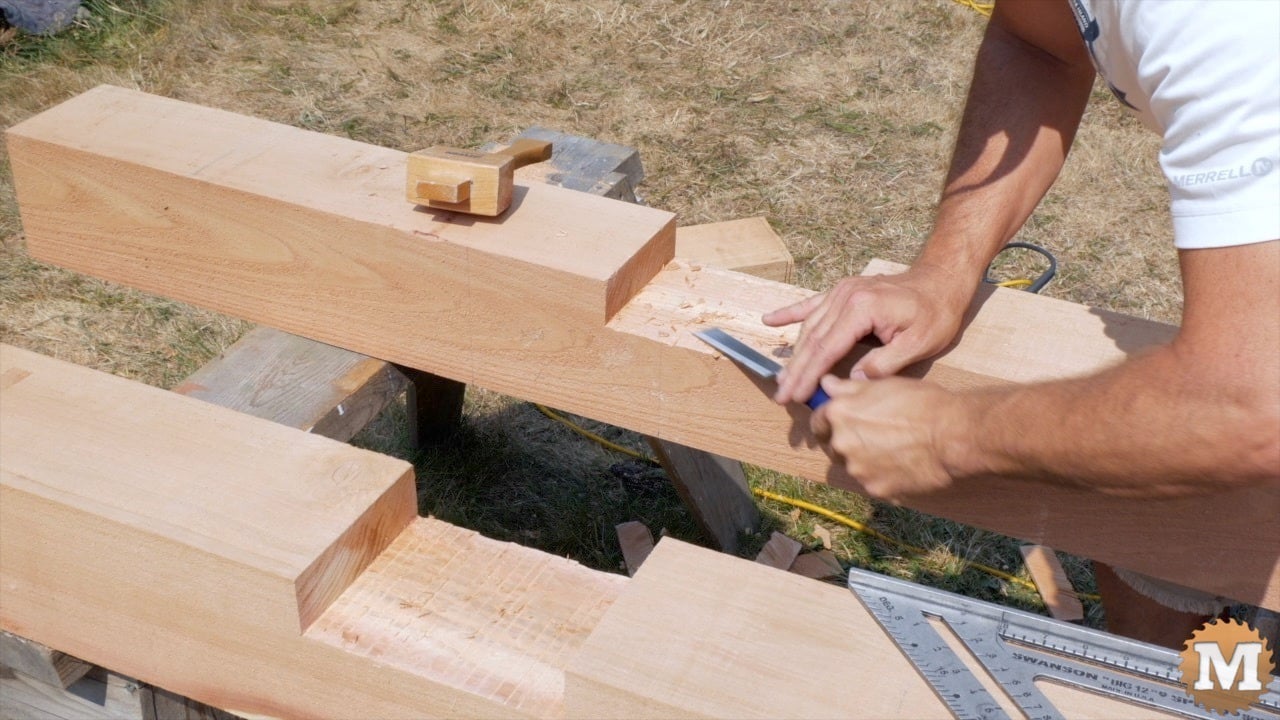
I mark the location of the dado on the posts then with my circular saw set to 2 inches deep, I cut a series of thin parallel slices.
Then I break off those wafters with a mallet. Then clean up the dado with a chisel.
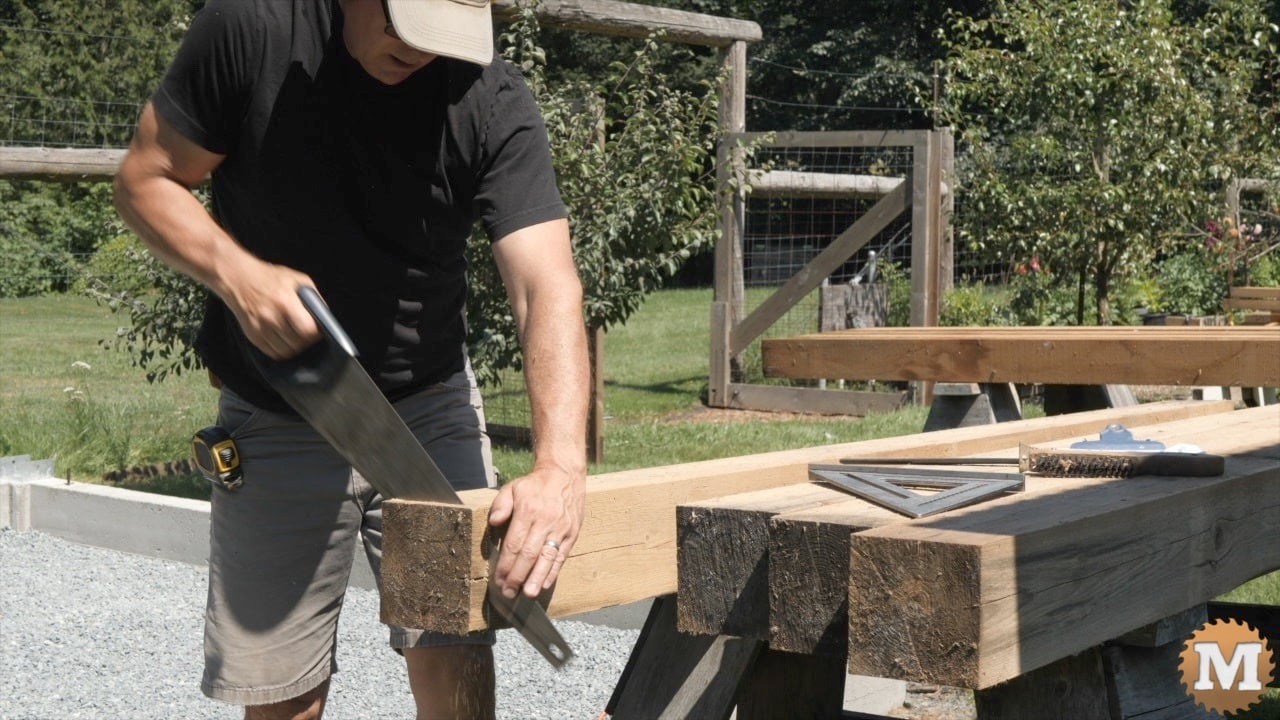
I cut my posts and beams to length by marking a line around the 6×6 with a large square. Then I’ll make 4 cuts with my circular saw. Then finish off the cut with a handsaw.

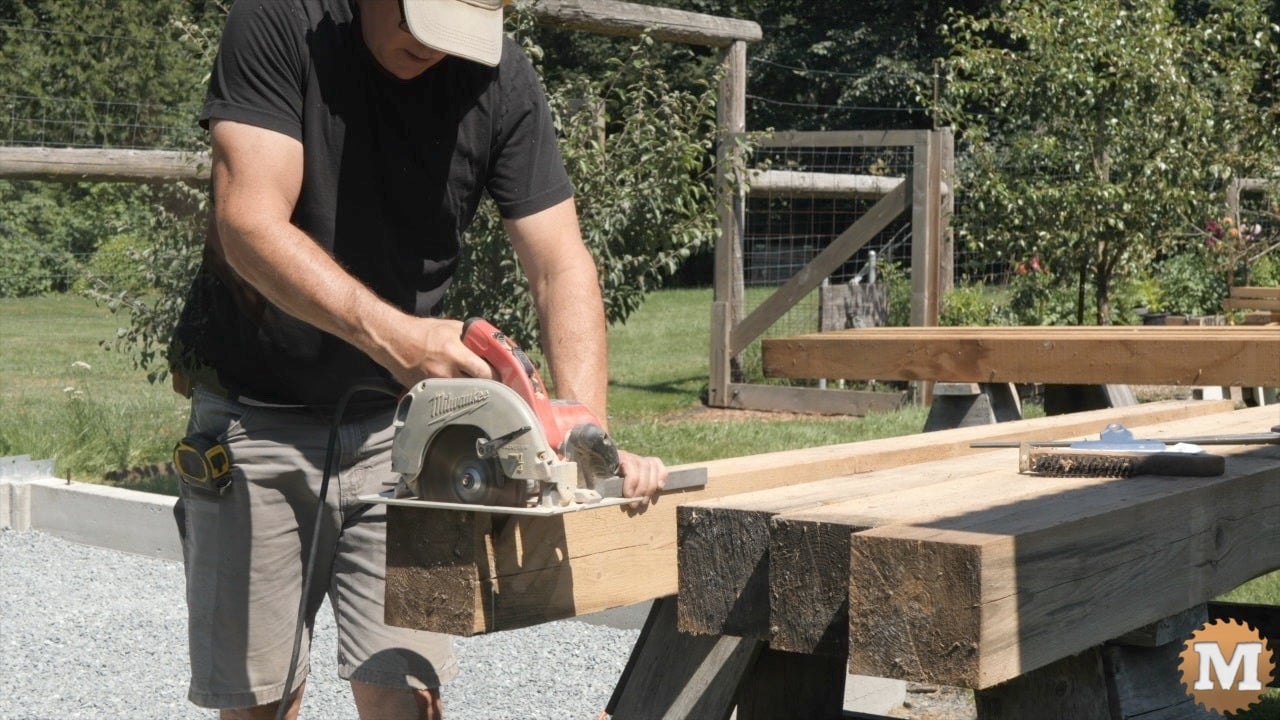
I don’t have a beam saw that can cut deeper but, this works fine. These are 6×6 posts for my greenhouse project I built a couple of years back.
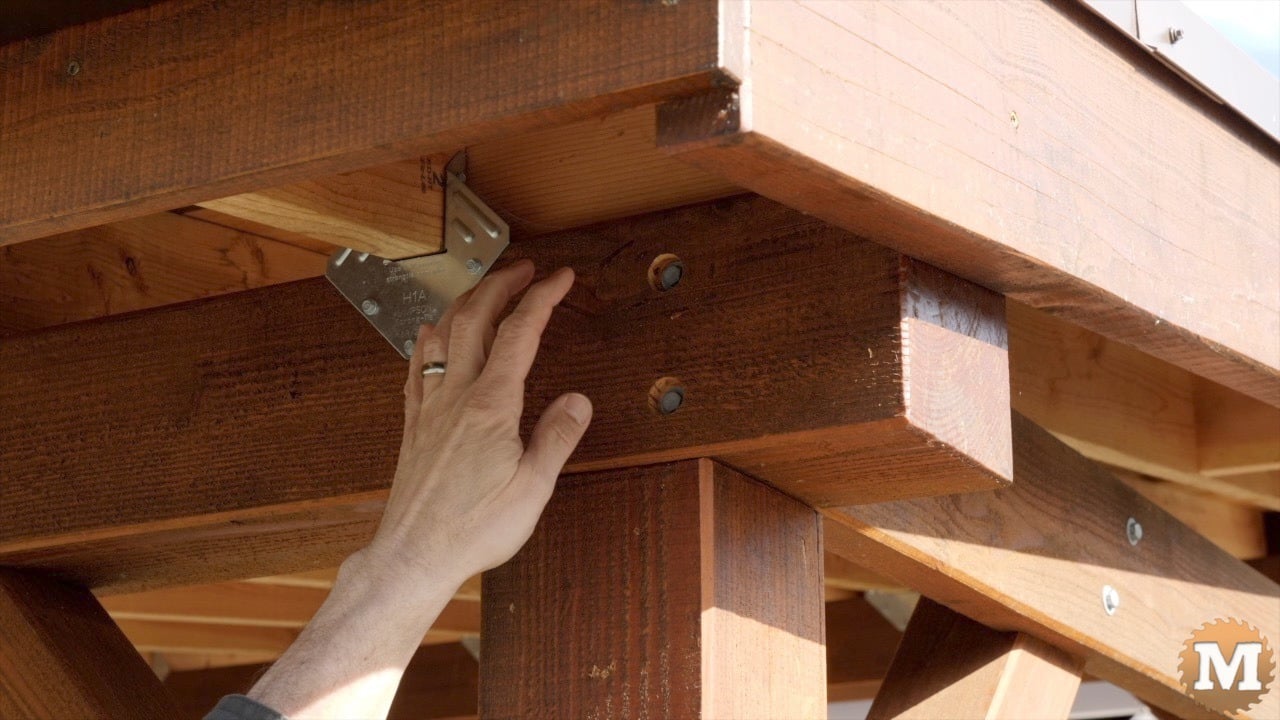
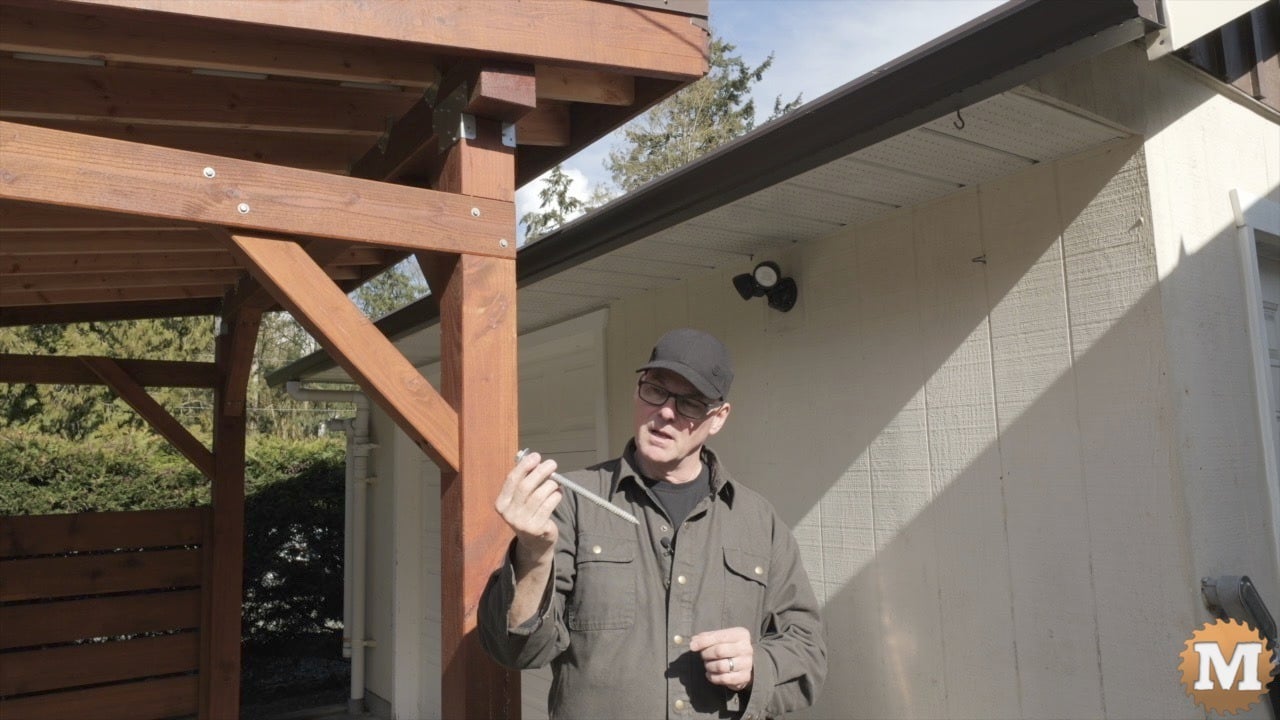
For the butt end of the tie beam I have smaller and longer lag bolts that are run in through the low 6×6 beam into the end of the tie beam. This helps to pull this beam into the dado. It’s not a great way to secure this, with a lag bolt going into end grain so, some angle brackets help here.
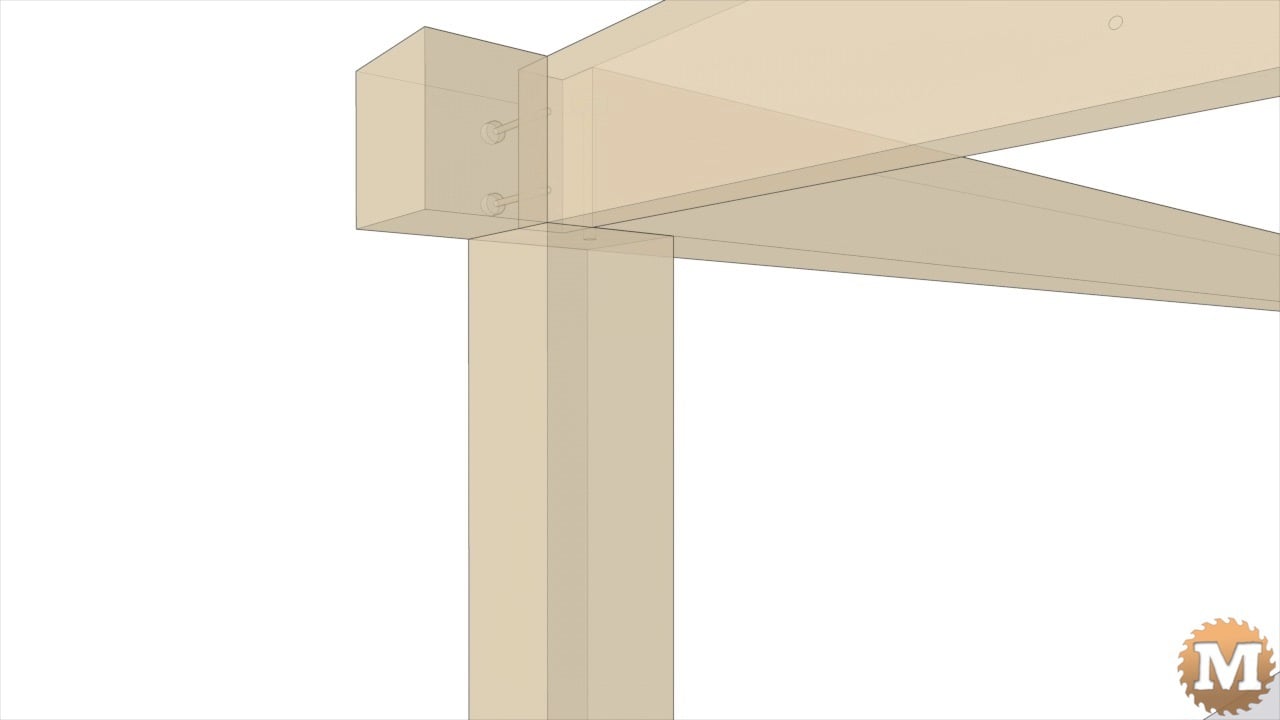
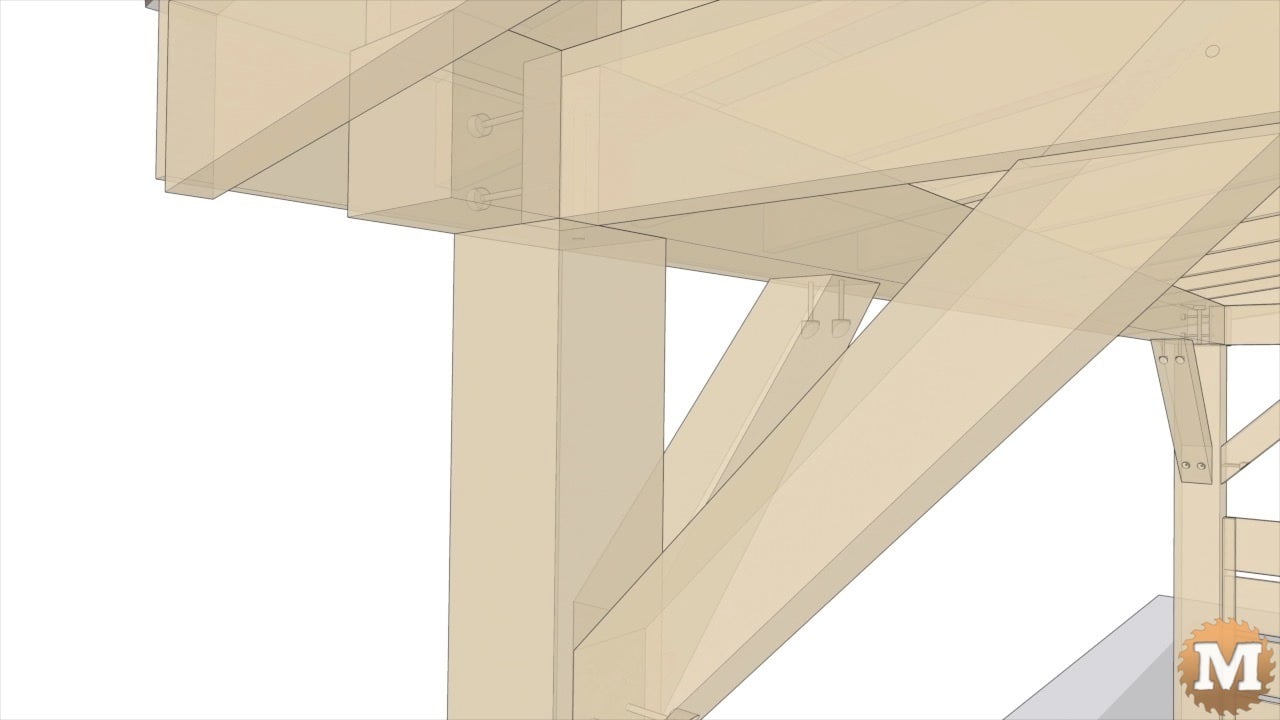
X-ray
Let’s look at an x-ray view. Here you can see the tie beam sliding in the dado cut in the lower 6×6 beam. This type of animation is pretty cool.
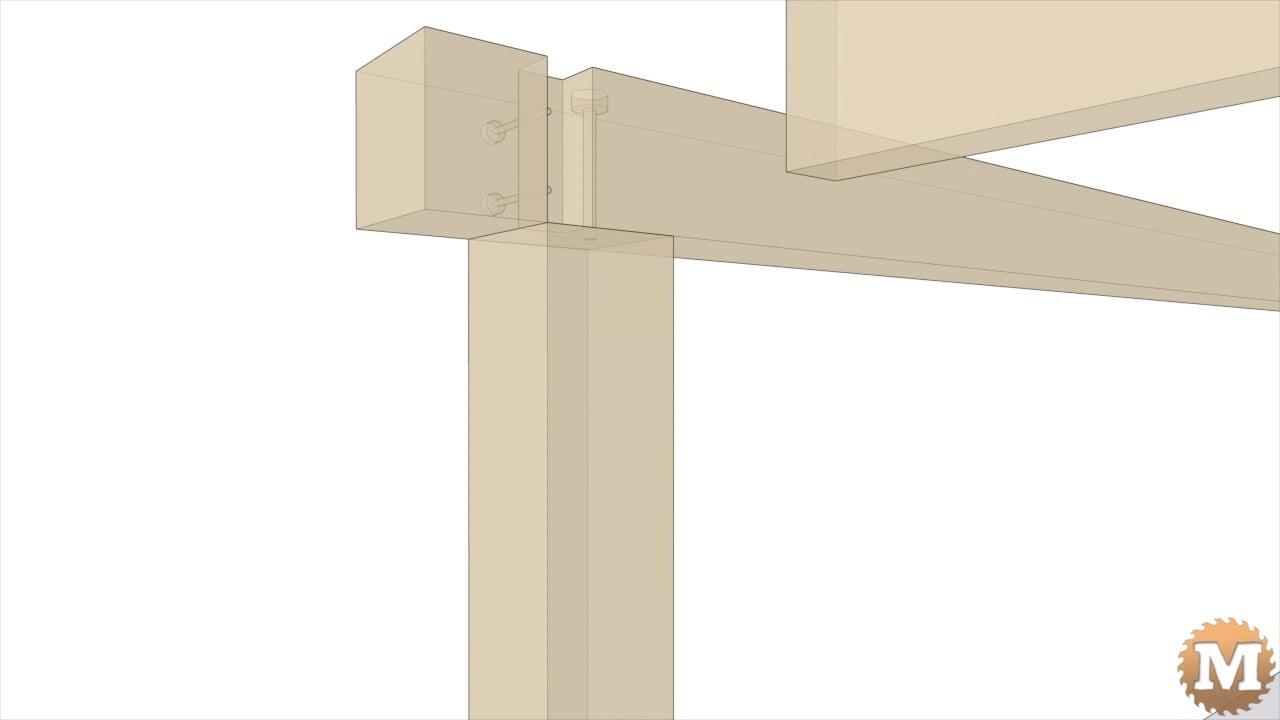
Big Lag Bolt
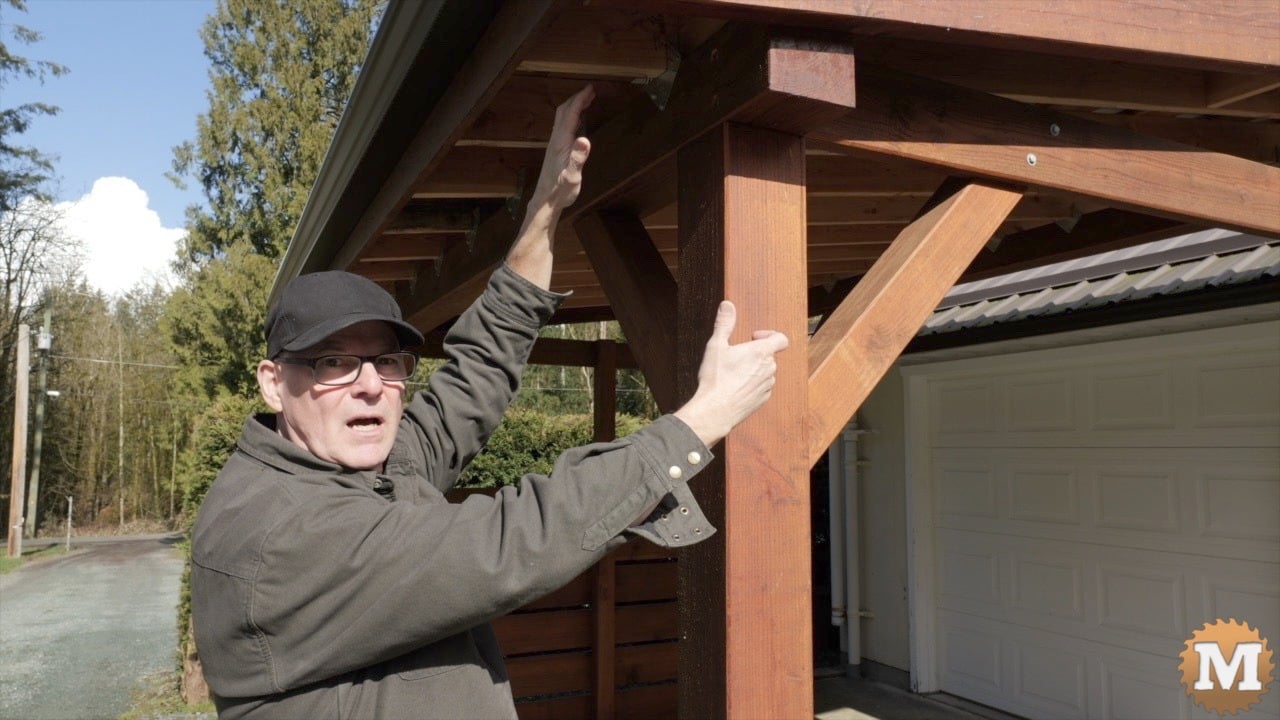
I drilled and ran in a large lag bolt through the top of the beam and into each 6×6 post.
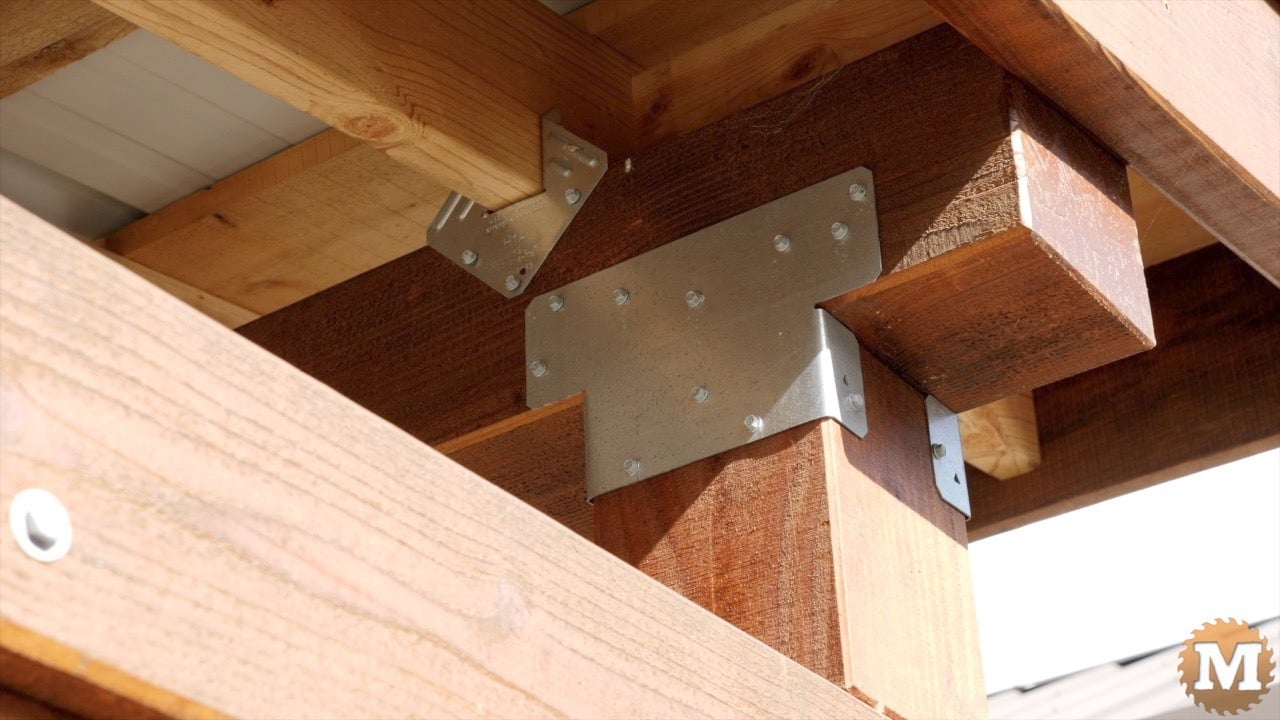
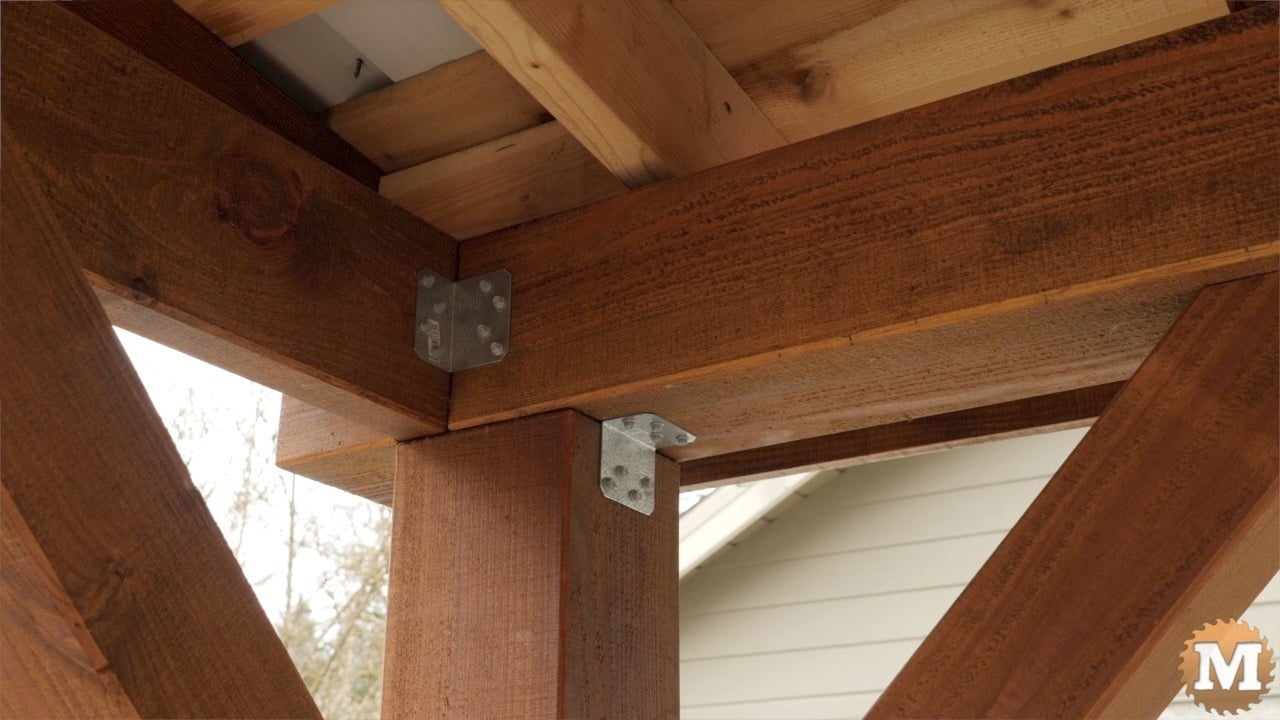
On the higher beam I used some additional hardware to secure it to the tops of the posts.
(Disclaimer: As an Amazon Associate I earn from qualifying purchases. Thank you for helping to support my content this way. )
In my greenhouse project (and others) I have secured beams to posts with a long lag bolt. I countersink space for the head and washer, then with the beam in place, I drill into the top of the post.
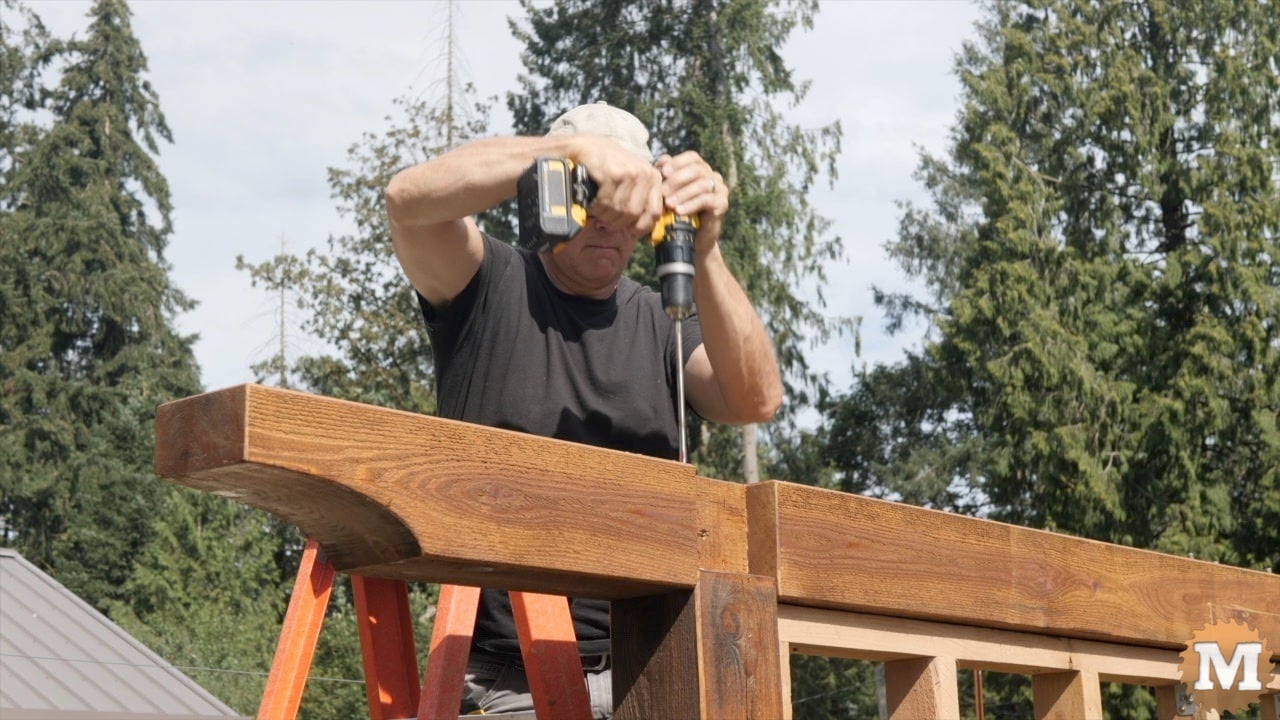
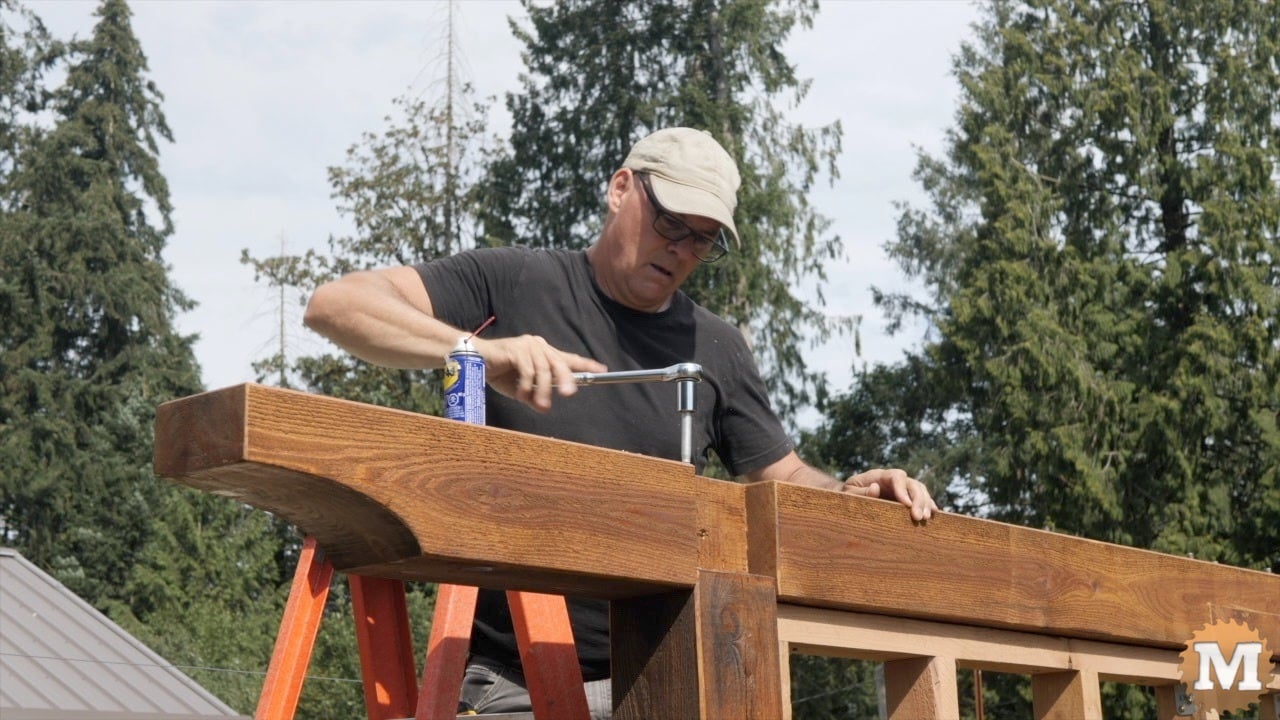
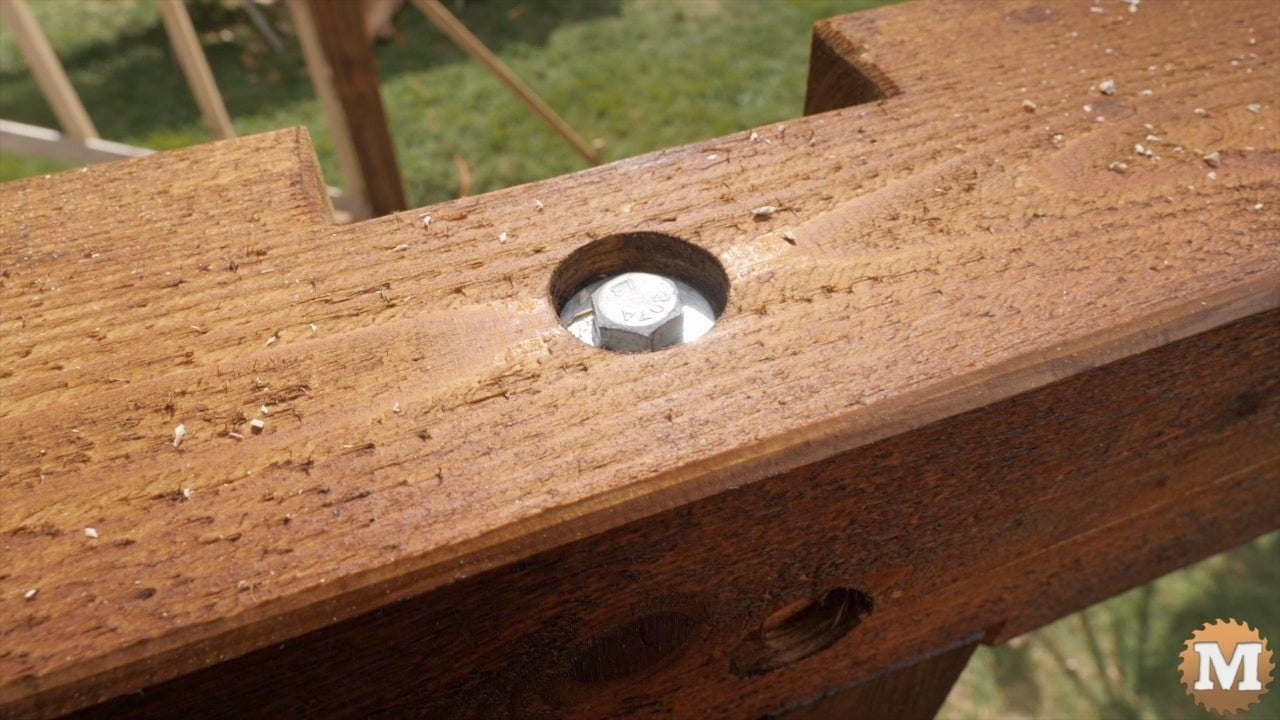
Then I’ll run in the lag bolt by hand with a socket wrench or impact driver. Some penetrating oil sprayed on the bolt makes this go a lot easier.
Extra Hardware
I built this pavilion myself so I used some additional hardware and brackets to help me as I put the beams into place. I screwed on these brackets ahead of time so I could quickly secure the beam once I lifted it into place.
These 6×6 Douglas Fir beams are heavy and I could only safely lift one end at time to get them up into place. I made a ladder (of sorts) by temporarily adding 2x4s across the posts. Then I could alternate a lift end by end up to the next 2×4 getting them higher and higher. Then the final lift onto the top of the posts was easy.
I also screwed some stops to the top of the posts so my lift would not overshoot.

