Attach the New Stops to the One-Handed Cutting Board
With the cutting board clamped to the table I can drill pilot holes and secure the stop with stainless steel screws.
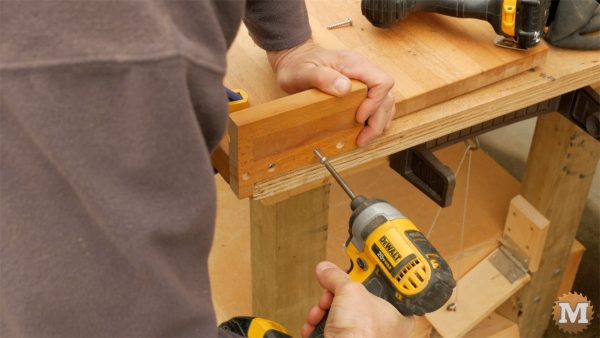
This old cutting board has a warp to it and doesn’t sit flat anymore. My neighbour is okay with that as he will glue on some foam rubber patches later so it won’t rock on the counter.
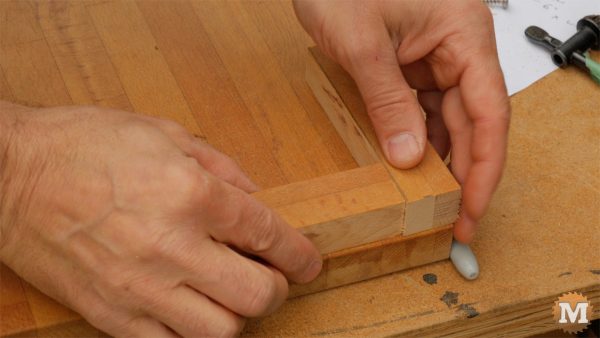
This board is laminated with one inch strips so I staggered the pilot holes so each screw goes into the center of a strip.
End grain attachments like this are not as strong as cross grain but for this modification it will hold well enough.
This board has years of oil soaked into it. So adding glue won’t help without first fully stripping it down and sanding it. And my neighbour was happy to just keep it simple.
Now I’ll cut to length and layout the other stops.
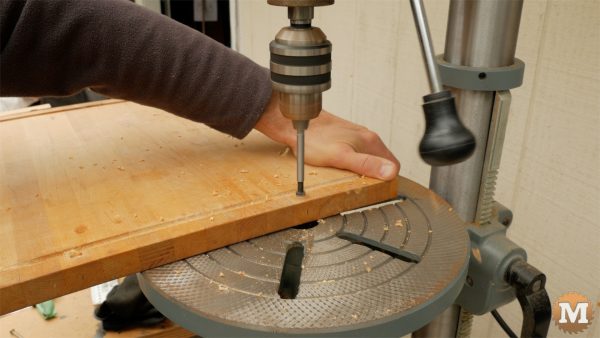
I’ll mark the hole locations on the underside of the cutting board and countersink and drill each one.
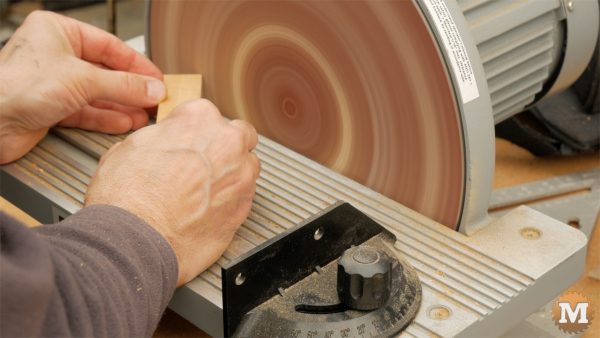
And chamfer the corners on these strips on my disc sander.
I clamp a strip to the board, drill the pilot holes with an eighth inch bit. I put some red tape on the bit as a depth gauge so I don’t drill these holes clean through the strips.
(Disclaimer: As an Amazon Associate I earn from qualifying purchases. Thank you for helping to support my content this way. )
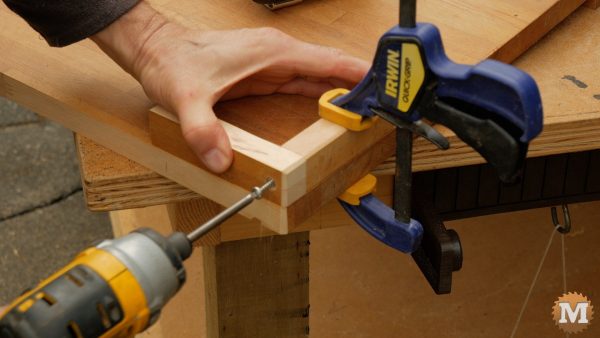
I’ll butt the corner against the first piece, clamp it, then counter-bore, drill, and run a screw in. Then pre-drill and run screws up from the bottom. And repeat on the other corner.
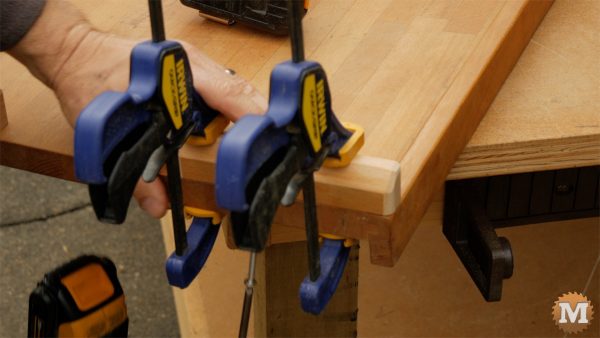
Lastly, I’ll clamp the left side stop, drill, and screw it into place as well.
Finishing Up
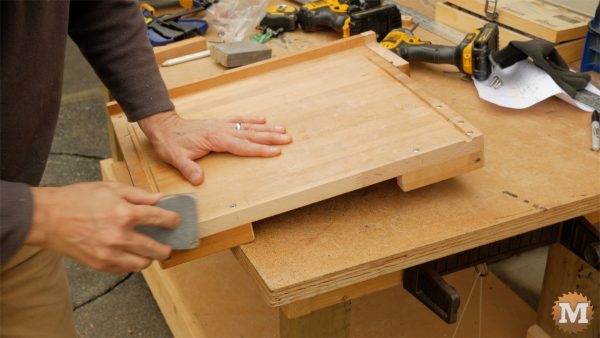
A little light going over with a sanding block to round off any sharp corners or rough spots.
Now I can take the board over to my neighbour Pat where he will glue some foam to the underside with hot melt.
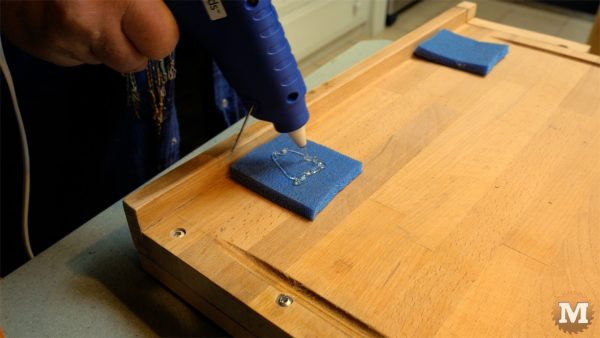
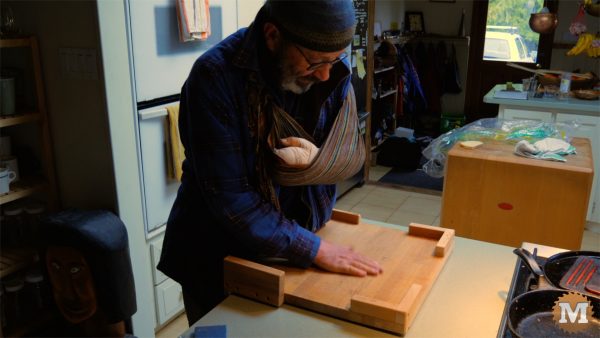
So now it won’t slide around as much and Pat can hold it secure with his hip.
New One-Handed Cutting Board in Action
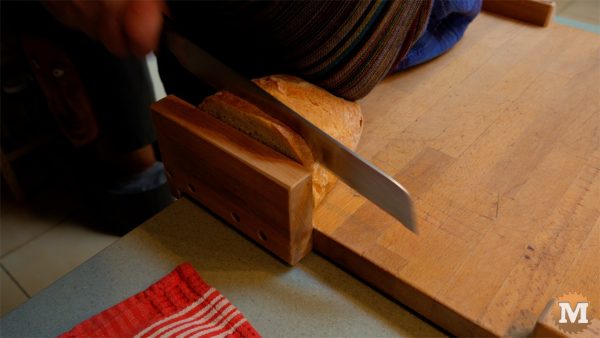
And press the bread against the stop, holding it with his left elbow.

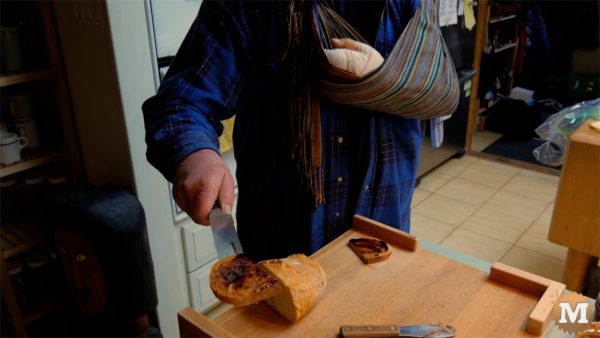
This is a very simple project, there’s nothing complicated about it. But, for me, this kind of work is very rewarding. It just feels great to be able help my neighbour and friend, and make his recovery a little bit easier.
What is best for a cutting board?
A wooden cutting board is best for general use. It is durable, provides a good cutting surface, and is gentle on knife blades.
What is the healthiest cutting board material?
Bamboo.
What is the most sanitary type of cutting board?
The most sanitary type of cutting board is a plastic cutting board.
What is the best thickness for a wood cutting board?
The best thickness for a wood cutting board is typically around 1 to 1.5 inches.

