Roof Strapping
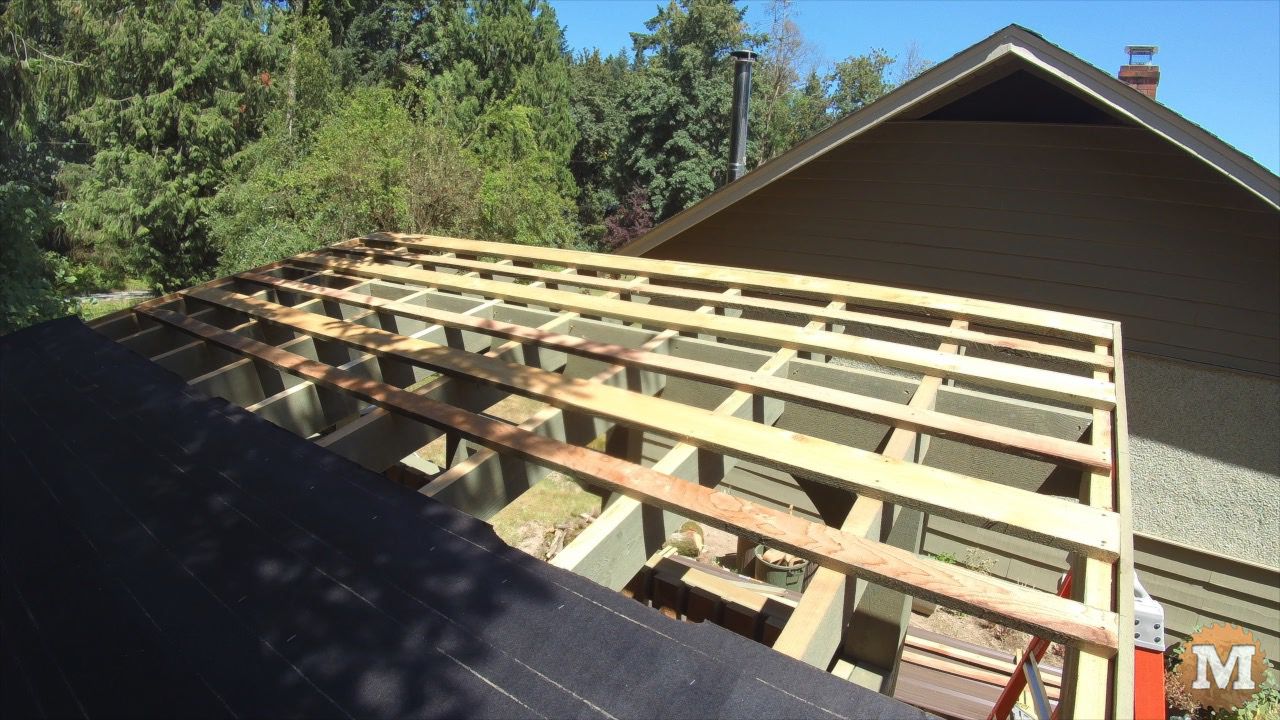
Strapping made of 1×6 or 1×4’s are laid over the top of the rafters and screwed in place. They will be the support and attachment points for the metal roof screws later. With this step I did add the walls to the wood shed plans but had to make some modifications based on the cedar stock I had.
Walls
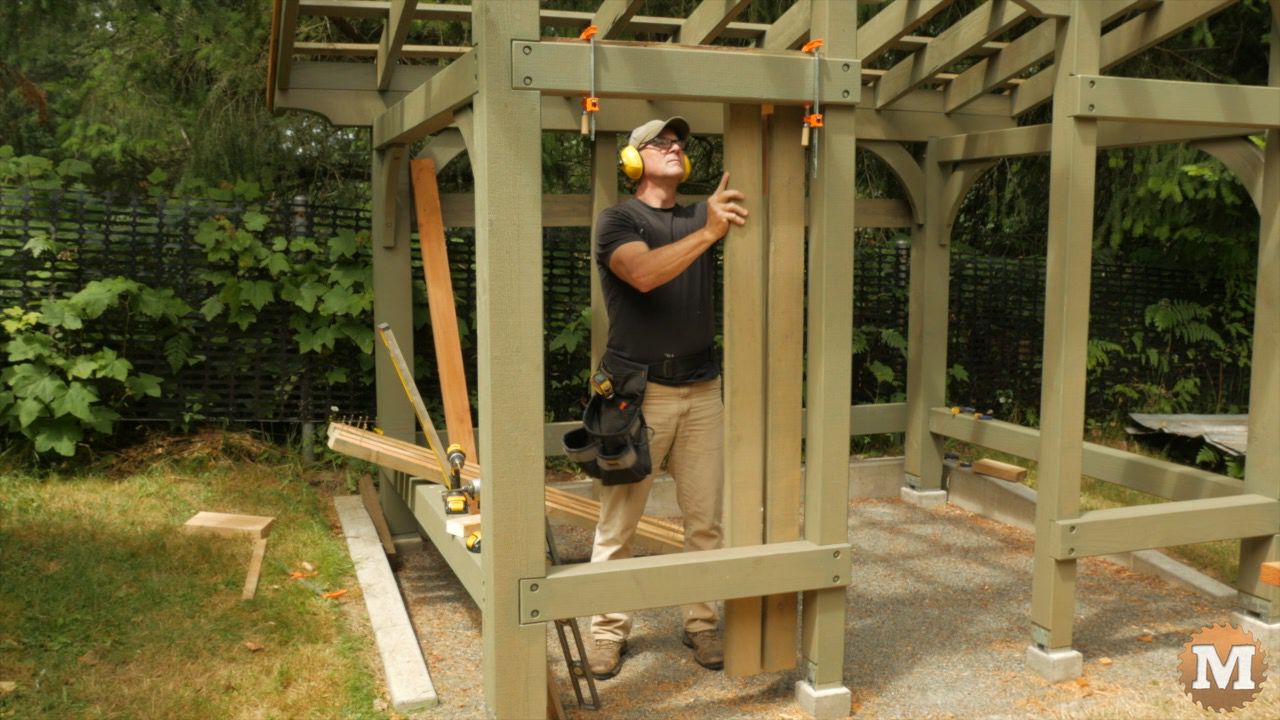
While I’m waiting for the metal roof panel order to arrive, I can complete the carpentry by adding the walls. They are made of two by fours spaced across the cross members and girts. They are cut to length, stained, and screwed in place.
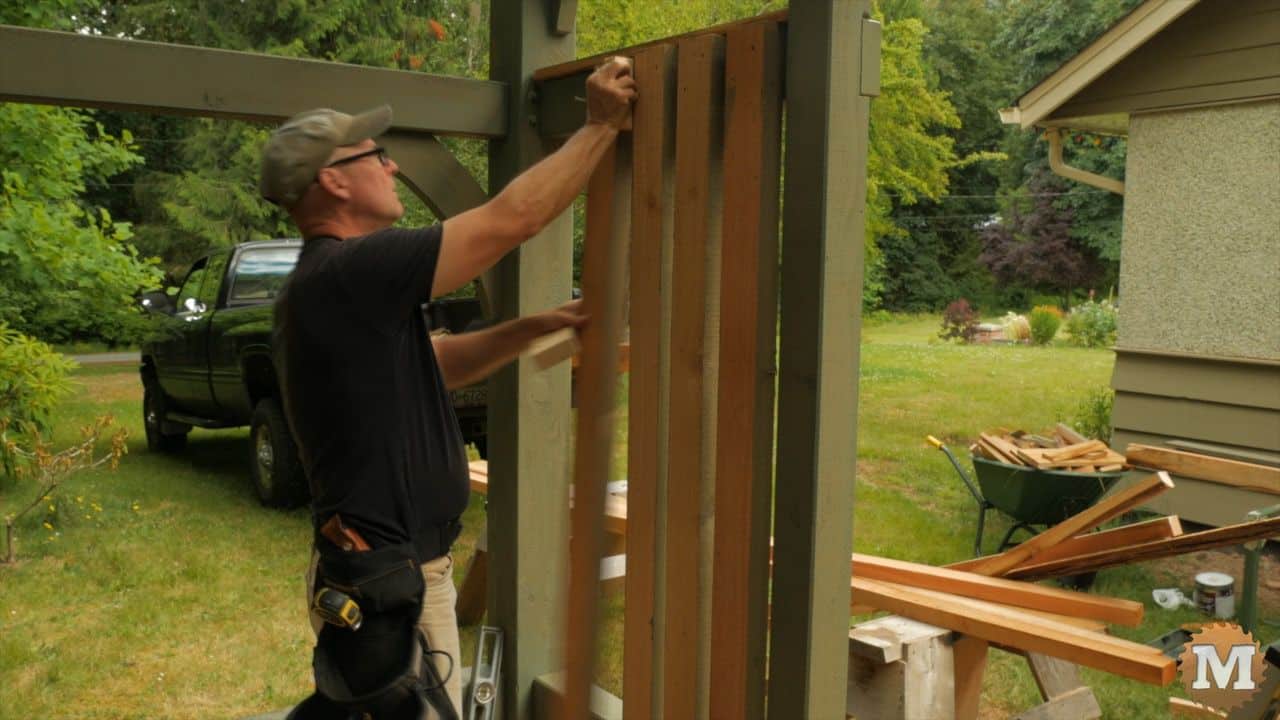
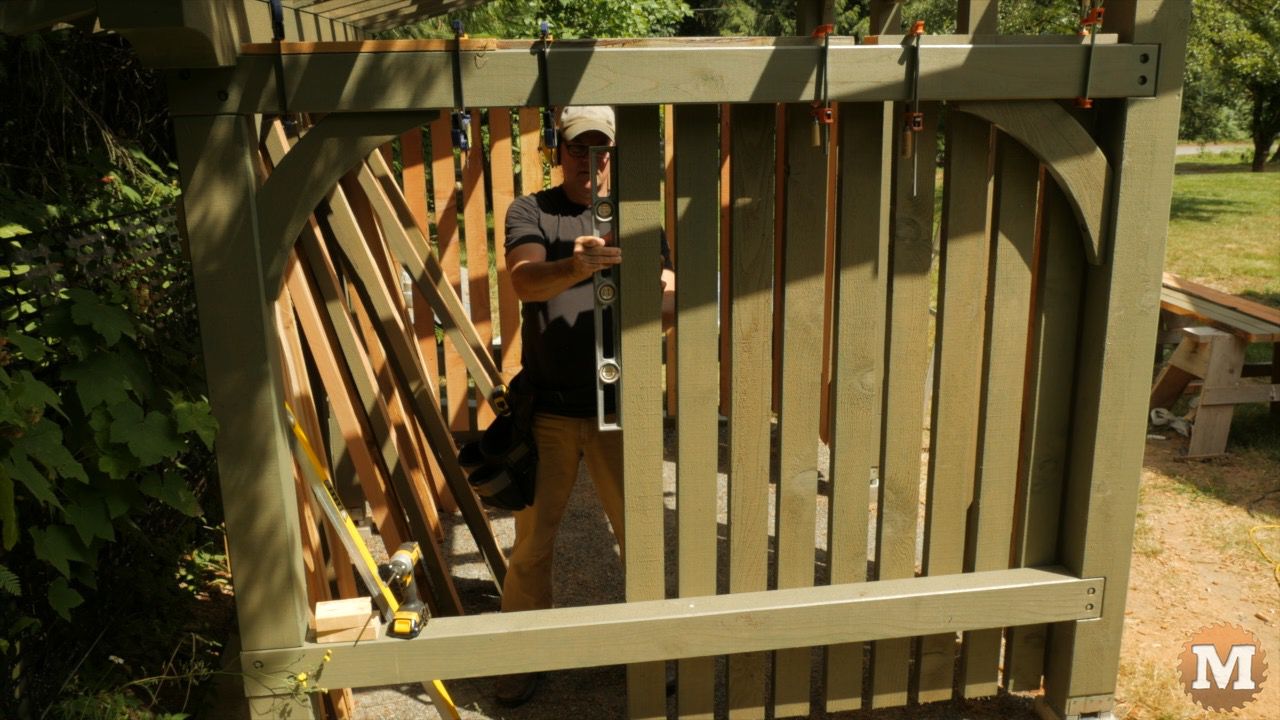
I use stop blocks clamped to the top of the cross member to make placement and alignment easier. I use spacing blocks between the slats for a consistent gap. I used two by fours for strength and also because a had a lot of them.
Roof Felt
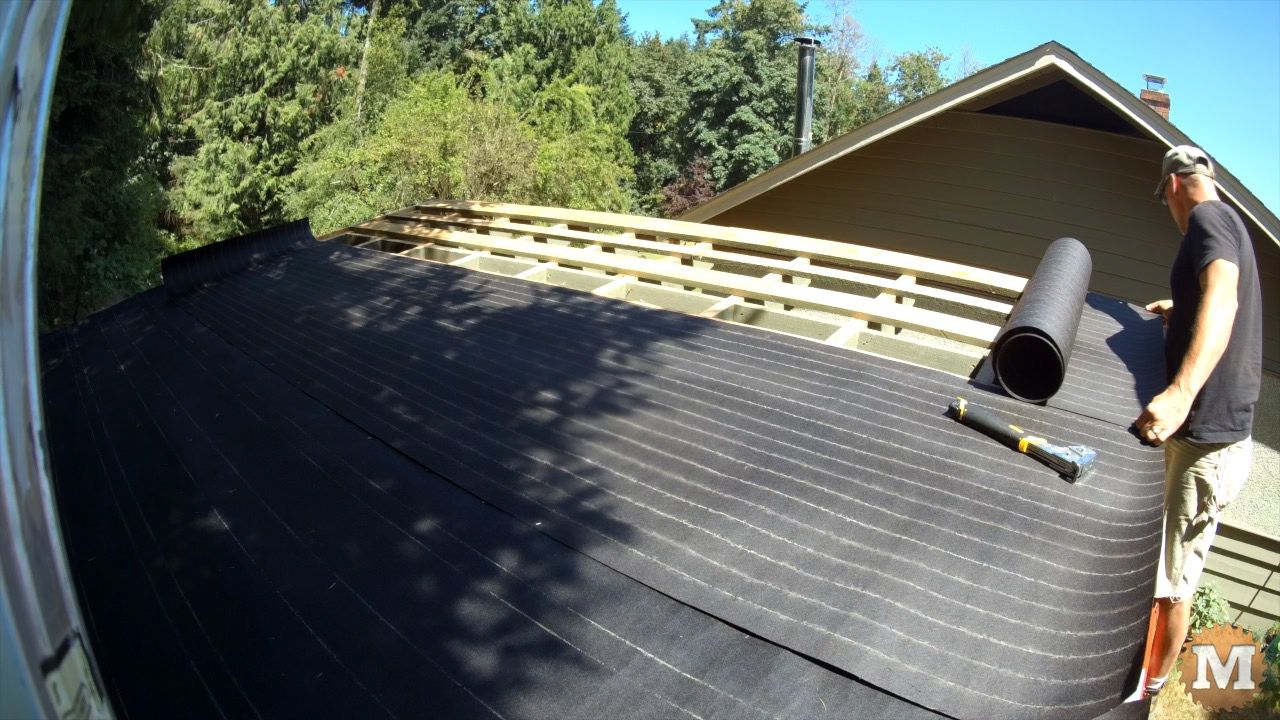
When the roofing arrived I rolled out tar paper over the strapping. Thee roll is three feet wide. I overlapped it and attached it with staples.
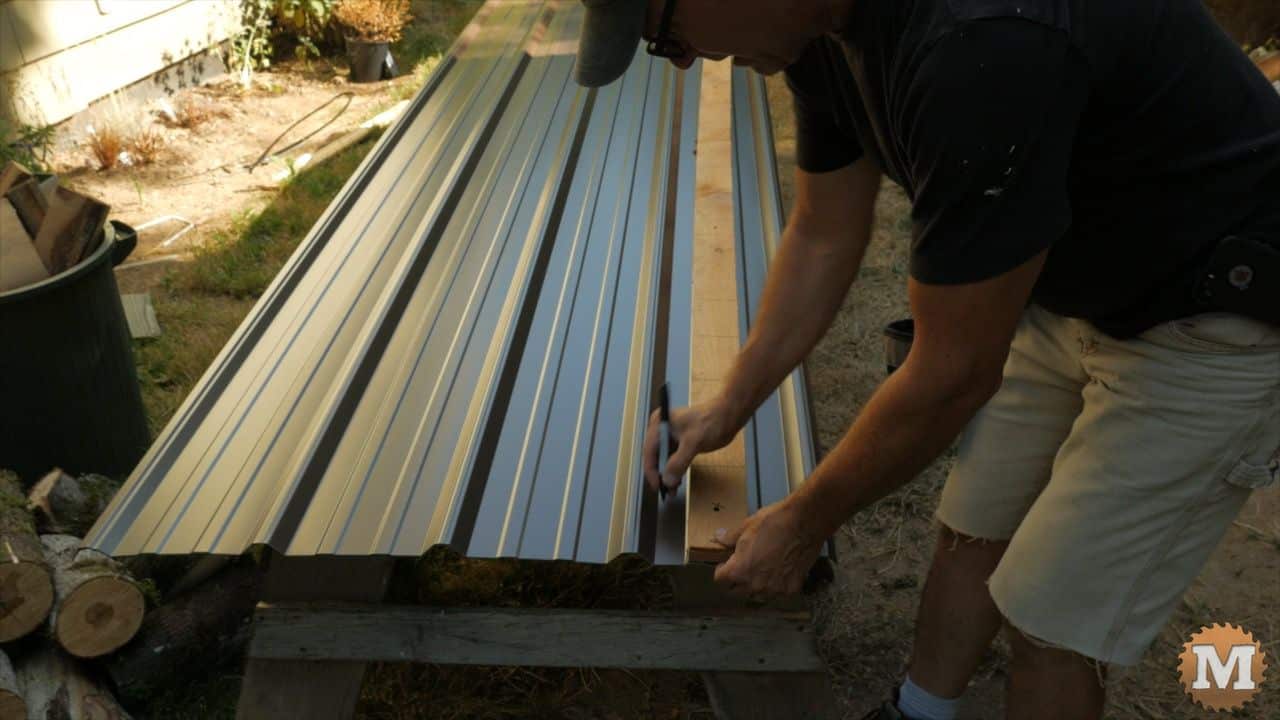
I made a marking stick from scrap trim to mark the location of the screws on the panel with a sharpie. This ensures each screw is properly spaced and hits the intended strap.
Install Metal Roof Panels

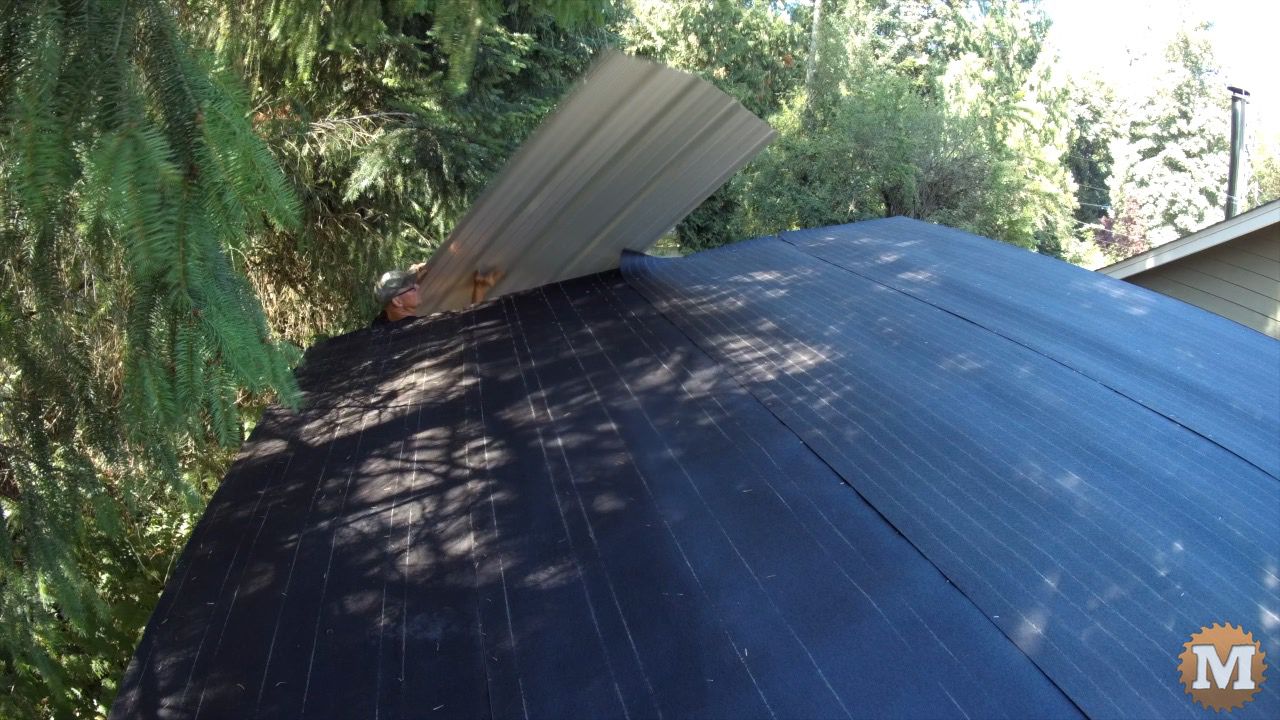
I slide the first panel into place, line it up and square it to the roof as best possible. Then hold it in place with a few screws. When I’m happy with the placing of this first panel I run in more screws.
From the other side of the shed I mark a panel and slid it up and onto the roof. Then slide it over and overlap the edge. Again, hold it in place with a few screws.
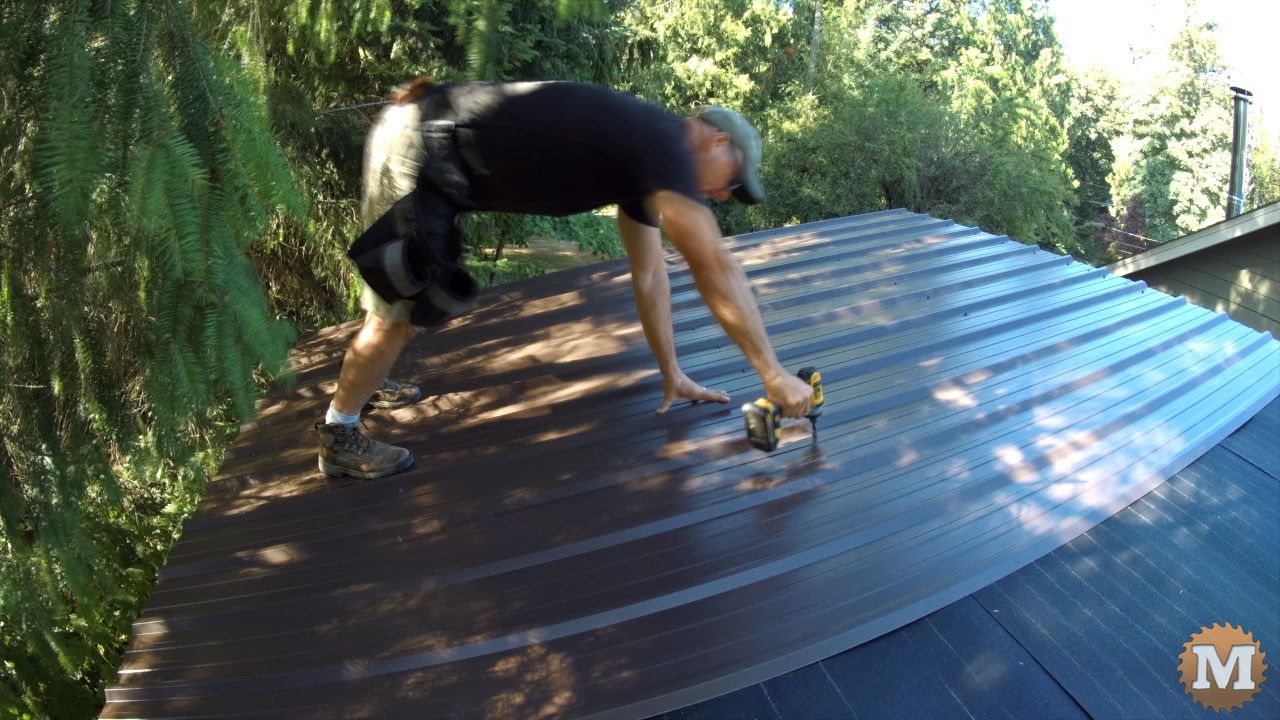
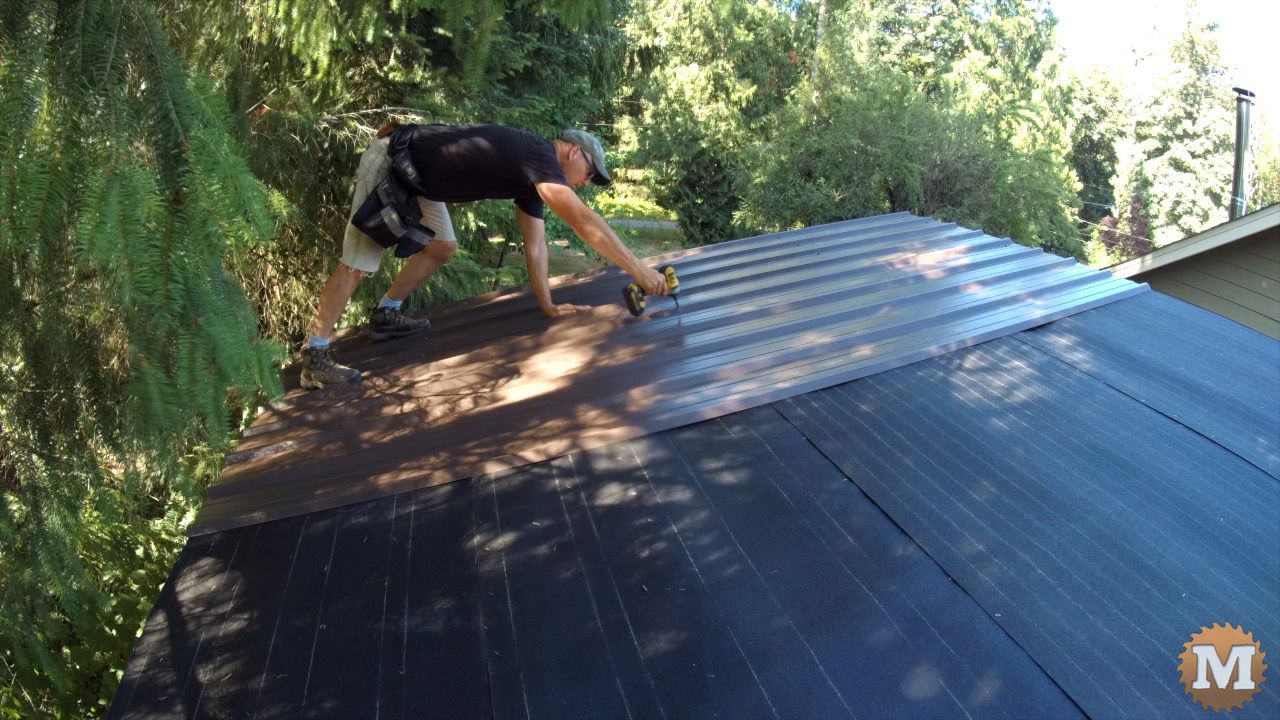
Then climb on the roof and screw each panel fully. Being careful to step only where there is strapping. This is repeated until all the panels are in place.
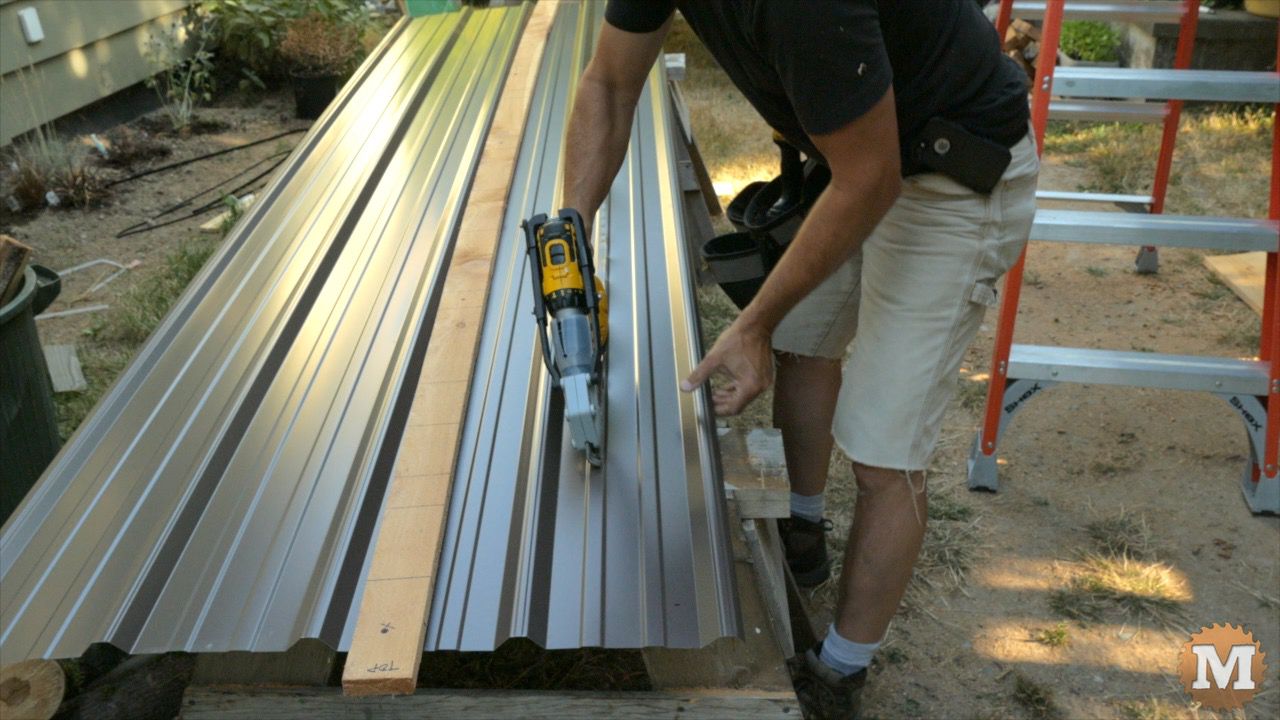
The last panel is measure and cut to size with a shear attachment on my drill.
(Disclaimer: As an Amazon Associate I earn from qualifying purchases. Thank you for helping to support my content this way. )
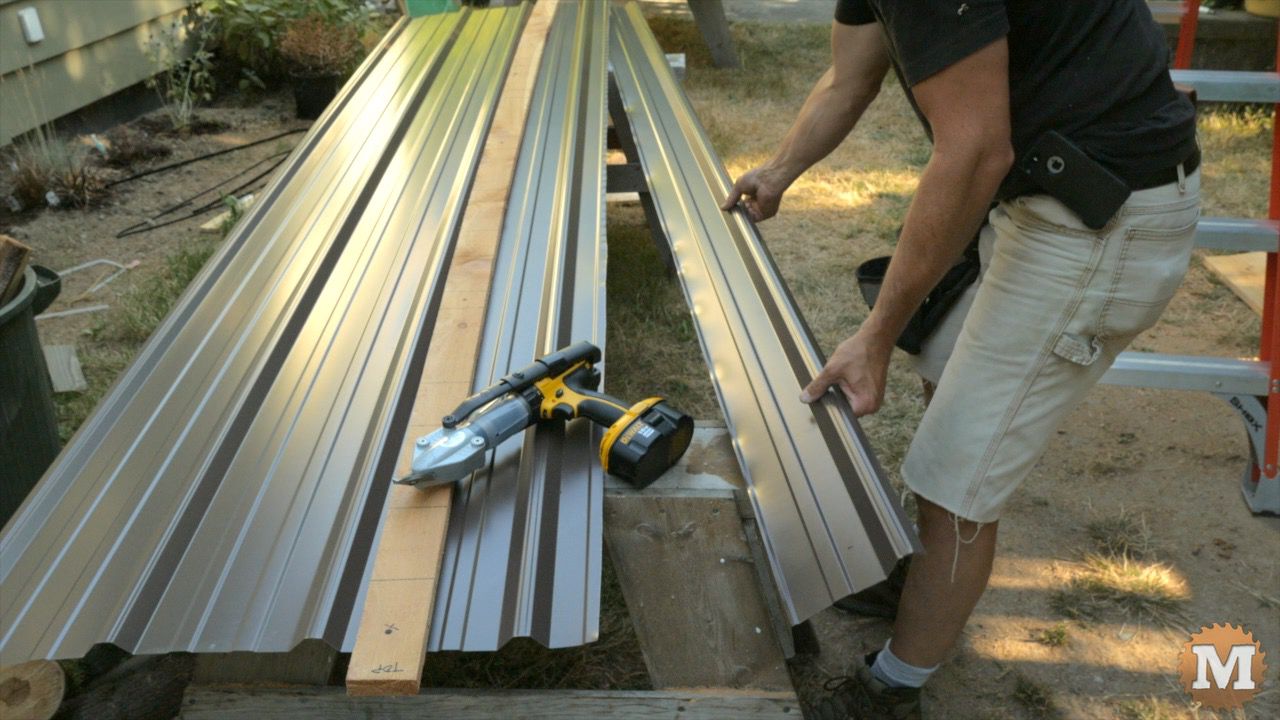
The sheet metal cutting attachment for my drill that works very well. It’s fast, accurate, and leaves an edge that is not as sharp as with shears or snips.

After the last panel is in I add drip edge to the front high eave and the sides.
And the woodshed is done.
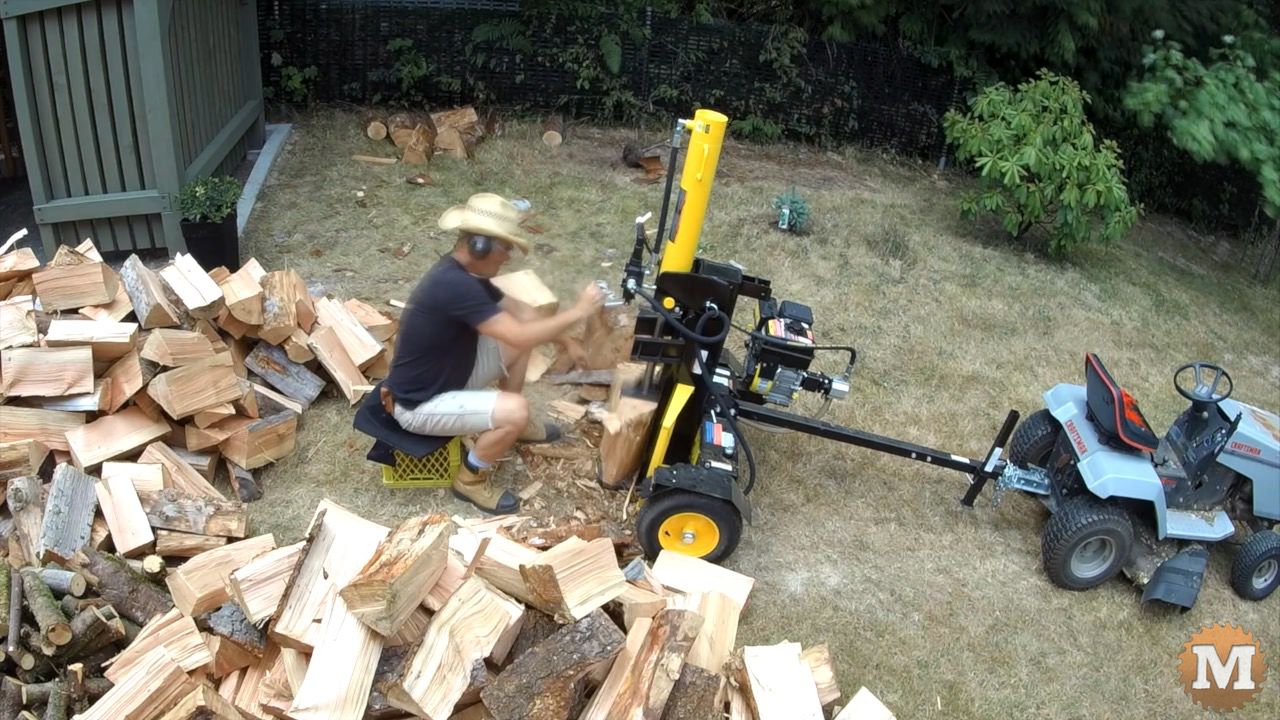
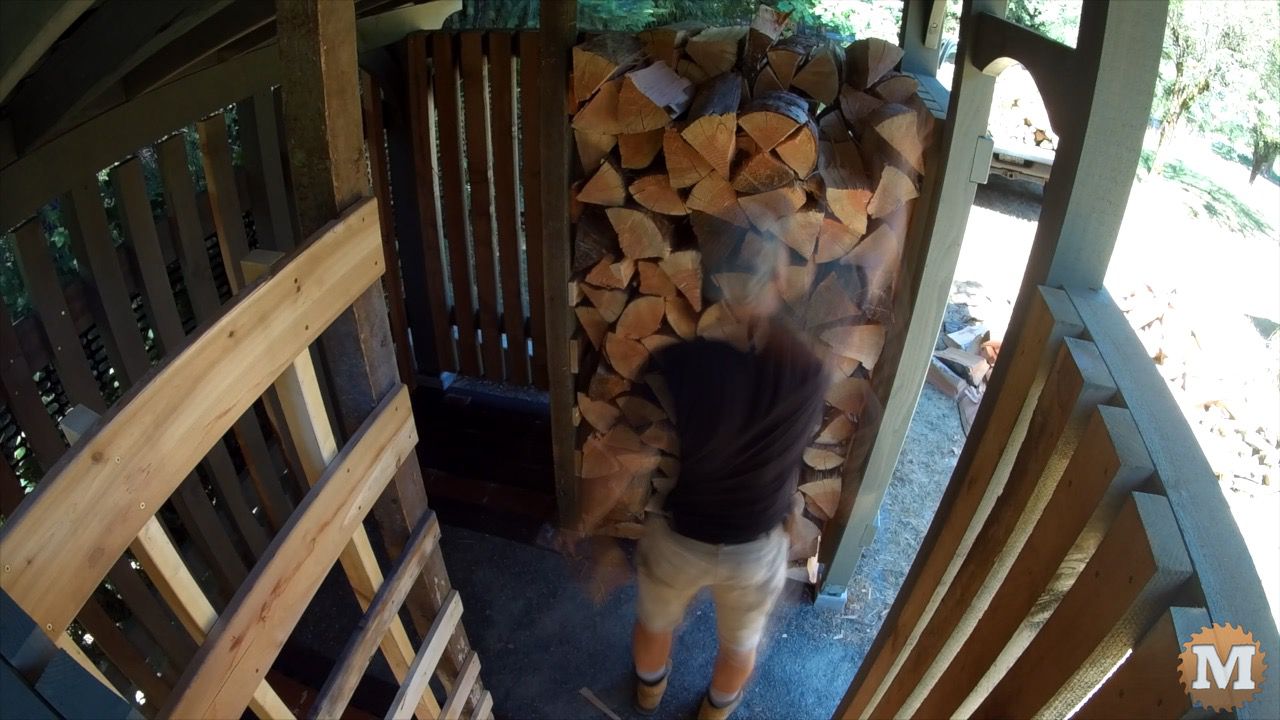
Now to split some wood and fill the woodshed. I added some dividers to the inside space to separate stacks. Grab a copy of the wood shed plans here.
Winter 2019 Update
Here’s a pic of the woodshed covered in snow. It’s holding up very well.

Thanks for reading!

