Selecting and Moving Lumber to Garden Site of Timber Frame Pavilion
We have lumber milled from our own trees stickered and drying in the back of the property. Now that my Timber Frame Pavilion drawings are done, I can select the lumber I need and move it to the garden with the truck.
In this first pile I have two long 6×6’s for the top beams. These 6×6’s have a bit of a bow to them but it’s not too bad. I’ll orient them so the curve of the bow becomes the crown.

In another drying pile I have a stack of two by eight fir for the rafters. It was disappointing to see that many of these boards twisted while drying. Some turned out to be unusable for rafters but most I was able to salvage.
In yet another pile I’ll try to find the straightest stock for the posts. It took a while to sort through and find the best candidates. I also found some very straight two by eights for the girts and front roof beams.
It’s great to have a few extra sawhorses on hand to organize all this lumber and to have it all at a convenient working height.
Prepping the Posts
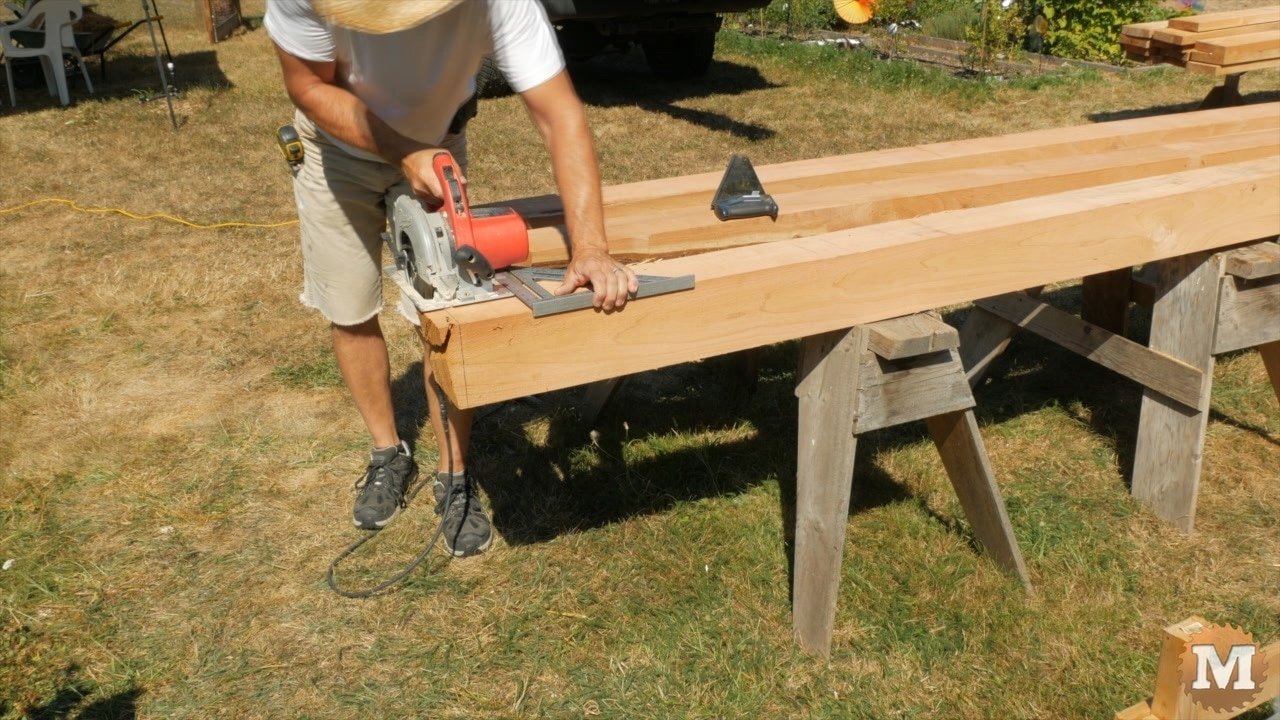
Having everything I need, I’ll start with the four posts. The rear posts are cut to length by marking all four sides with a large speed square, then making four cuts with a circular saw, and finishing it off with a hand saw. I’ll get two rear posts from this long 6×6.
I then cut the two taller front posts to length in the same fashion.
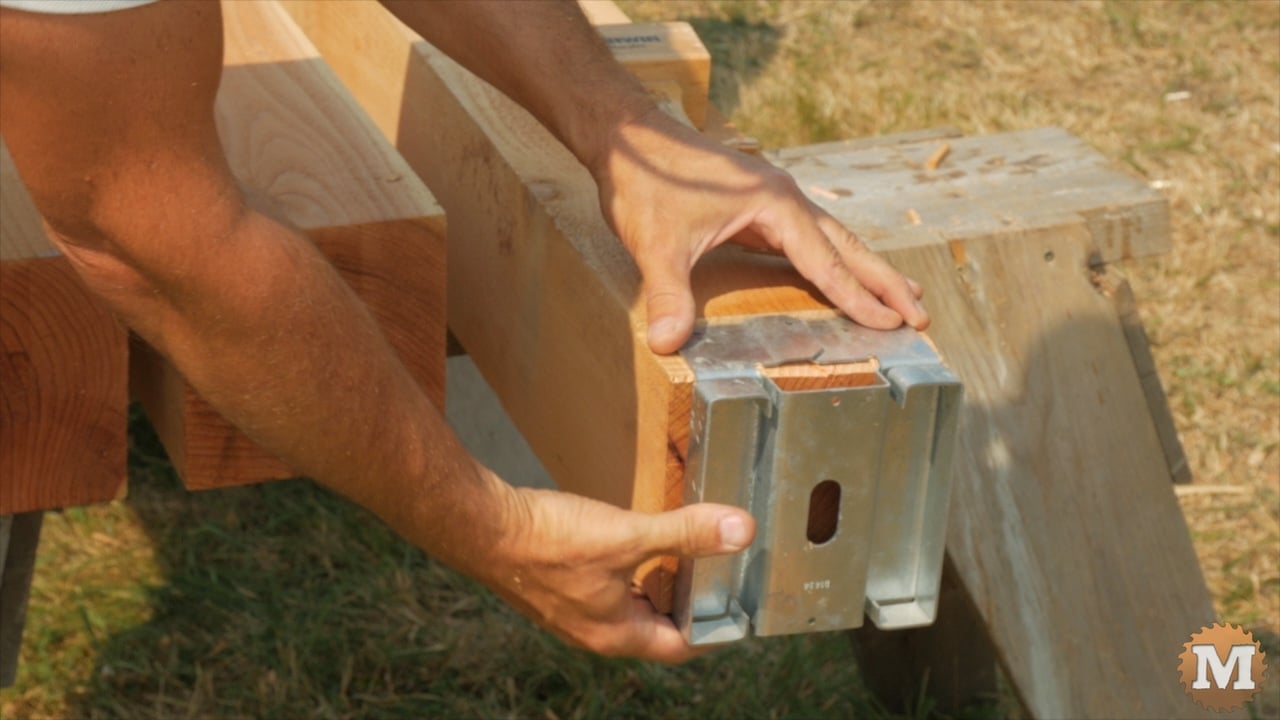
The post saddles I’m using are adjustable in case the anchor bolts are out of square. These particular saddles are made for a five and a half inch post. I need to trim the ends of each post with circular saw and chisel to fit these saddles. I believe the manufacturer does makes a similar saddle that fits a full dimension six by six.
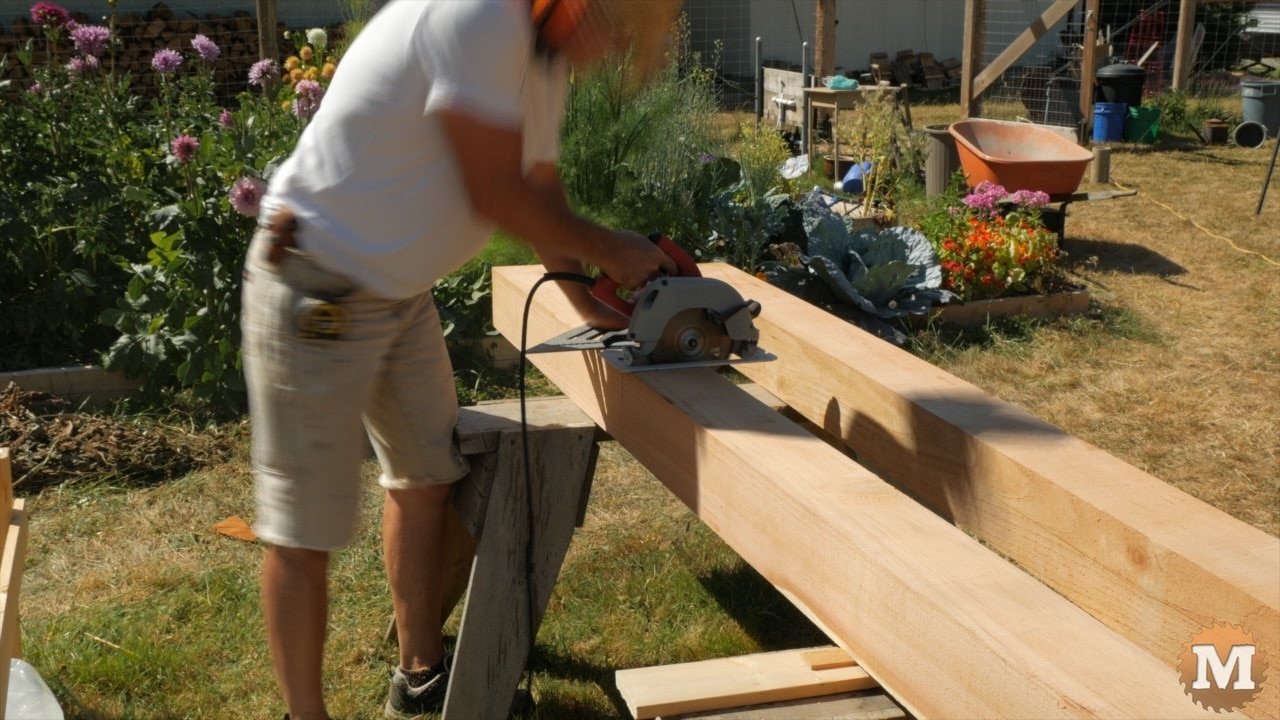
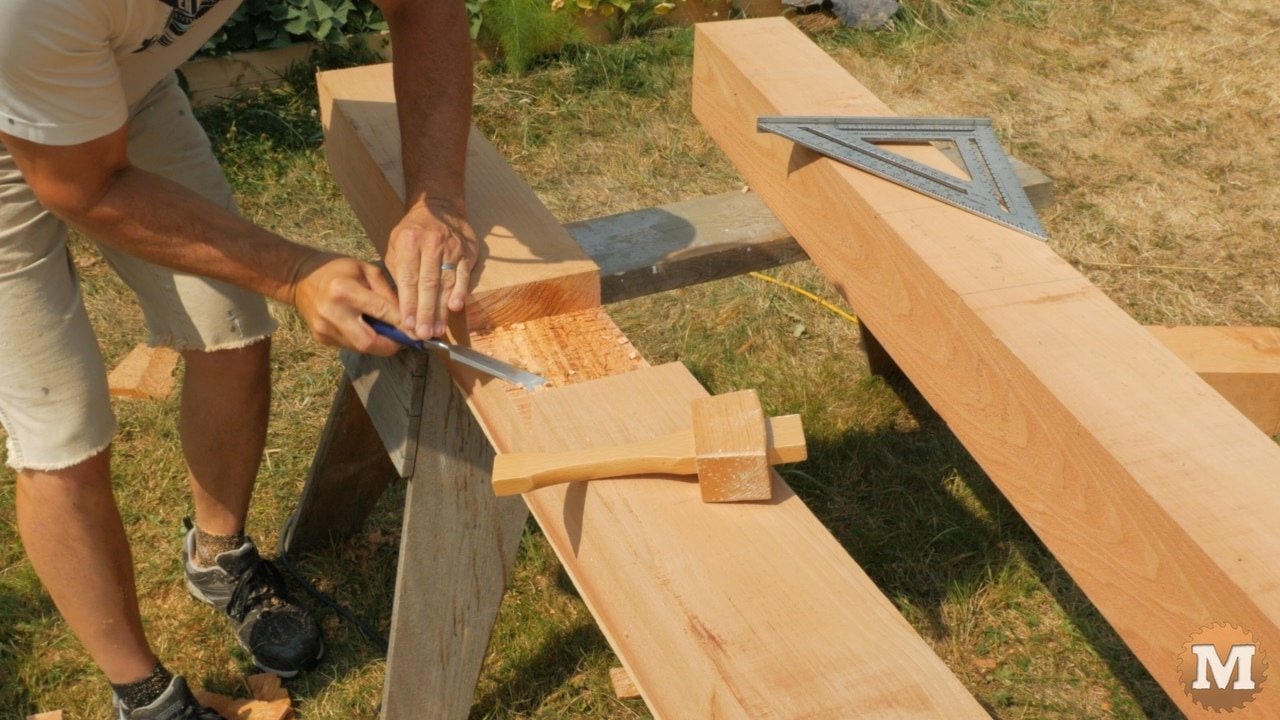
The tops of the back posts have a two inch deep by six inch long lap cut to receive the side girts. I cut these by setting the depth of my circular saw to two inches and make a series of thin slices into the post. I use the speed square as a guide. Then I break these thin segments with a hammer. Then use a wooden mallet and sharp chisel to clean up the cut.
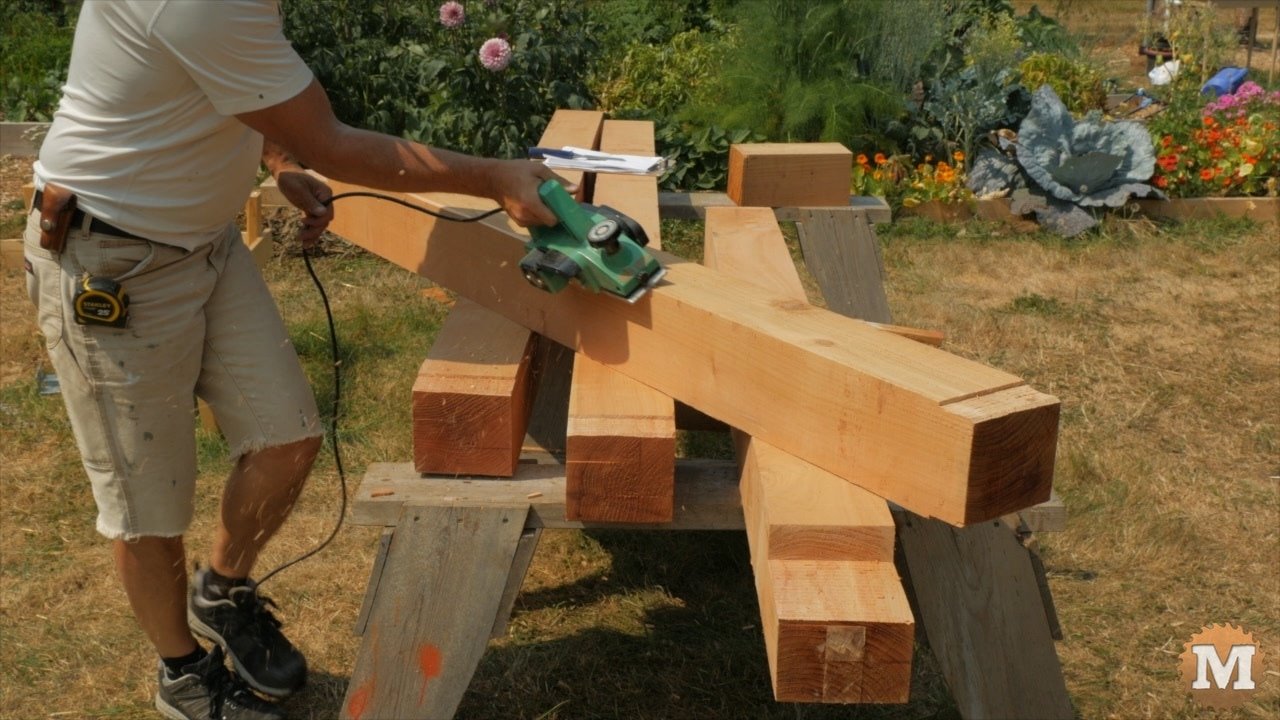
I chamfer the edges of the rear posts with a power plane.
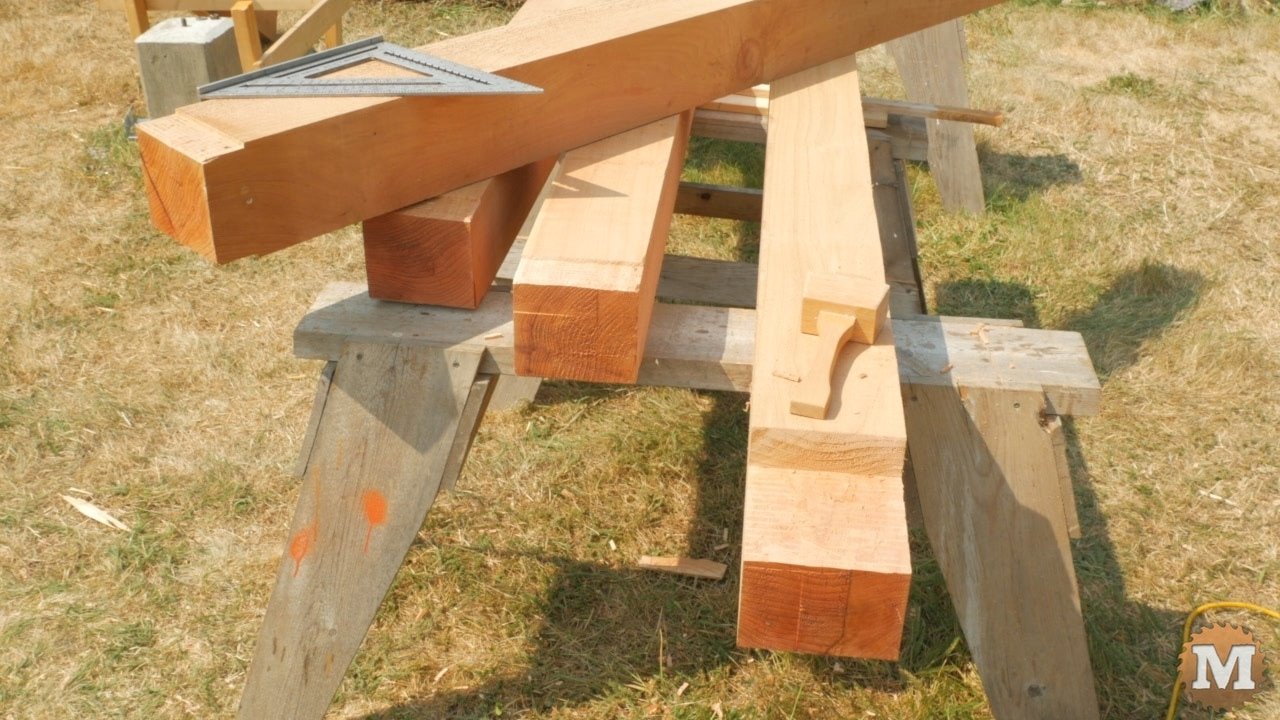
The front posts have two slots cut in them. One on the side face to receive the two by eight girt, and another on the front face to receive the front roof beam. I’ll lay out these cuts on the posts with pencil and square, then set the depth of my saw to two inches and cut a series of parallel slices.
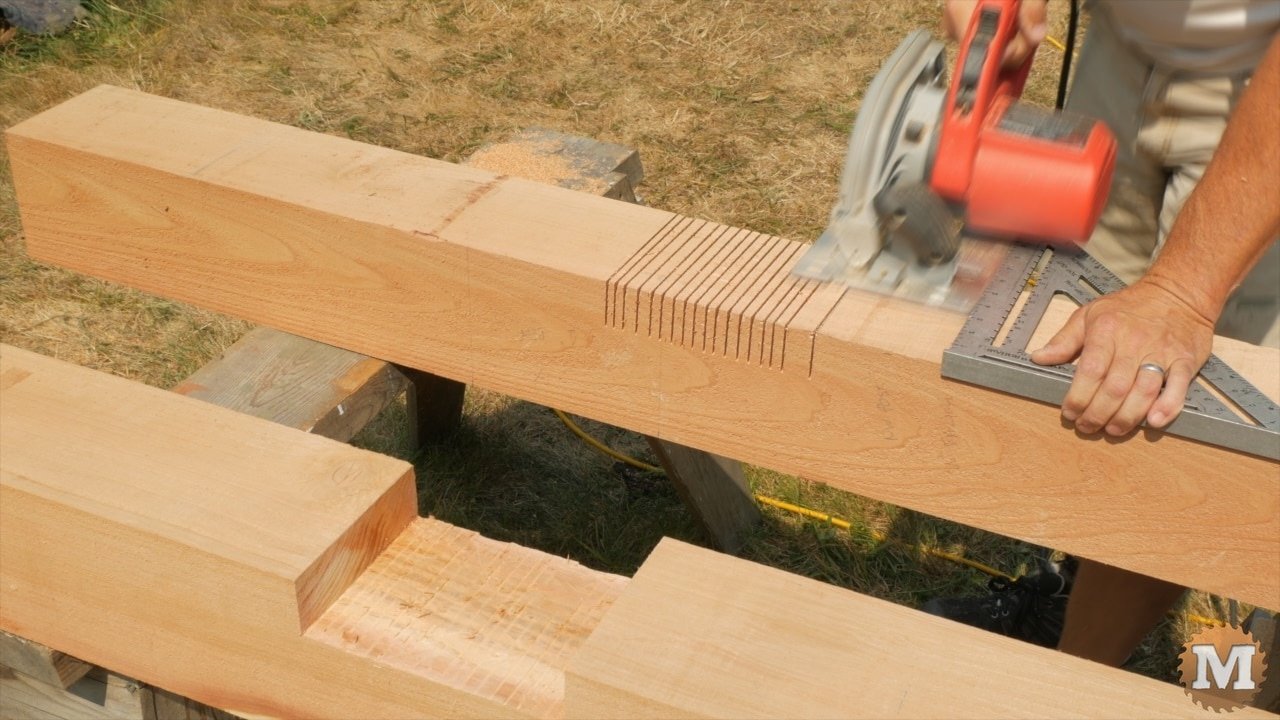
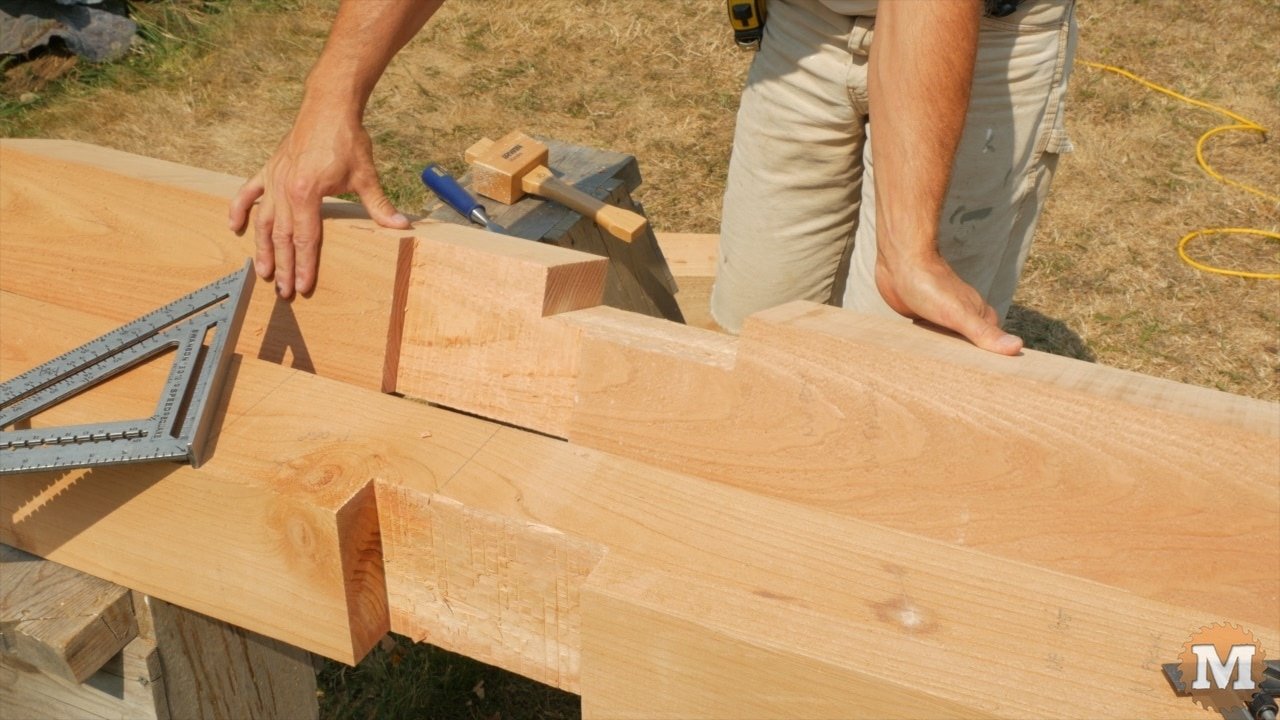
Then I’ll rotate the post a turn, set the depth of my blade to one inch, and cut the other slot. These slots overlap slightly so I’ll need to make a small notch in a front roof beam later to compensate.
And I’ll chamfer the front posts with the power plane.
(Disclaimer: As an Amazon Associate I earn from qualifying purchases. Thank you for helping to support my content this way. )
Stand up and Secure the Four Gazebo Posts
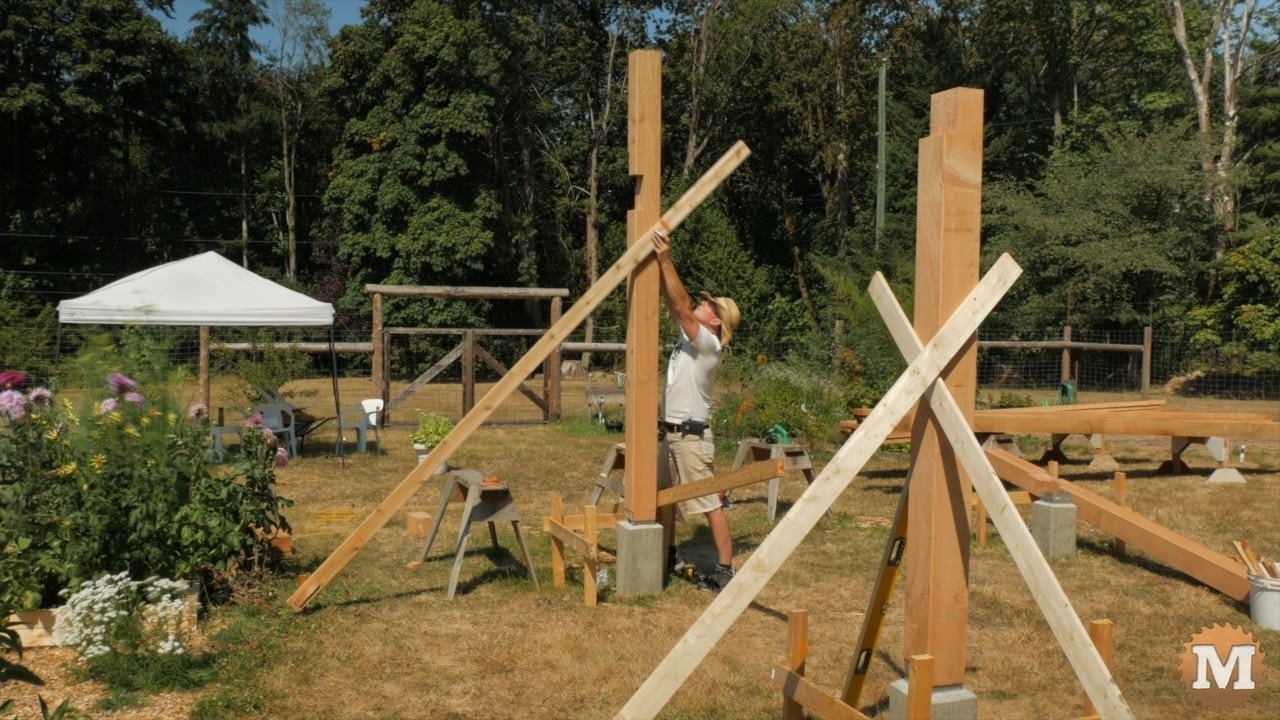
I’ll set the post saddles on the piers and snug the nut finger tight. Starting with a rear post, I stand it up, set it in the saddle and position it. I’ll drill pilot holes in the bottom of the post and run in a screw on either side.
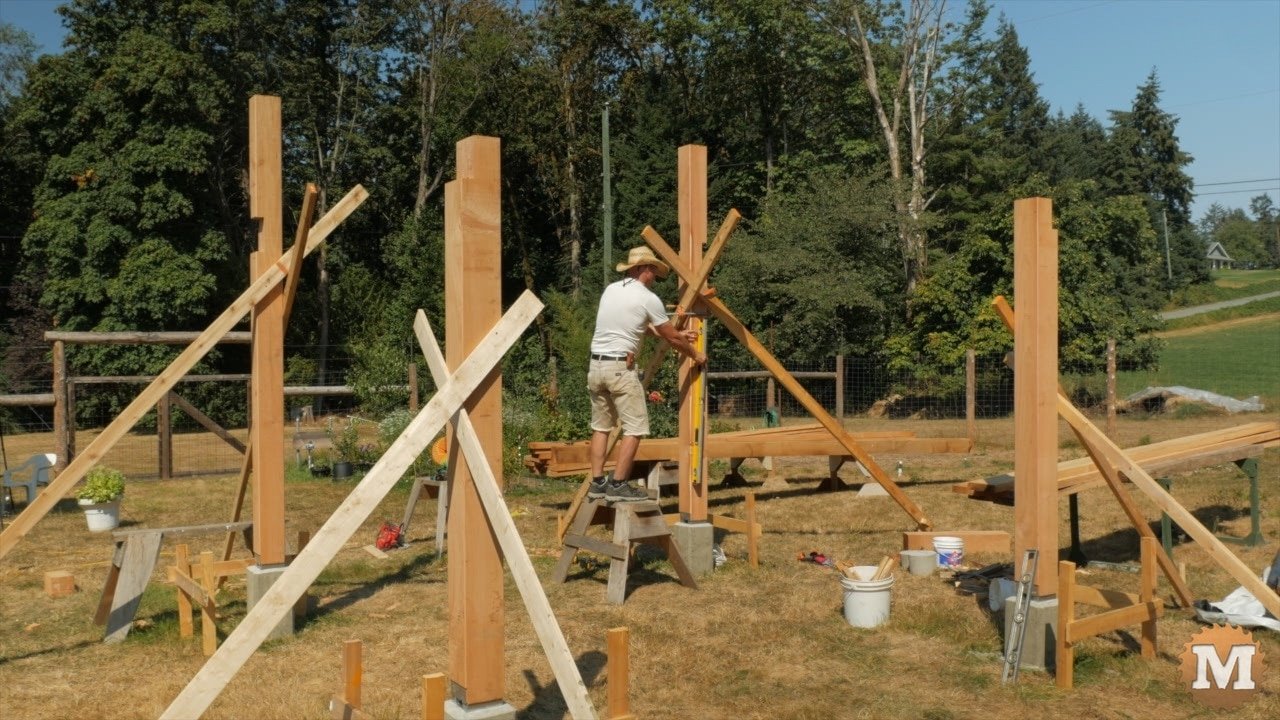
I have temporary bracing ready, and attached with a screw into a small stake pounded into the ground. I use some clamps to hold the post while I plumb it with a long level.
I’ll do the same for the other rear post. It’s good to have everything ready and tools and screws within arms reach if doing this by yourself.
The taller and heavier front posts were a bit more of a challenge. I had a sawhorse ready to stand on to help with plumbing and braces.
Attach the Side Girts to the Posts
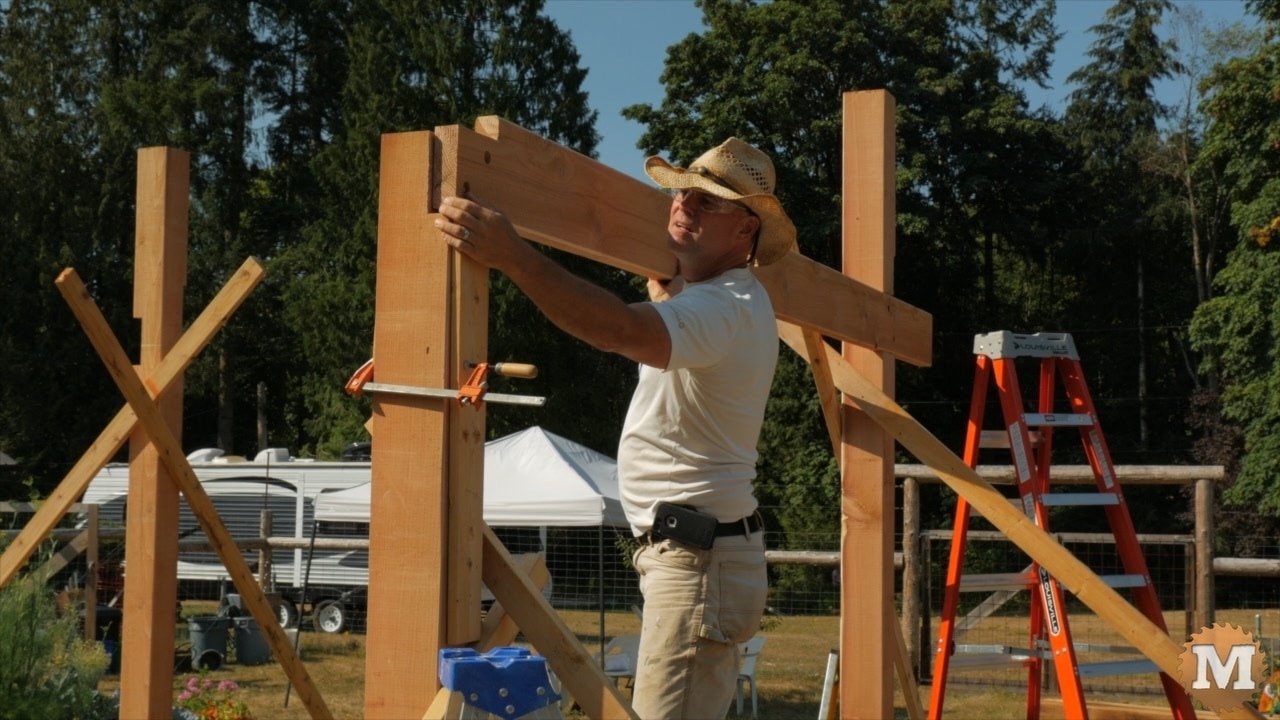
Next, I cut the side girts to length and mark their crown for their upside orientation, then chamfer these with the power plane. On one end I’ll cut out a two inch by six inch notch. This will allow the beam to fit neatly over the top of the rear posts. I attach these to the posts with some construction adhesive and lag bolts. The heads of the bolts are countersunk with a forstner bit, then predrilled with quarter inch bit.
I have a board clamped to the rear post to catch the girt as I’m positioning it. A clamp holds the rear end in place as I drill and run in the lag bolts with an impact driver.
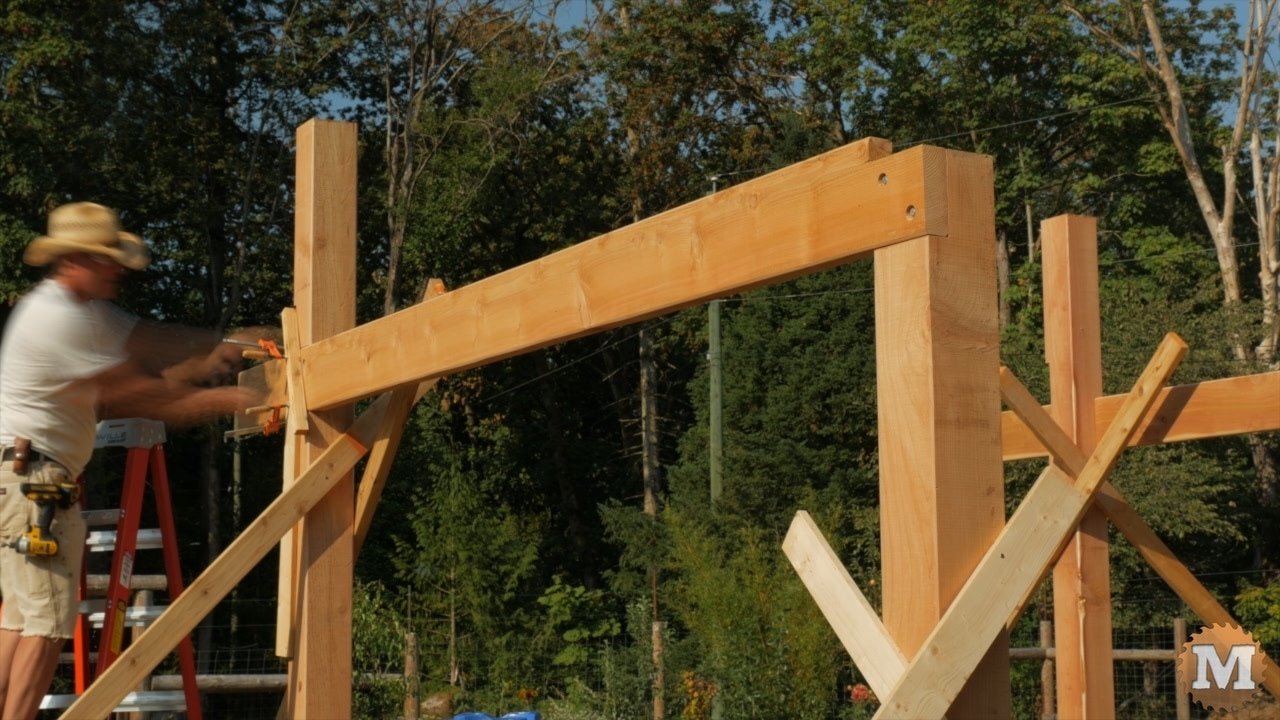
The other girt didn’t go as well due to a slight warp, so I removed the rear clamp to get it to fit. I used a few clamps to pull it into the groove on the front post before running in the lag bolts.

