Laying out and Making the Concrete Pier Forms
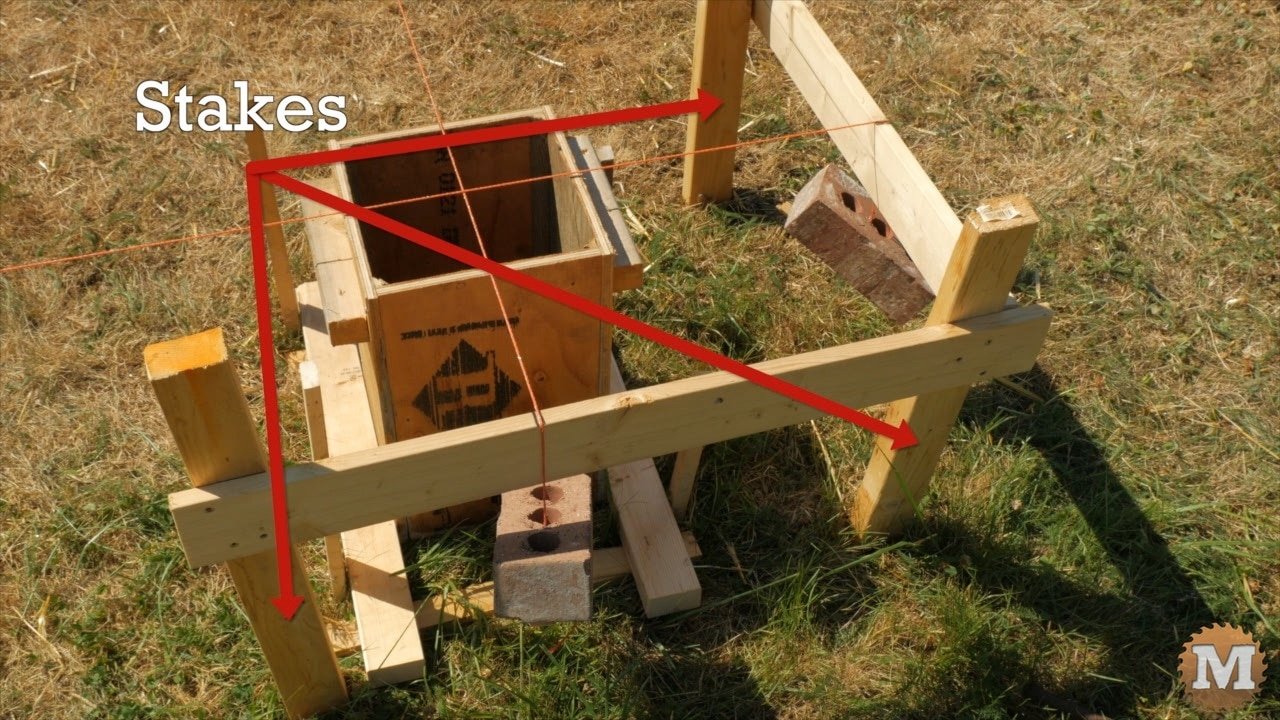
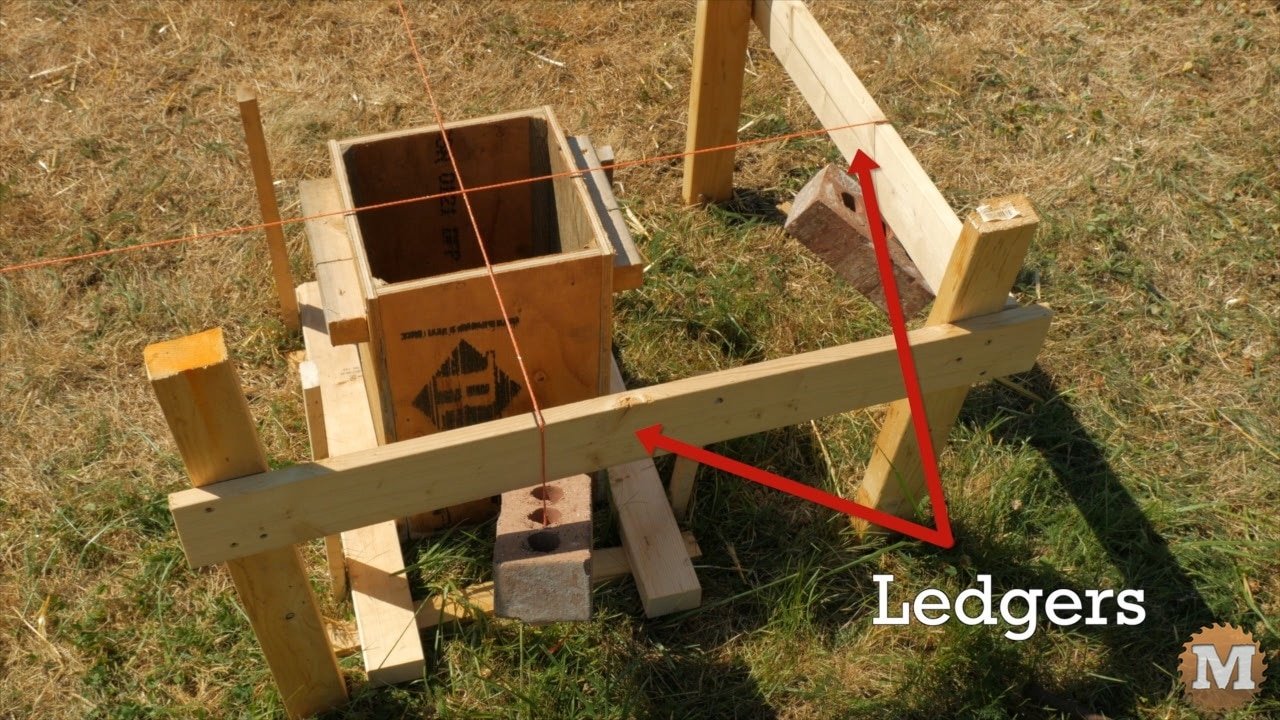
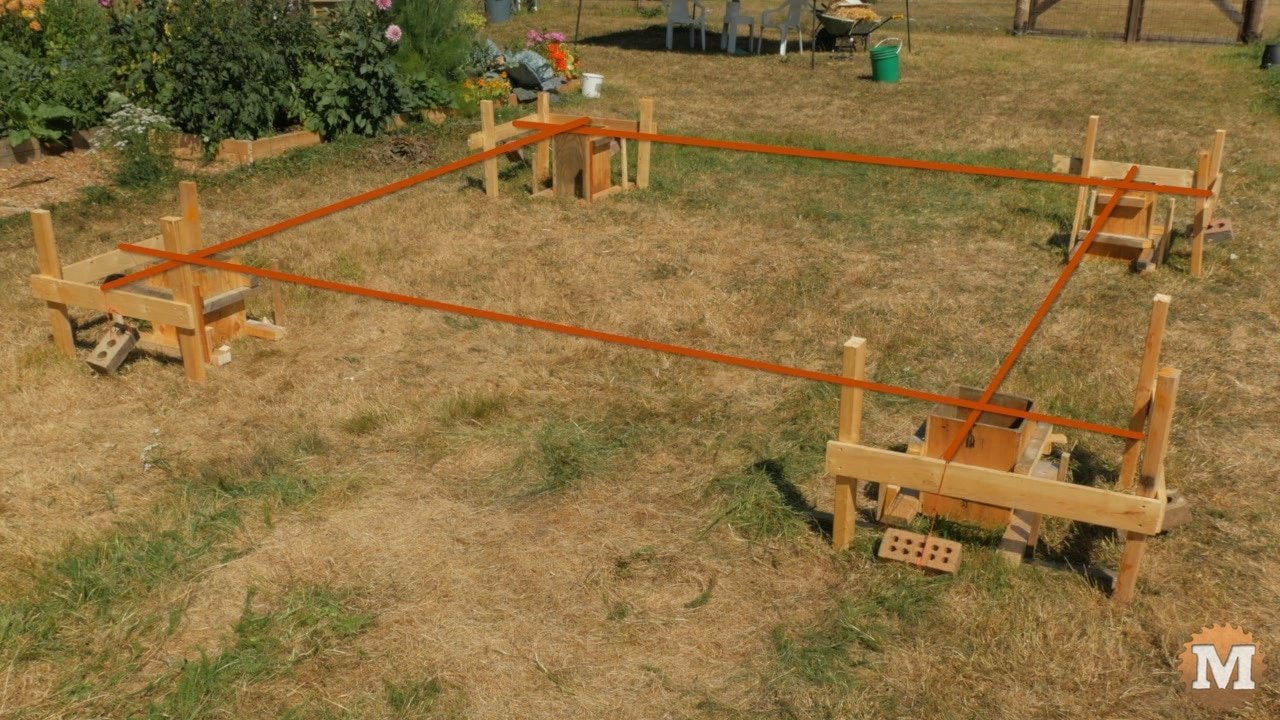
I laid out the post locations using string and batter boards then dug the footing holes. The batter boards are made by hammering in three stakes and connecting them with level ledger boards.
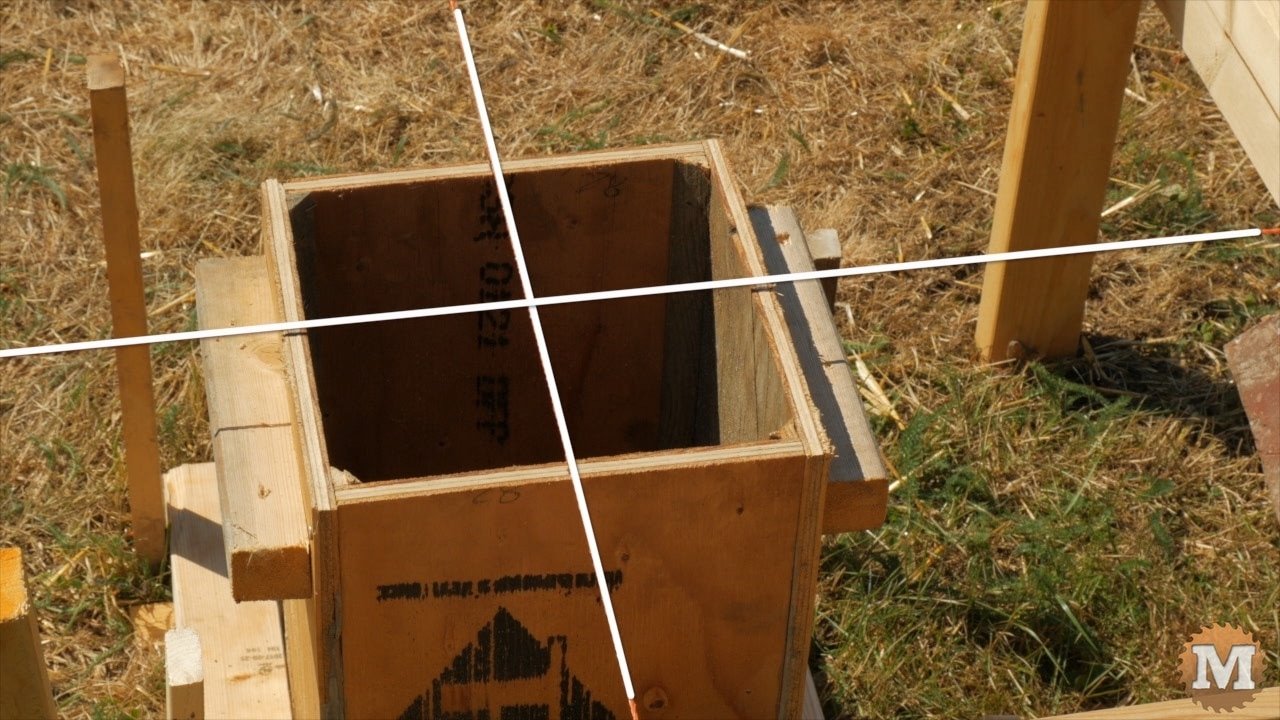
Weights hang from these mason lines and cross over the center of each pier form.
These lines are strung over the ledger boards 10 feet apart and are square and level. The tops of the ledger boards are all on a level plane.
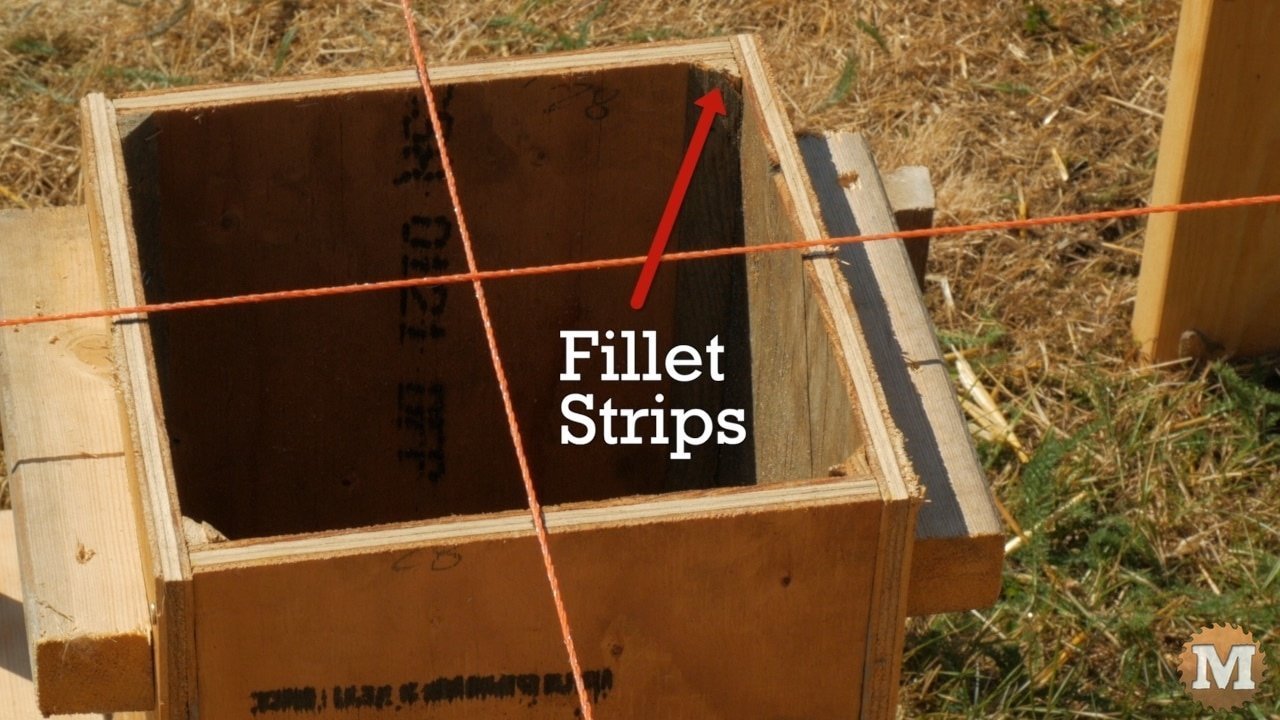
The pier forms are simple boxes made from half inch plywood and 2×2’s. I added a fillet strip to the corners to form a chamfer.
I can remove the lines once all the forms are leveled and squared to these strings, and secured to small stakes in the ground. All the tops of the pier forms are now on the same level plane.
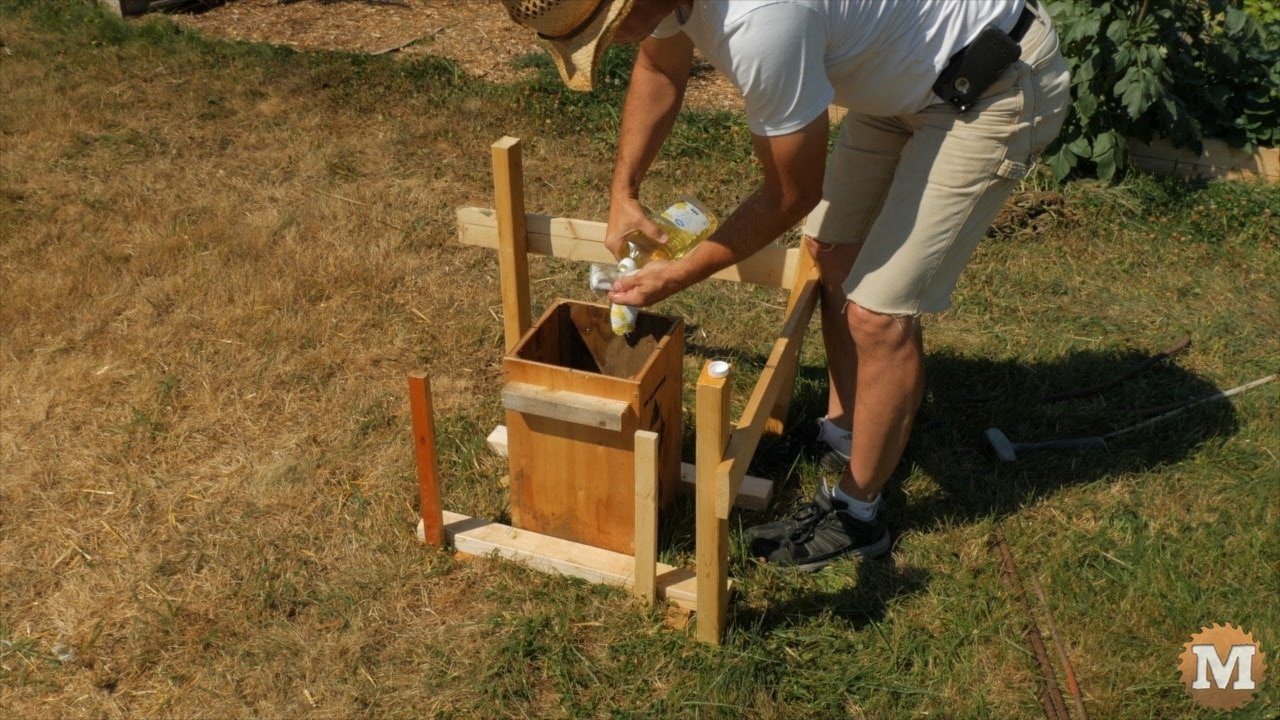
To keep the cement from sticking to the plywood I apply a good amount of vegetable oil to all inside surfaces.
I pound in some rebar to reinforce the piers. Pounding the rebar into the hard clay at the bottom of the hole keeps it in place roughly in the center of the form.
Fill Timber Frame Pavilion Forms with Concrete
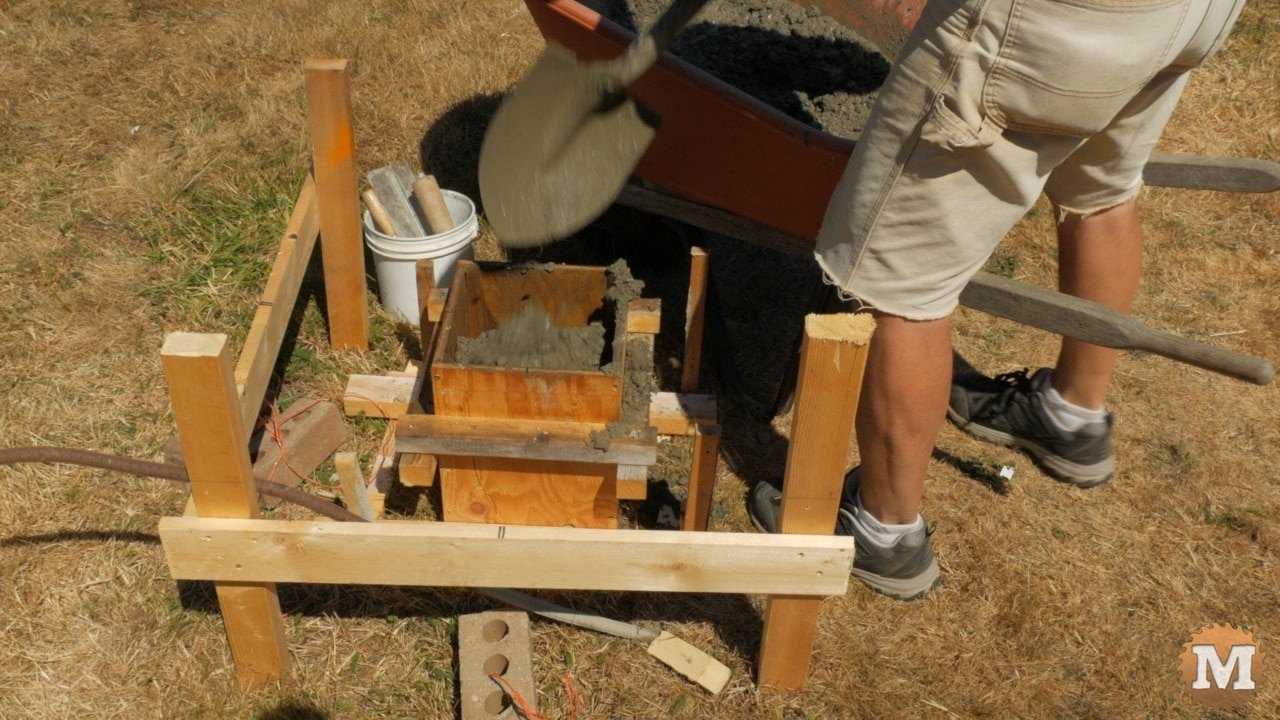
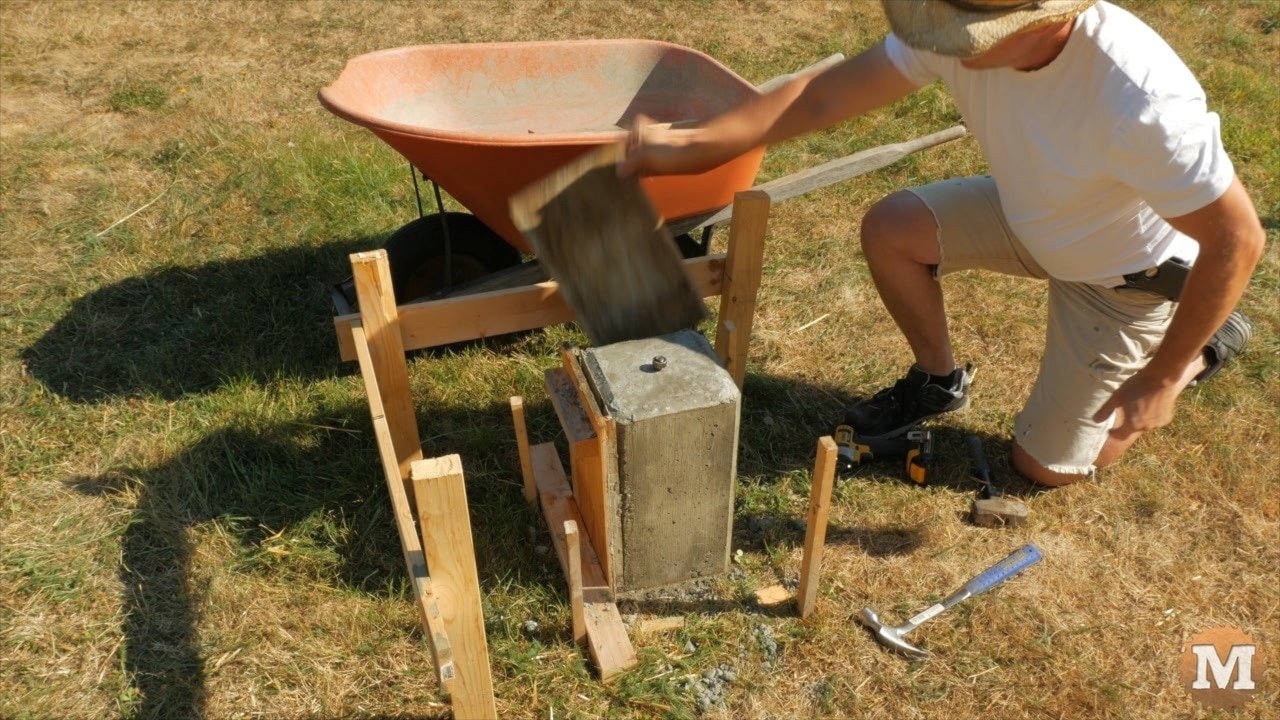
I mix concrete and fill the holes and forms. This is my second wheelbarrow load for this form. I use a short length of rebar to work the concrete and settle it. I overfill the form then lightly tap it to bring bubbles to the surface. I’ll then let it sit and settle for a few minutes.
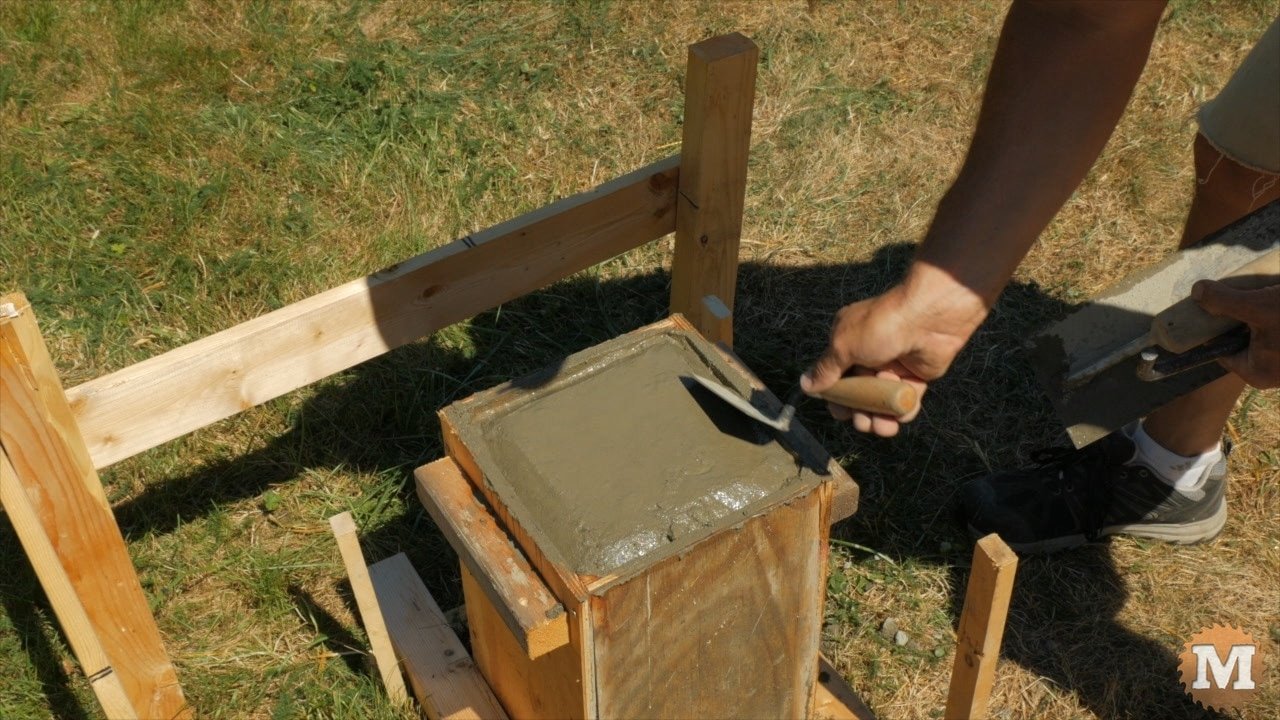
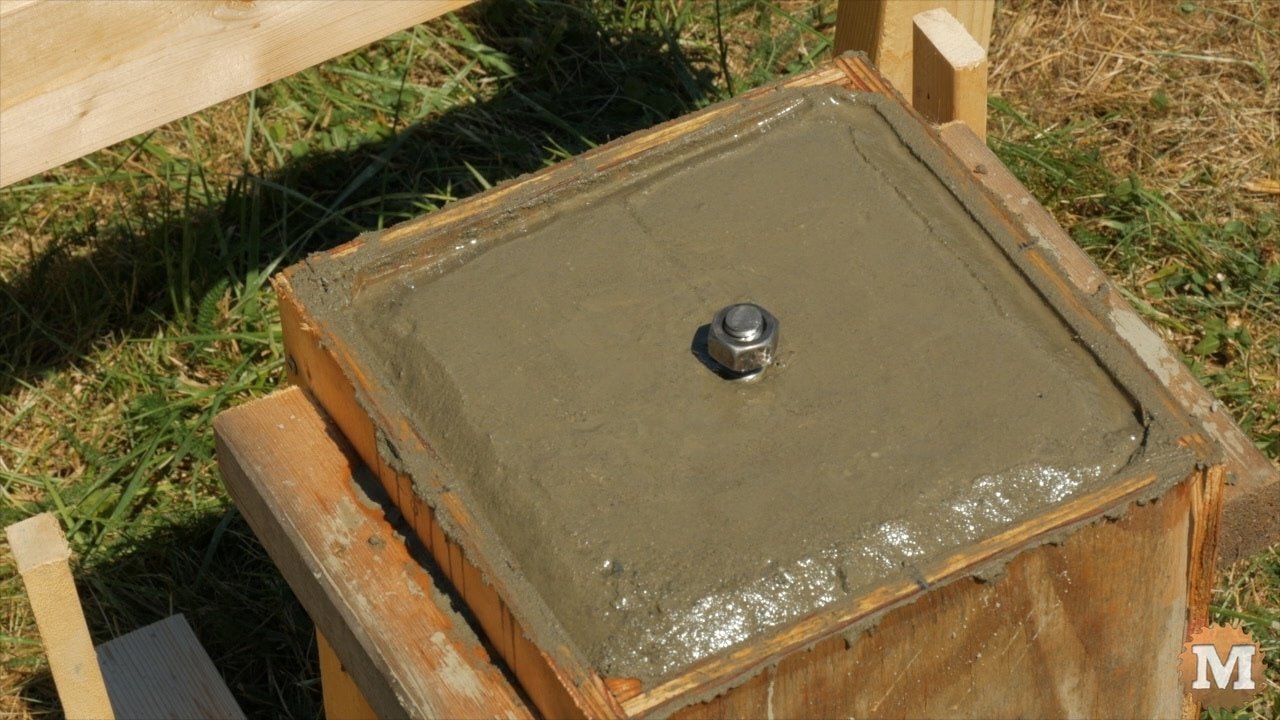
Then I scrape off the excess and form a chamfer on the top edges with a flat margin trowel. I’ll use a flat trowel and marks on the form to find center, then work in an anchor bolt before the cement sets up.
(Disclaimer: As an Amazon Associate I earn from qualifying purchases. Thank you for helping to support my content this way. )
I cover the forms with plastic and leave to cure for a few days.
Stripping Pier Forms
It was very hot and dry when I poured them so I didn’t want the concrete to dry too quickly. The plastic helps to prevented that.
When set, I stripped the forms. For me, it’s like unwrapping a present. It’s always cool to see how it works out. I’ll remove the screws from the small stakes, then the screws holding the four sides together. Then gently pry off the plywood panels.
The pier forms needed to be a bit taller where the ground sloped slightly away. These forms required 2×2’s to hold them together.
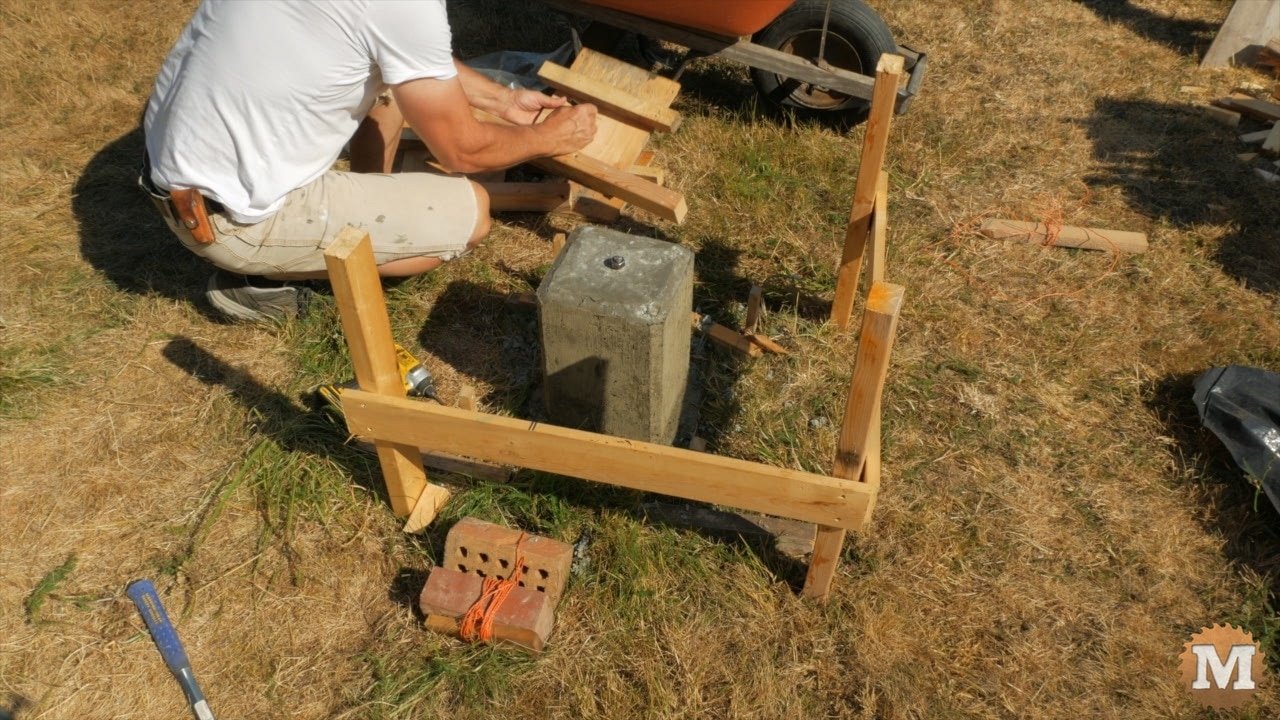
As the forms came apart I labeled them with a sharpie in case I wanted to reassemble them for another project.
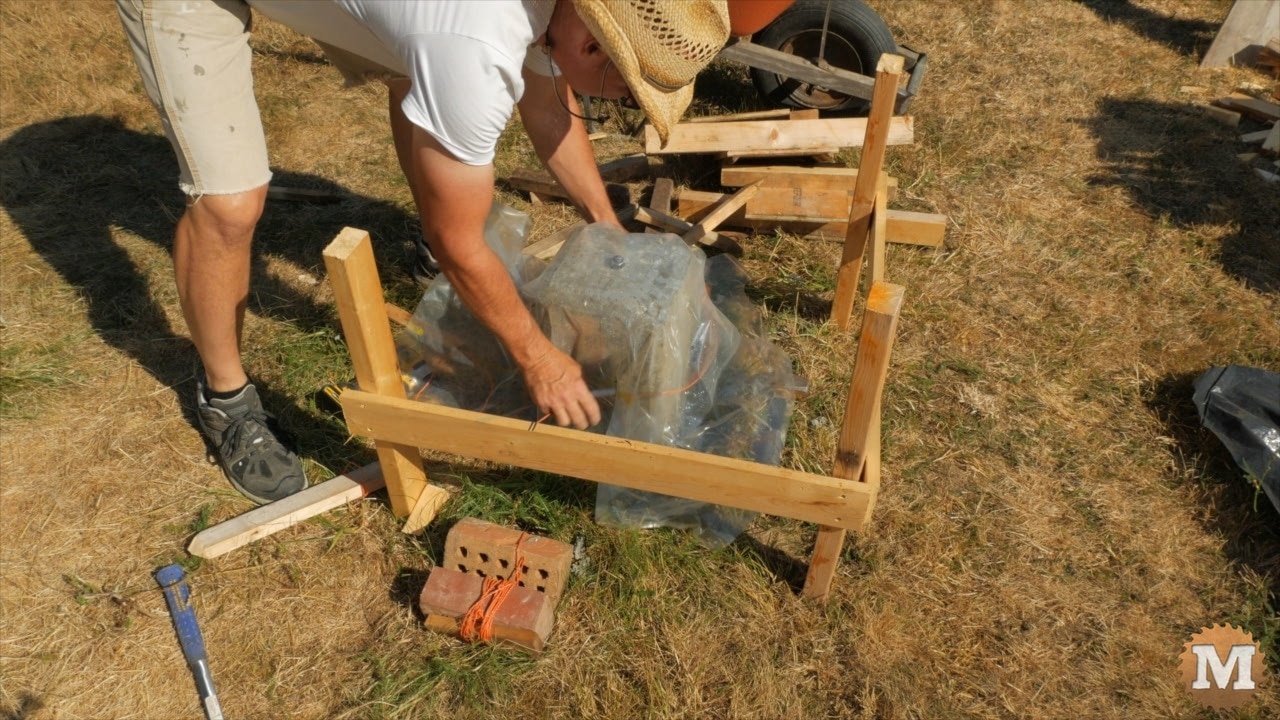
I cover the piers with plastic for a few more days to keep from drying too fast.
I scrape off any sharp edges or corners with a piece of wood while the concrete is still soft.
I’ll leave the batter board stakes and ledger boards as is for now. I might need them later for temporary bracing supports.

