This is the plan download page for the wood Awning Frame Bracket shown in my YouTube video.

Download the plan I used: Awning Frame Plan
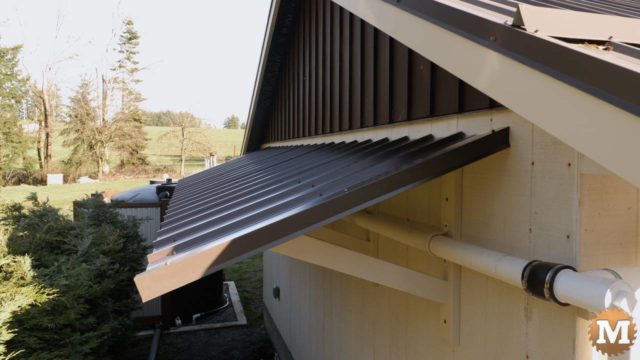
Build a wall mounted awning frame with a steel roof attached to the side wall of a workshop. I built the awning frame from standard framing lumber, primed, and painted them with exterior enamel paint, then attached them to the wall with GRK structural washer head screws. This is an easy DIY project to create a covered space on the side of any building with a frame from wood. This is part 5 of my workshop renovation series. This bracket is easy to make from a few 2×4’s.
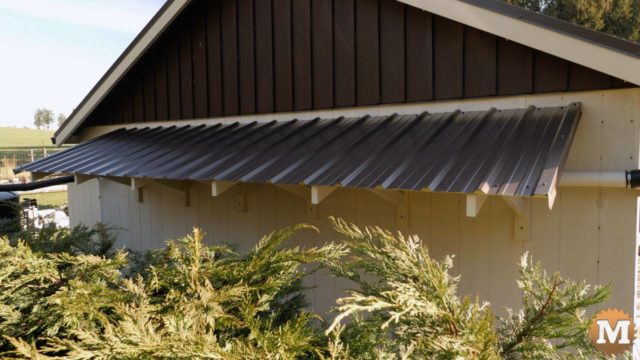
I needed more outdoor covered space for storage beside the shop. There’s a walkway on the north side of the building between the wall and the cedar hedges.
I was looking to have an awning that is wall mounted, and would not require any posts to support it. It would need to be strong and lightweight with enough head clearance, and a similar slope to other buildings here.
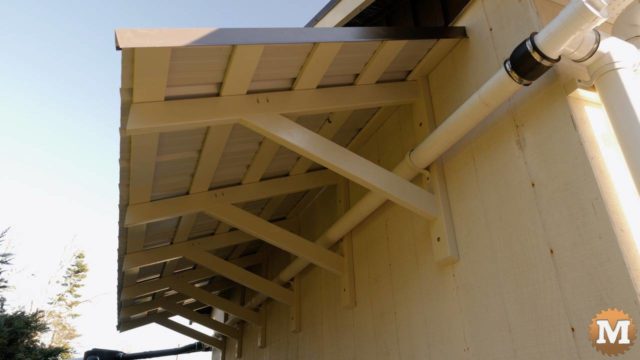
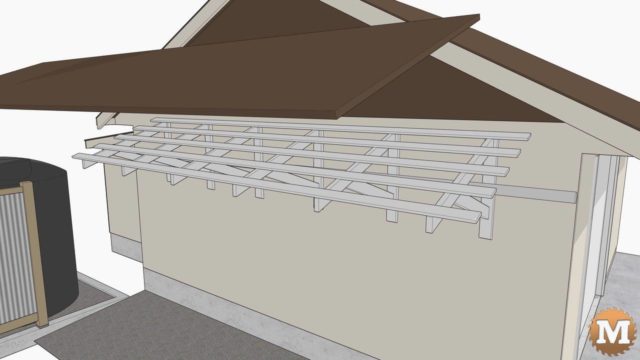
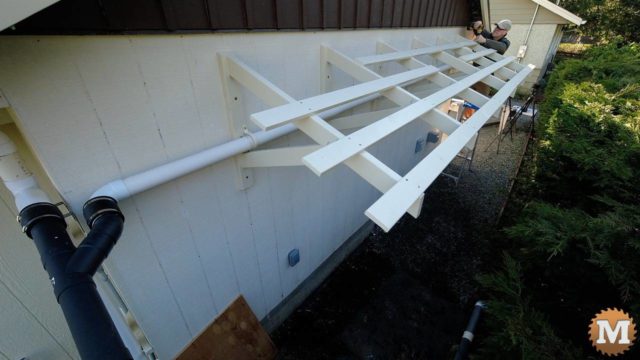
After a few variations, I settled on this design. The metal roof would be 48″ with a slope down off horizontal of 20 degrees. A 2×4 on the flat would be screwed to the studs behind the sheathing, and the rafter and brace 2x4s would be vertically oriented. The brace 2×4 would be on a 20 degree downslope for symmetry.
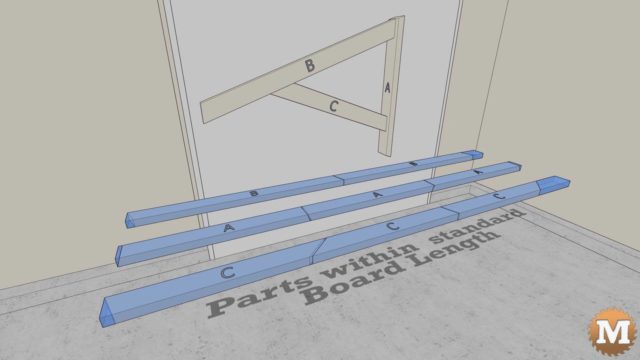
And I also was trying to design the brace so you could cut the pieces efficiently from a standard 8 foot board.
To make the six awning braces I needed, I was able to cut the parts from seven 2x4s. Parts A and C I could cut 3 per 2×4 length. And for Part B I could get 2 from a length. And this left the least amount of waste.
I used the structural GRK Screws on this build.
(Disclaimer: As an Amazon Associate I earn from qualifying purchases. Thank you for helping to support my content this way. )
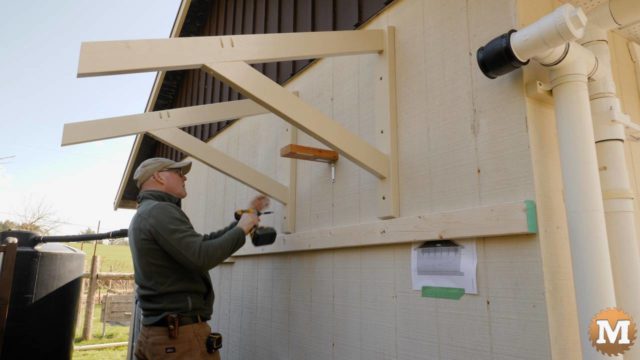
The nail heads from the 4×8 siding panels are visible on this wall. So it’s easy for me to find the center of each stud inside the wall. Here I’ll make a mark over from the center half the width of Part A, which is 1-3/4 inches. And I’ll mark a few points vertically (or plumb) above that.
And then I’ll place my first awning bracket on that line and drill through the pilot hole into the wall and into the stud behind the siding. Then I’ll run in a screw with the impact driver.
As I drilled the pilot holes through Part A on the drill press earlier, I know they are at right angles to the wall face. And then my screws will go straight into the center of the studs.
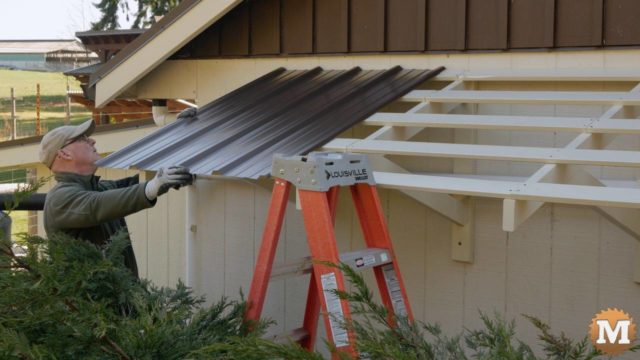
I had my roofing supplier cut the corrugated sheets to 48″ in length. I worked out the overall length of the strapping so I would not need to rip any of the roofing sheets down. At least according to my calculations. As you go along, things can vary when you are overlapping the edges.
I mark my roofing screw locations with a sharpie before I haul up a sheet. Then I know that the screw will find the strapping below it.
It was tight working in the little space I had beside the cedar hedges. Just not a lot of room for positioning the ladders OR myself.

