Mount the Thermostat Probe & Wires
I cleaned the housing with a bit of mineral spirits and I’m going to use some Hot Melt to hold it in place.
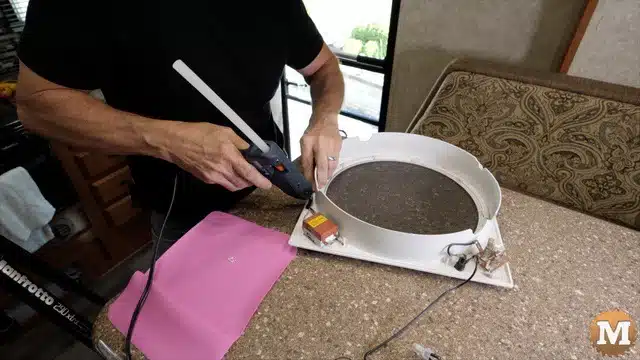
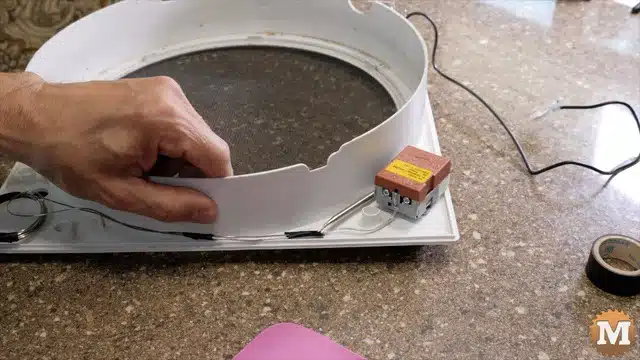
I’d like to thank my awesome wife, Marilyn for her pink silicone mat here so I don’t do any damage to the camper table top.
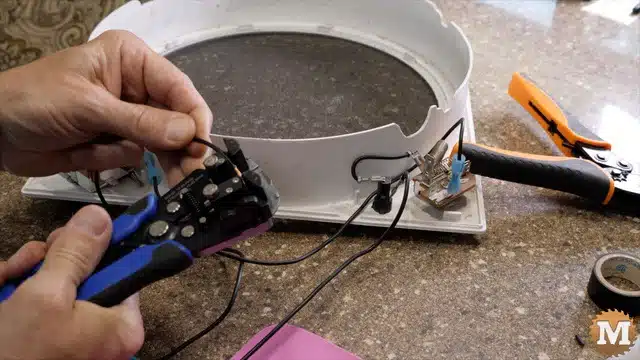
For the wiring I need power to the fan (the Red Line) but, before I get to the fan we need to run through the new thermostat.
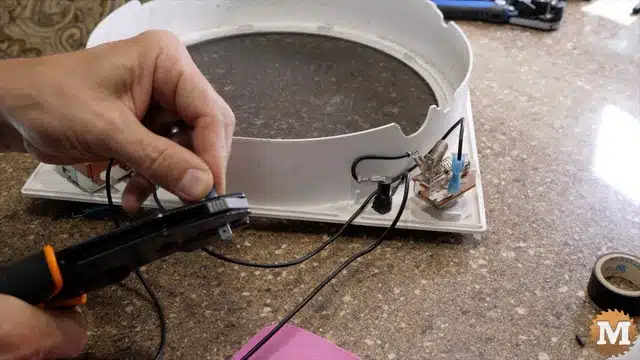
So, I need a wire that’s going to go around behind the speed selector and connect into that.And it’s going to run to the thermostat there and then I need another one coming out of the thermostat that’s going to tie into the wire that used to sit in there (the red one that’s up above my head here).
I’ve got to some black 14 gauge automotive wire to make up the new leads.I can cut and strip those and crimp on tab connectors. Then I can apply some heat to shrink the plastic tubes.
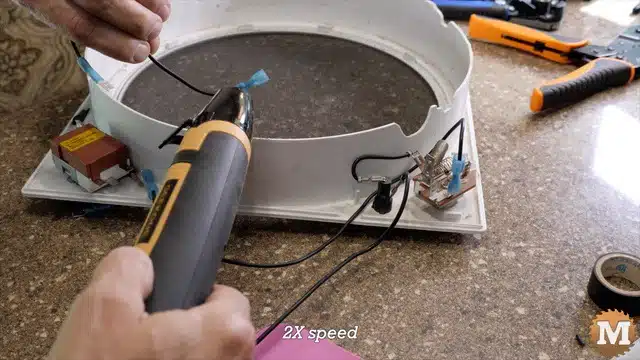
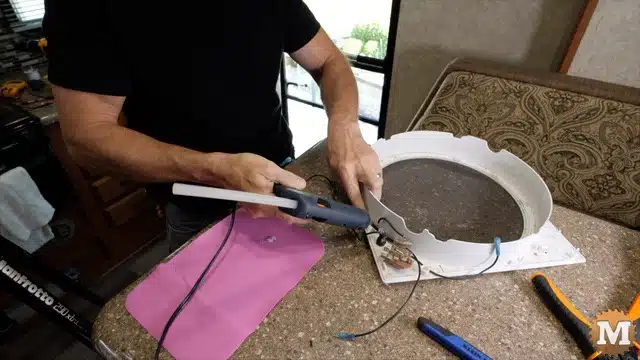
Looks like I have everything ready to go back into place. I just need to have my screwdriver and screws ready because I have to hold this up at the same time.
Reinstall the RV Vent Fan Housing
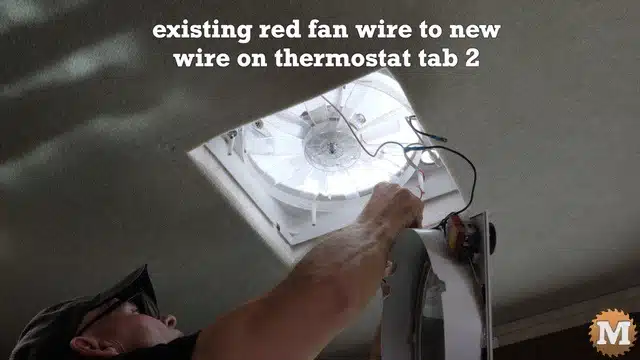
I’ll start with my connection to the red fan wire and then connect my to the black power line.
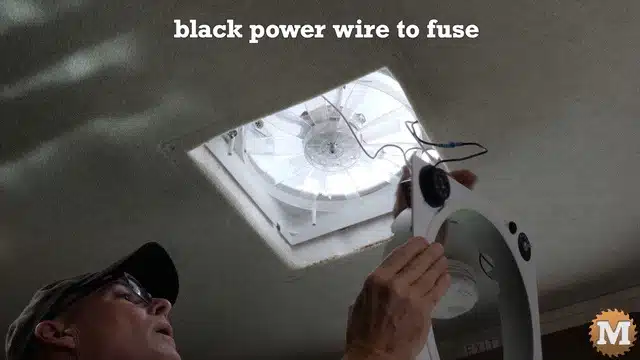
Test the Thermostat
I’ll turn the fan on and then set my thermostat.
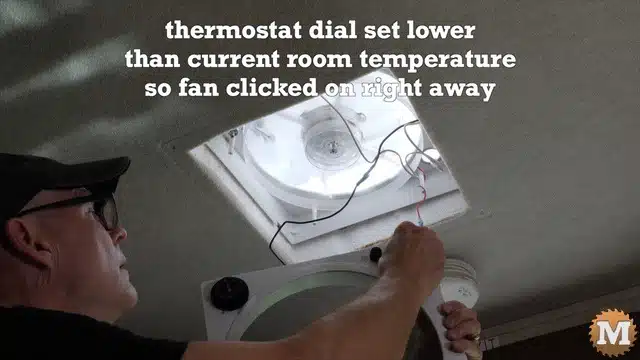
And it works!!
(Disclaimer: As an Amazon Associate I earn from qualifying purchases. Thank you for helping to support my content this way. )
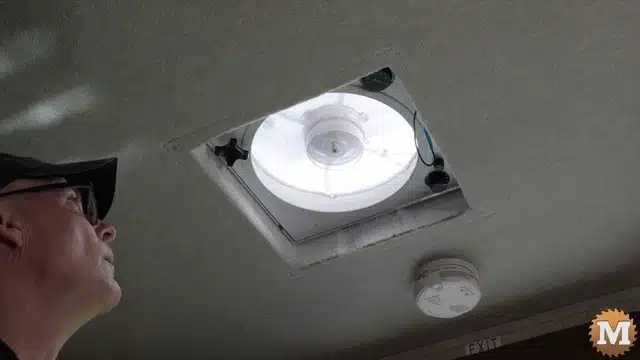
That should stay on until it cools down and drops below that temperature. Now I can see if I can get these wires in here without anything getting in the way of anything else.
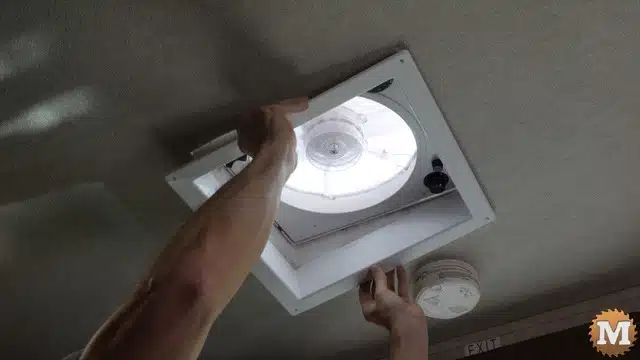
And I can still override and shut it off and leave the temperature the way I like it.
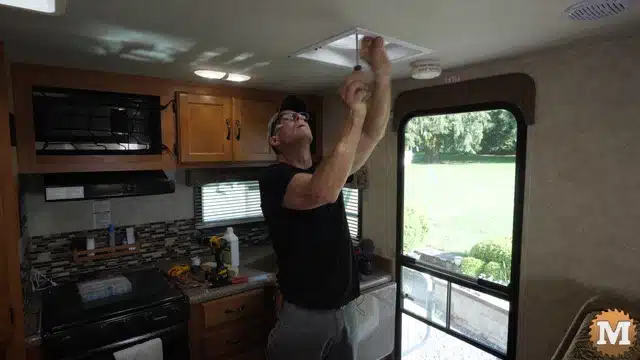
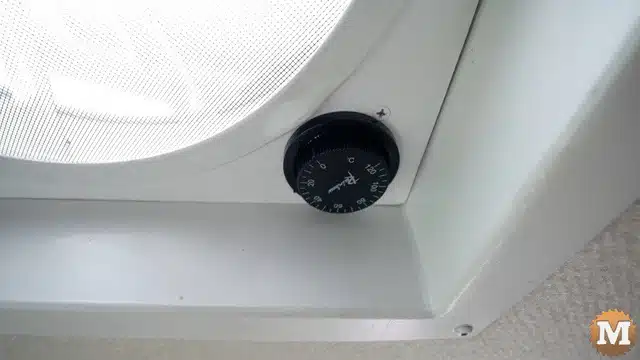
And it’s done! Thermostat added!
Thanks very much for reading!
Please leave me a comment below with any of your thoughts or suggestions on this video blog post. Thanks very much and we’ll see you next time.
