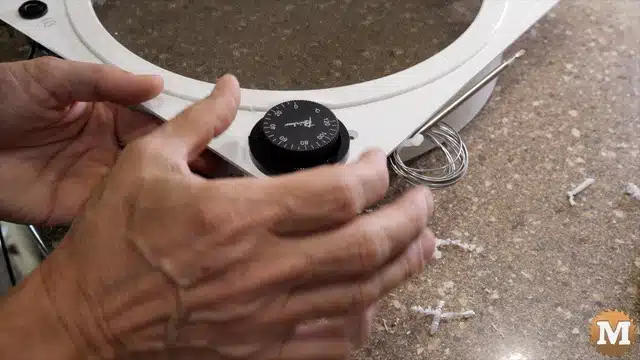
RV Fan Vent Dial Removal
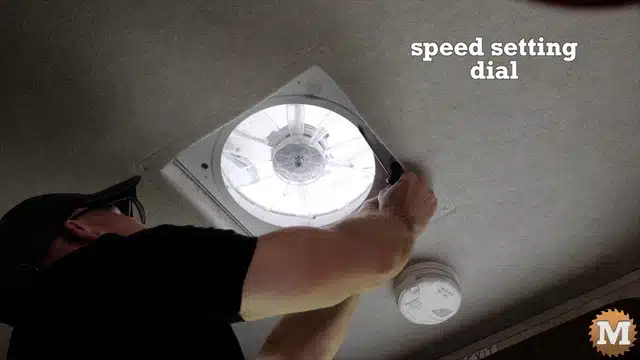
Then a few more screws to remove the frame and screen. It’s light enough to hang from the wires without damaging them.
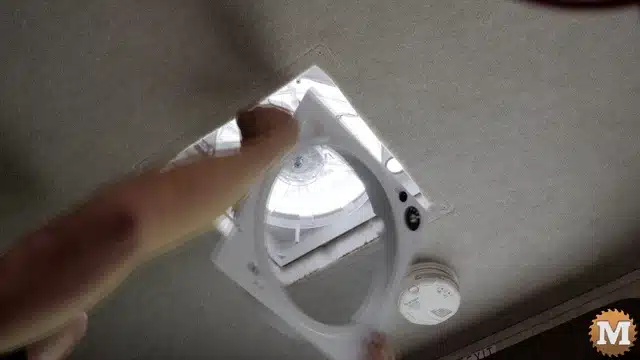
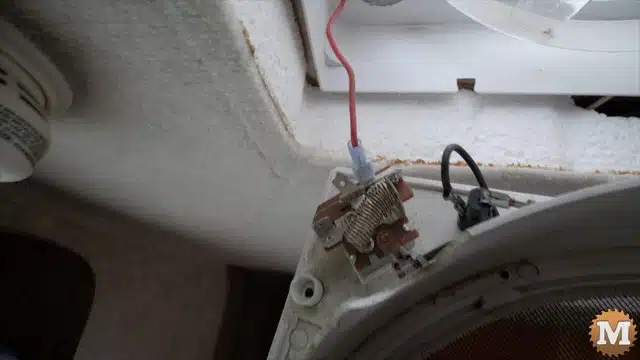
To remove this housing I’ve got a positive connection here on the speed controller. and then I can disconnect the other positive that goes to the fuse.
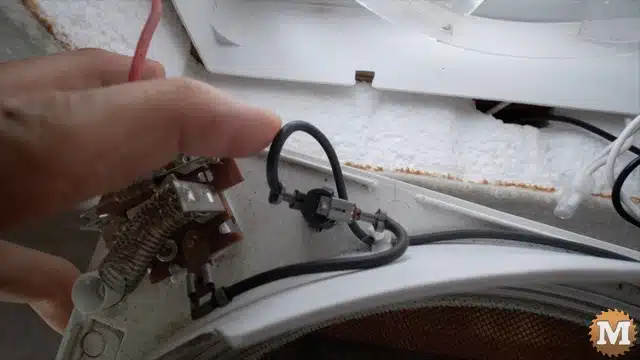
There’s some bits of silicone here holding the wires in place. Then this white wire goes to the switch that turns the fan off when the lid closes.
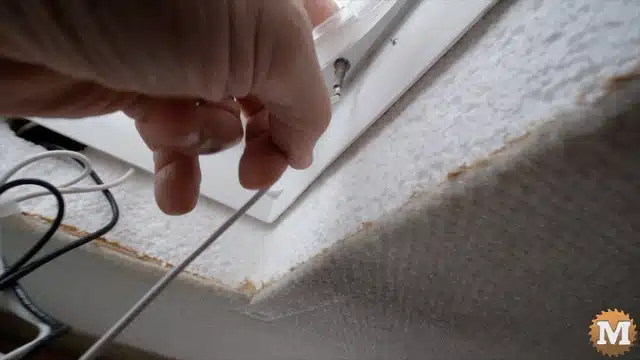
I’ll have to disconnect these wires so I can free up the housing and then drill some holes in the corner to install the thermostat.
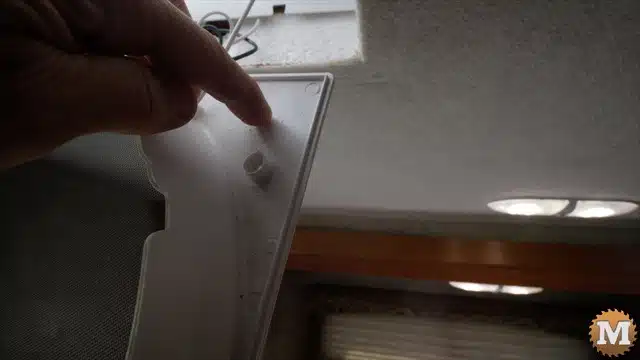
Under the thermostat dial there’s a little face plate.
RV Vent Fan Thermostat Dial Parts – Bezel & Dial
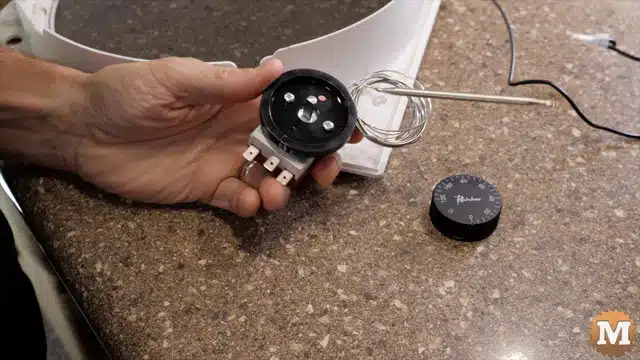
I’ll mark that drill some holes and then I’ll mount that in place and then get the wires ready.
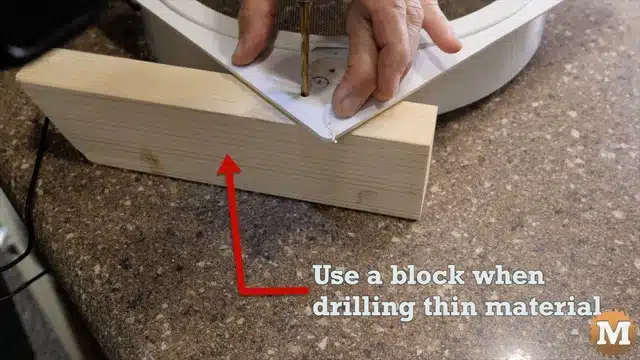
I used a piece of 2×3 lumber under the plastic to support it while drilling these holes. I don’t recall the exact sizes of the two bits I used but, it’s not crucial as the screws and dial hide everything.
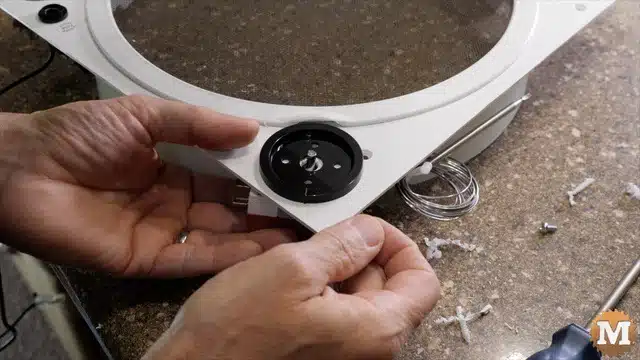
These two screws run through the flange (or bezel I think is called) and into the thermostat.
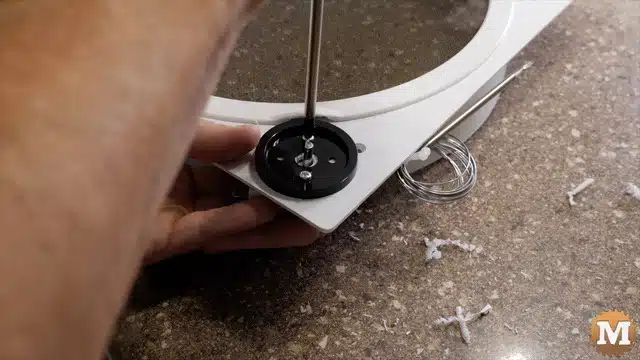
Then the dial can go back on
(Disclaimer: As an Amazon Associate I earn from qualifying purchases. Thank you for helping to support my content this way. )
