The Drip Irrigation System
And I’ll go to the garden and turn the irrigation system on right now — and we’ll see how it performs.
I’ll put this on manual — okay and then we’ll go back in and see how the pump is doing.
I can hear it running dark in here let me put some light on.
Looks like it’s working fine.
Timers, Filters, Pressure Reducers
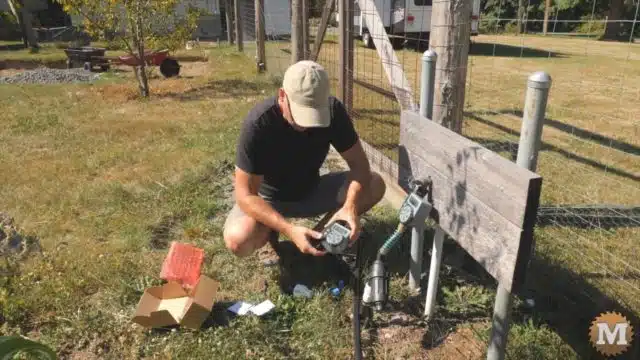
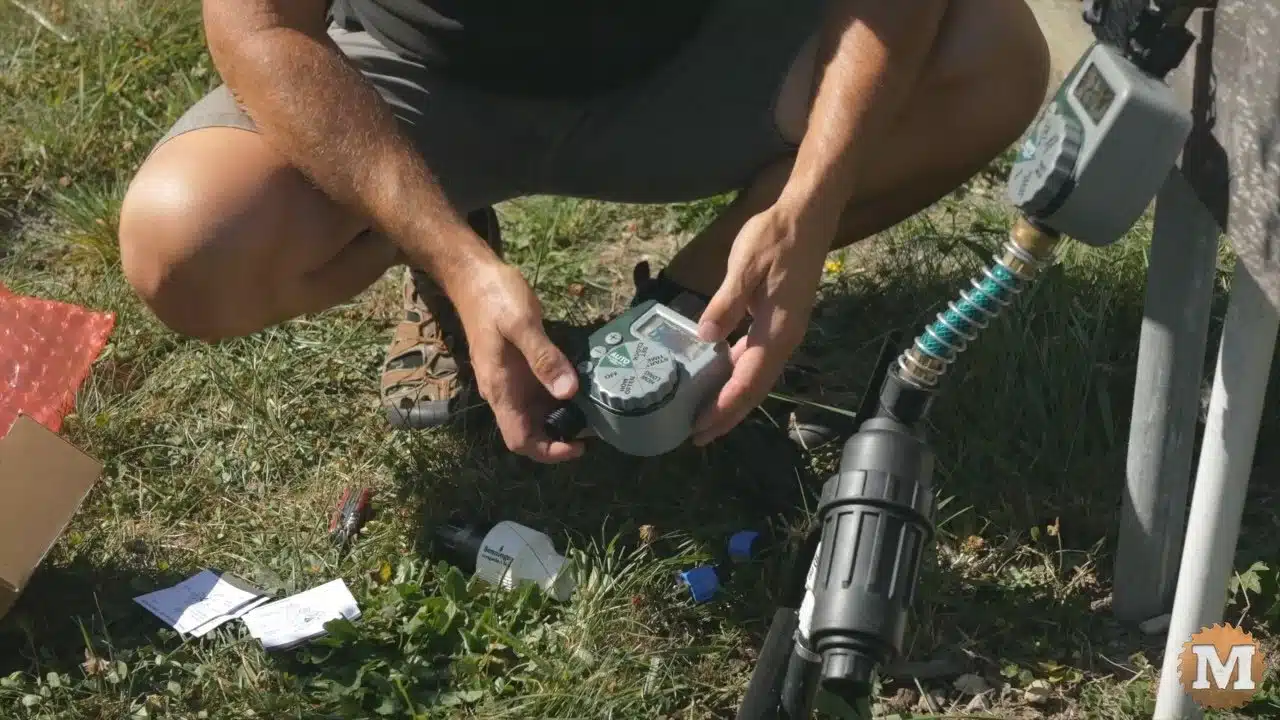
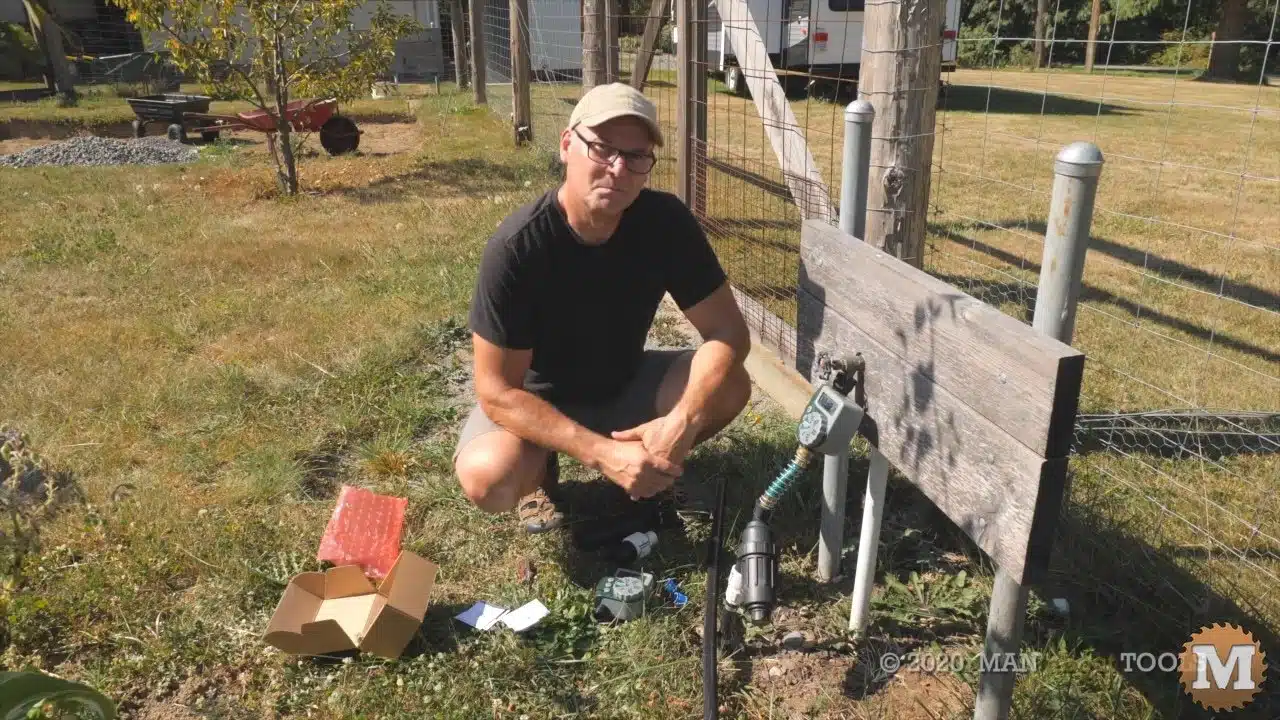
On the hose bibs that we put in a few years ago, I think there’s about five of them here in the garden — I have these small timers, this is a one-outlet hose faucet timer.
I went with the most popular brand on Amazon.
This is the one made by by Orbit and I think I have six or seven of these.
I really like them. They have a large digital display, super easy to set and I have them set to turn on every 12 hours, and to run for 10 minutes at a time.
I have them set all to trigger at the same time so the pump will run continuously and stay cool.
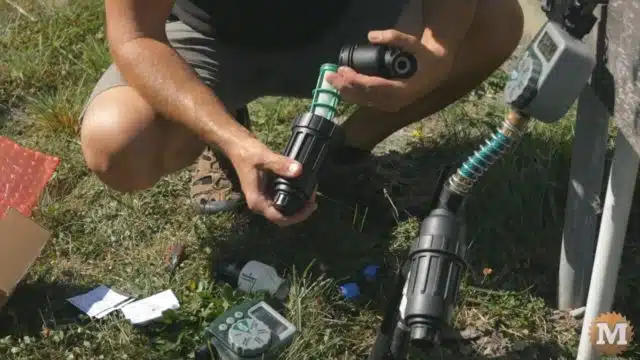
Below the timer is a short length of flexible hose and then I run it into this ‘Y’ filter.
I’ve have a larger a sediment filter on the irrigation system but, this one’s a bit finer to catch any of those smaller particles.
Water runs through that and then through a pressure reducer down to 10 psi.
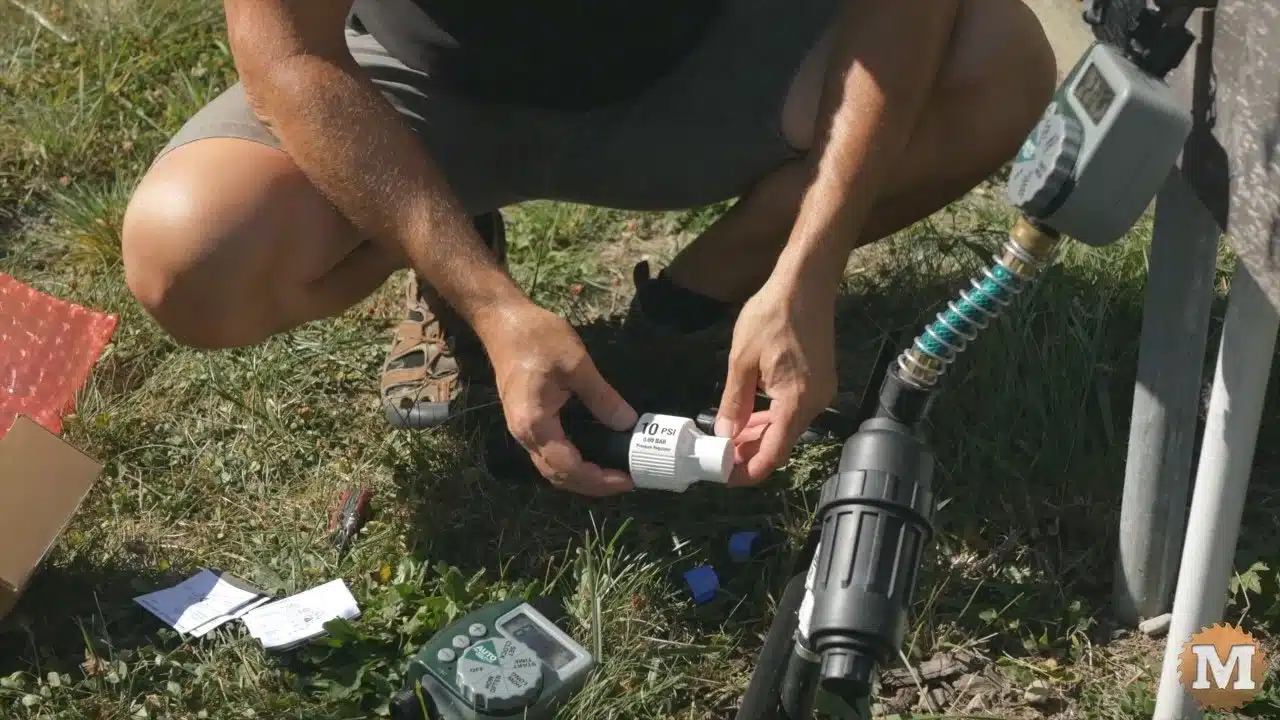
Here’s another one here this is slightly larger it’s also a 10 psi pressure reducer but, it allows a little bit more
flow.
And then this runs into a three quarter inch line that’s underground — and comes up in the flower beds.
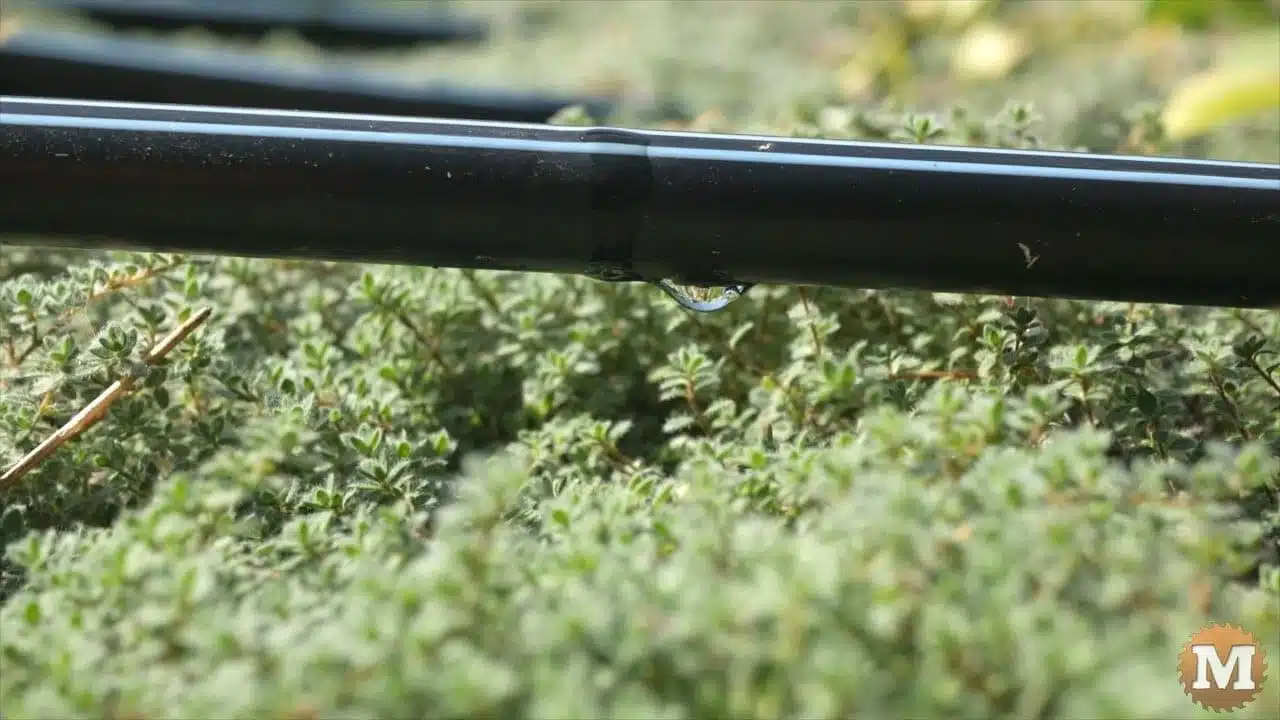
Drip Tape
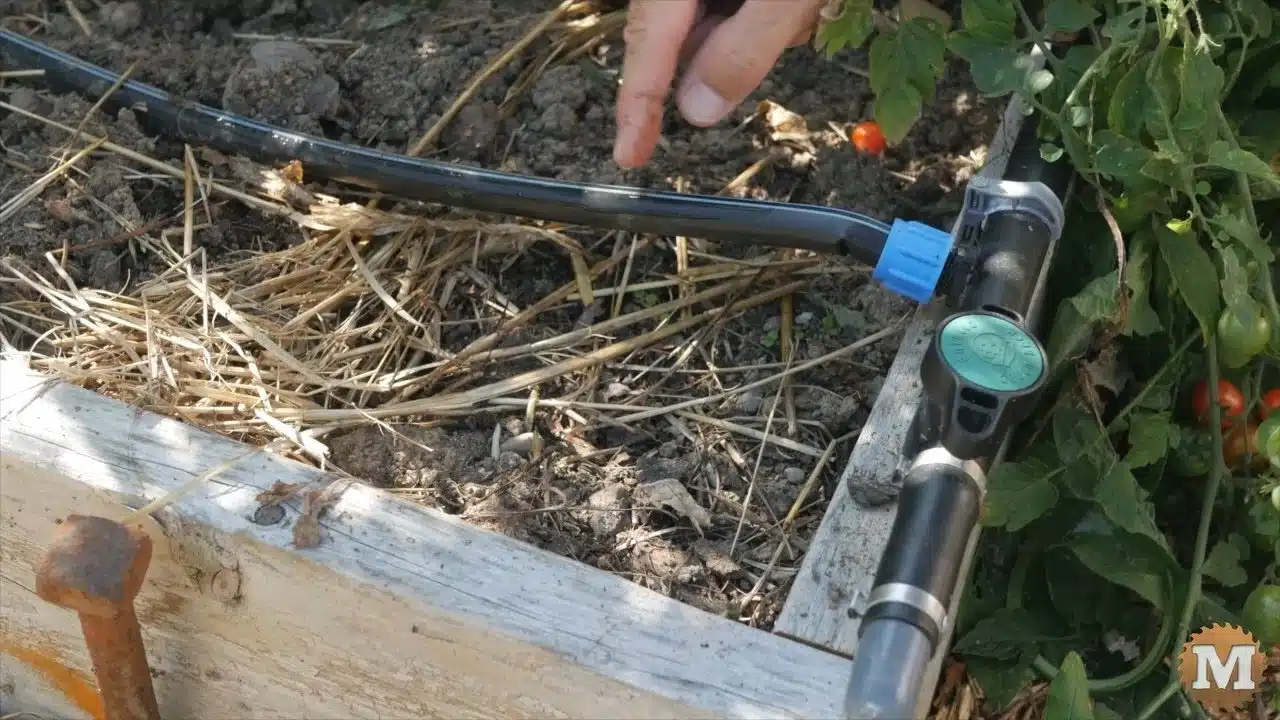
Then we have drip line and these small emitters that can poke through the three quarter inch pipe.
I like to drill a small hole first, then pop those in and then the drip emitter goes onto that.
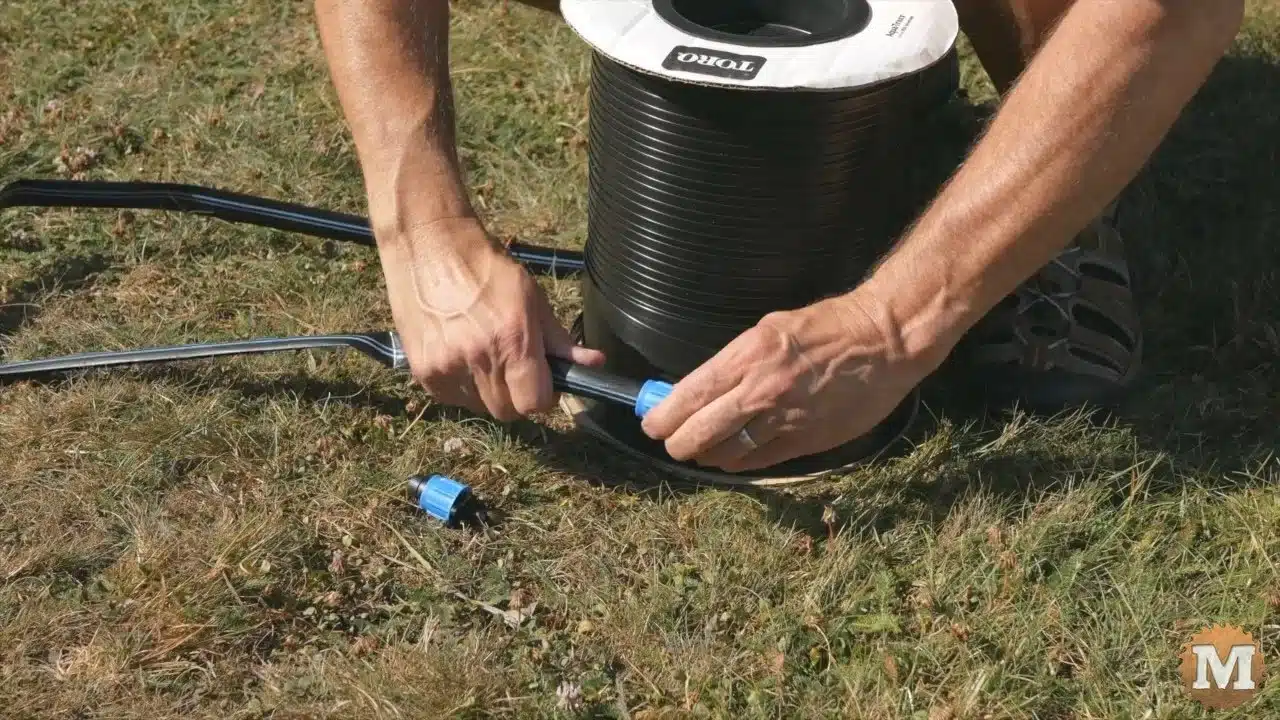
This is some of the drip tape that we’re using. We’ll start to pressurize now.
This is a three-quarter inch line that we bury underground — got a small tap here that we can turn this off if we need to — there’s one of those fittings and flexible drip tape attached to it.
And I’ll disrupt this a little bit and and this particular one I think it’s every eight inches there’s a small drip emitter. A little bit of air running through the line right now.
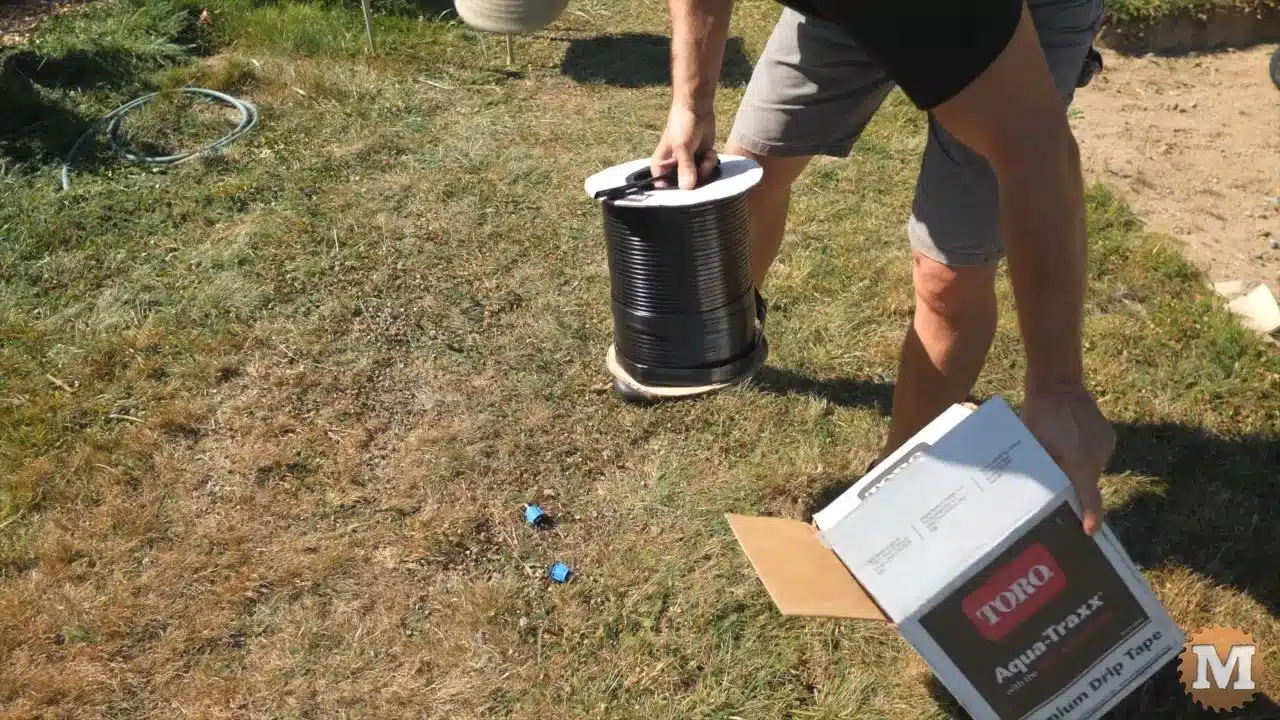
We reuse these tapes — this one we’ve been using for three years now. Sometimes if it gets a kink and it’ll break but it’s pretty durable and it seems like the emitters work very well here. They don’t seem to plug up so we’re really happy with this particular tape. The drip tape we’ve been using is made by Aquatrax.
This just gently slides on like that, give it a spin and that’s it. And it can be adjusted so that the double lines are up.
At the end of the season we just back that off and pull these out.
I fold these up and I put them in the garage for the winter.
That is our irrigation system!
So I hope you have enjoyed this post, and thank you so much for reading. If I make any further improvements or changes I’ll post them here.
(Disclaimer: As an Amazon Associate I earn from qualifying purchases. Thank you for helping to support my content this way. )
And, while you are here, please hit the Support Link to help us make more projects and videos like this. We really appreciate anything you can do to help us out!
Jump to:
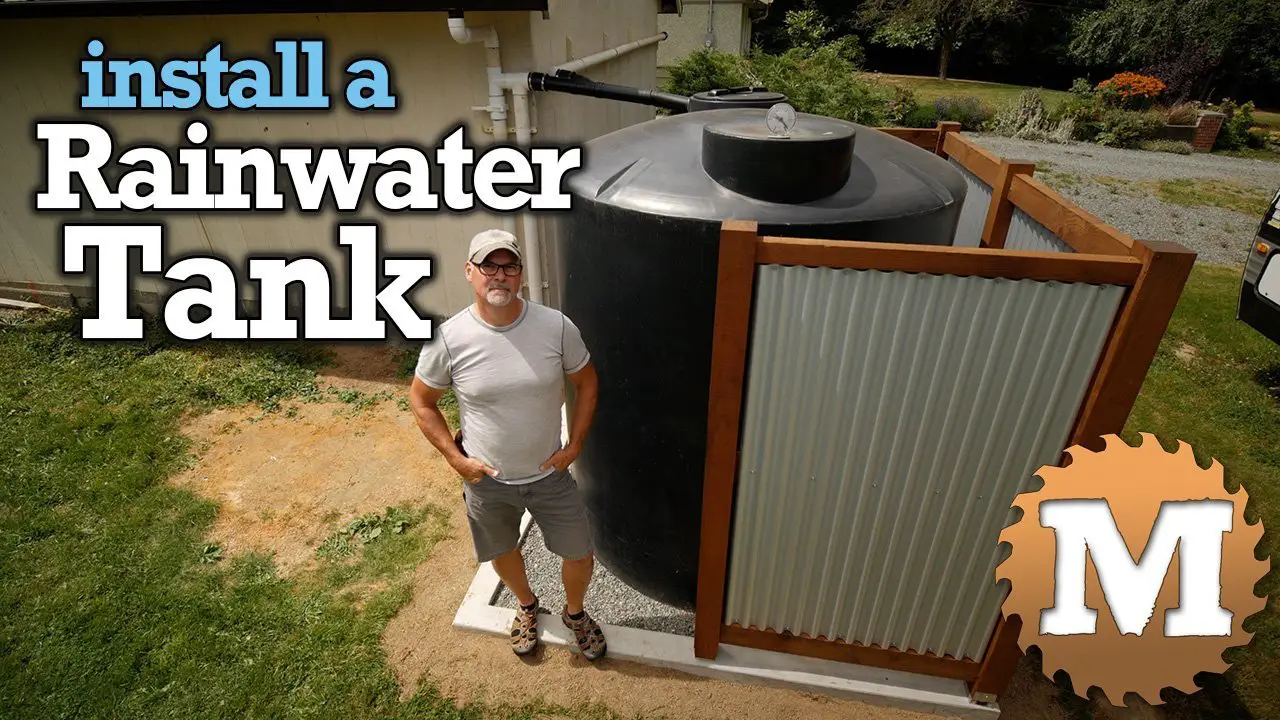
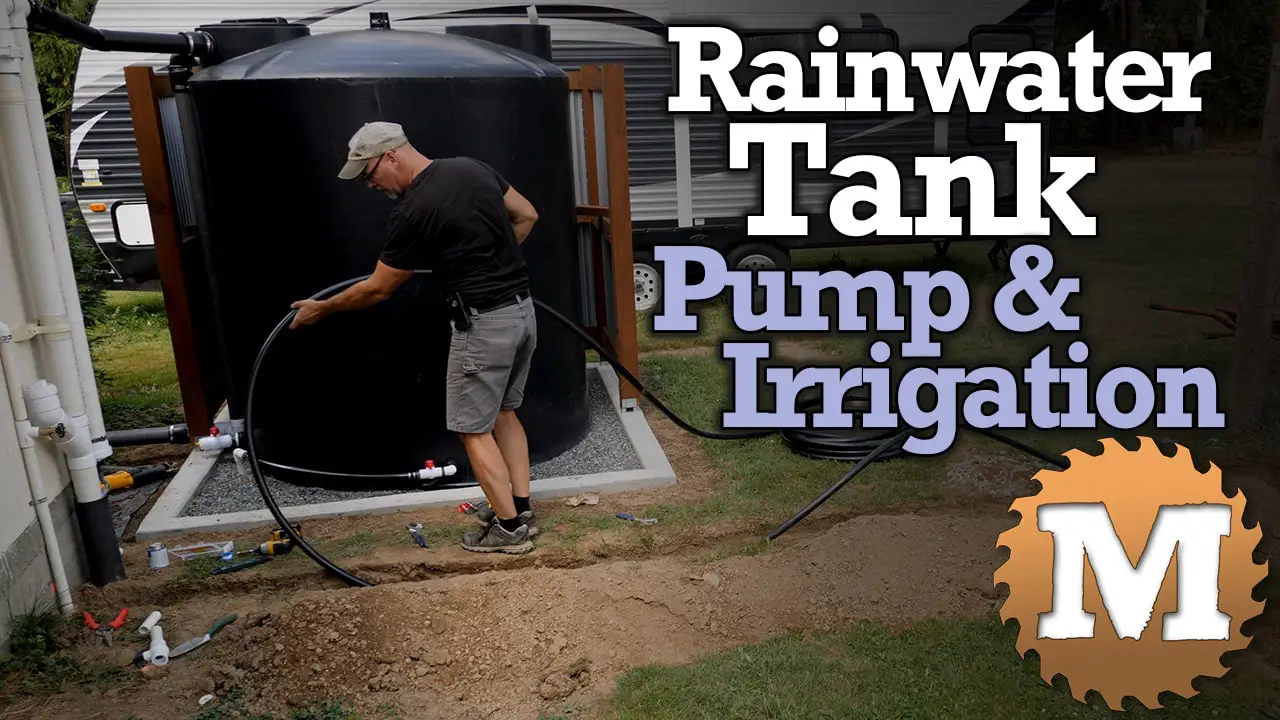
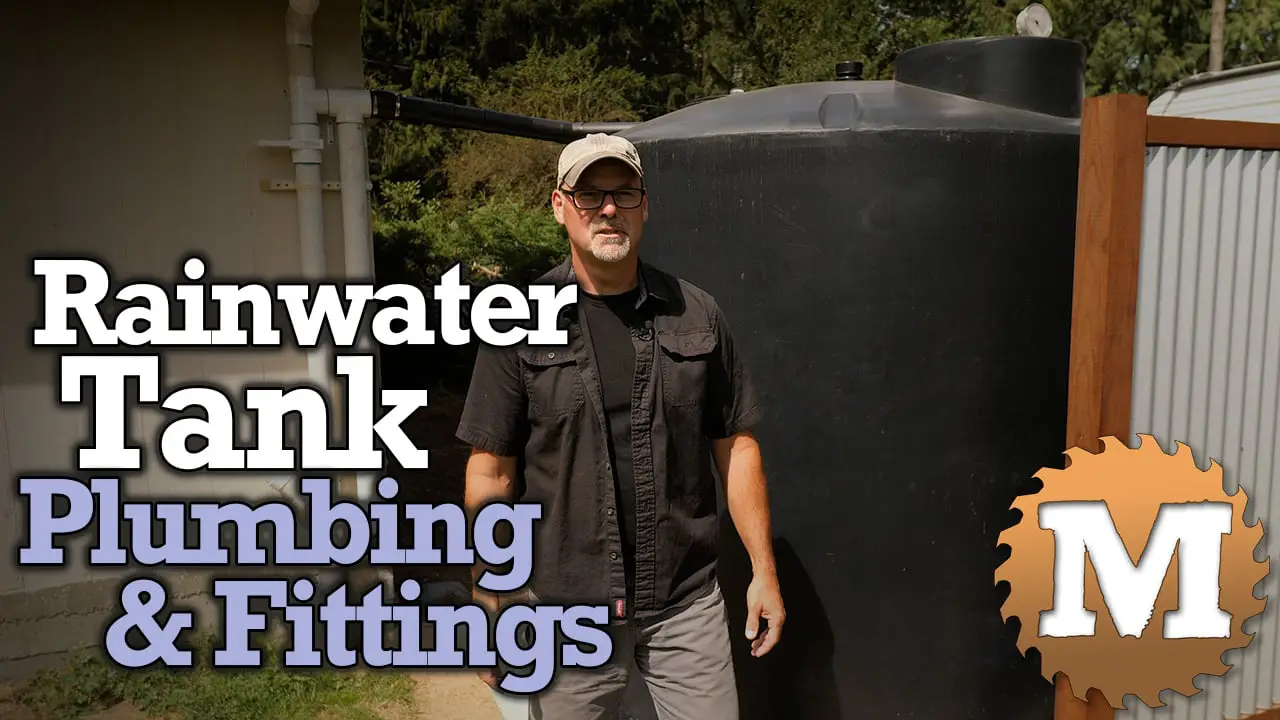
Part 1 – Pour a Rainwater Tank Foundation
Part 2 – Rainwater Tank Plumbing and Fittings
Part 3 – Rainwater Tank Pump and Irrigation
Part 4 – First Run of Tank Drip Irrigation System