Make the ENDS
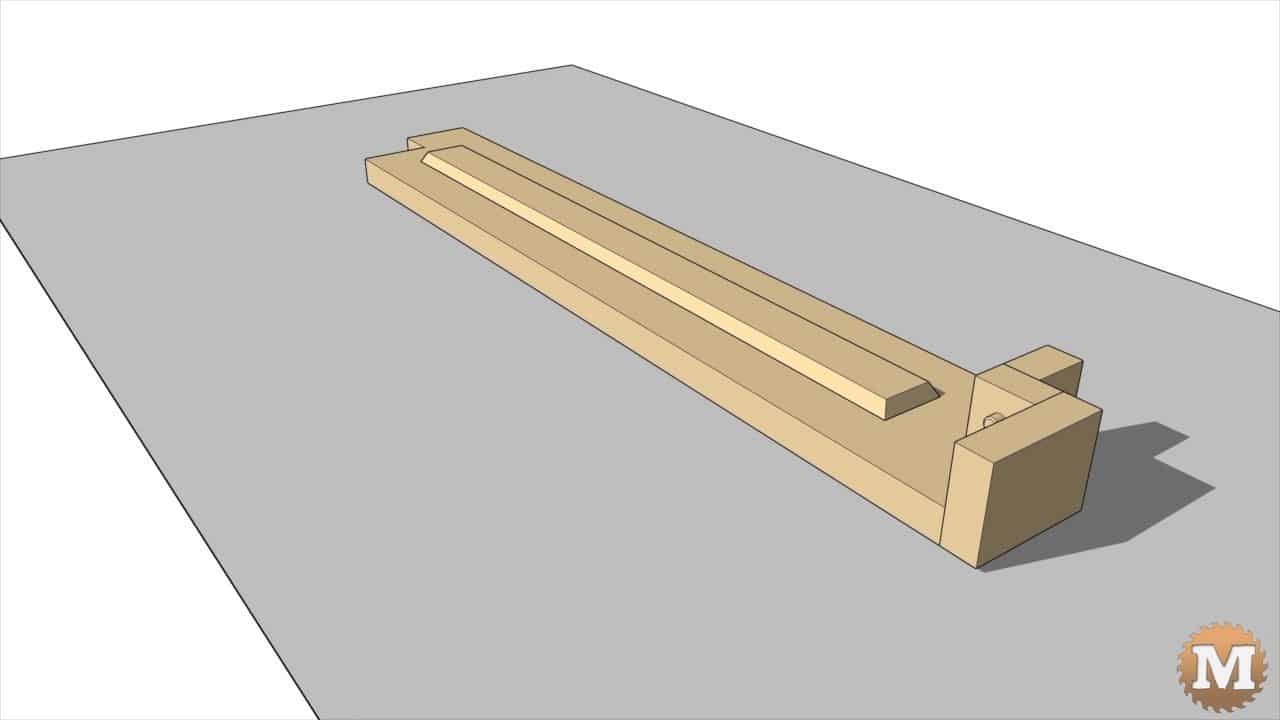
To make the ends, I cut a length of 2×6 for the three pieces that make up the end assembly. These are ripped on the table saw to width then back to the mitre saw to cut down for each component.

One of these blocks I take to the drill press for the dowel hole.
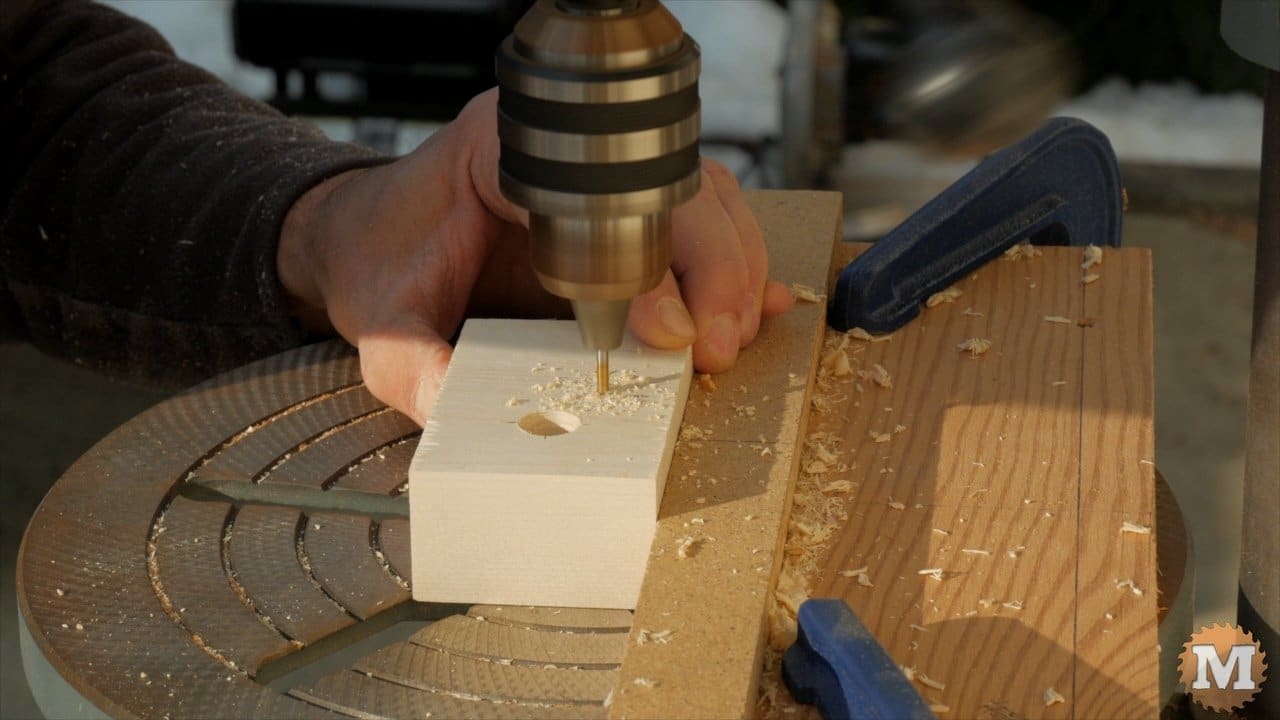
I’ll then drill the pilot holes for assembly with an eighth bit.
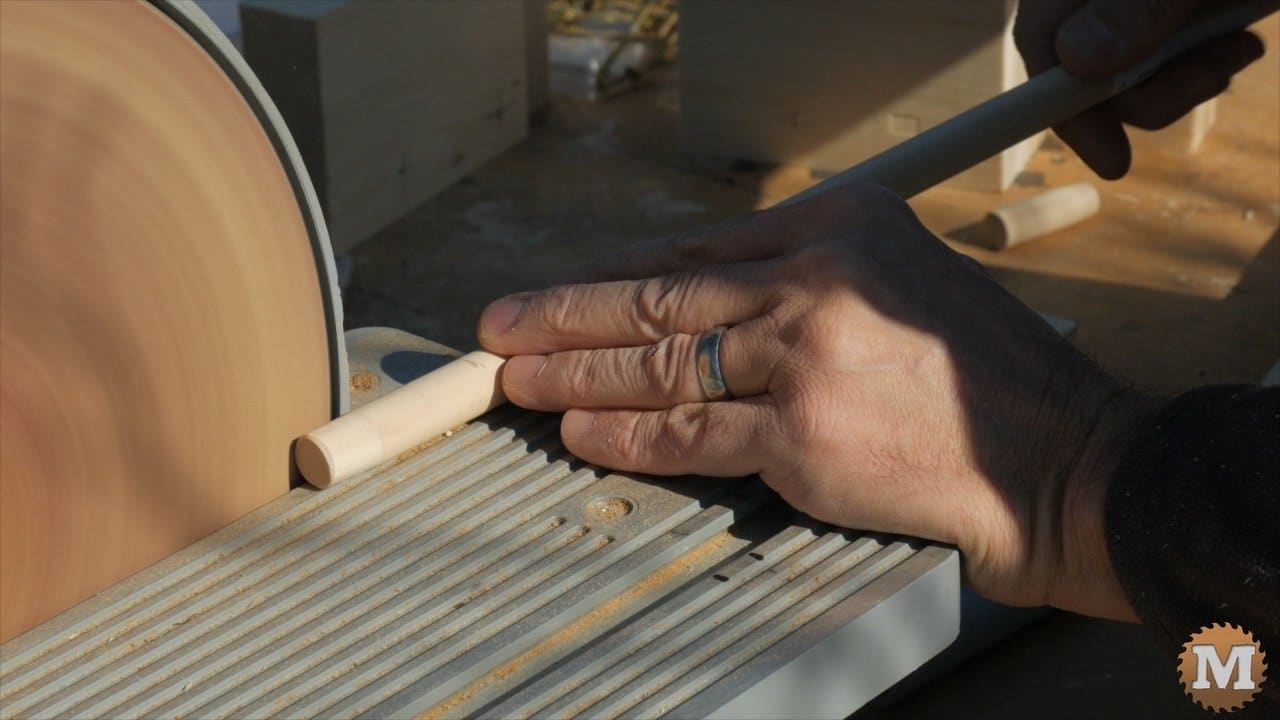
The dowels need to be sanded down to reduce their diameter to fit inside the pipes. I use a disc sander for this. You could also use a small hobby sander or a belt sander instead.
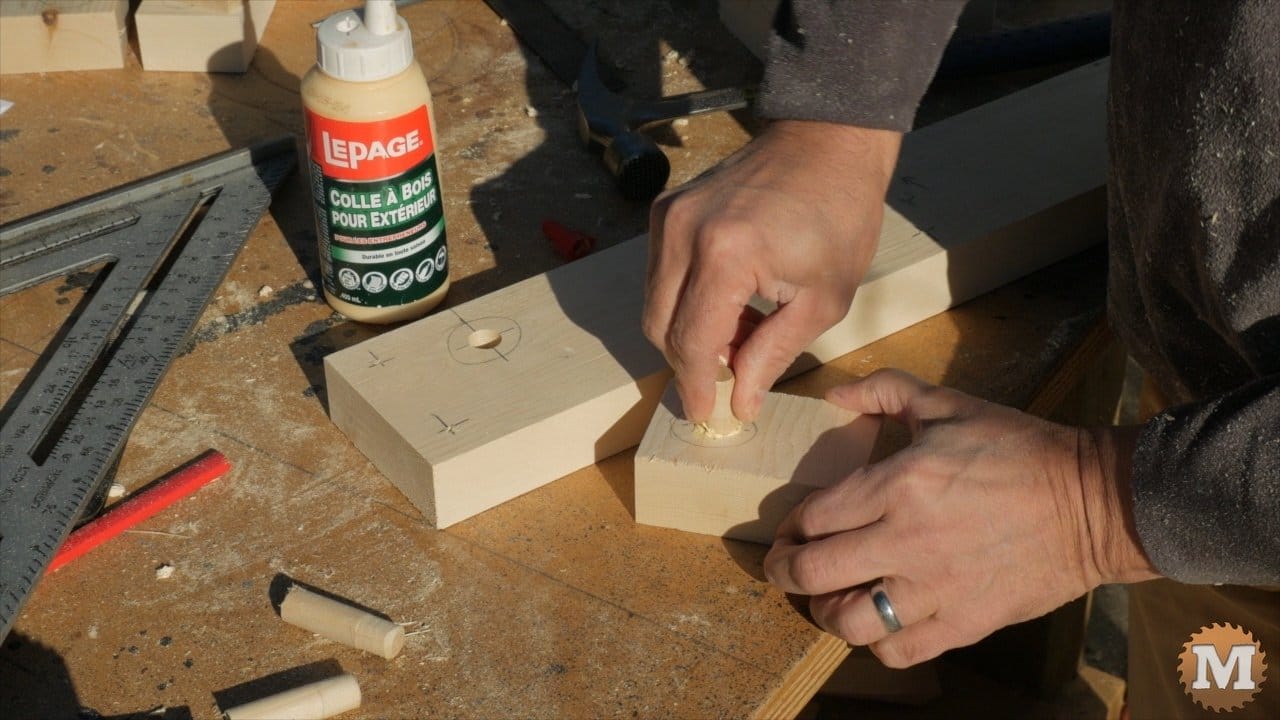
These are then cut to length and glued and tapped into the holes.
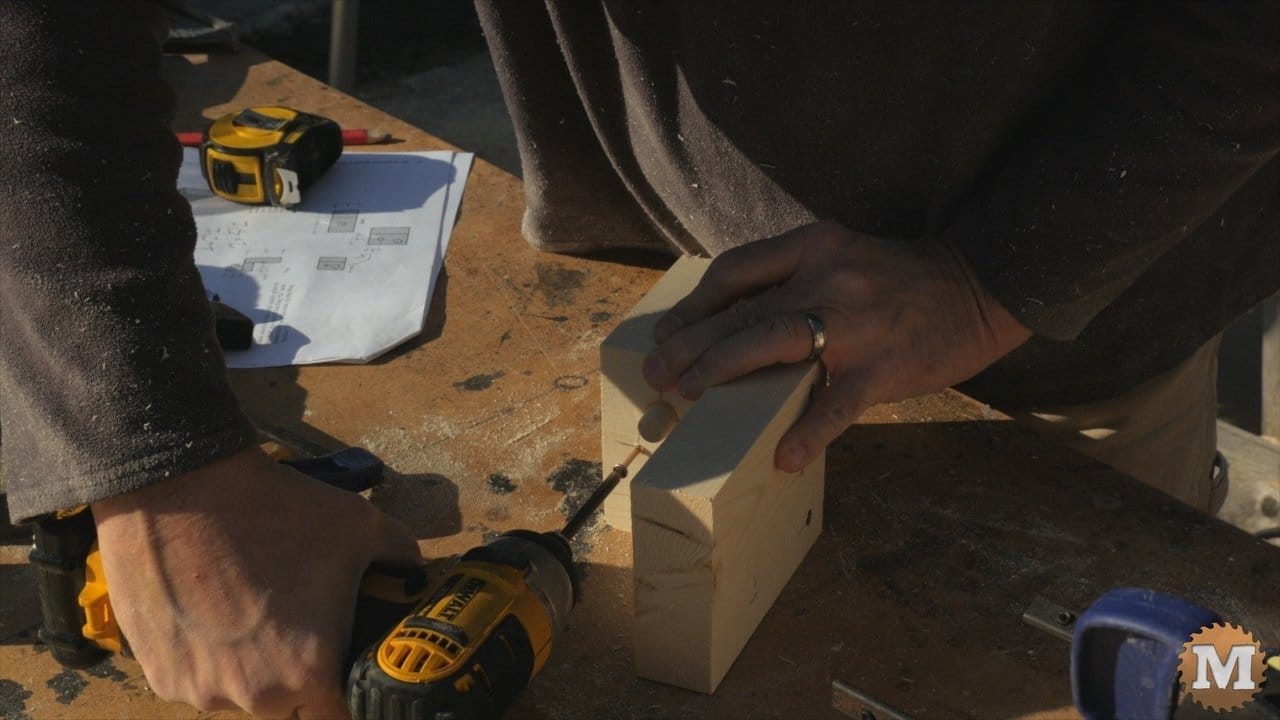
I assemble the ends with glue and screws checking that everything lines up well and is square.
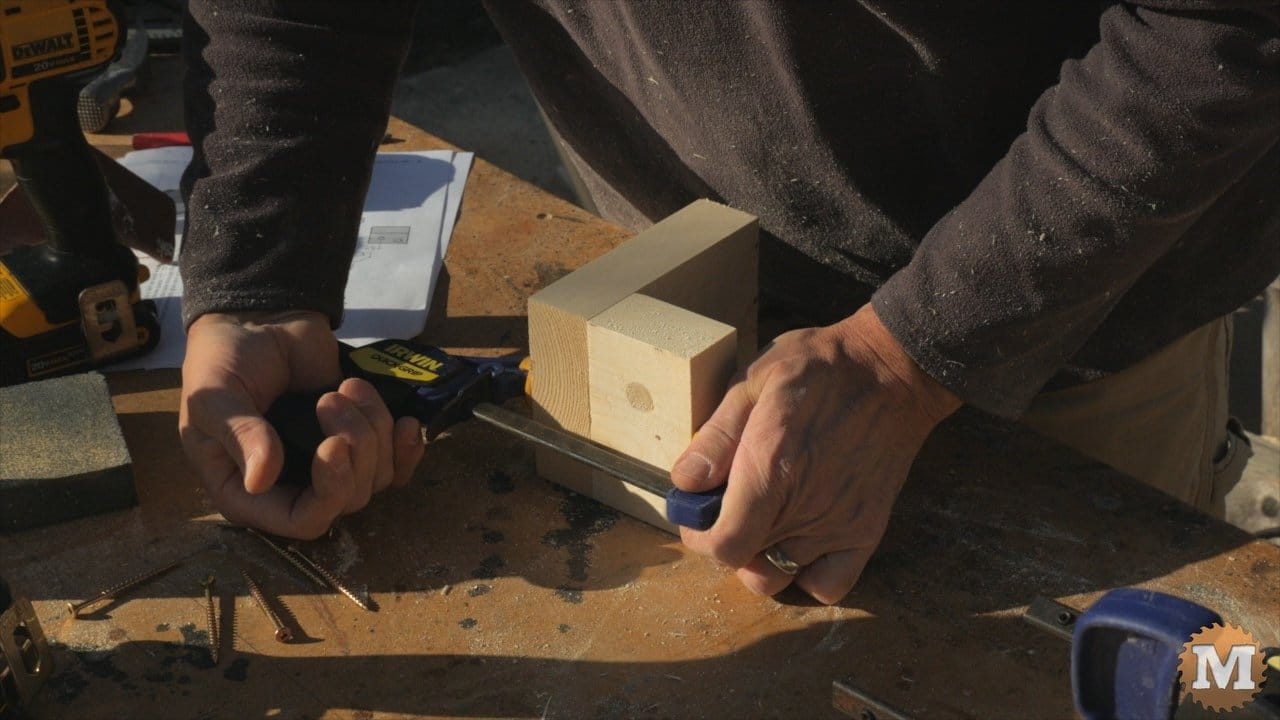
A clamp helps to hold the pieces while I run in the screws.
Test Fit and Assembly
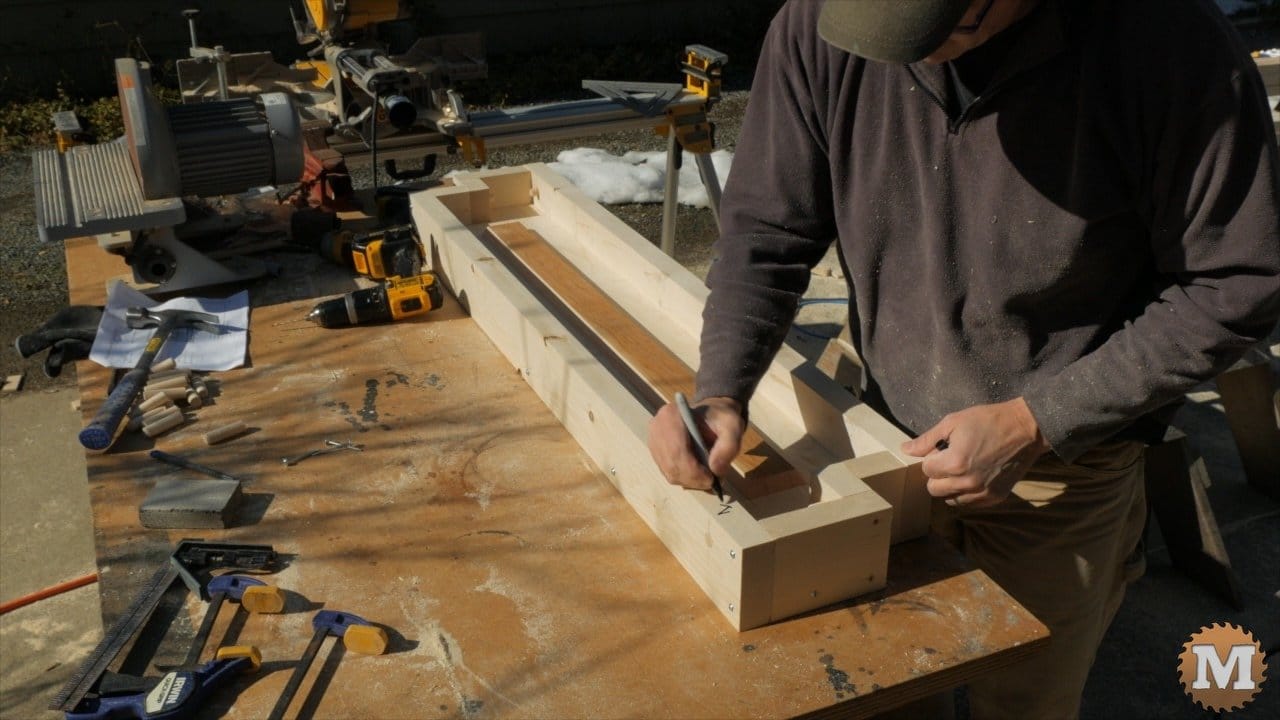
With all the parts of the form ready, I assemble it and test the fit.

I number each form and all the parts so I can reassemble it again the same way.
(Disclaimer: As an Amazon Associate I earn from qualifying purchases. Thank you for helping to support my content this way. )
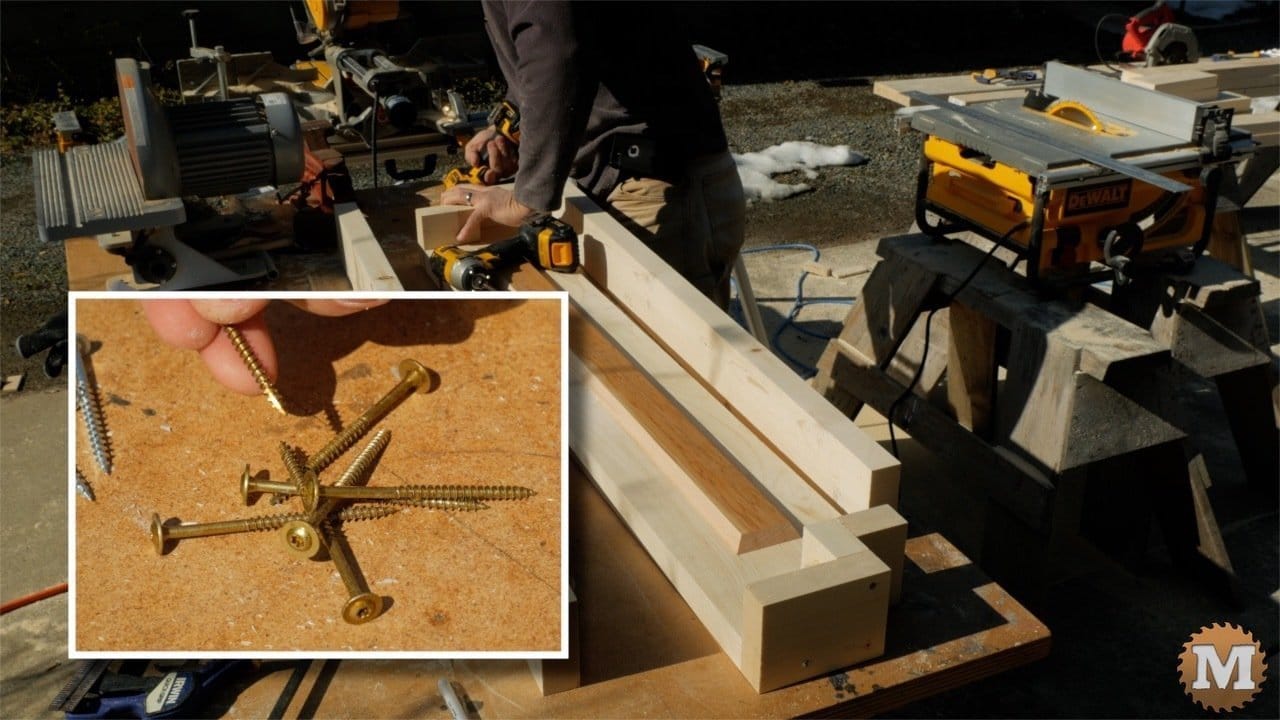
I used particle board screws for this but there’s some self drilling cabinet screws, for a few more dollars, that would save time and pre-drilling.
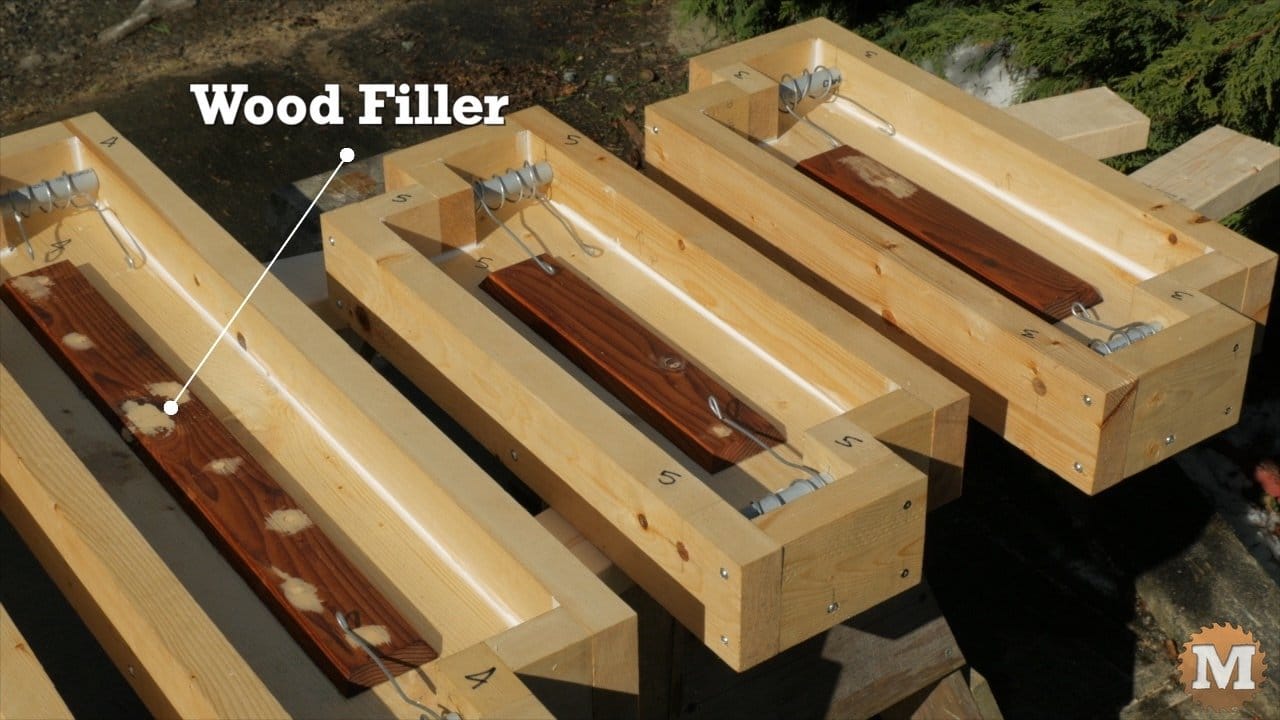
I filled any knot holes or screw heads with a bit of wood filler. Some of the insets had holes predrilled from the other plywood forms. They were the right size so I attached them with screws from the top.
No worries. Wood filler filled the screw heads and only took a minute to apply.
Apply Finish
I remove the screws and disassemble the form and apply two coats of Food Grade Mineral Oil.
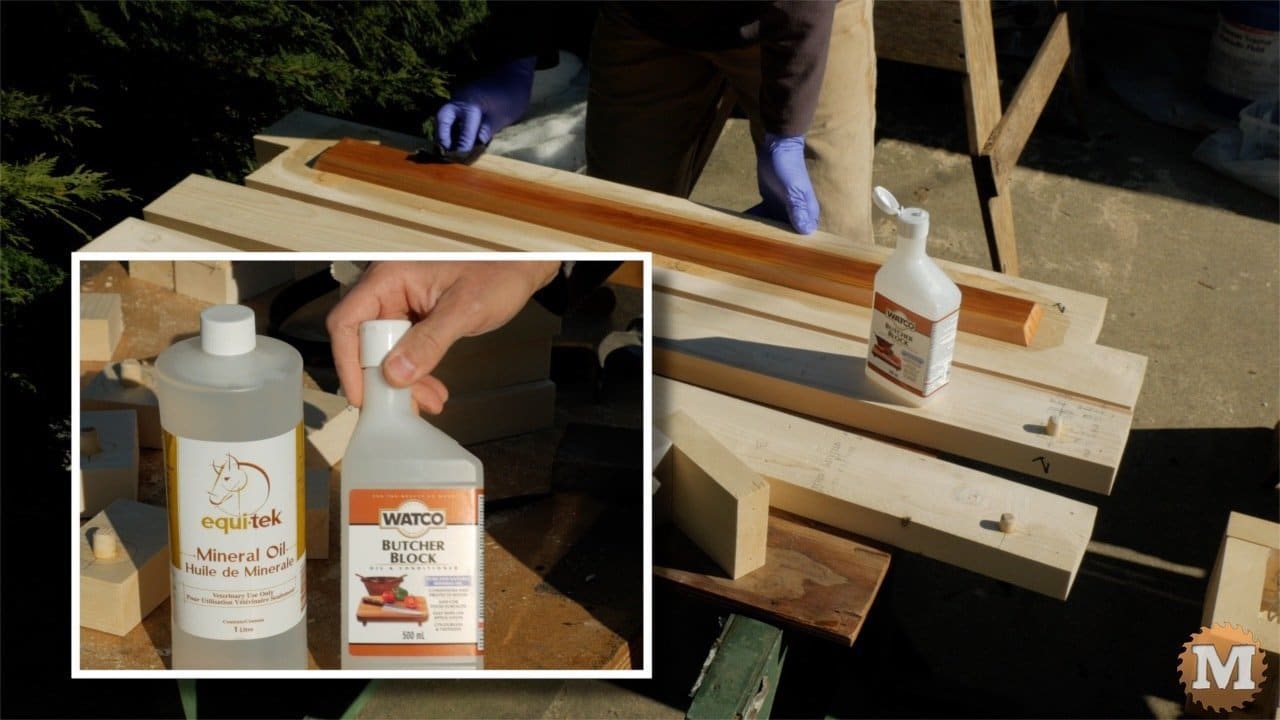
This oil is sold as Butcher’s Block or Cutting Board oil. You can also buy it in Feed Stores for about half the price.
I liberally apply it with a cloth. It doesn’t take long and each coat took about 10 minutes per form.
Pipes and Wire
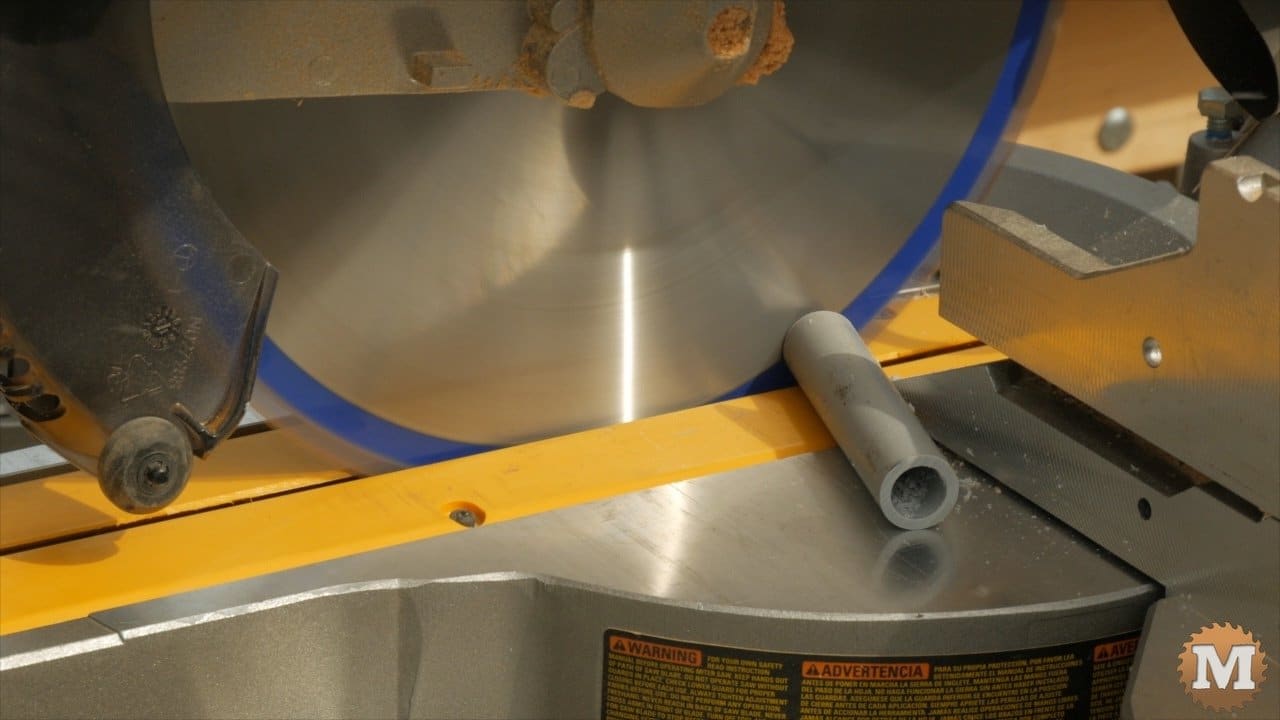
While this is drying (or soaking in) I’ll cut the plastic pipe to length.
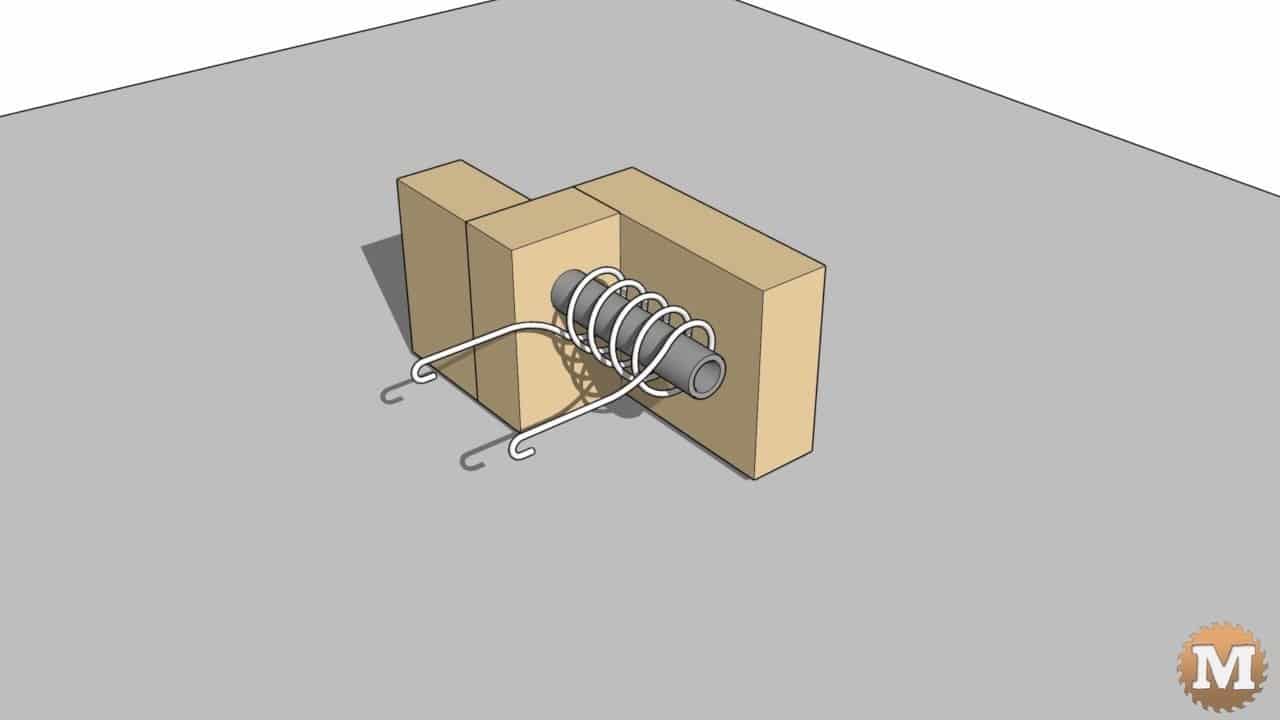
I use wire wrapped around the pipes to add strength to the ends where the concrete is the thinnest.
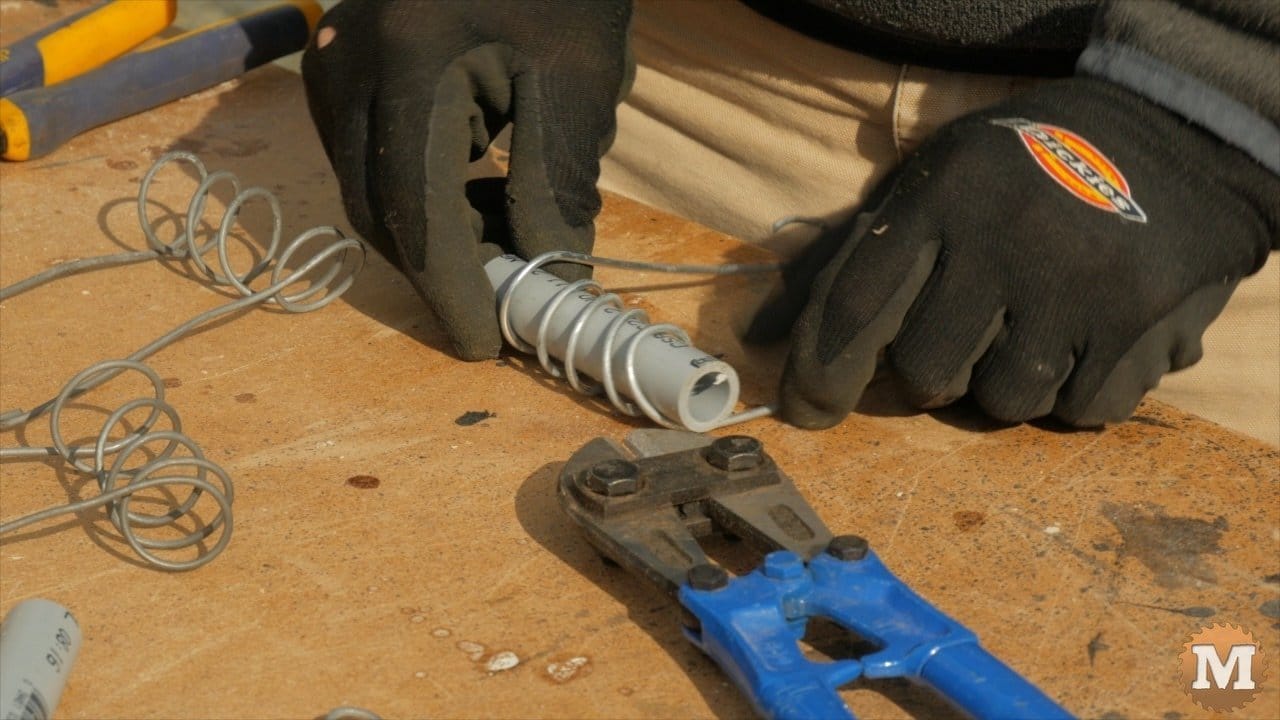
I wrap wire around a pipe like a spring. Then open it up a bit.
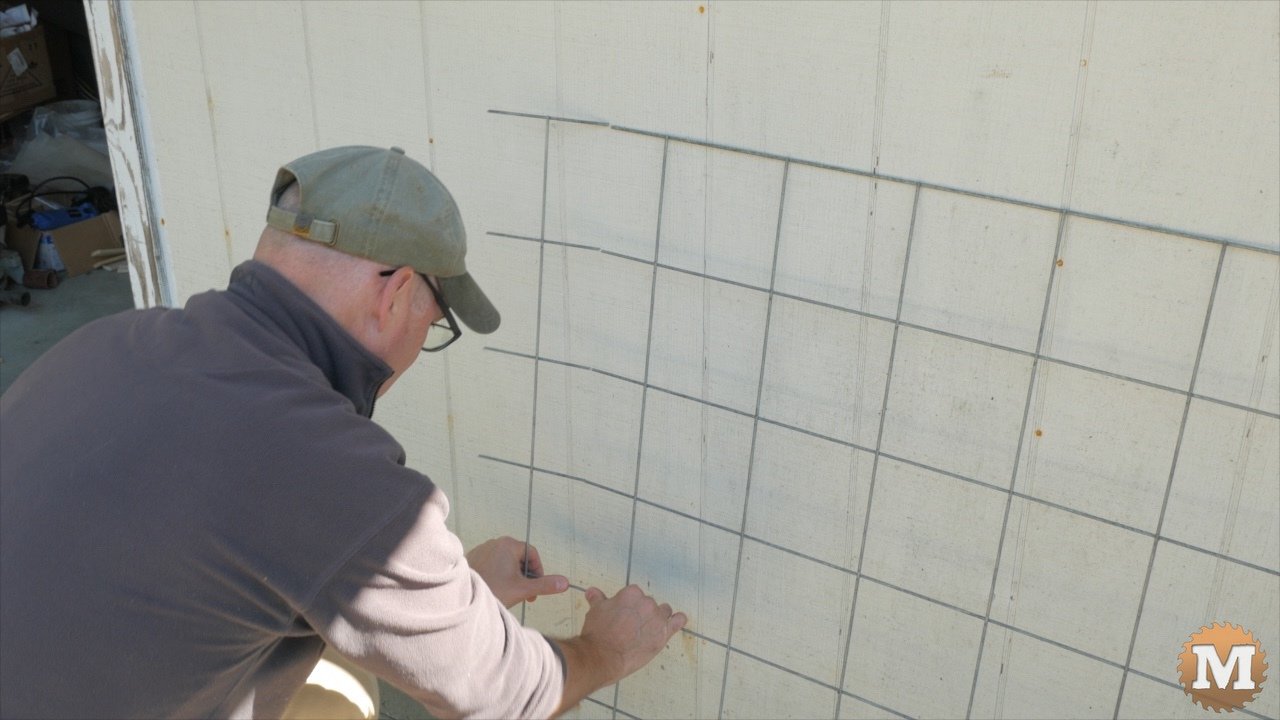
With small bolt cutters I cut a section of stiff wire mesh to reinforce the center section of the panel. This will be laid in the concrete as it’s poured.
Final Assembly
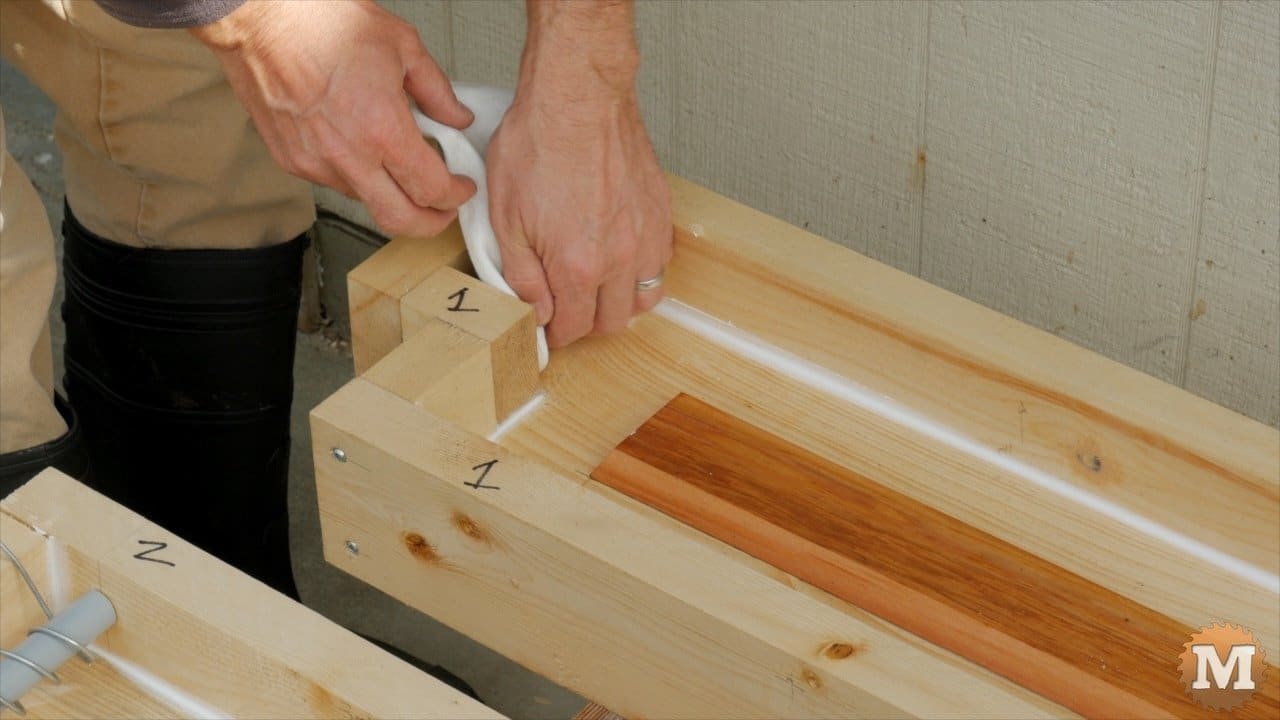
Now assemble the forms with the wire and pipes. I add some latex calking to make the forms water tight and to add a small fillet in the corners.
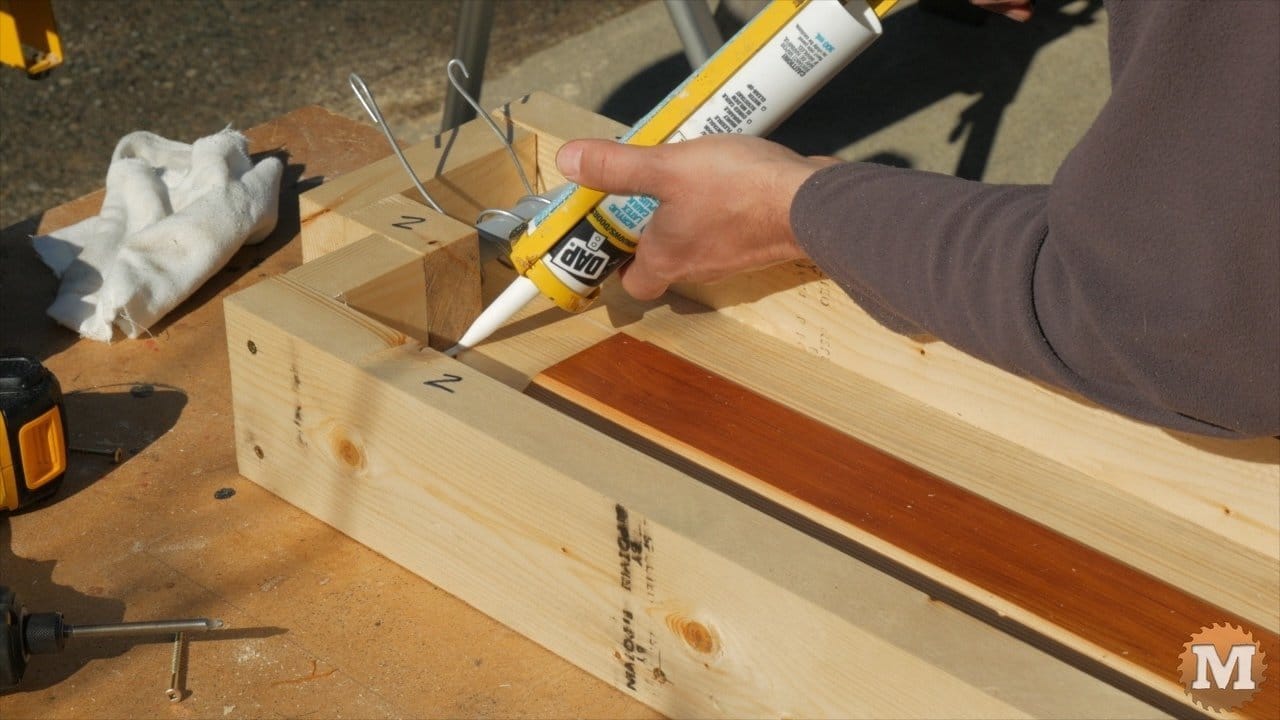
This takes only a few minutes per form. This also fills any small gaps where the sides, ends, and base meet.
Latex works well as it’s not overly strong and will allow you to disassemble the mold easily once the concrete sets up. Don’t use regular silicone for this. It’s too strong and will be difficult to remove later. Latex caulk is all that’s needed.
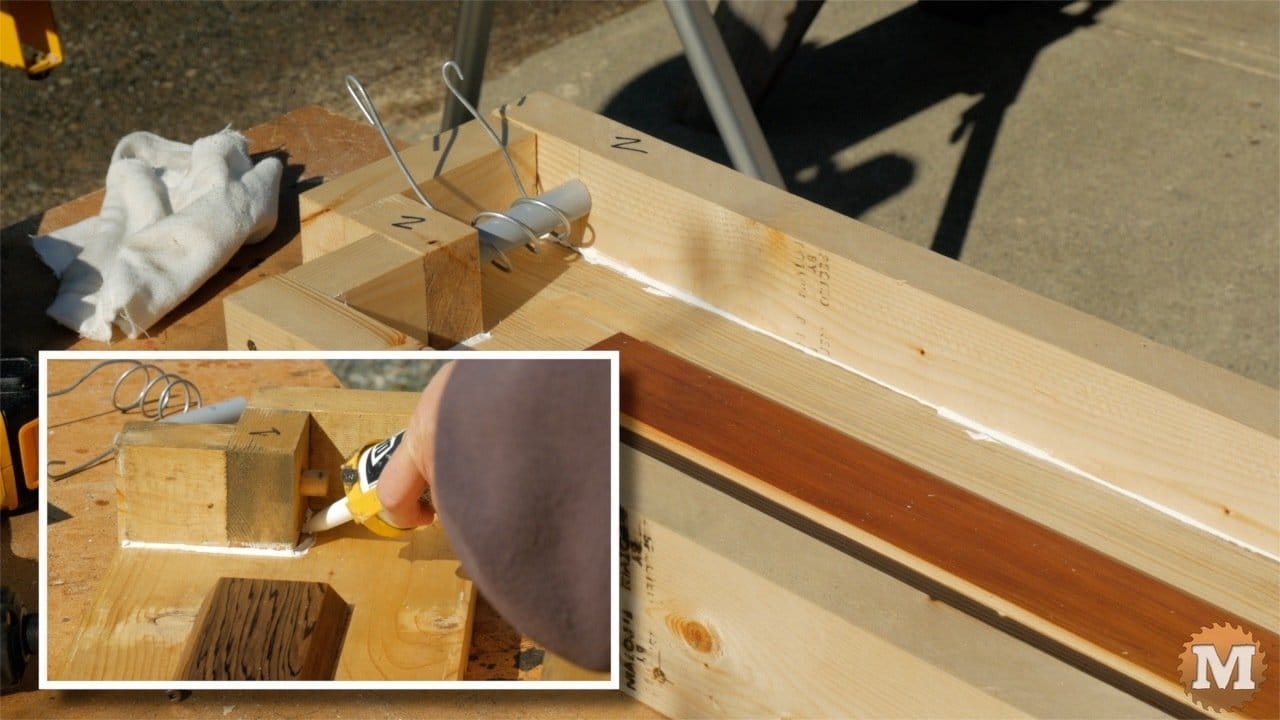
I realized later that it’s easier to add the caulking to the ends before the pipe is in place.
cast the CONCRETE RAISED GARDEN BEDS
I set the forms over sawhorses and level them in both directions.

I cover the wire and pipes with a cloth and spray the form with vegetable non-stick cooking spray.

I’m going to use a crack resistant concrete mix that has fibres added for more strength. It’s only a few dollars more per bag so why not?
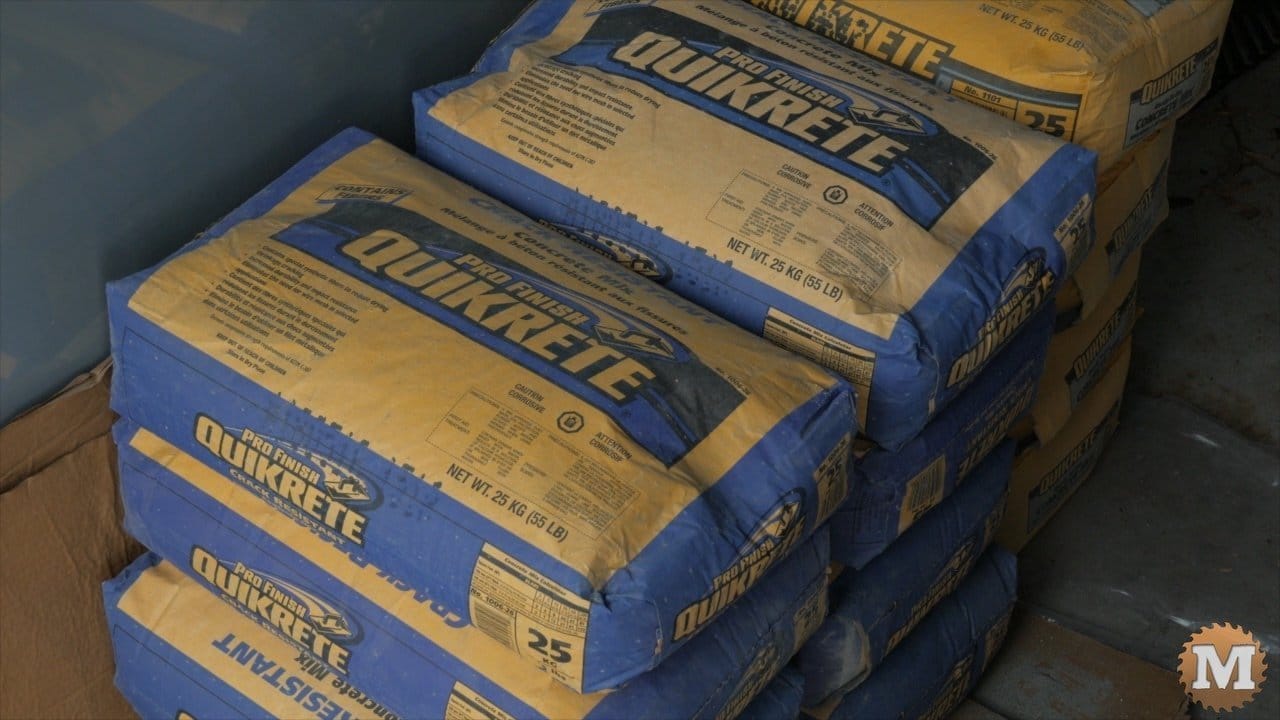
Some have suggested that fibre reinforced concrete would be strong enough so wire would not be needed. But adding the wire gives me an extra bit of insurance that doesn’t cost much in time or materials. So I’m sticking with it for these castings.

I mix the concrete in a wheel barrow and shovel it into the form filling it half way.
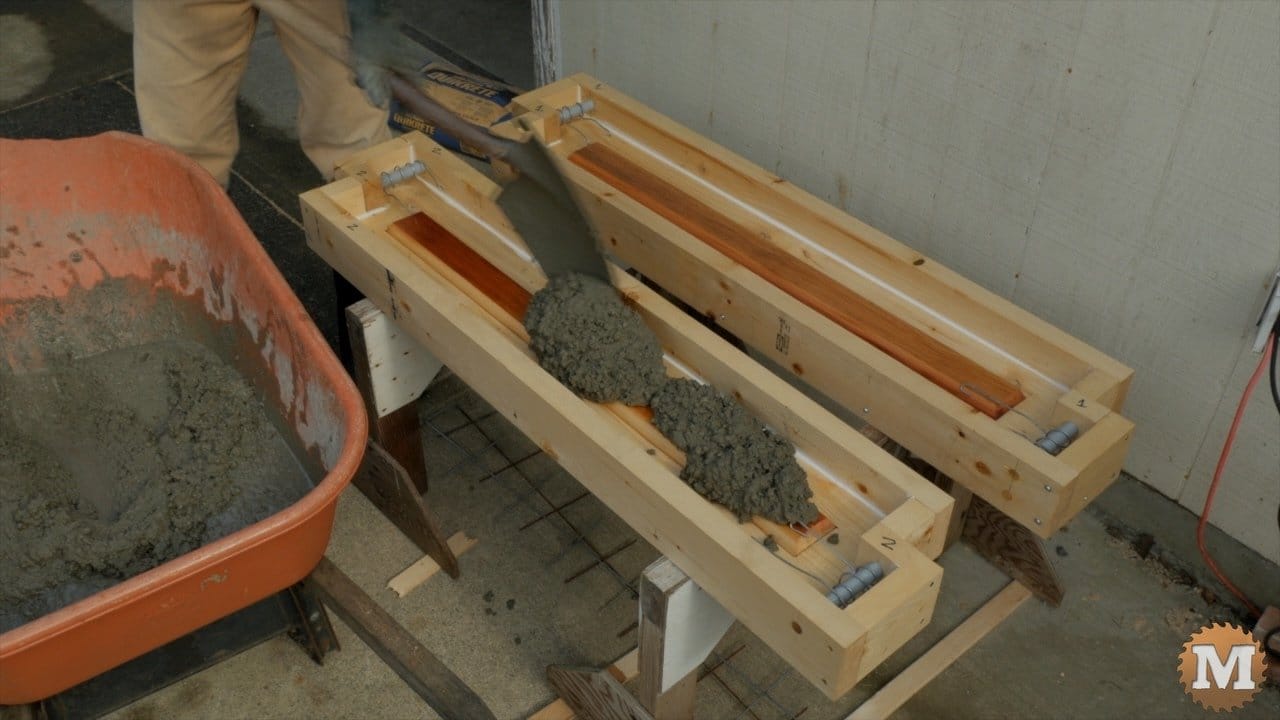
I use a wooden mallet to settle the concrete and bring bubbles to the surface.
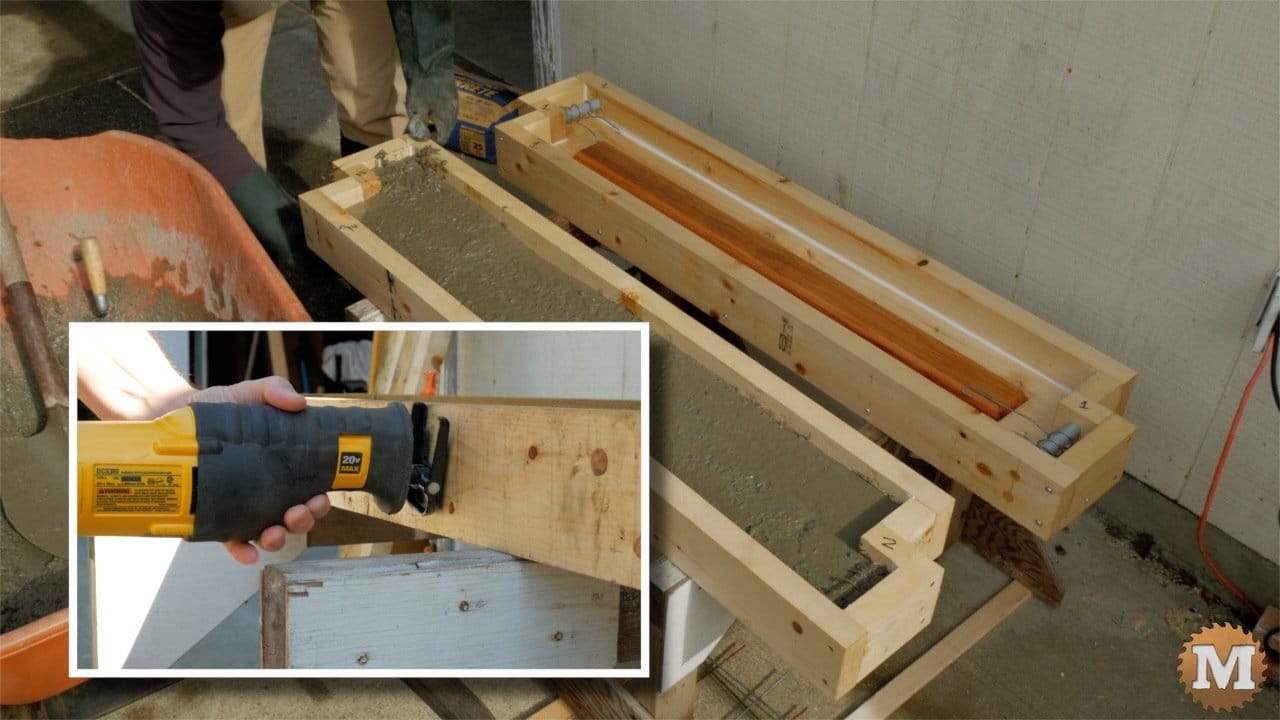
You can use the edge of an orbital sander or a reciprocating saw without a blade to vibrate the forms and settle the concrete.

I lay in the wire mesh then top up the form with more concrete. I’ll let this set up for a bit then come back with a corner tool to round over the edges on the sides.

