Finishing the Main Roof of the Post and Beam Gazebo
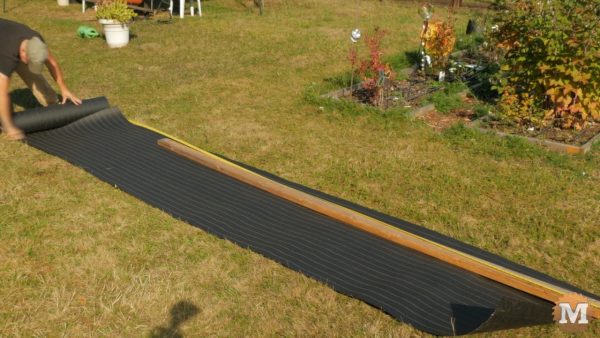
I rolled out lengths of tar paper on the ground and cut them to the width of the main roof. It’s easier to do this here than try to manage a full roll up on the roof.
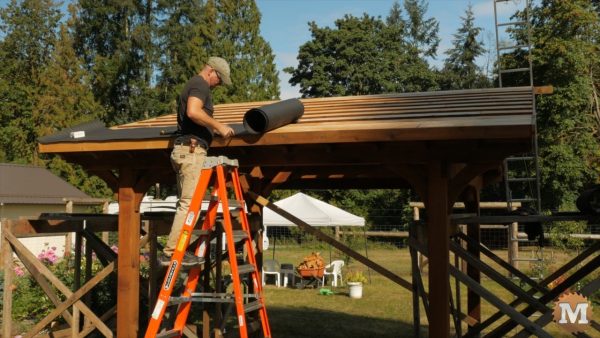
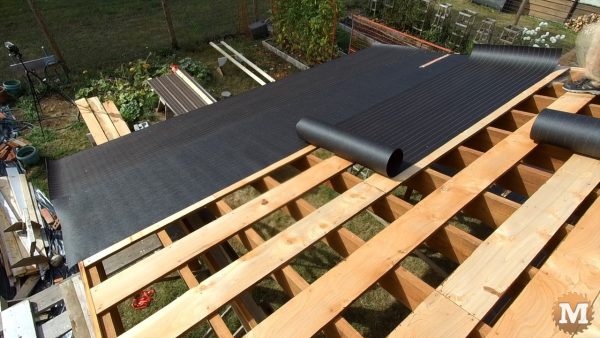
I line up the first piece along the bottom edge, with a bit of overhang, and staple in place.
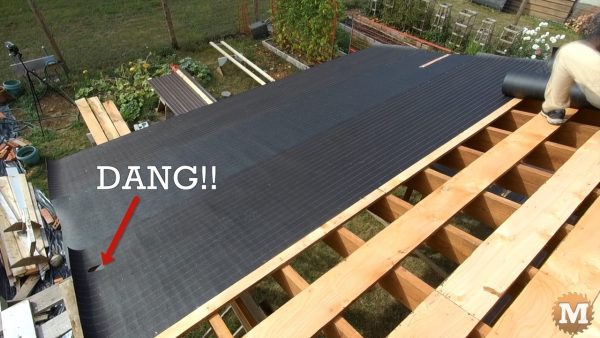
Here’s where I have to be careful not to step in the gap between strapping boards and rip my tar paper.
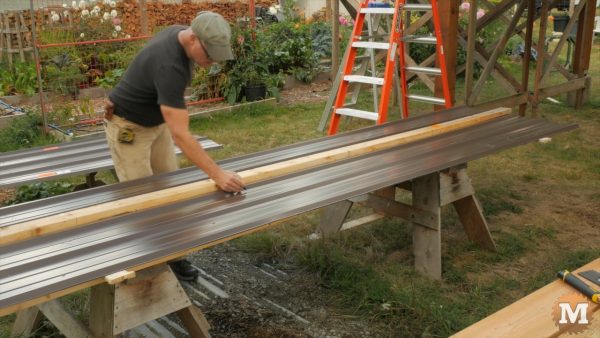
I draw lines on a long 2×4 every 36 inches or so and use this as a marking guide for my panels. Then my screw holes are all in a line and hit the intended strapping board.
Marking Lines for Screws
The first panel is the guide for all the rest. So I always double check my position and alignment with the edge and peak of the roof before running in screws with my impact driver.
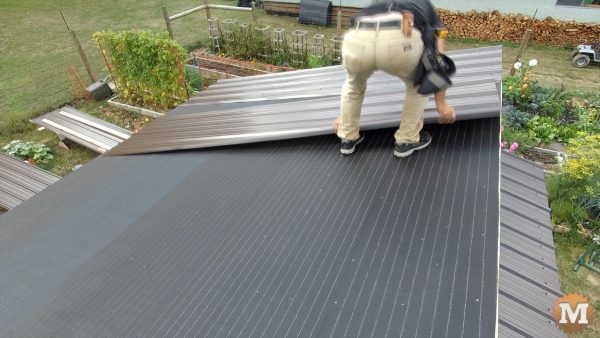
I use the staple heads on the tar paper to guide my footing.
These panels went up pretty fast. The last one needed a narrow strip trimmed off to make it fit.
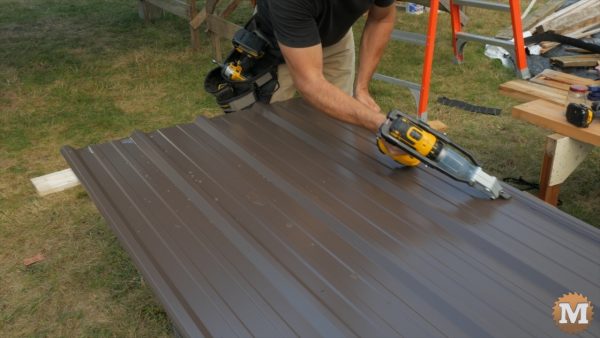
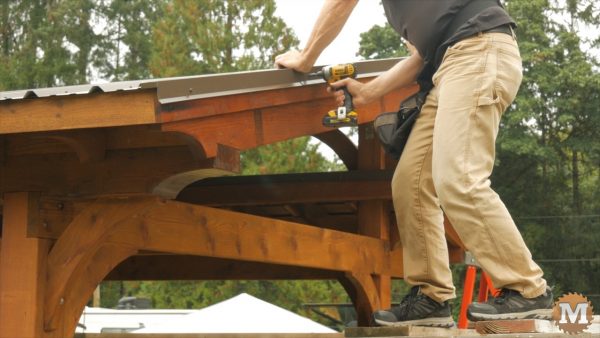
I had my roofing supplier bent up some rake and peak trim for me. I cut these to length and bent down a small tab on the lower edge before screwing into place.
Adding Trim and Flashing
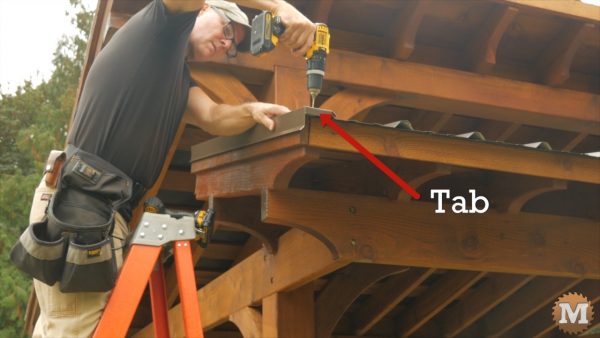
On this edge I pre-drilled the holes with a small bit to make it easier to set the screw in the right place. This was an edge where I bent up the roofing panel.
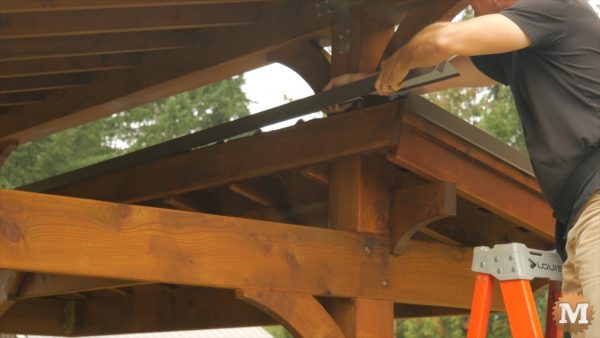
And some peak trim goes on the upper edge of the front roof. This piece is more for aesthetics than function as there should be no rain hitting this edge of the roof.
