Install Post and Beam Gazebo Roofing
Now to get the roofing on the front of the post and beam gazebo.
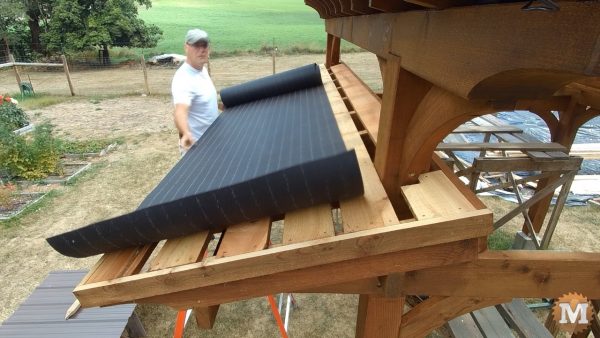
Tar paper is rolled out over the front roof strapping and stapled into place. It was a bit finicky around the front posts so it took a bit longer to get that cut and stapled in place.
Cut Metal Roofing Sheets
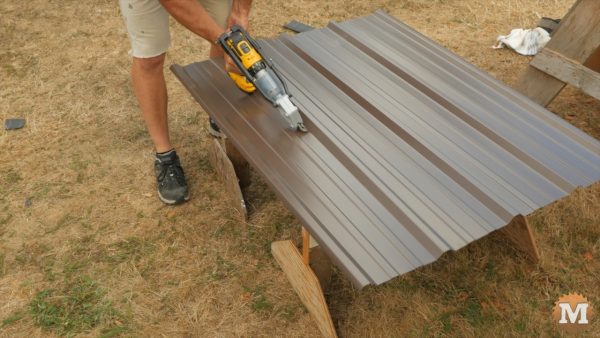
The metal roof panels I ordered are 3 foot wide. So, I needed to figure how I was going to lay them out so the seams where in a good location. And, that cutting around the front posts was as easy as possible. And I didn’t want the last panel to be a thin strip that was not attached well. So that meant I needed to rip down the first panel before I cut the hole for the post.
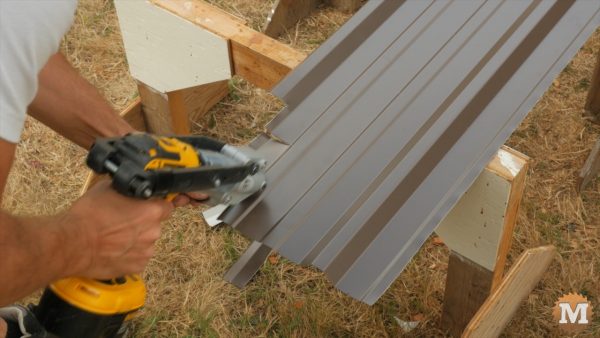
I have a metal cutting attachment that fits onto a drill. This tool makes cutting these panels a breeze.
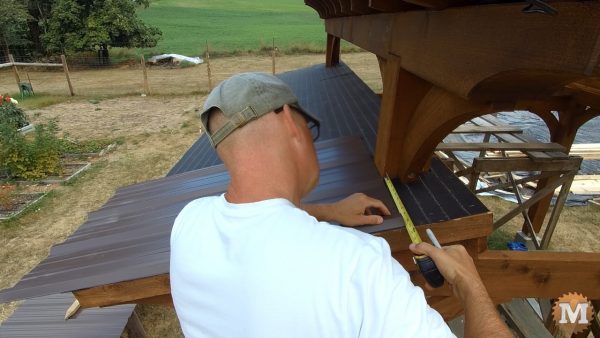
This first panel is laid in place and lined up with the edge of the roof. I use a sharpie to mark the post and brace edges on the panel.
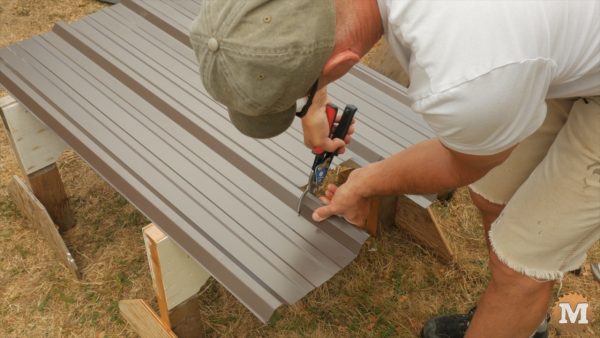
Then back down to a sawhorse to cut out the shape. It was a bit too tight so I had to trim off a bit more and I could do that up on the roof.
Attach Roofing Panels
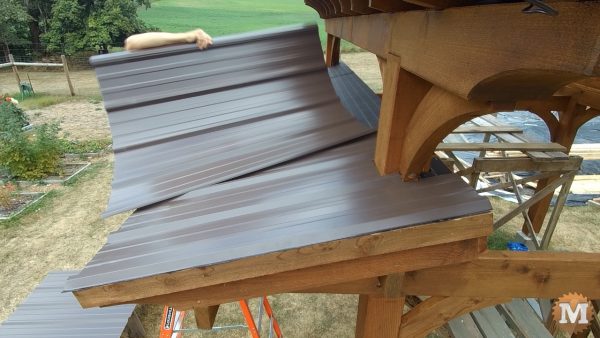
Before I screwed this first panel down I set the second panel in place and overlap the first. I do this to check the alignment and to square the first two panels to my roof.
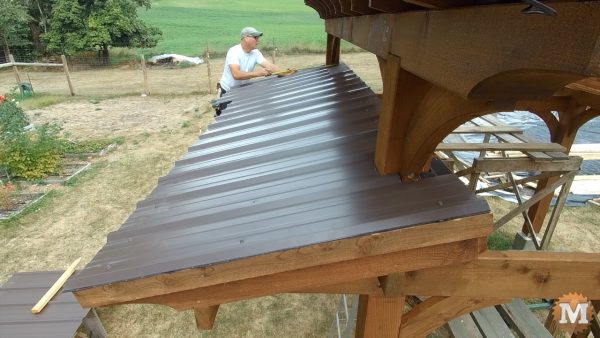
I measure and mark the screw locations so I’ll be consistent and evenly spaced across the entire front roof. And to be sure that all my screws hit wood underneath.
I use 1 inch screws with rubber washers for this.
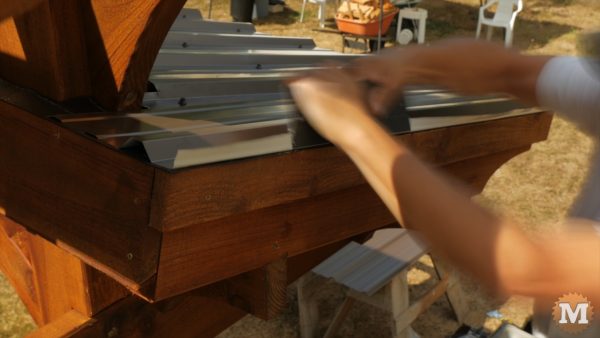
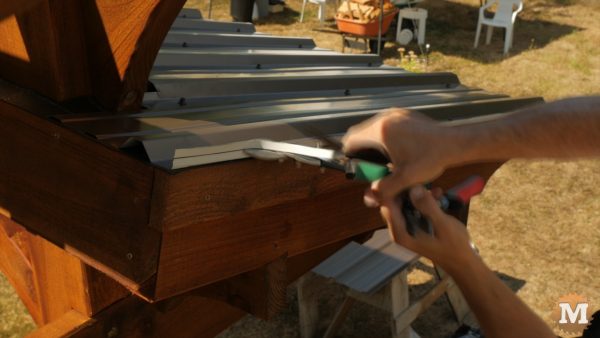
The fourth panel ran into the far front post. So, like the first, I marked it’s location and cut out the shape with snips.
The last panel is ripped to length and a corner removed. The seam of the last two panels ran into the post. So they both needed cutting.
The last panel was ripped a bit long so I could bend up the side to channel water away from the edge. I do this with a hand-held folder, cut off the excess, and fine tune the bend with a hand seamer.
