Make the Curved Braces for the Three Gable Timber Frame style Pavilion
For this structure I designed two similar braces. For the inside corners I have a small curved brace. These are made from 3″ thick stock. Connor’s neighbour, BJ, was kind enough to let us use his shop to make the braces.

Beforehand, I made two plywood patterns for the brace designs. Here Connor is tracing the outline of the smaller brace onto stock. And trying to avoid any knots if he can.
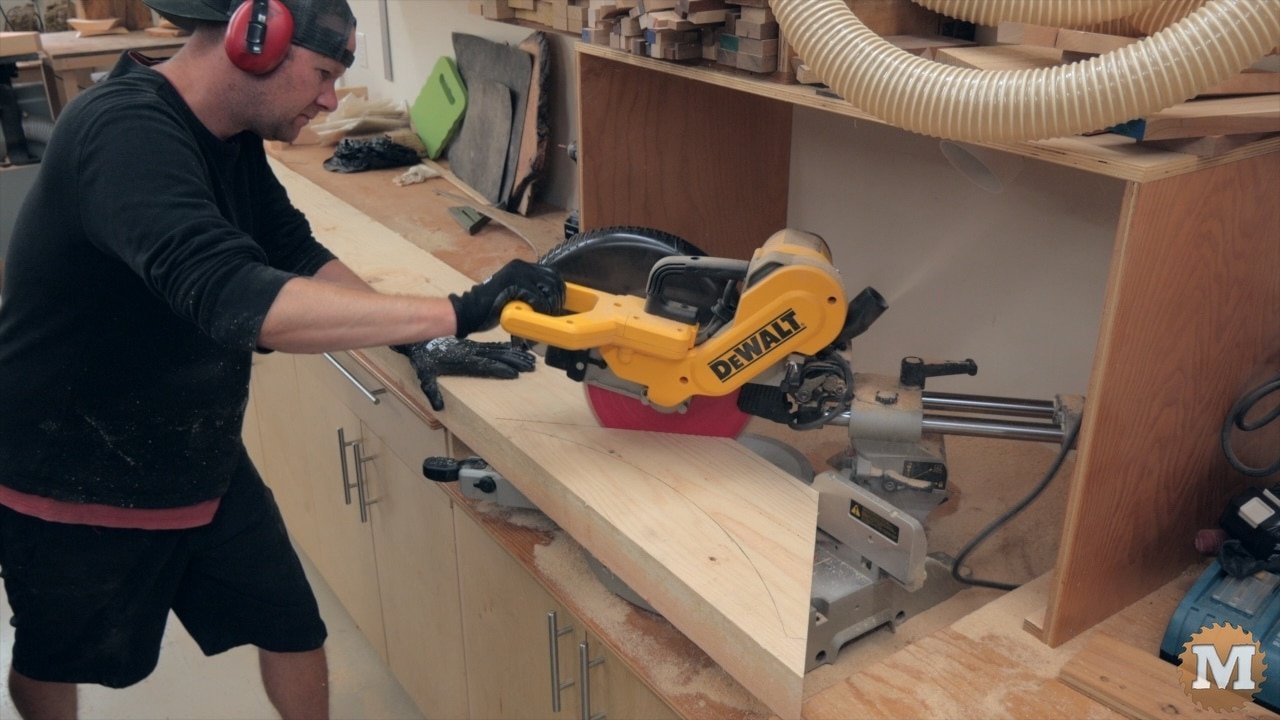
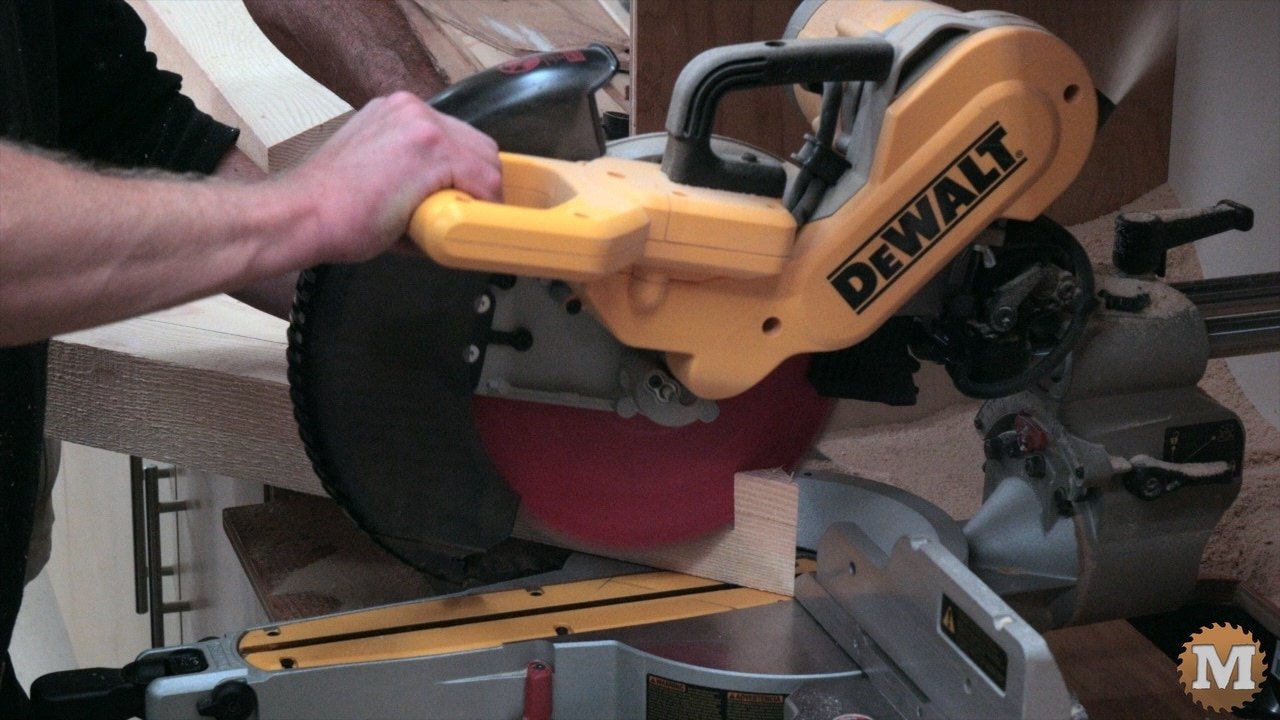
He cuts two opposing 45 degree angles on the miter saw.
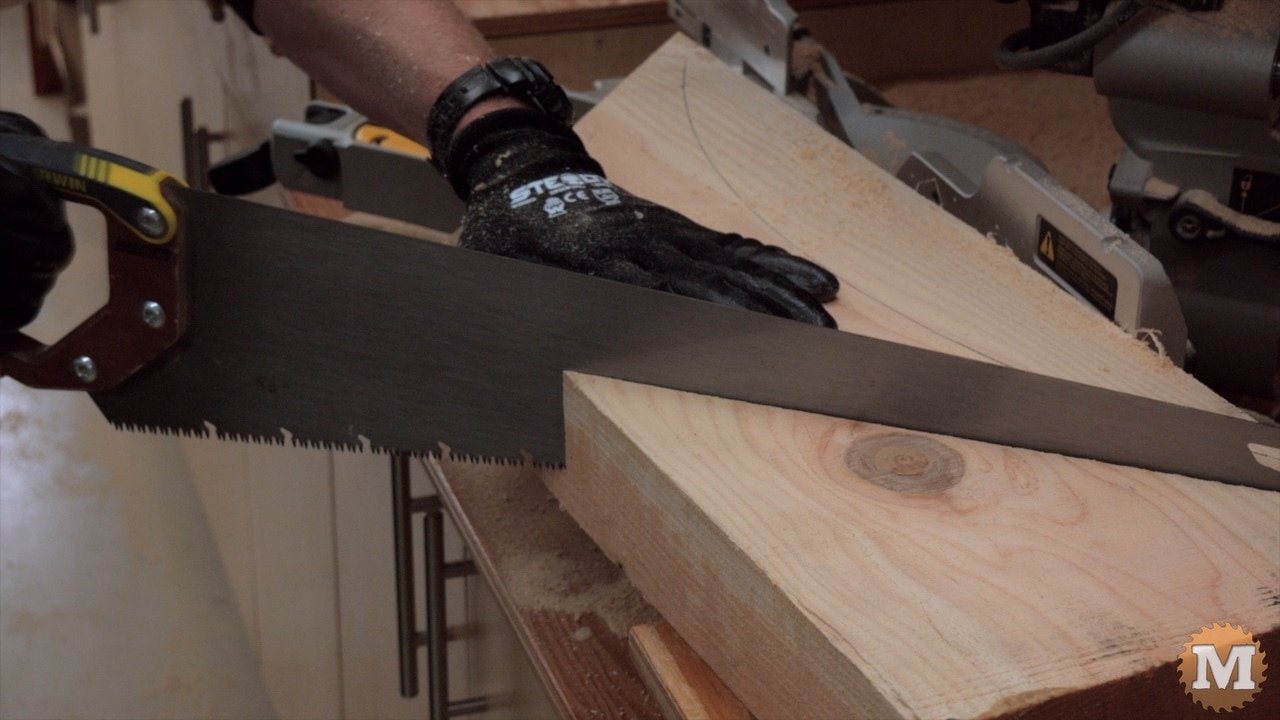
Finishing each cut with a hand saw where the circular blade didn’t reach.

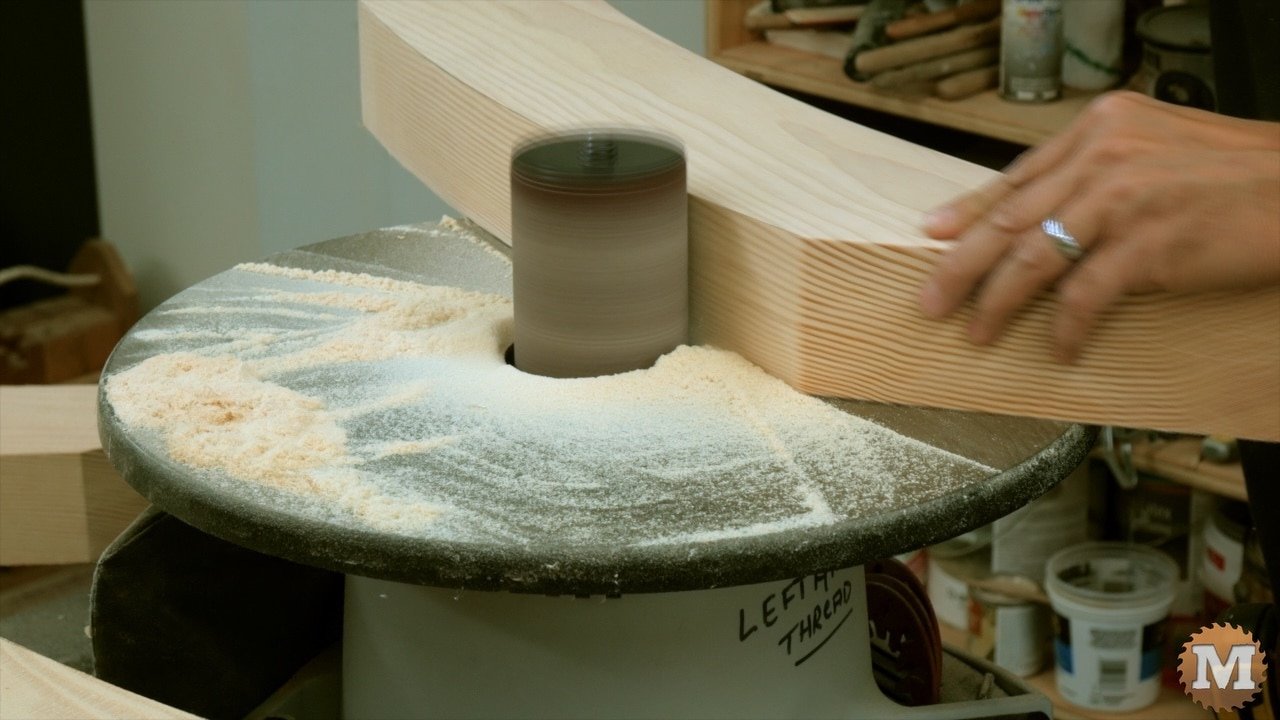
Sanding the Braces
I took these to the band saw to cut the curves.
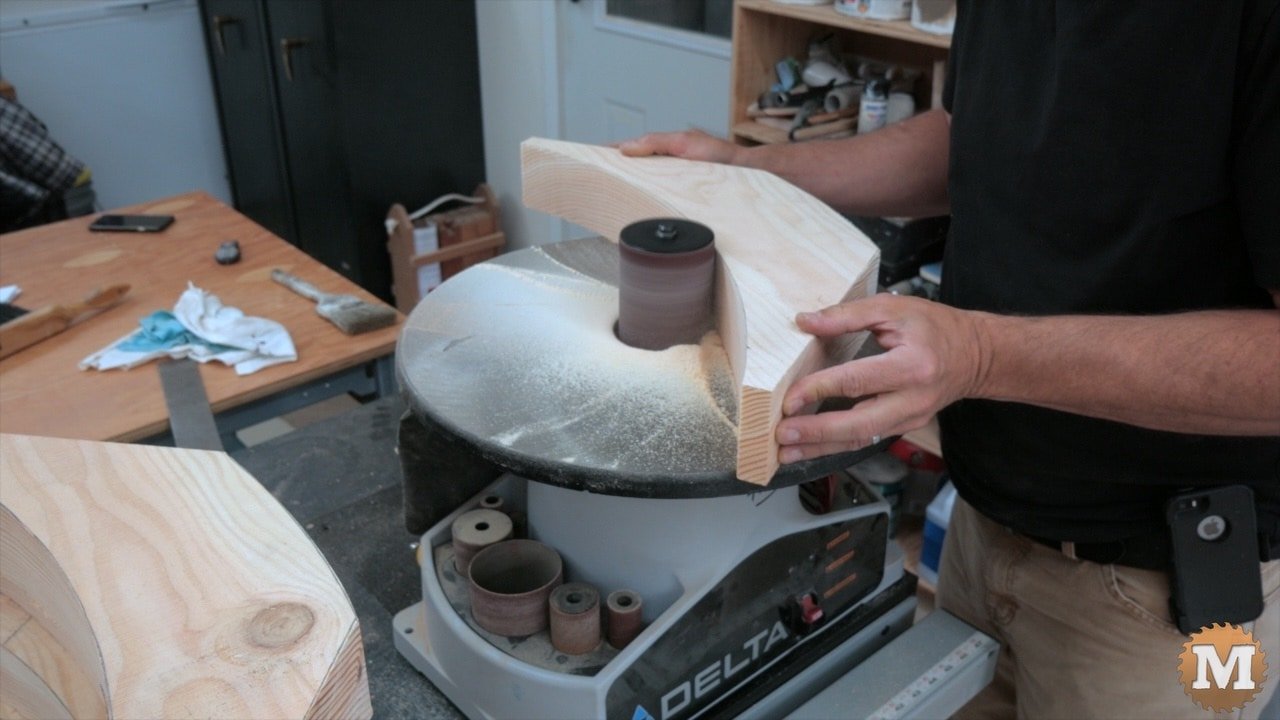
Then over to the sander to smooth the rough spots.
The outside braces are slightly larger. As before, the pattern is traced and the angles cut. There’s a small 90 degree cut in the corner, and that’s done on the miter saw as well.
These too are taken to the bandsaw to cut the curves then on to the sander for finishing.
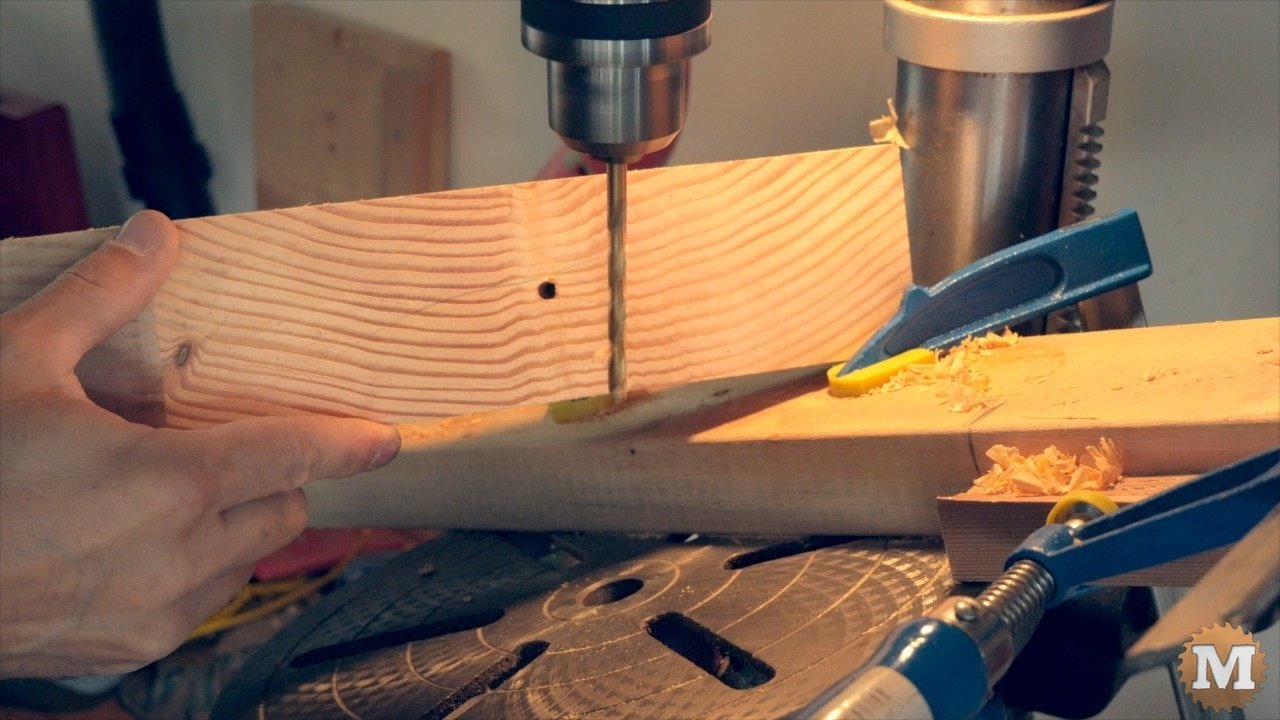
Stops are clamped to the drill press table and it’s tilted 20 degrees. A forstner bit is used first to countersink the head of the lag bolt that will secure the brace to the posts and beams.
Drill Press
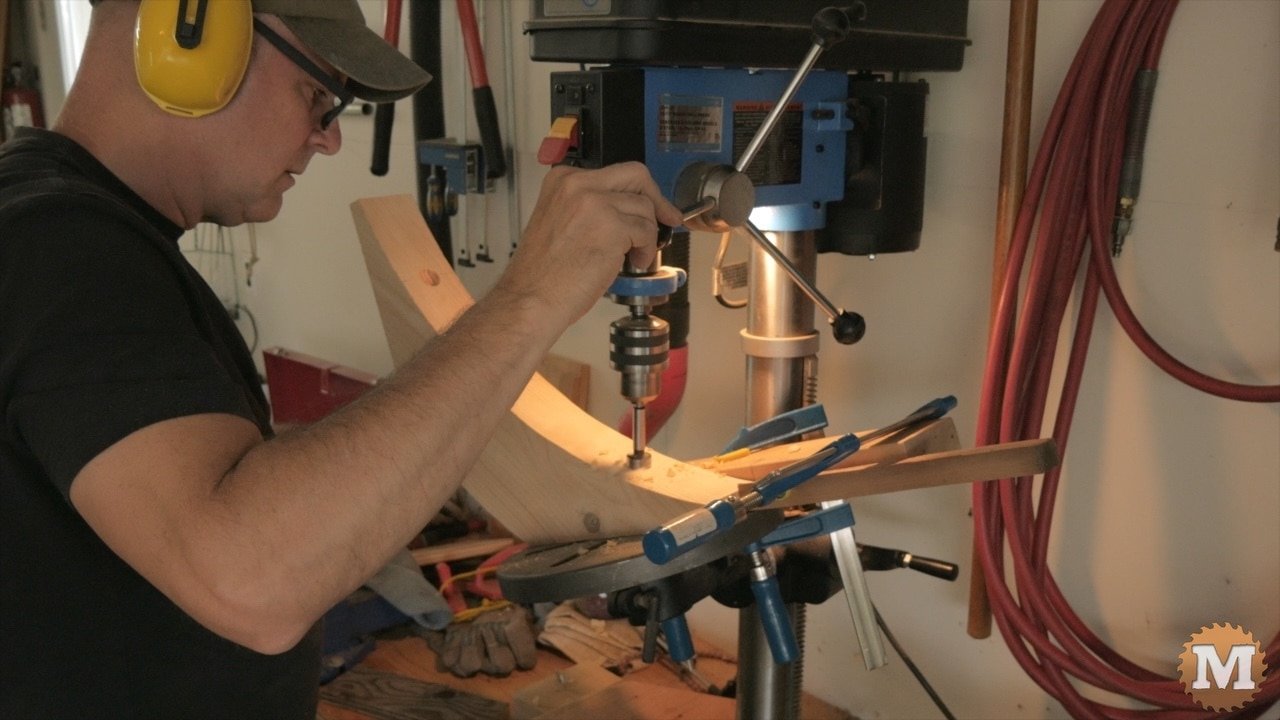
Then the bit is swapped out, and holes drilled clean through the brace.
(Disclaimer: As an Amazon Associate I earn from qualifying purchases. Thank you for helping to support my content this way. )
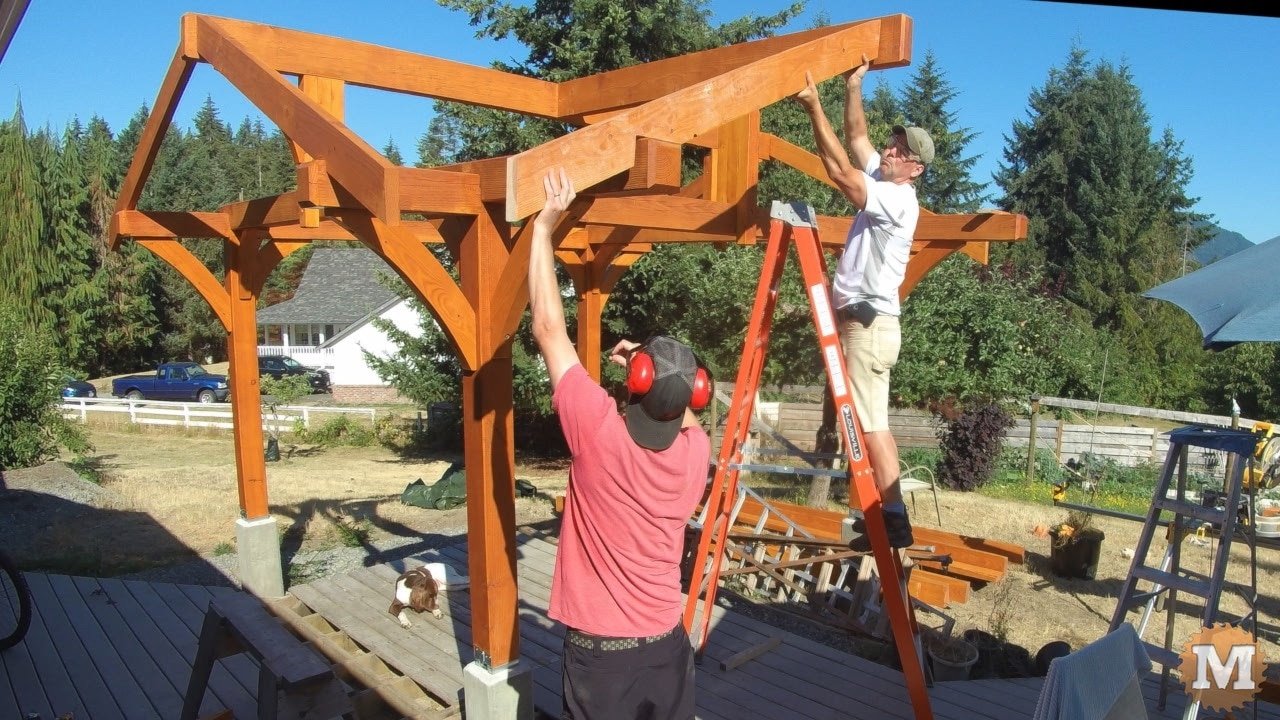
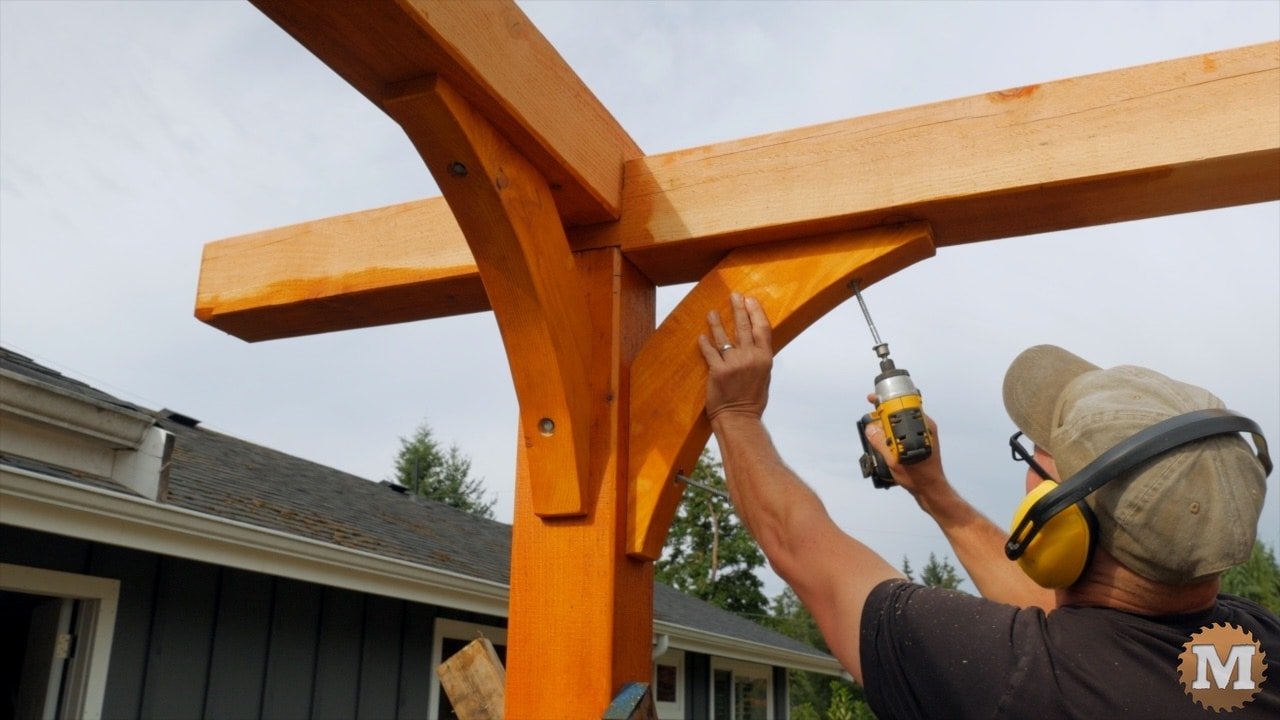
Install Braces
After staining, the braces are held in place and holes drilled with a long bit into the beam, then into the post. Long galvanized lag bolts are run in with an impact driver. Then hand tightened with a socket wrench to prevent thread rip out.
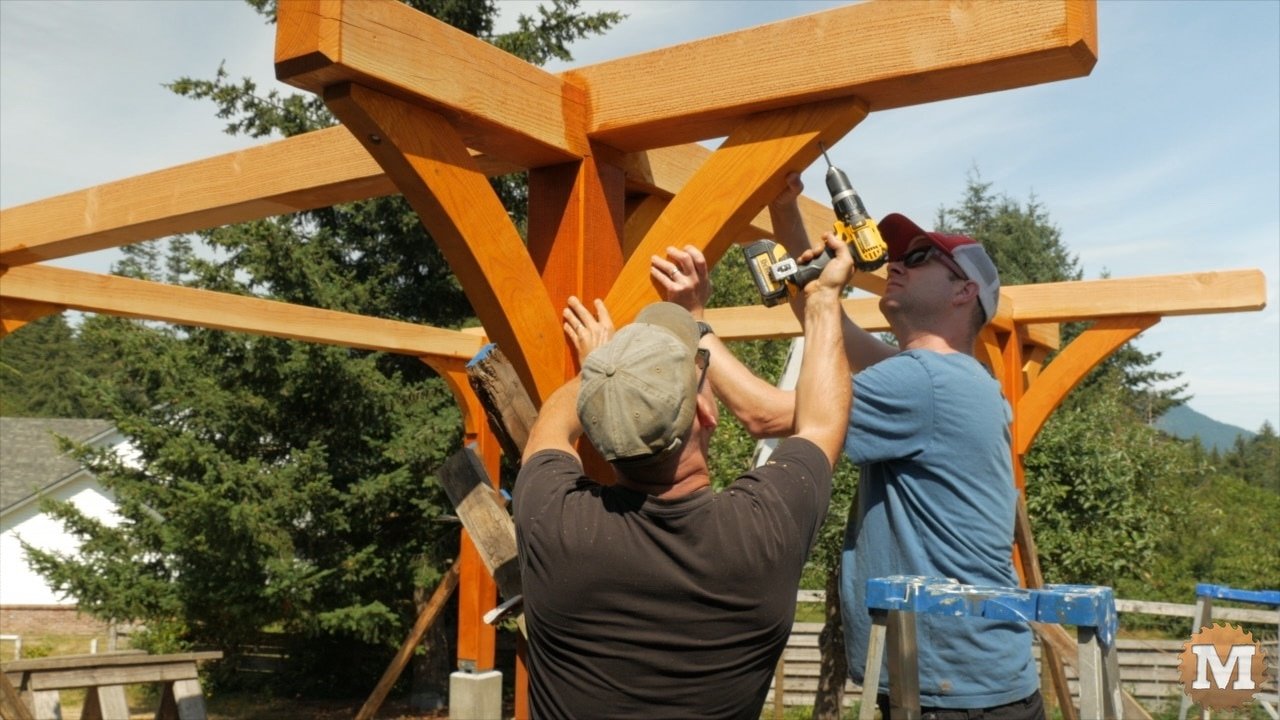
The larger outside braces are easier to install with some help.
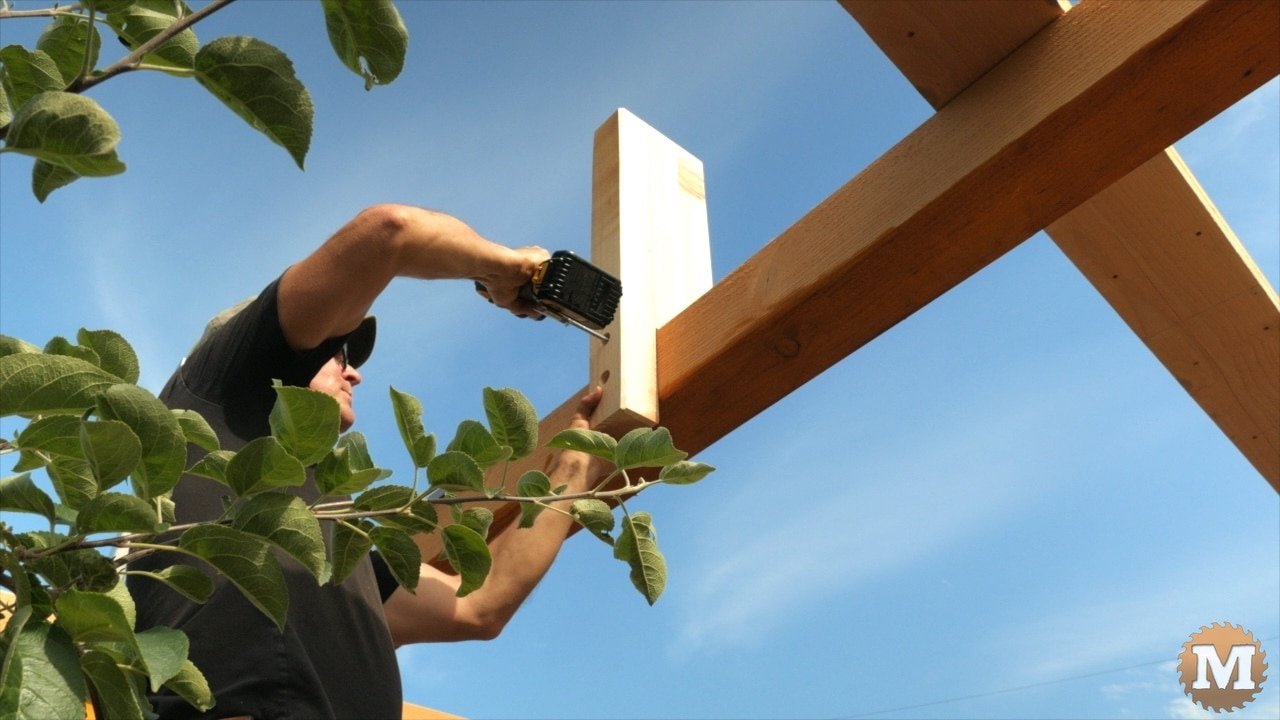
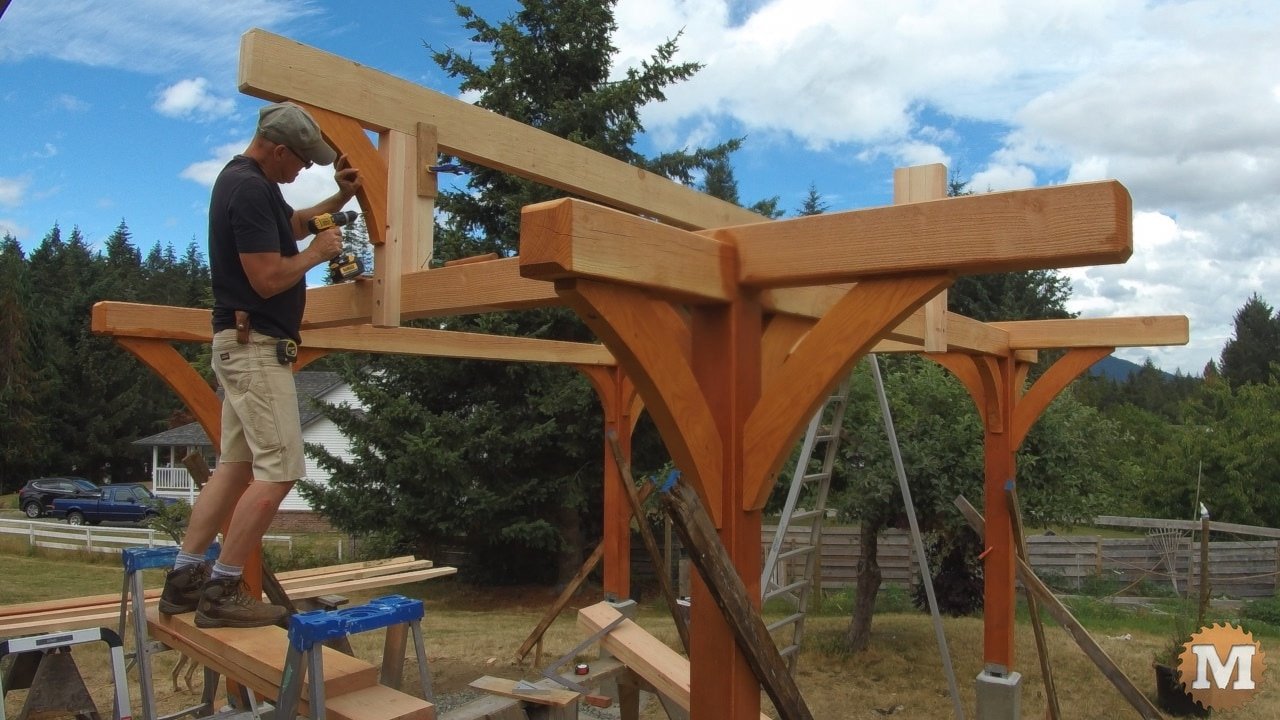
King Posts and Ridge Beams
Next we make the king posts and attach them to the beams with lag bolts.
The North/South ridge beam is brought up and laid across the East/West beams.
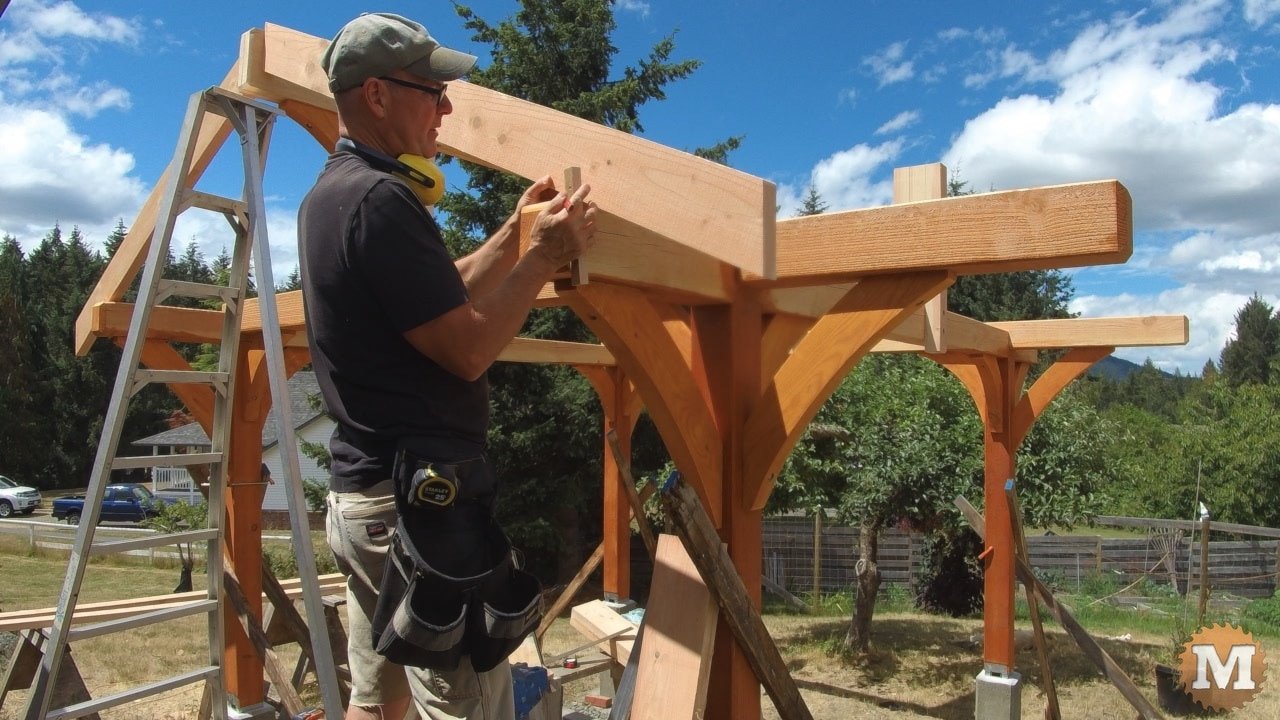
First Ridge Beam
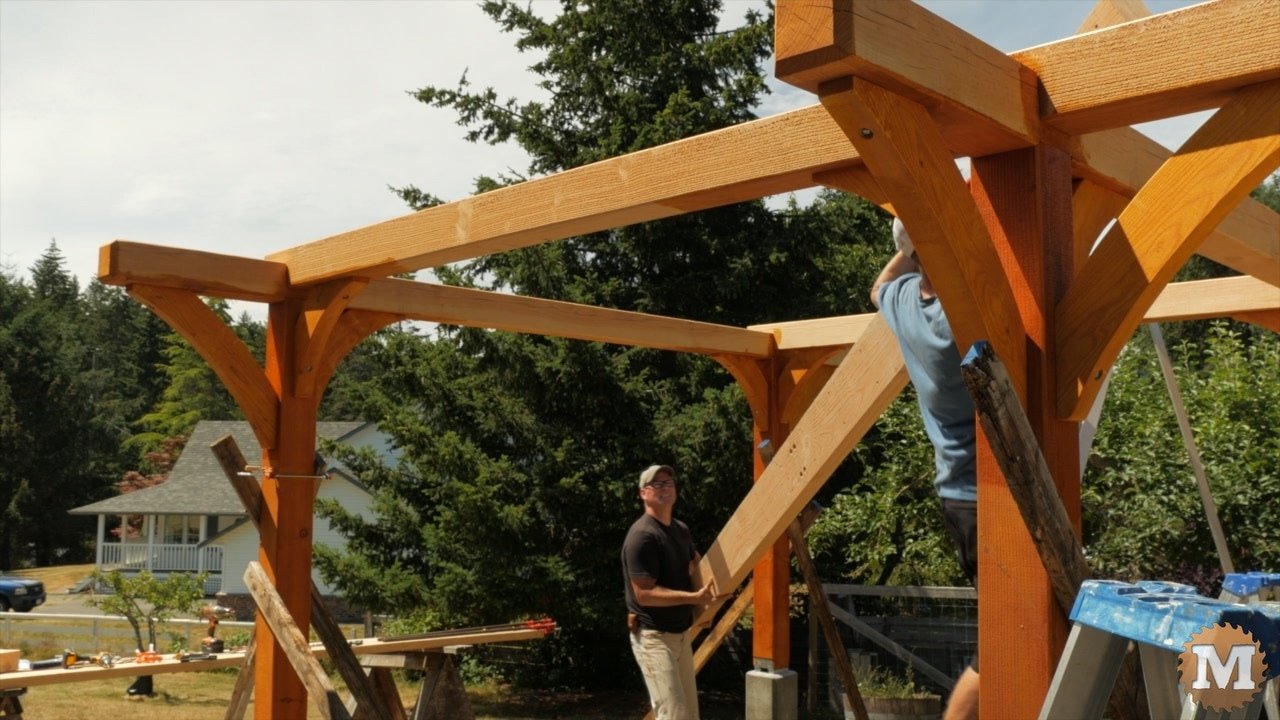
The last two king posts are secured then the ridge beam is lifted into place. Then a small corner brace is added between the king post and ridge beam.
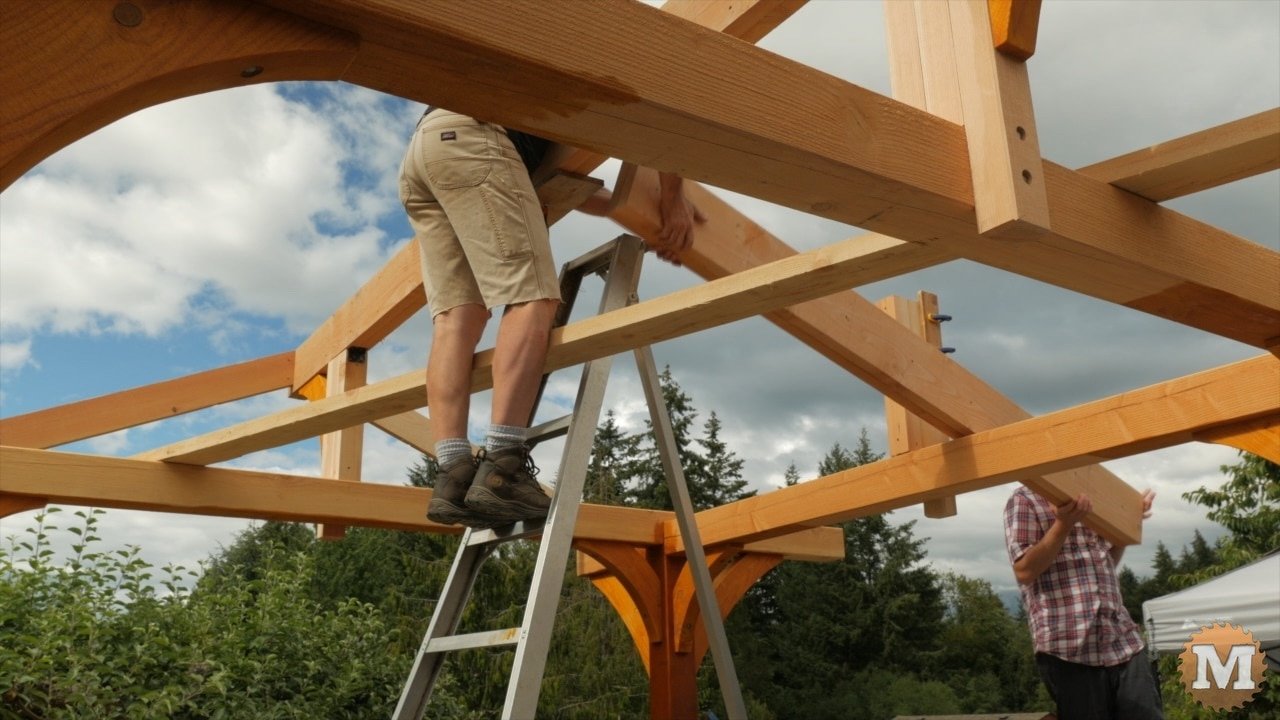
Second Ridge Beam
Four rafters for the South and North gable ends will be installed. I put these in place now to help secure the ridge beam so it won’t move laterally when the next ridge beam is installed.
These rafters are cut to length and have plumb cuts on both ends. They are then positioned against the ridge beam and laid over the North/South beams to mark the birds mouth cuts.
They are secured to the beams with screws.
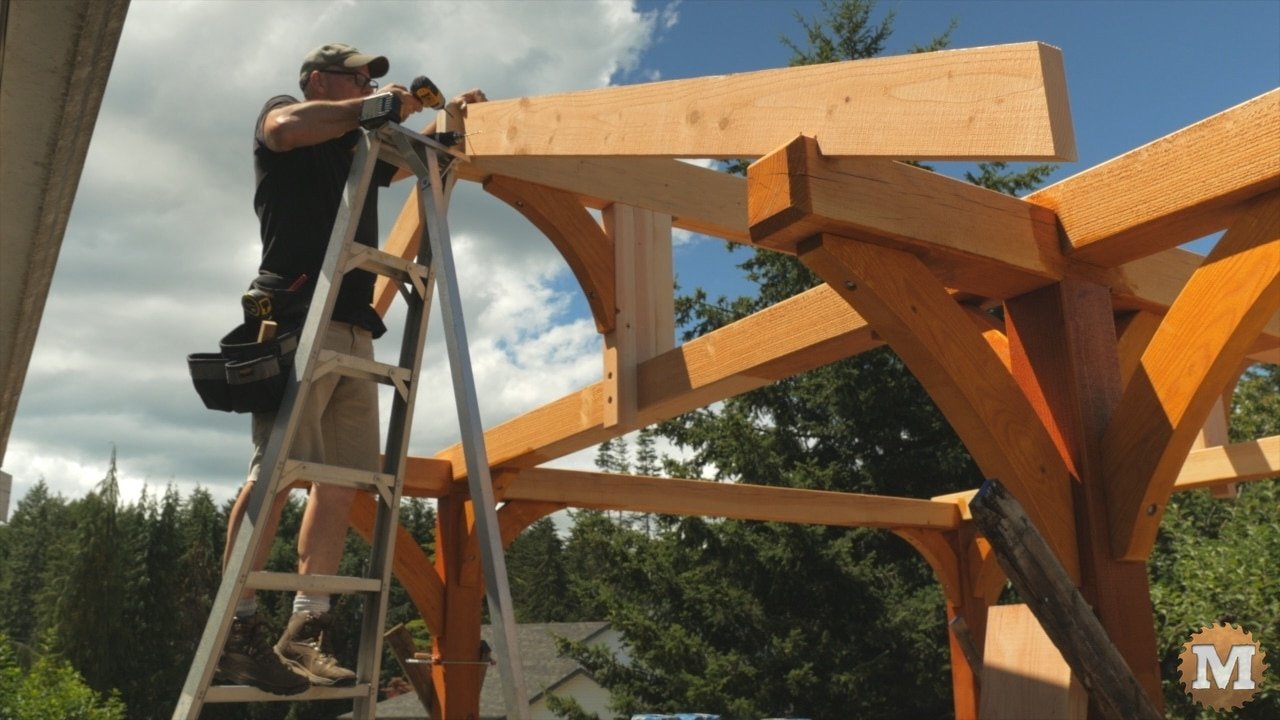
The king post on the East facing gable end needed some adjustment to ensure it was plumb and square before the next ridge beam was placed.
The shorter East/West ridge beam is hauled up and bolted into place.
Connor then stained the rest of the frame.