My Best Aircrete Blend – 2nd Test
In the second blend I’ll use the same amount of cement and water, a bit less foam and almost a pound of perlite.
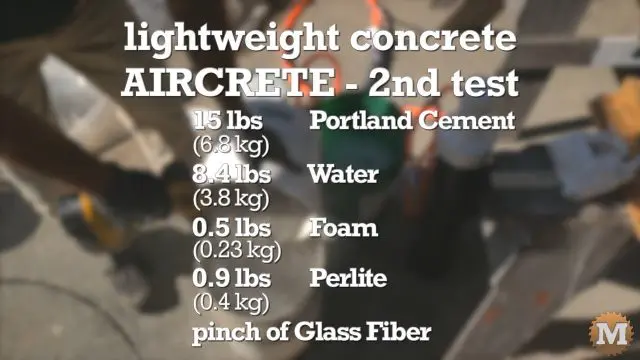
Add Perlite to Aircrete Mix
I want to see how this light volcanic sourced rock blends with aircrete and if it adds any strength or durability. Perlite is a hard, highly porous material made by super-heating volcanic glass.
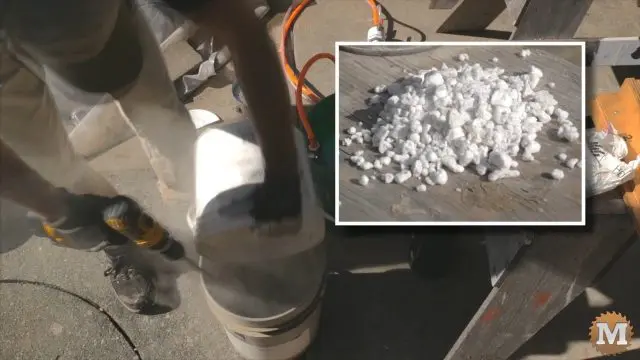
As before, I slowly add the cement to the water. Then add the glass fibre. Hand stirring to free up any clumps from the sides or bottom of the pail. Then add the foam and blend it again with the drill.
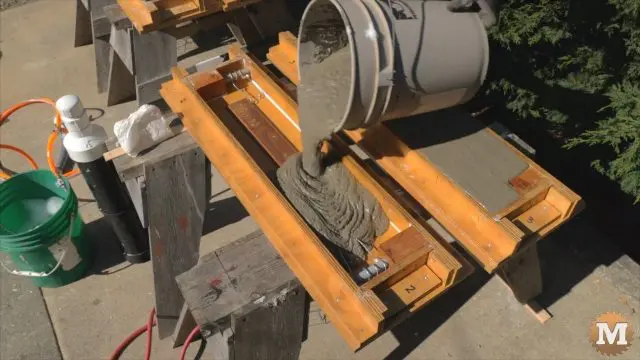
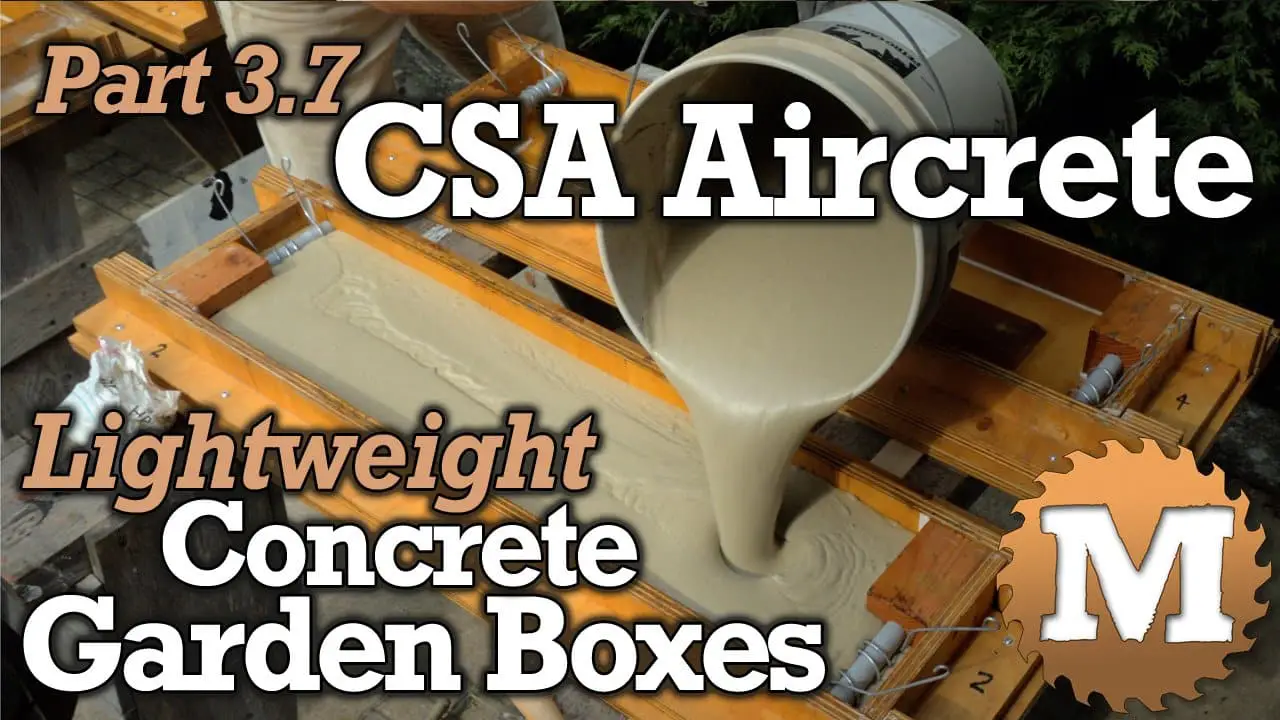
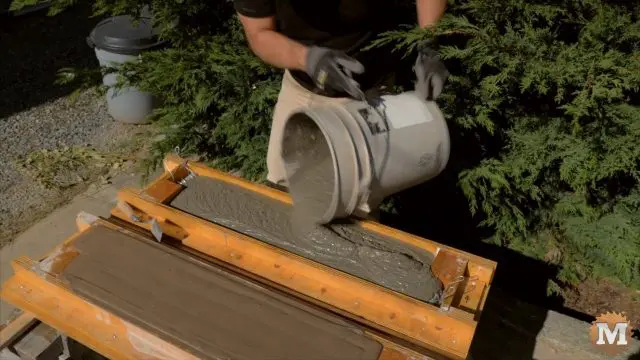
This worked very well. The aircrete had a lumpy consistency but poured well into the forms. I jiggled the form to settle it, then added a bit more to top it up. I smoothed it with a trowel and left to thicken. I test the strength of these panels in a later video.
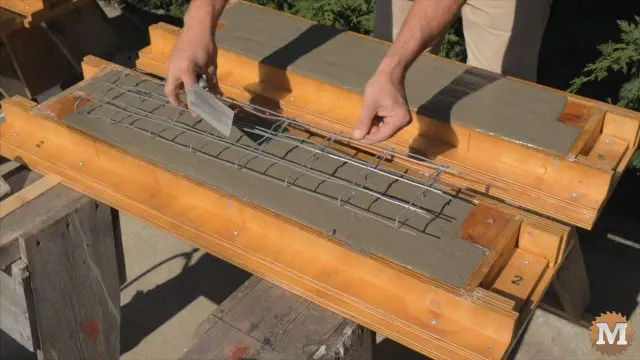
After a few minutes I laid in a double wire grid. I wanted to see if adding two layers of wire grid worked better than just one. To make this grid I simply folded a section of the galvanized fence in half and wrapped the ends into a flattened tube.
I pressed this in and smoothed with a trowel.
Liquid Concrete Dye
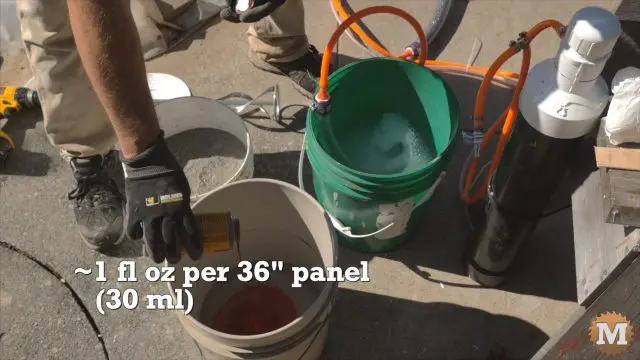
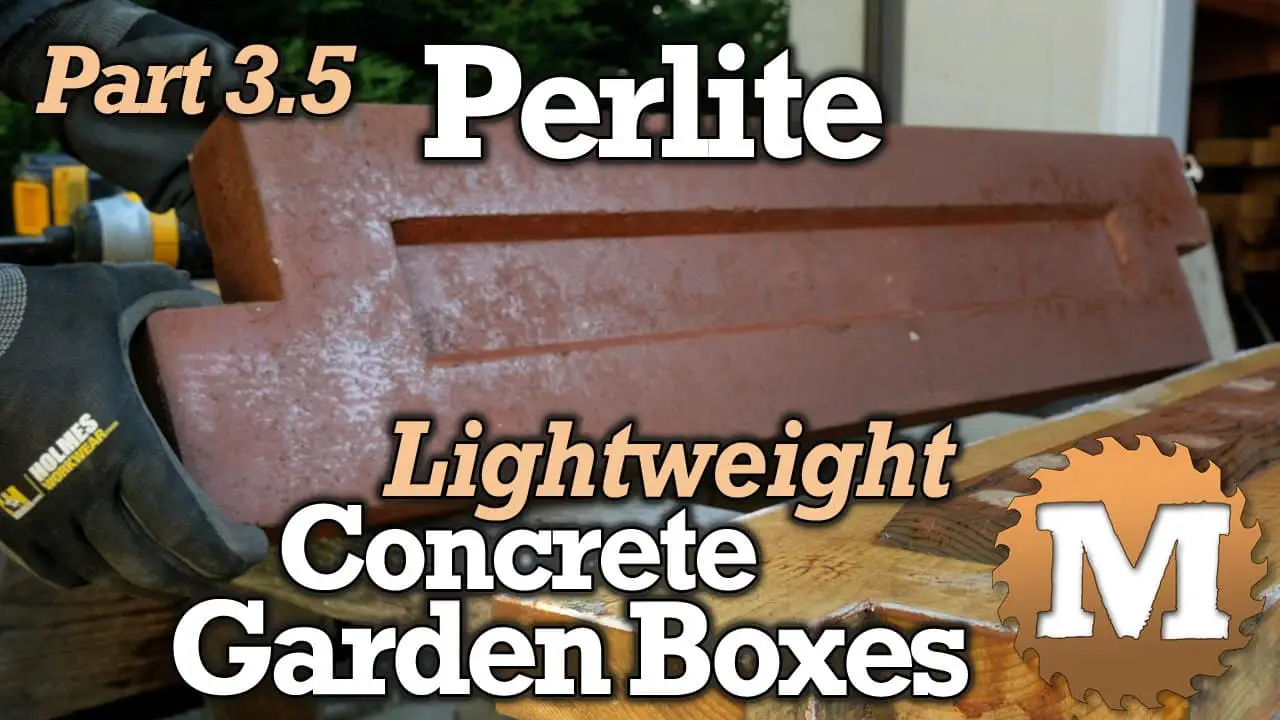
For the next test I’ll add about 1 fluid ounce of red liquid cement colour to the water. I’ll leave out the fibre on this one. I make a smooth cement slurry and add the foam. This air crete came out a light chocolate brown colour. I blend it well and pour it into a form. And I’ll lay in a double wire mesh and smooth with a trowel.
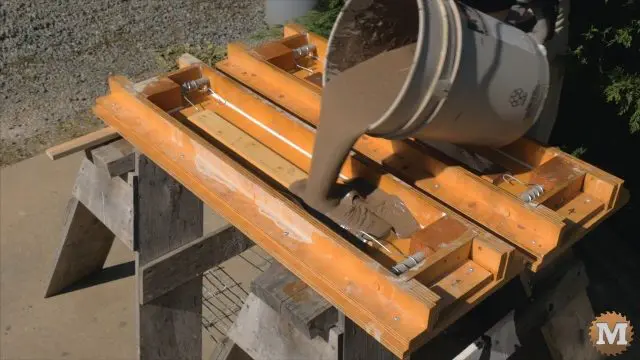
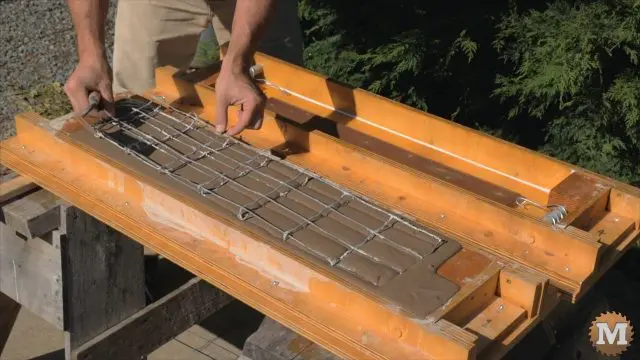
The final test I’ll add black cement colour to the water. Leave out the fibre, but add perlite. I kept the density of the aircrete fairly consistent through these tests. Varying the fibre, perlite, and grid. And a bit of colour additives for fun.
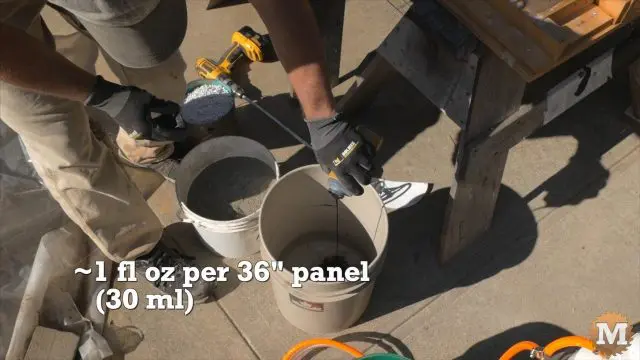
I blend as before and pour into the form. When it starts to solidify I’ll add a single wire grid for reinforcement.
When the aircrete solidified that afternoon I covered the forms with plastic and left them for a couple of days.
I remove all the screws from the form, gently wiggle the sides to free them, then remove the panel from the base and stand it on one side — and then remove the ends. Aircrete is fun to make. It’s involved for sure but not very labour intensive. Everything is blended in a pail with a drill. It’s light by default and has many uses.
(Disclaimer: As an Amazon Associate I earn from qualifying purchases. Thank you for helping to support my content this way. )
Strip the Aircrete Panels from Molds
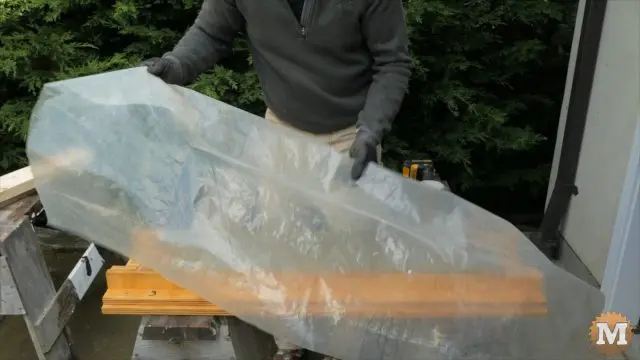
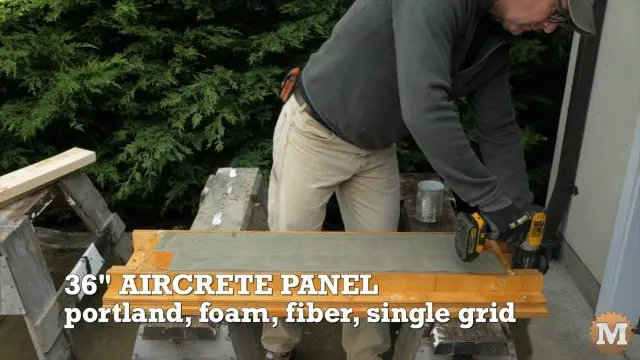
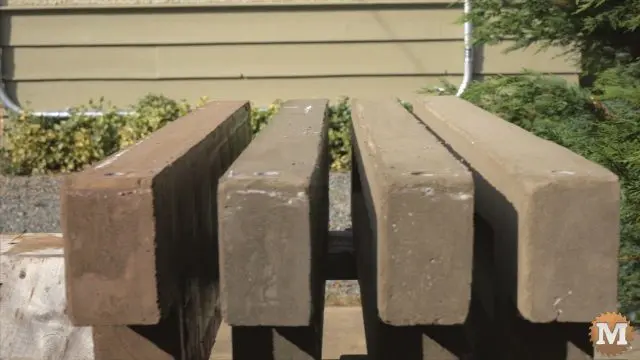
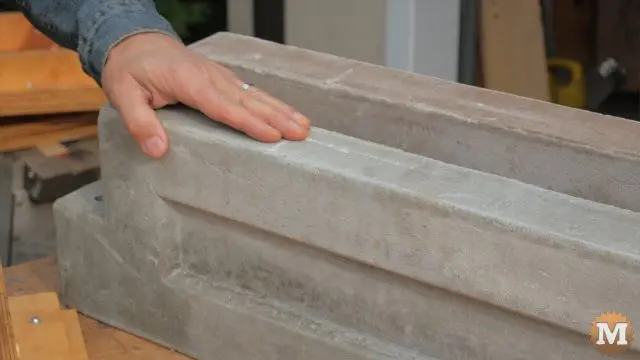
All the panels came out of the forms without issue. They all felt sound and solid. There were no cracks or any signs of warpage. I lined them up on sawhorses to get a shot of them before curing.
Curing Aircrete in Water Bath
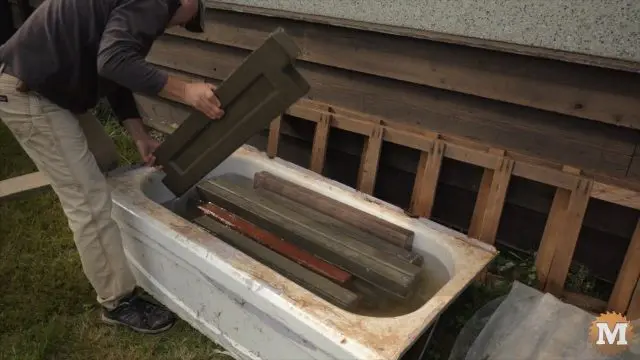
These panels where submerged in water in an improvised tank that was a recycled bathtub. They soaked for two weeks then pulled out and allowed to slowly dry in my shop for another two weeks. This is the optimal curing method I have found.
Then I weighed the panels and lined the first two I cast on the lawn and ran a line trimmer against them as a test of durability. I wanted to see how this denser aircrete held up to impact of the spinning line. And I wanted to see if the perlite helped.
Surface Durability Test
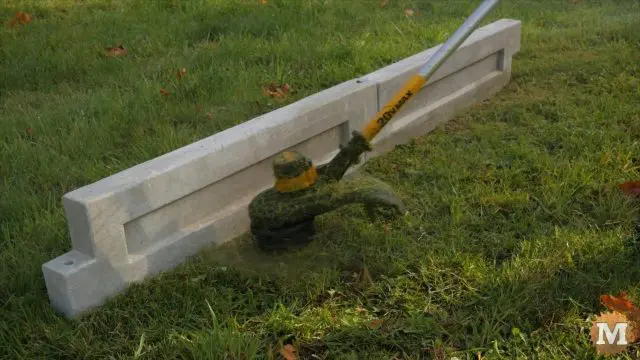
These new panels did very well in the durability test. There was little damage to the surface. The perlite didn’t make much difference in this case, and didn’t increase the durability. Without a hard aggregate in the mix, this form of concrete is always going to be weaker. The trick is to find the right weight to strength balance for your application.
Weights and Final Thoughts
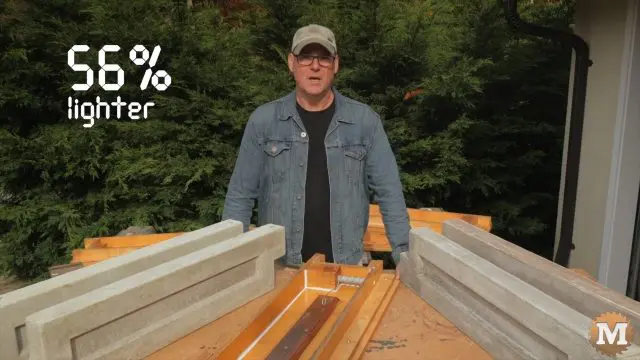
The panels were very close in weight and averaged 56% lighter than regular concrete. This denser aircrete has a very good finish and it faired much better than the previous ones in the durability line trimmer test. There’s some damage, but it looks minimal. And looks to be the same in the panel with perlite added. I think this is the best aircrete recipe I have used yet.
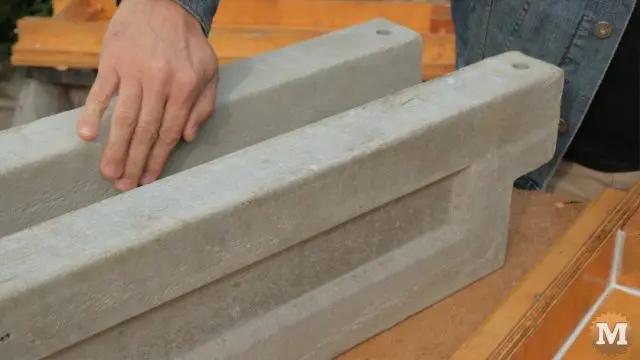
I don’t see any cracks or warping of any of these panels so I think the bigger ratio of portland to foam was the answer. It appears if you want strength and durability improvements you really need more cement. If that changes over time I’ll update my blog post.
At this point I don’t see a huge advantage to adding perlite to aircrete. Or to doubling up the wire grid. But, it doesn’t seem to hurt either. So maybe the takeaway here is that it’s easy to add both if you wanted.
The liquid cement dyes worked well and it was easy to add. The next time I’ll even more to get deeper colours.
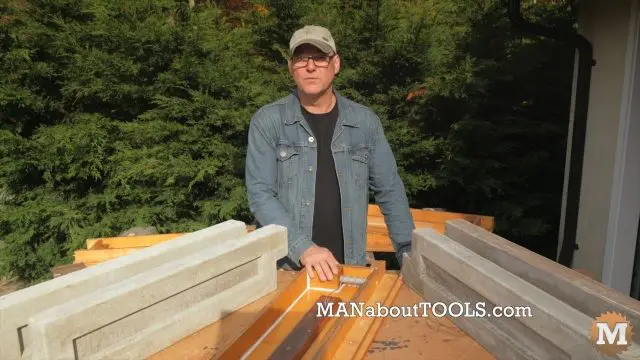
Darwin’s Foam Mate worked very well. It allowed me to quickly make foam just when I needed it. And just as much as I needed. So I can certainly recommend that.
Thanks for reading!

