Concrete Mold Casting Instructions – Original 36″ x 8″ x 2-1/2″ Panel

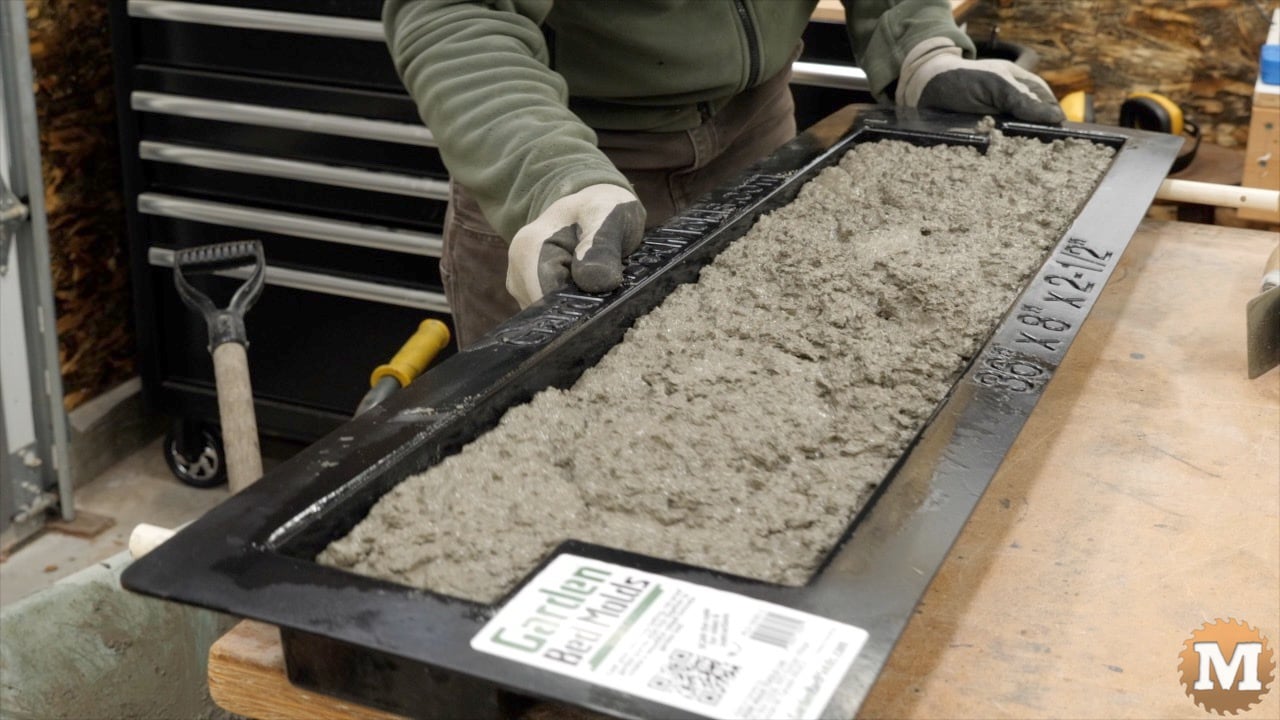
Fill the Garden Bed Mold with Concrete

Fill Mold – position the wheelbarrow close to the working surface.

position the wheelbarrow close to the bench and mold

Shovel in the wet concrete mix filling the mold about half way.

adding the first few shovels of wet concrete

Shake the mold a few times to settle the mix into all corners.

giving the forms a shake side to side to settle the concrete
a few more shovels of wet concrete mix

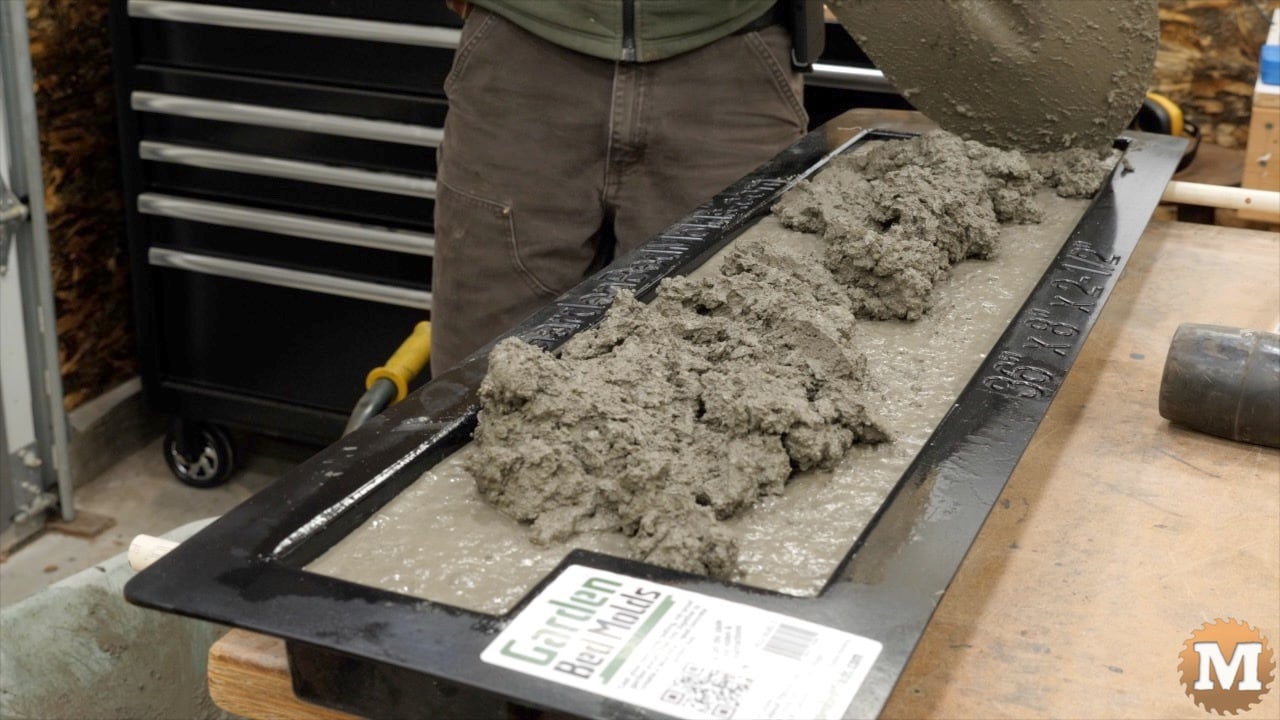
Continue to fill the form level to the top. Do not overfill.

topping up the form with more wet concrete mix

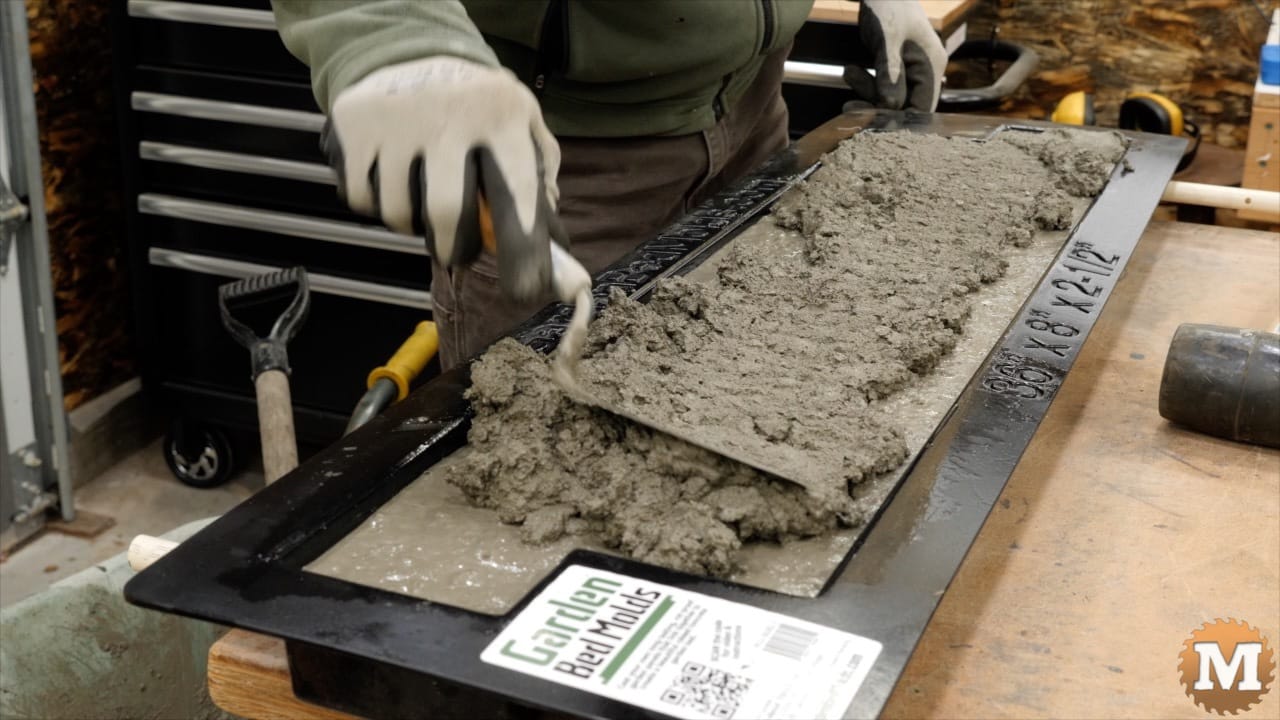
Settle Concrete – Tap the workbench with a rubber mallet around the mold (and under if possible) to fully settle the concrete and help bubbles come to the surface.

tapping the bench with a rubber mallet to further settle the concrete and bring trapped air to the surface

You can also use a number of power tools to vibrate the workbench to help with this.

vibrating the workbench with a bladeless reciprocating saw to settle the concrete

A reciprocating saw without the blade or an orbital sander will vibrate the work surface so that trapped bubbles in the concrete come to the surface.

trowlling the concrete smooth
trolling the concrete smooth

Cover Mold – after troweling the surface smooth, cover with plastic. This prevents drying too quickly. I like to use a thick plastic like vapor barrier available at building supply stores.

covering the concrete with plastic sheets to hold in moisture and warmth

Wait 6 Hours – leave the concrete for at least 6 hours to solidify.

(Disclaimer: As an Amazon Associate I earn from qualifying purchases. Thank you for helping to support my content this way. )

Remove Pipes – insert a nail into the small hole at the end of a pipe.

removing the pipe from the concrete mold

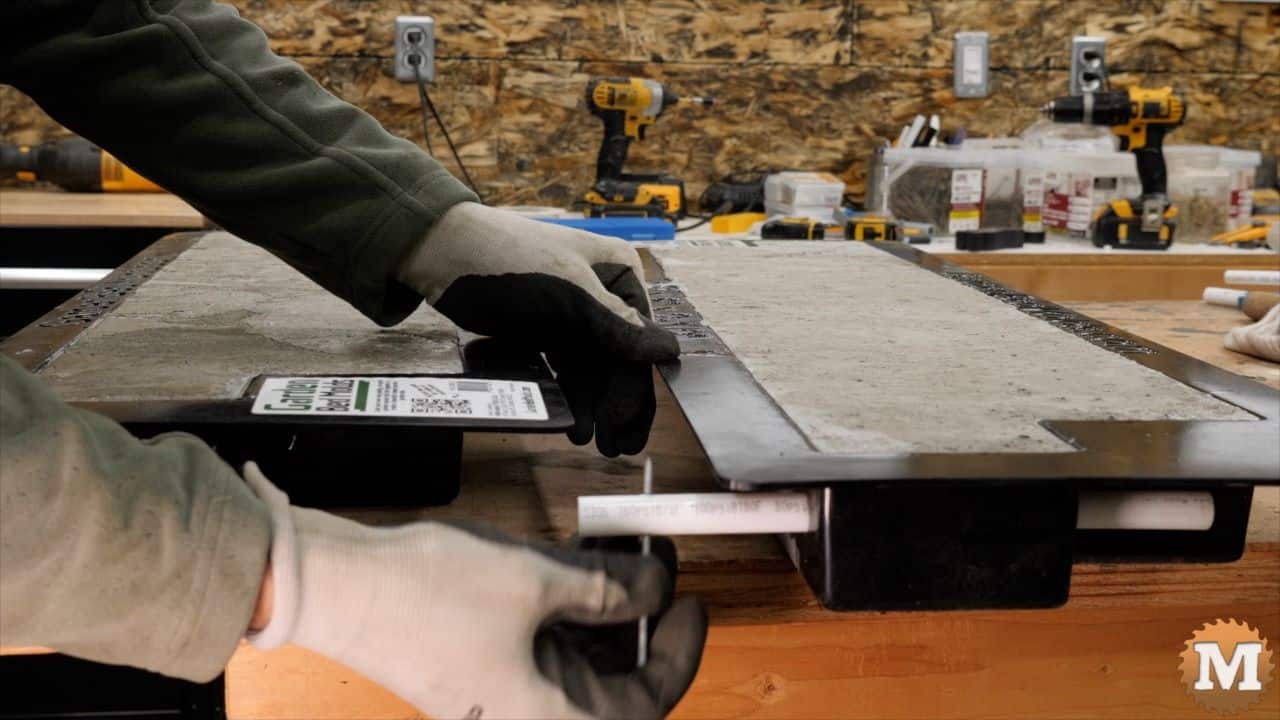
Pull and gently twist the pipe back and forth to help free it from the concrete.

removing the pipe from the concrete mold

Clean the pipes with a soft dry cloth.

cleaning a plastic pipe after removing it from hardened concrete

Alternatively, gently tap the end of the pipe with a rubber mallet first if it is stuck.

tapping a plastic pipe embedded in a concrete form

Tapping the pipes with any hard surface may distort and/or enlarge the end and make it more difficult to remove. Be gentle if you need to tap the pipes free and only use a rubber mallet.


Shopping Cart
Scroll to Top