A Possible Solution
So here is what I think will work: I will repurpose a clothes dryer thermostat and attach it to the motor housing of the pump. I picked up this used thermostat from my local appliance repair shop and it was only 10 bucks.
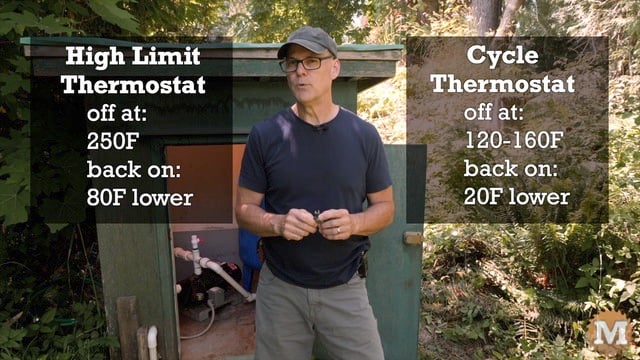
A clothes dryer typically has two thermostats, a cycle and high limit thermostat. The cycle thermostat turns the heating element off between 120 to 160 degrees Fahrenheit, then on again when it has cooled down around 20 degrees.
The high limit thermostat is to prevent a fire and cuts off at around 250 degrees then back on around 80 degrees cooler.
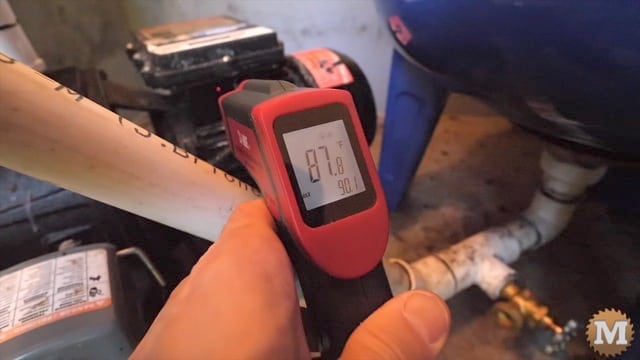
When I run this pump for 10 minutes the motor housing gets up to around 90 degrees F. At 20 minutes it’s 120F. And, I think if it gets any hotter then cold well water is not running through the pump and the motor will start to dramatically heat up. And that heat will spread through the cast iron water housing and soften the pipes.
A Clothes Dryer Cycle Thermostat
I think the cycle thermostat range should work to protect my pump from overheating. And these thermostats are designed to handle the voltage and current of a dryer so, it should work well with this pump.
I plan to secure the metal face of the thermostat to the motor housing on a flat spot. Then wire it into the L1 wire from the fuse panel before it gets to the pressure switch. And I’ll do my best to make the connections water proof.
As a warning, I’m not a licensed electrician or a plumber and this video is for entertainment purposes only. I’m a do it yourself’er that likes to tinker with projects like this and I only work within my comfort zone.
Also, I only want to switch the pump off if it is getting unusually hot, and not just during normal operation. Before I do this I want to run a test on this thermostat, And I’ll do that in the workshop.
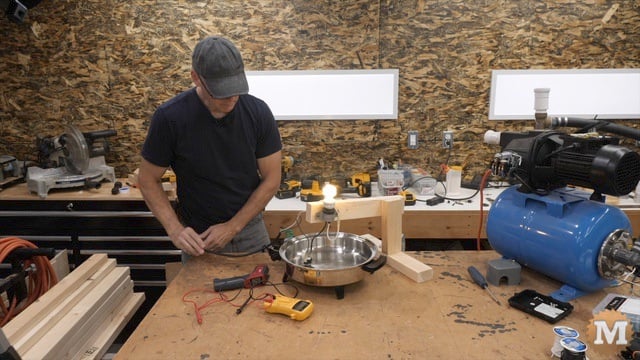
I made a small test setup here for this thermostat. I will wire this in the wire between a plug and a lamp. With enough slack to apply some heat to the thermostat to simulate a run dry occurrence to see how it handles it. And I want to do this before I secure it to the pump’s motor housing.
(Disclaimer: As an Amazon Associate I earn from qualifying purchases. Thank you for helping to support my content this way. )
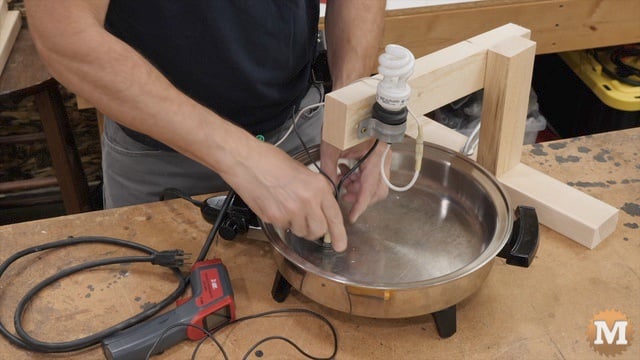
Testing the Dryer Thermostat
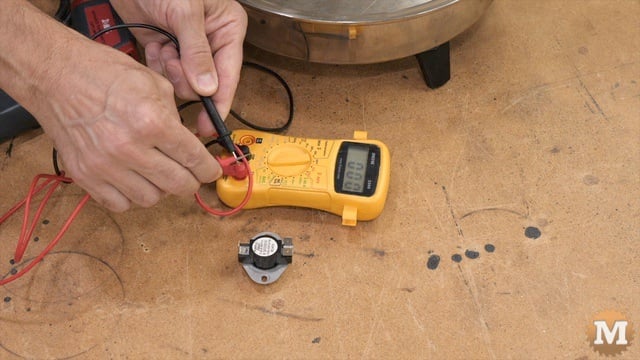
With an electrical test meter I can check the continuity. And it’s indicating that it’s closed. So at room temperature the pump would be on. Now I set the thermostat on this electrical frying pan and turn up the heat to around 160F. This thermostat is rated at 155 so I would expect that it would break the connection around that.
I have a laser thermometer for a more accurate read on the temperature of the pan. And it triggered at 160 degrees.
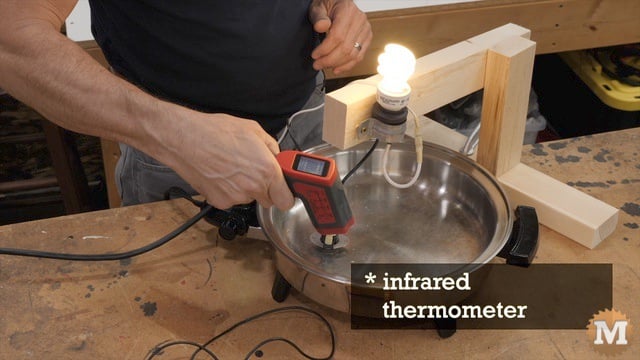
And that would be the motor housing temperature. I would expect the cast iron water housing to be cooler than that so, the pipes should be safe. And I also think that this temperature is well below what this motor could tolerate before causing it any damage. It’s survived this long so it should be okay.
Plus, when the power to the motor is cut (and it cools down) and the thermostat power is restored to the motor I don’t think it will come on as the pressure in the pump would be below 10psi. And the low pressure switch will trigger and keep the pump from starting again.
With this testing complete I can now attach it to the motor and wire it in.
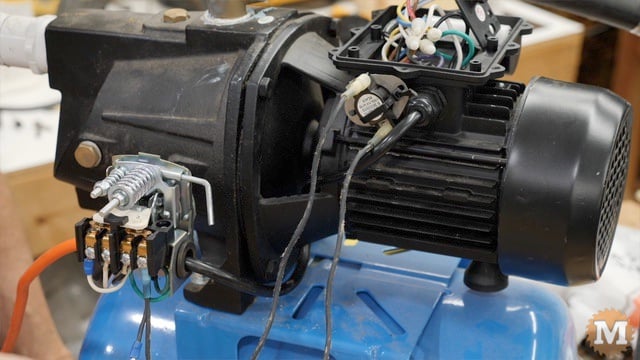
Wiring the Dryer Thermostat to the Shallow Well Jet Pump
I decided to wire the thermostat directly from the terminals of the pressure switch. I removed the black wire and basically extended it to the tabs of the thermostat and back to the pressure switch.
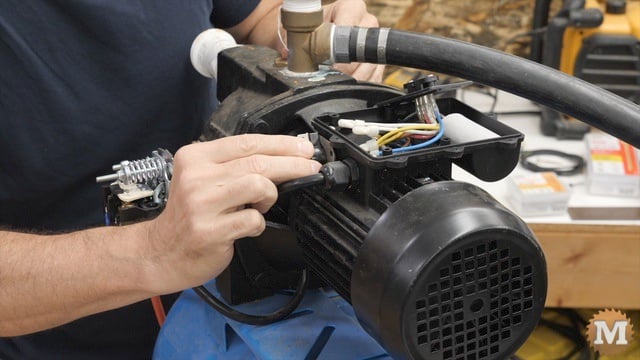
And I drilled two holes in the aluminum motor housing and looped a heat resistant zip tie through to secure the thermostat and hold it tightly to that flat section.
I’ll seal up those holes with silicone and I’ll also added some at the point of contact. So that should keep it in place. The silicone will also cover any exposed terminal connections. Or I could use some electrical tape.
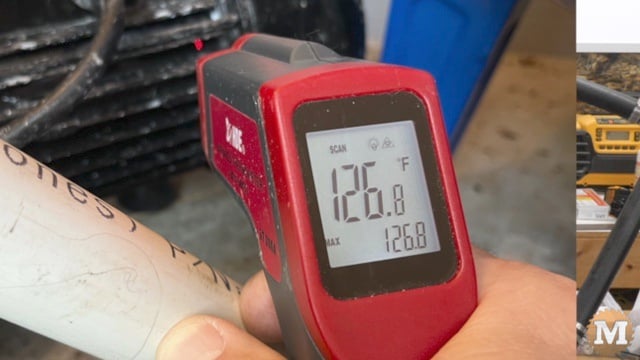
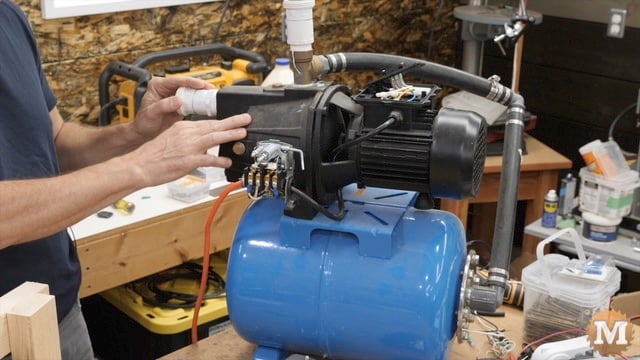
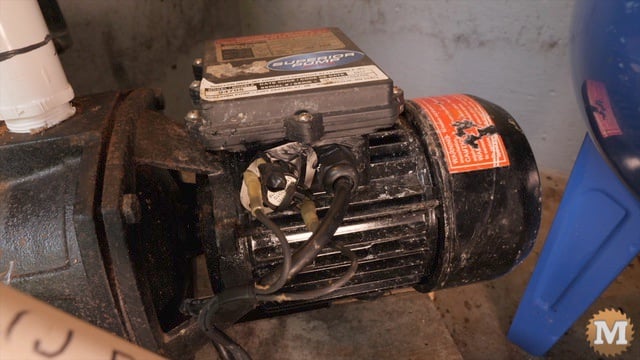
These pump motors do have a thermal overload switch that is supposed to shut them down if they overheat. I contacted the manufacturer of these pumps and they stated that the thermal switch should trip at around 120 degrees Fahrenheit. I replied with this picture showing the outer housing above that with the pump still running.
So, I can’t rely on the thermal protection built in. And that’s obvious given the melted pipe collection I have.
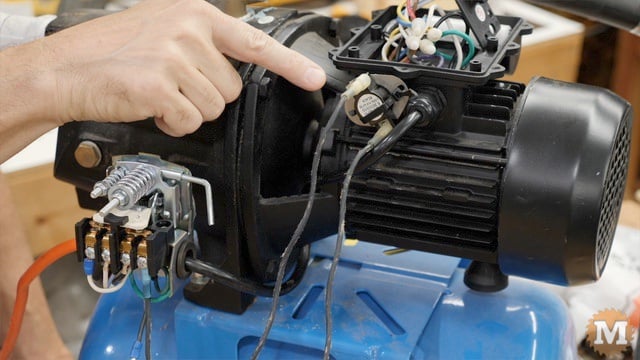
Motor Built-In Thermal Protection
Perhaps that internal switch could be replaced but, I think I’d have to tear down the motor to do so. So, I’ll stick with what I’m doing here as it’s a simple, external, and easy to test and verify failsafe.
Also, I mentioned at the beginning that the pressure switch on these pumps has an auto low pressure cut off and I said that it triggers at 10 psi. That was incorrect. It’s set to trigger at 11 psi lower that the cut-in or ON rate.
And for my switch that is 19 psi. I did test that and it triggers under a heavy load condition. That being with all my irrigation timers turned on and several garden hoses filling tanks. It does not seem to work if the well is running dry. You would think that the lack of water being drawn from the well would result in a pressure drop enough to trigger that auto low-pressure cut off.
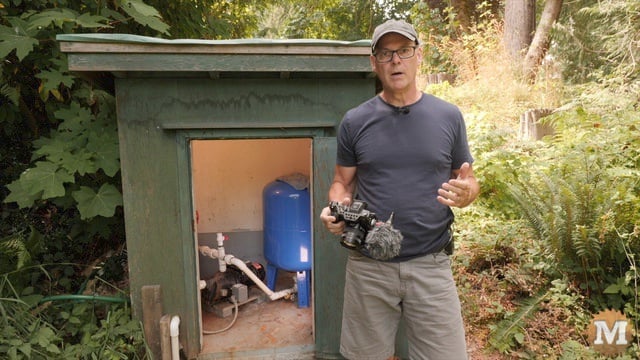
Anyways, I’ll now add the thermostat to the pump down at the well the same way I did it here on this pump.
Please leave me a comment below with any of your thoughts or suggestions on this video blog post. Thanks very much and we’ll see you next time.
UPDATE September 9, 2023
My irrigation well ran dry overnight (or early this morning) while the garden drip line timers started. And unfortunately the pump did not shut off as I expected and the fittings melted. As before, water sprayed everywhere finally causing the pressure to drop enough to trigger the cut off switch. This is a major setback for me as I thought I had fixed this problem.
As I was reading through the YouTube comments from the video someone stated that it might be the pressure tank that is the problem. It is designed to hold some reserve pressure so that might be affecting the cut off switch, keeping the system pressure just high enough that the pump keeps struggling without fresh cooling water running though the housing.
So I have (yet again) rebuilt the plumbing section that melted. But, this time I added a ball valve between the pump and the pressure tank. Effectively removing the pressure tank from the system. And when the well recovers over the next 24 hours I’ll do a proper test by running the pump and pulling up the pipe and foot valve to see if this is the final fix I’ve been looking for. See the UPDATE VIDEO BELOW.
I tried a few more things to fix this problem. And in the follow-up video I finally fixed it with the addition of a well pump dry run relay.

