Shovel Ashes then Vacuum
I remove most of the ashes with a flat shovel and steel pail, going slowly to not stir up a lot of dust.

Now to try out the vacuum. I get most of the leftover ashes.
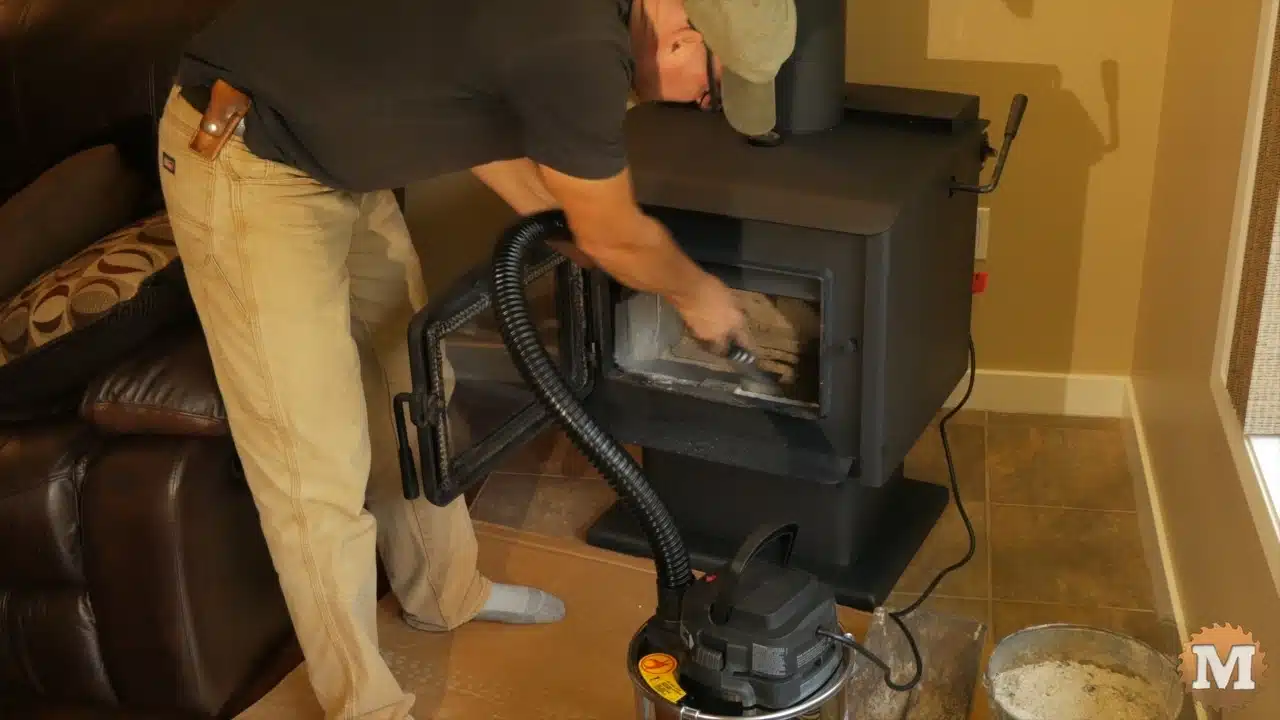
And then take a brush to the inside to break off or loosen any creosote and soot. Then vacuum again. The flexible hose helps get the ashes right inside the door that’s hard to get with my shovel.
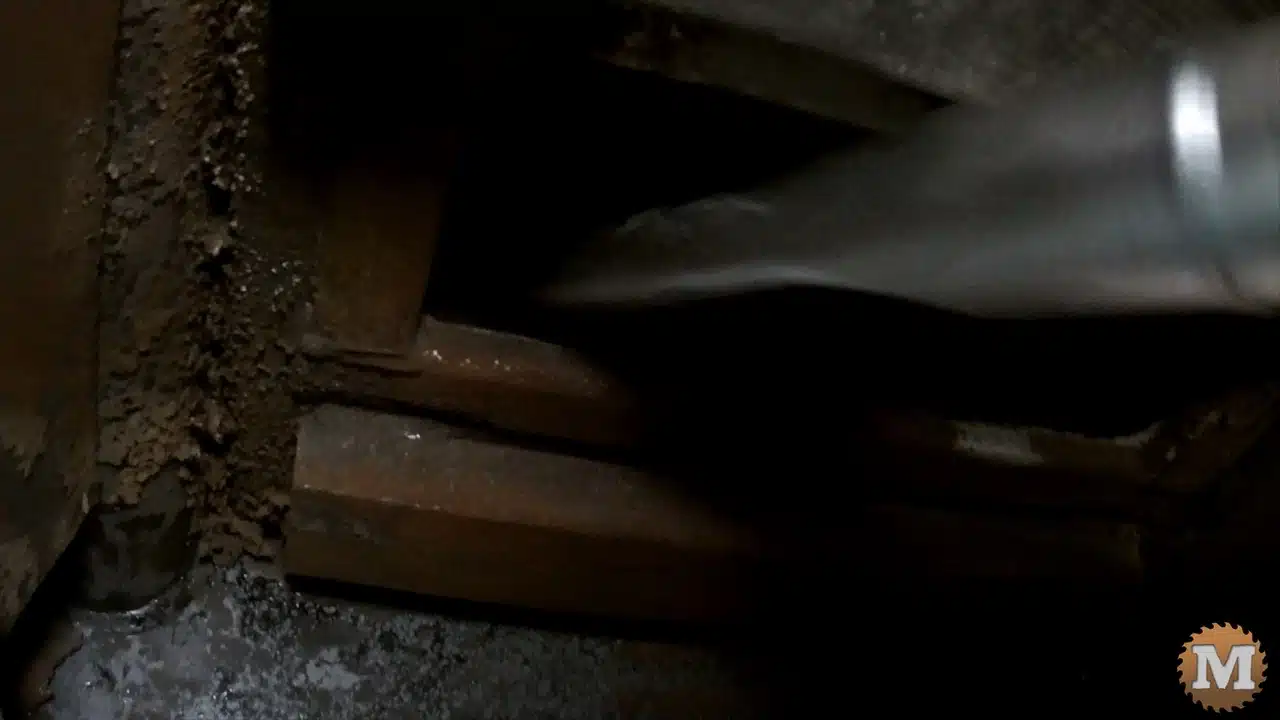
The crevice tool helps get some creosote that fell beside the bypass door.
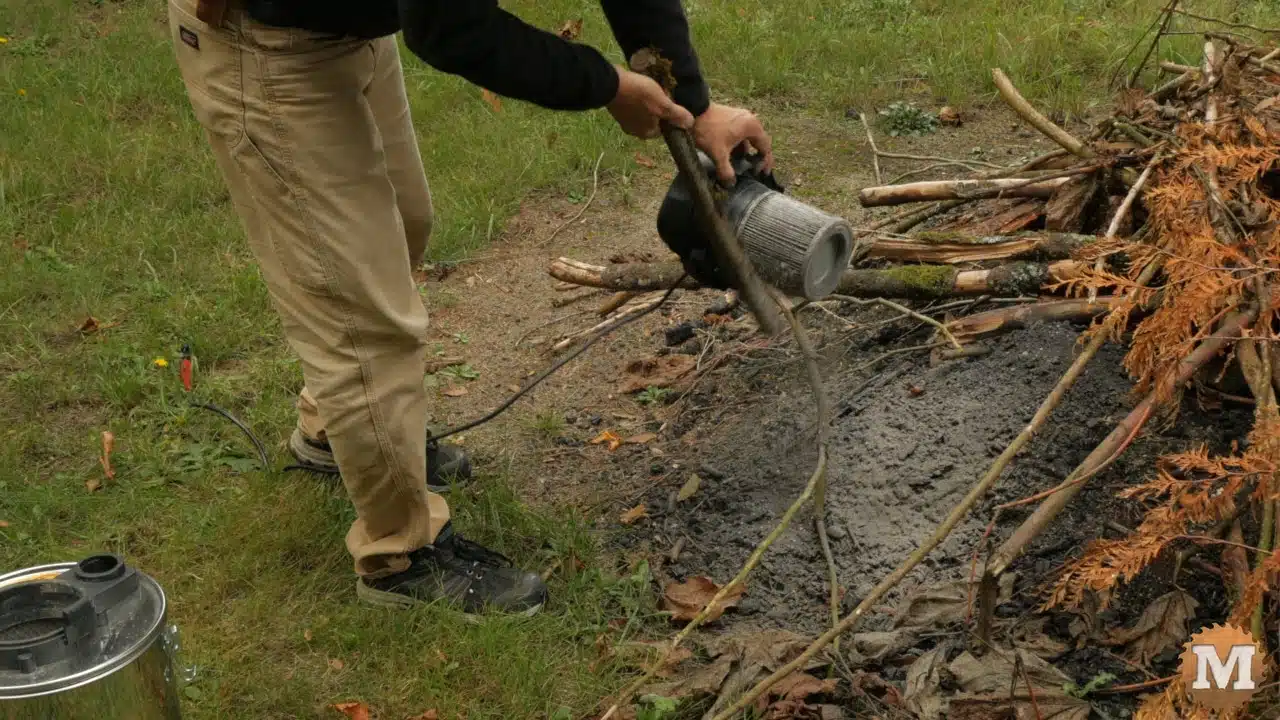
Dispose of Ashes & Creosote
The ashes in the pail I sprinkle over one of our long-term compost piles.

It will all be worked in when the pile gets turned and aerated. The ash vacuum is disassembled and the mostly creosote and ash mix I add to a small burn pile in the back. The metal pre-filter comes clean by tapping it. I do the same with the HEPA filter to clean the ash dust off best I can.
I’m very happy with this ash vacuum. It does exactly what I need it to. It small and lightweight, well built, and has plenty of power. I didn’t notice any loss of suction as I vacuumed and it’s pretty easy to clean.
Make Fire Starter Bags
I have some cedar rounds left from milling lumber for the woodshed build. These have few knots and are straight grained so I put them aside to split into kindling. We also make fire starter bags from the chainsaw wood shavings.

I’ll start by cutting this round down to about wood stove length.
(Disclaimer: As an Amazon Associate I earn from qualifying purchases. Thank you for helping to support my content this way. )

Then I’ll make a few rip cuts half way through the log. Cutting this direction, with the grain, produces long thin curls.
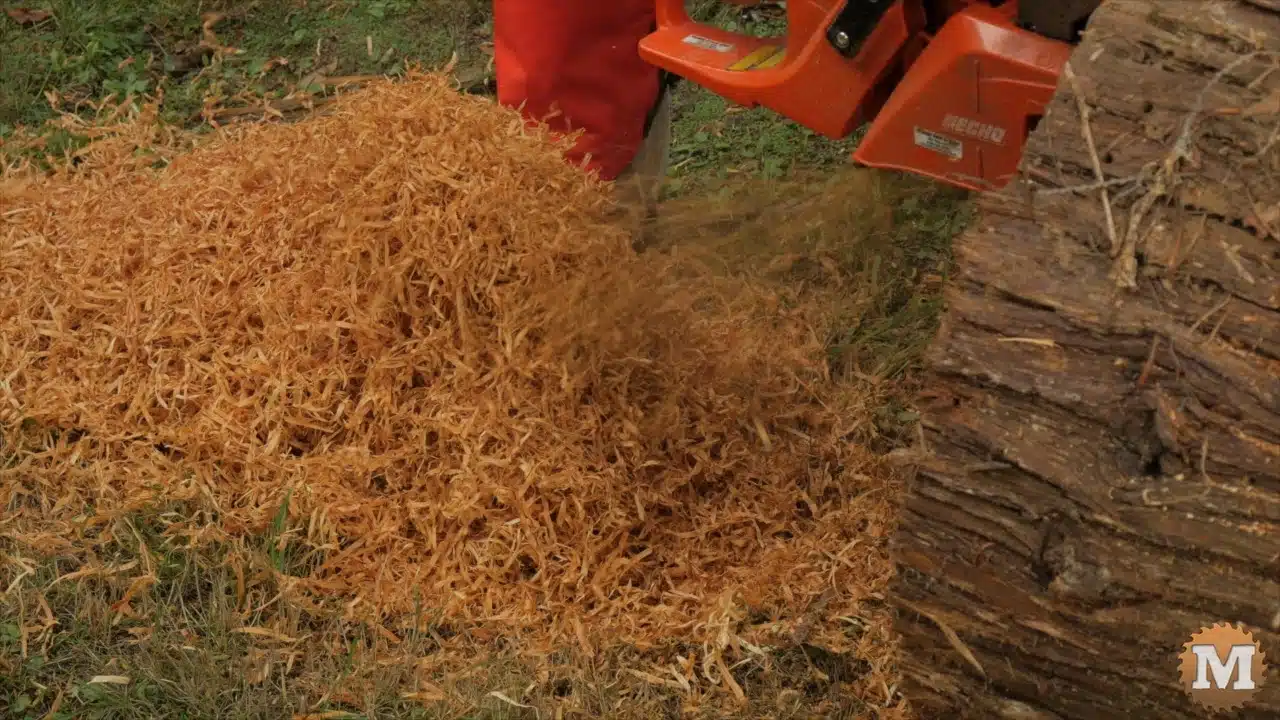
These shreds pile up quickly and it’s not long before I get several pails worth.
Cedar is ideal for this but spruce, pine, fir , or any softwood would work fine.
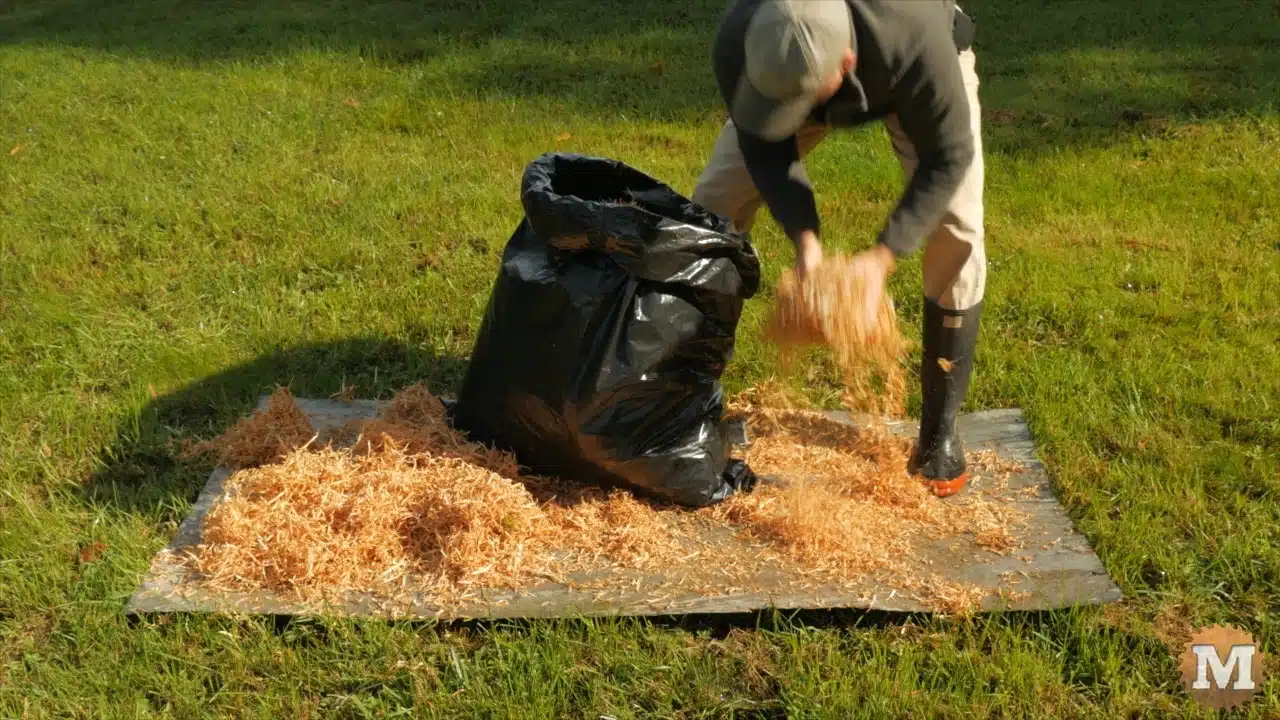
I spread these shavings on some scrap tin roofing and let dry in the sun for a few days. Then I store them in garbage bags for use later.
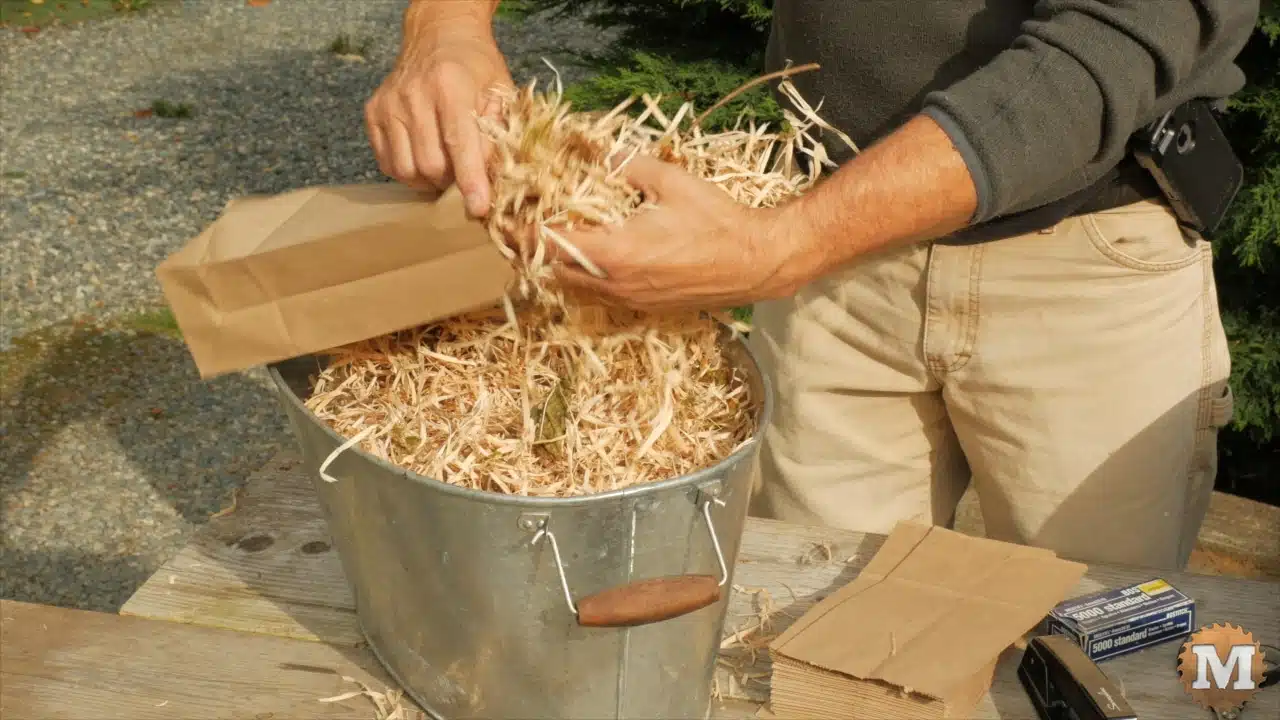
Stuff the Bags
Here’s some dry fir shavings from a tree that came down last summer. To make the fire starter I use paper lunch bags, a stapler, standard office staples, and scissors.
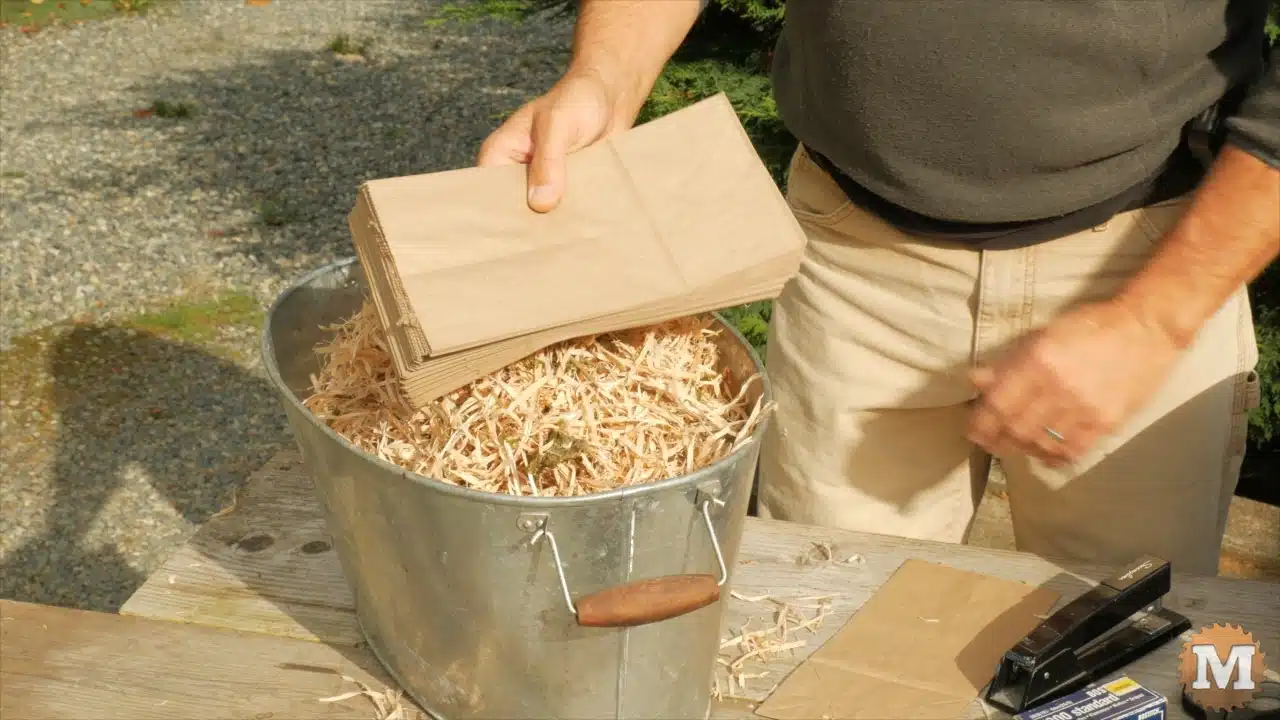
I loosely stuff the bag about three quarters full of shavings, fold the edge over, and staple shut.
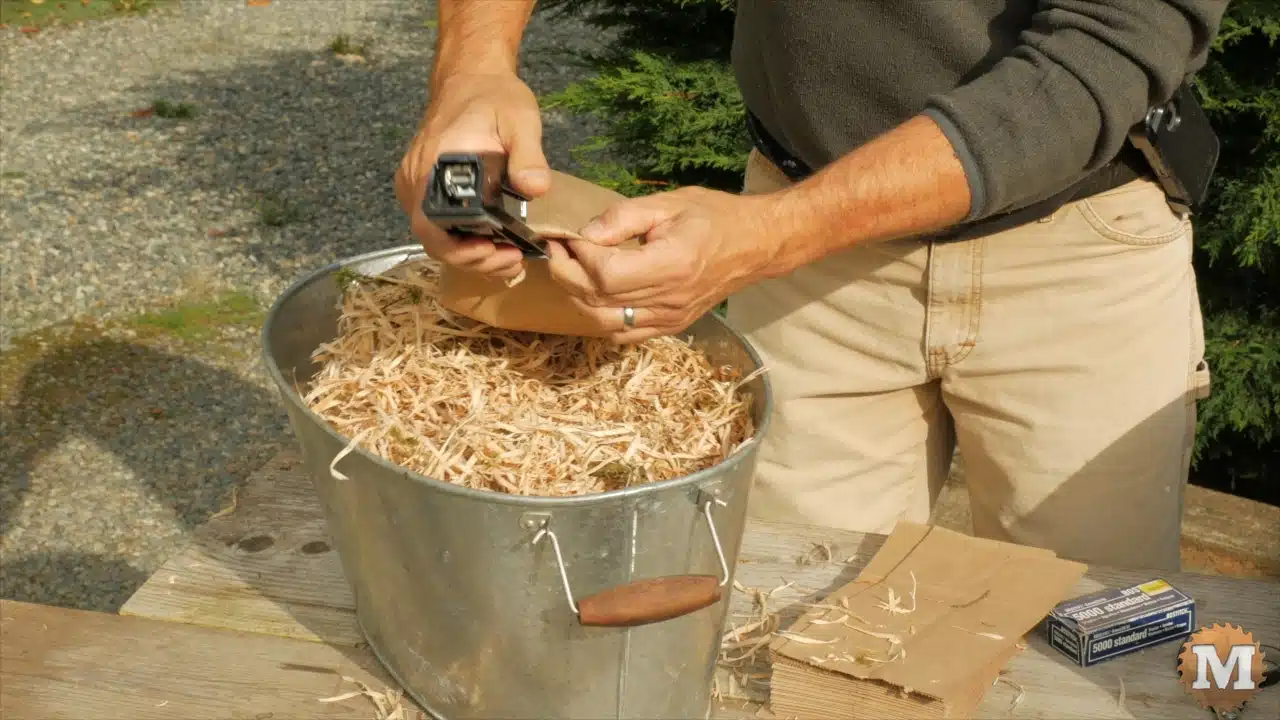
I enlisted the help of my wife Marilyn and in only a few minutes we stuffed and sealed about 20 bags.

I store them in boxes in a dry place near my kindling.