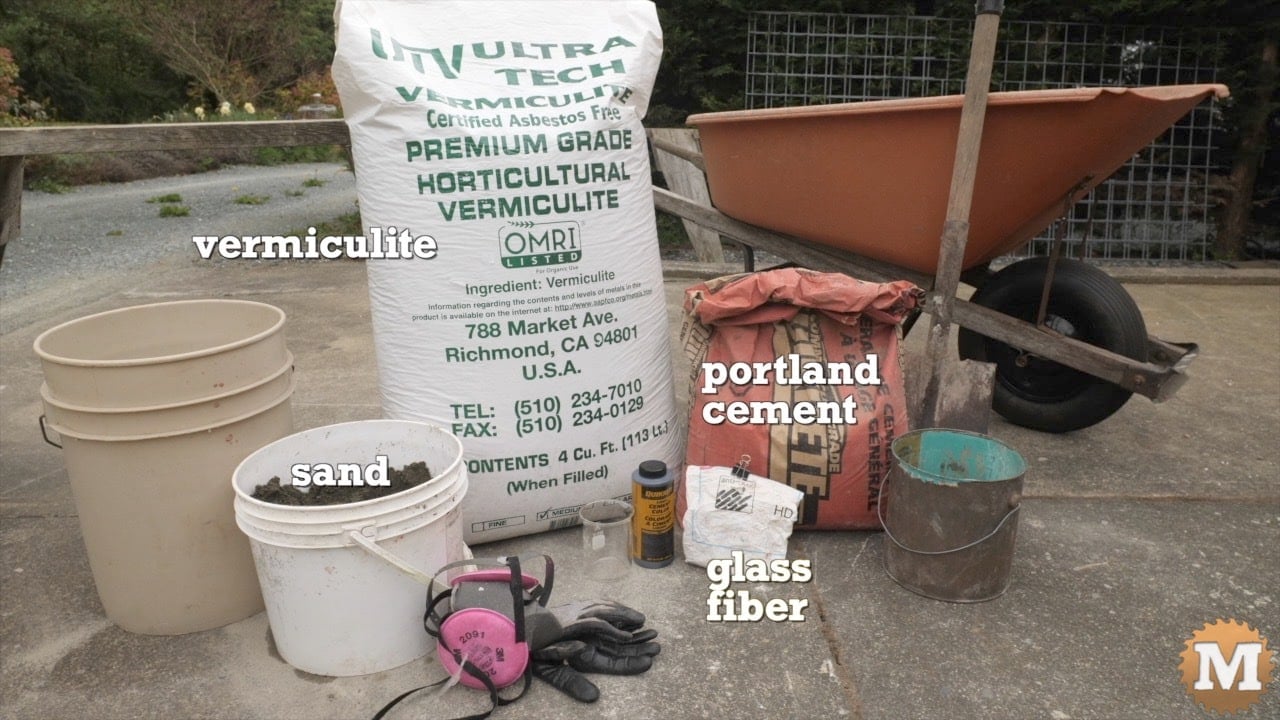
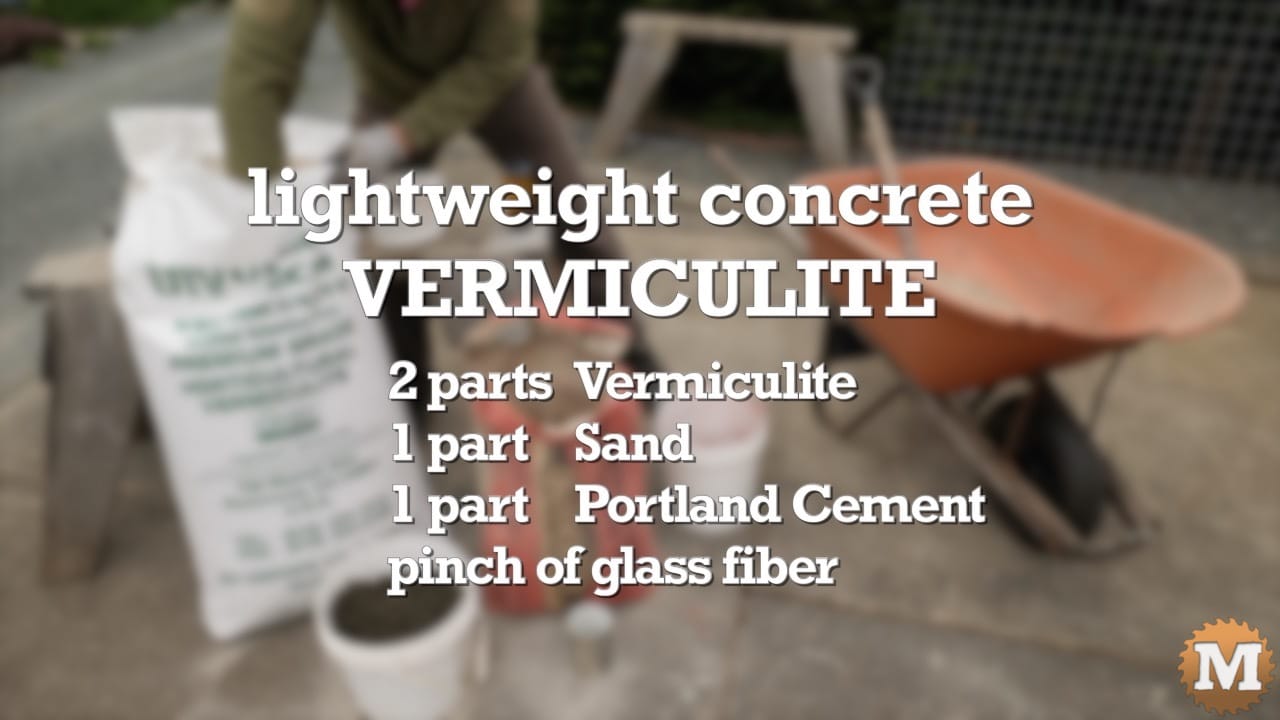
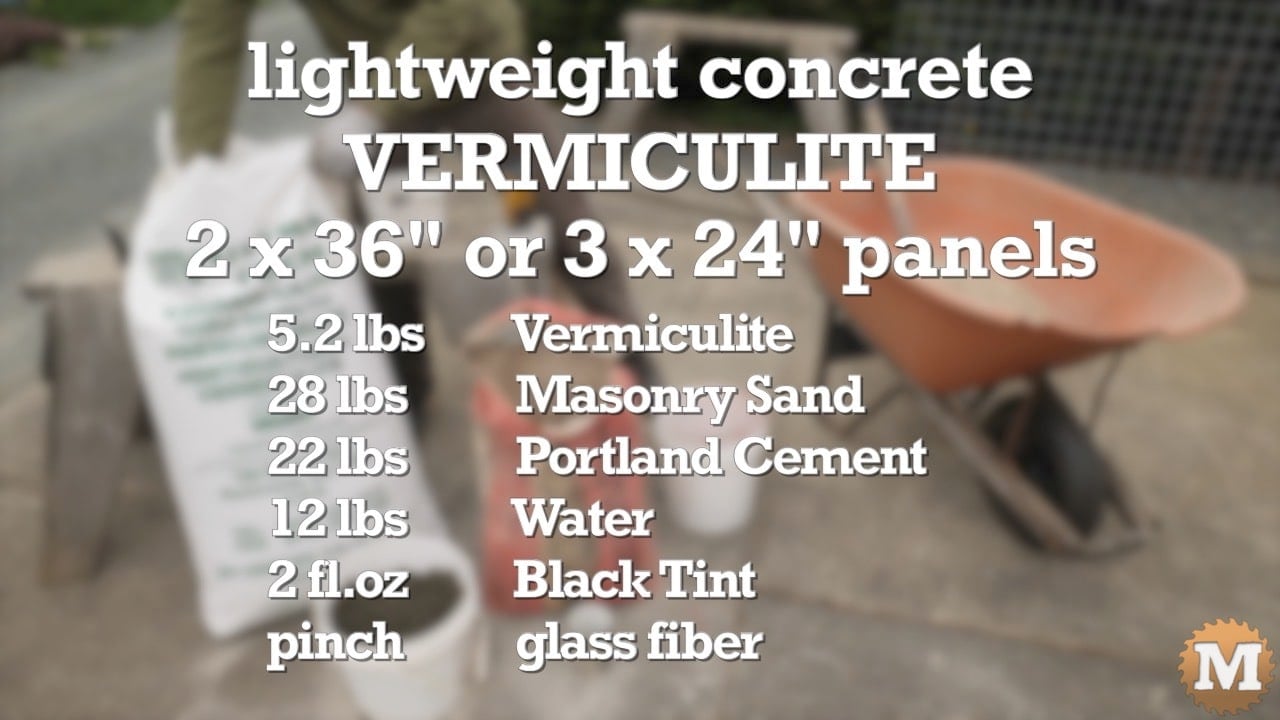
The Vermiculite Lightweight Concrete Blend
The second lightweight mix is very similar to the first. It uses portland cement, vermiculite instead of gravel, masonry sand, and glass fibre. And for this blend I’ll use the black (or charcoal) cement color.
Black Cement Tint
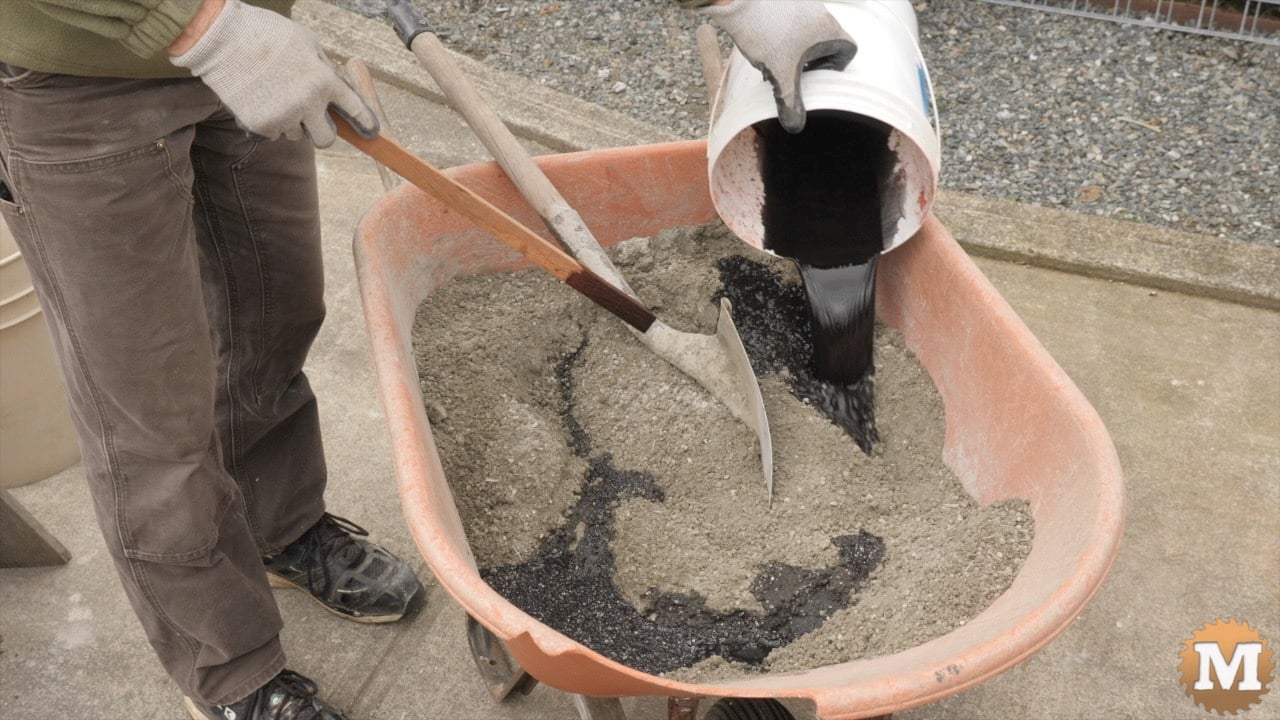
As before, I’ll add the measured colour to some water.
The ratios of the dry ingredients are the same as the perlite mix:
2 parts Vermiculite
1 part Masonry Sand,
1 part Portland Cement,
pinch of Glass Fiber.
And here’s the weight of all the ingredients if using a scale:
5.2 lbs – Vermiculite
28 lbs – Masonry Sand
22 lbs – Portland Cement
12 lbs – Water
2 fl.oz – Red Tint
0.5 oz – Glass Fiber
Water Considerations
As I mentioned earlier, the water weight is for reference. You may need to use more or less than this amount to get a wet but not sloppy or pourable mix. And have extra dry ingredients on hand in case you add too much and need to make the mix dryer.
Measuring and Blending the Vermiculite Concrete Ingredients
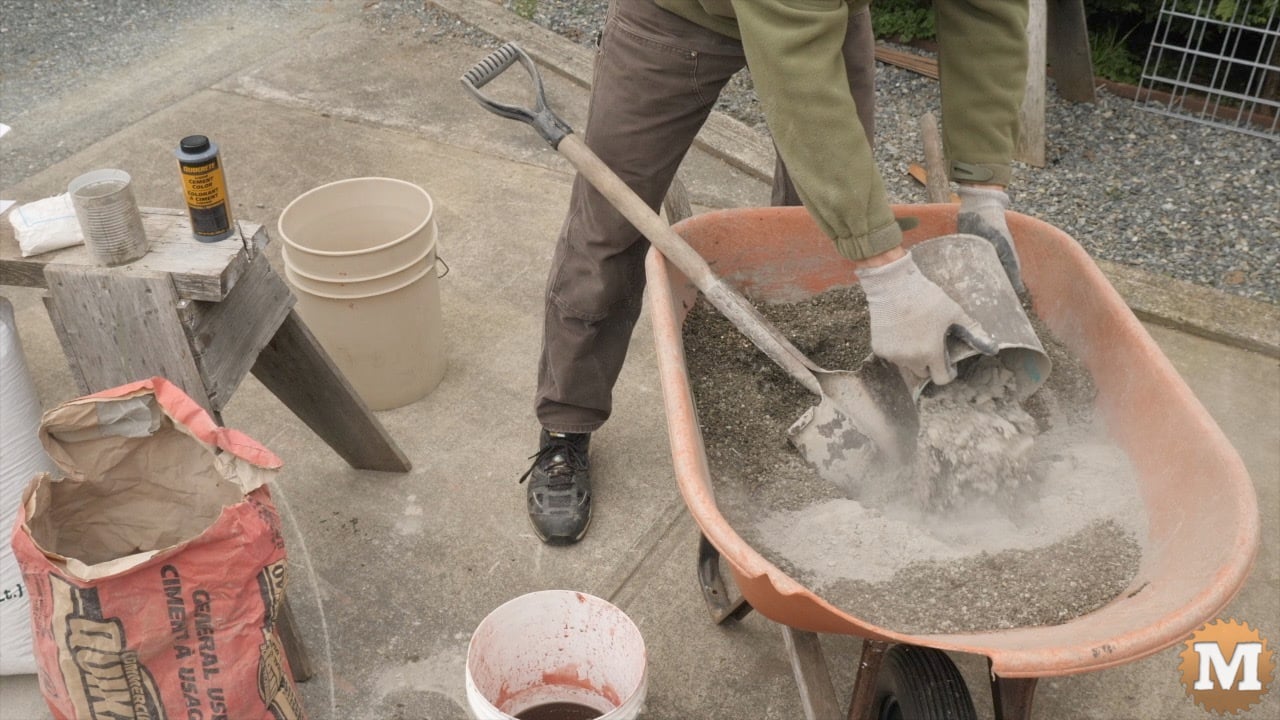
So, to my wheelbarrow I added my 4 heaping-load cans of vermiculite. And the grade of this vermiculite is medium.
Now I’ll add two cans of sand. Followed by most of the black colour mixed in some water. I’ll blend that well then add the glass fiber.
I’ll add the first can of cement, mix the ingredients with the shovel, then add the 2nd can.
(Disclaimer: As an Amazon Associate I earn from qualifying purchases. Thank you for helping to support my content this way. )


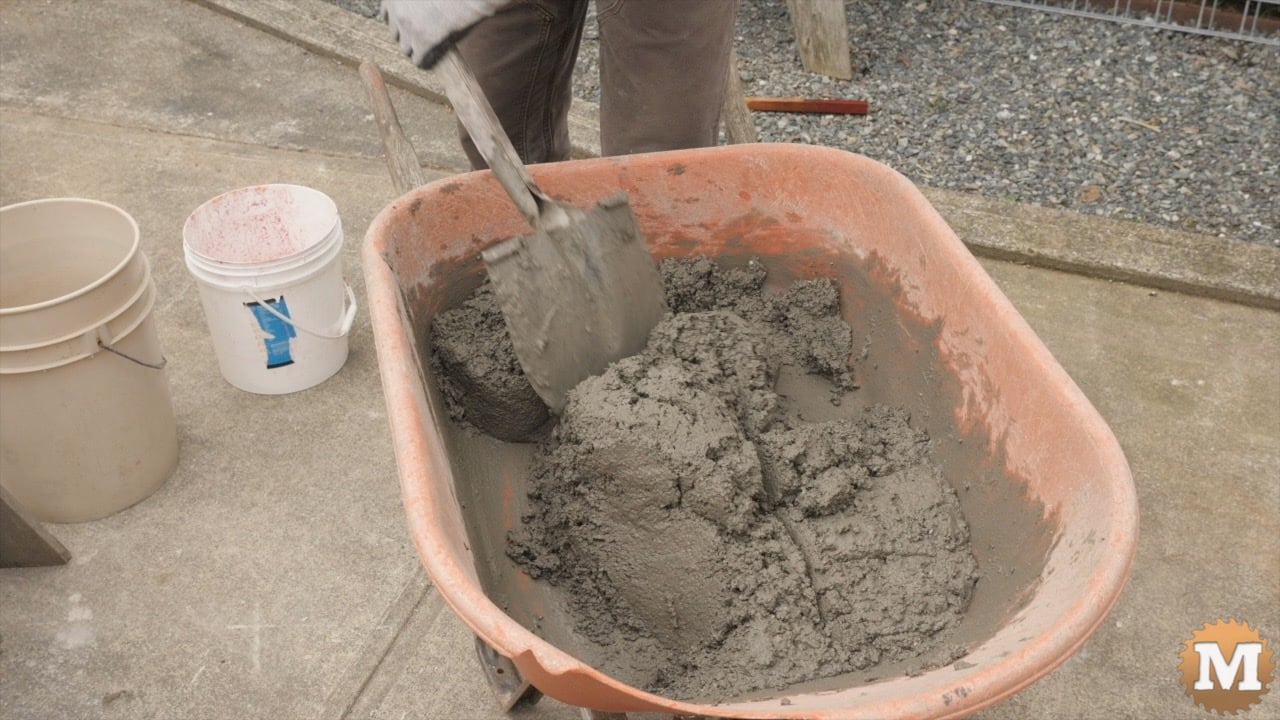
Then I’ll slowly add water, a bit at a time, until I get a wet, mortar-like mix.
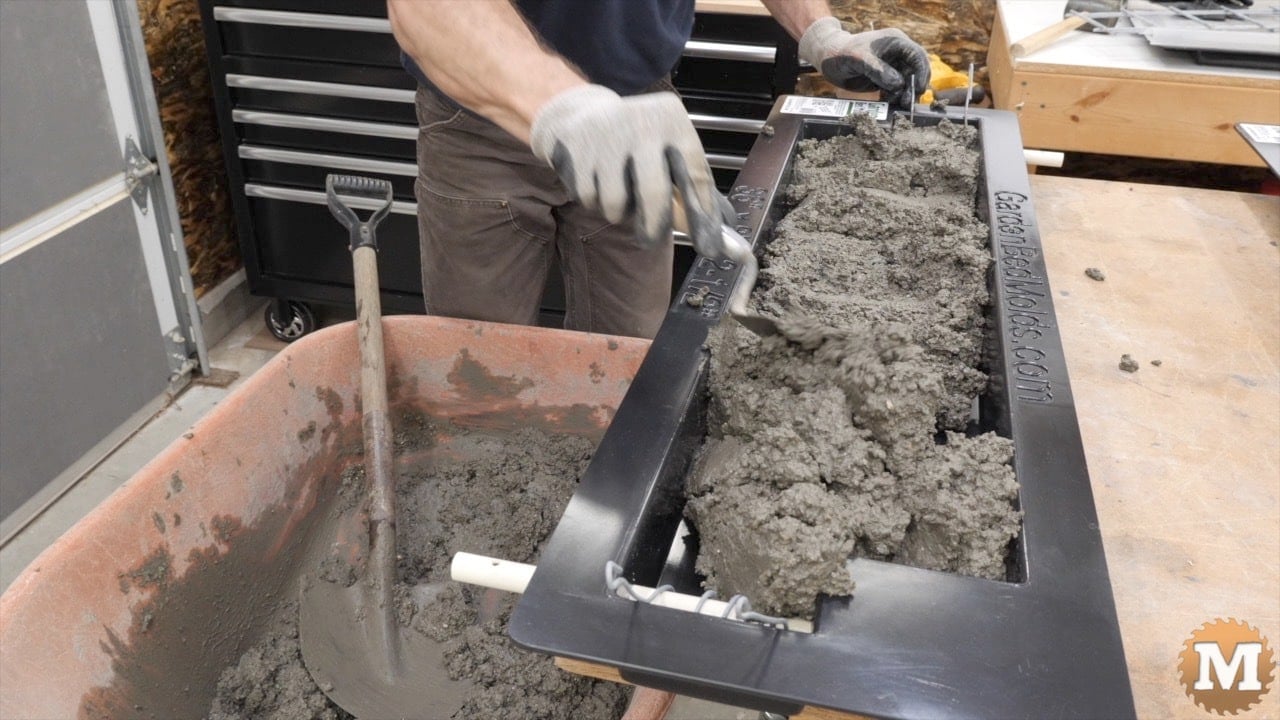
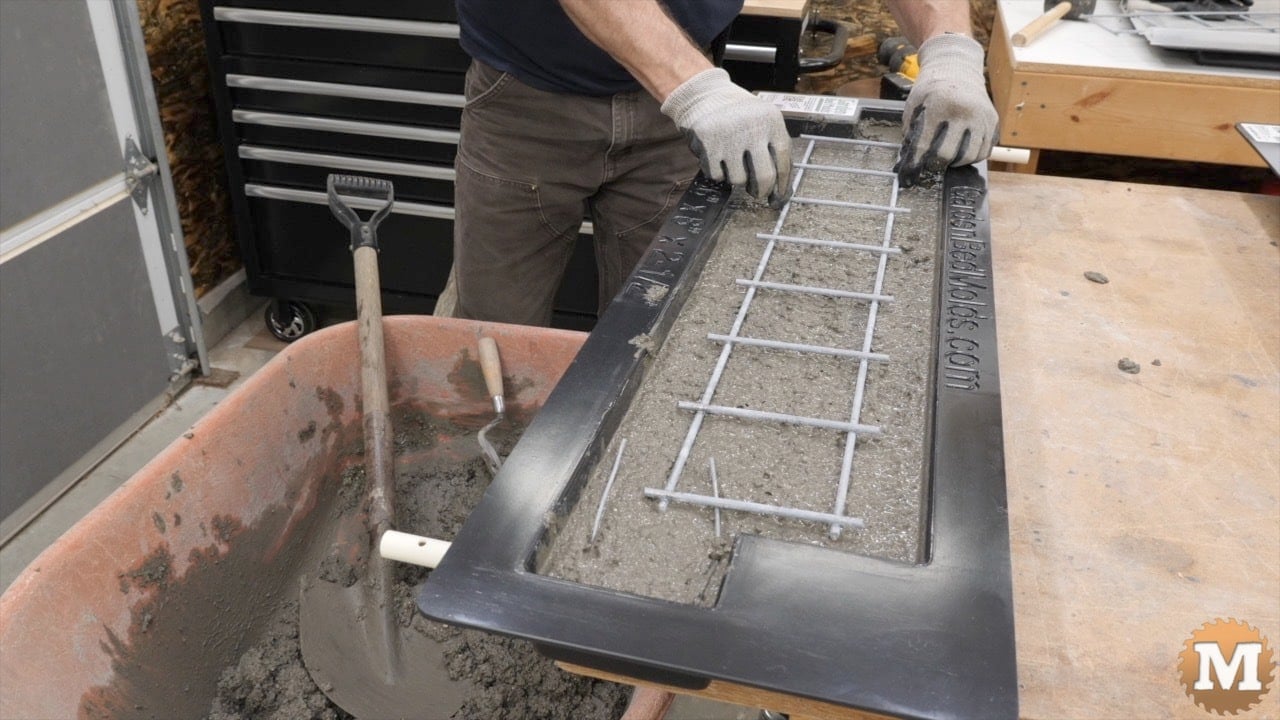
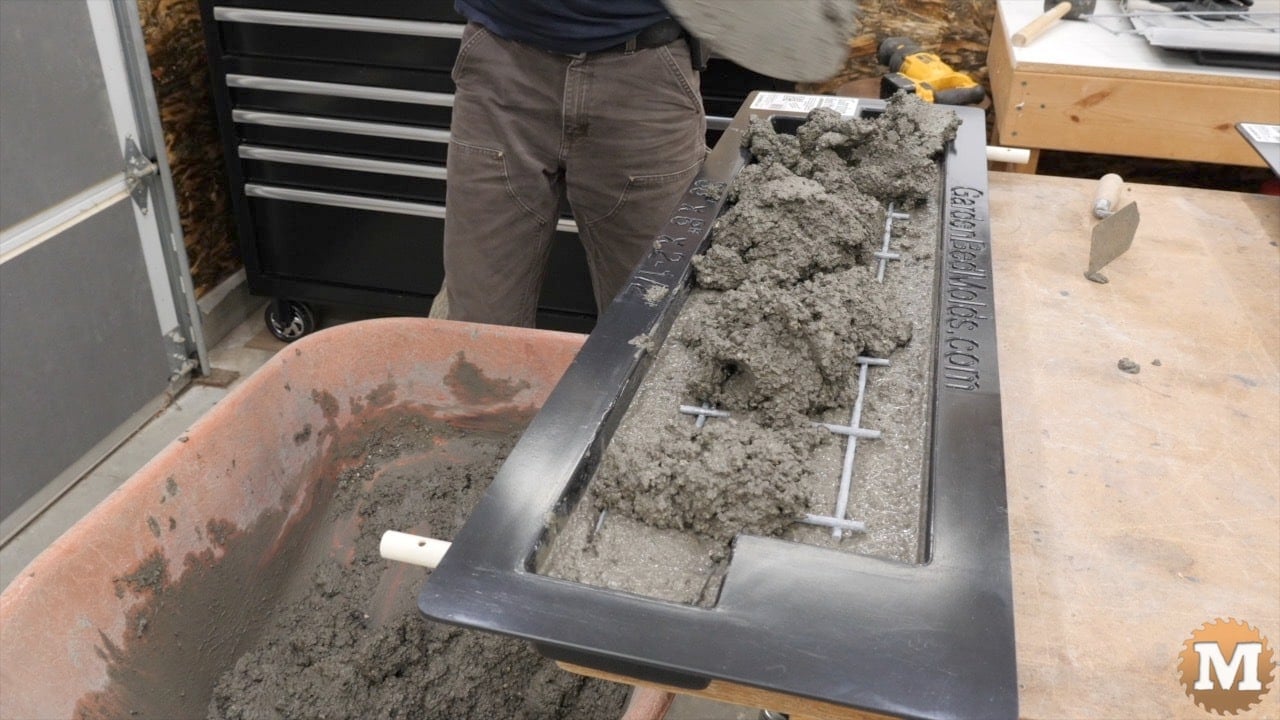
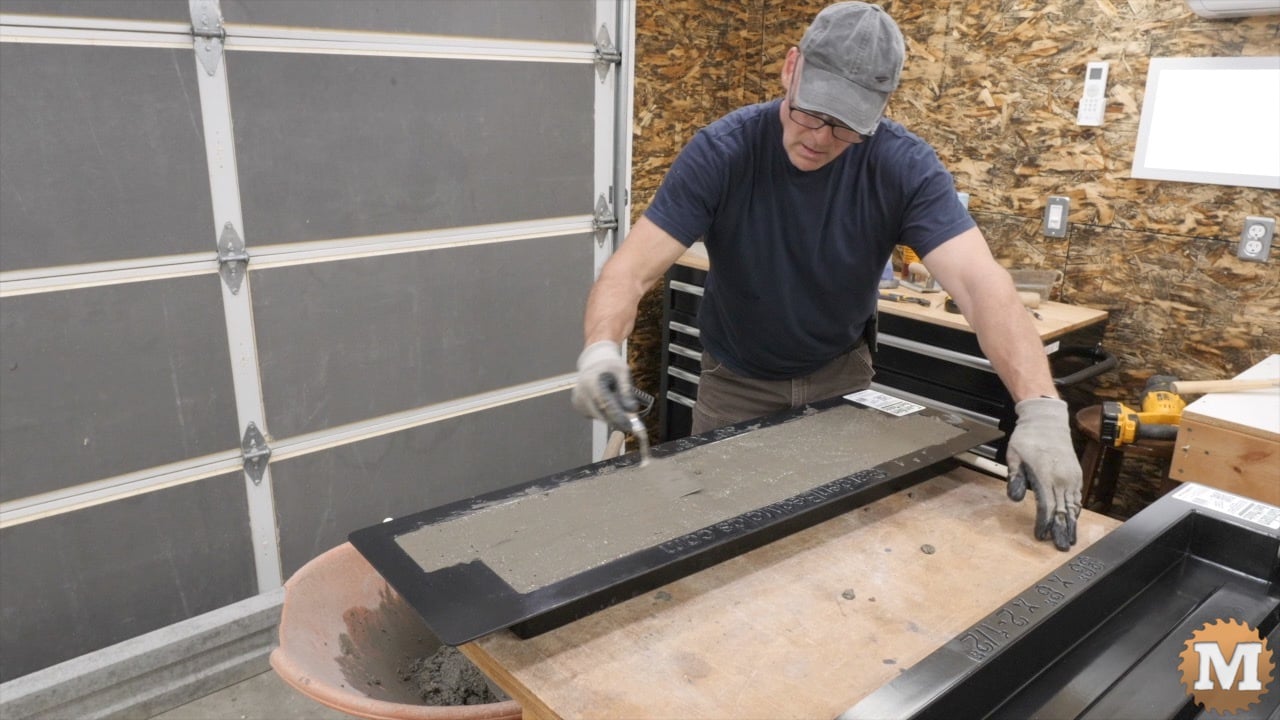
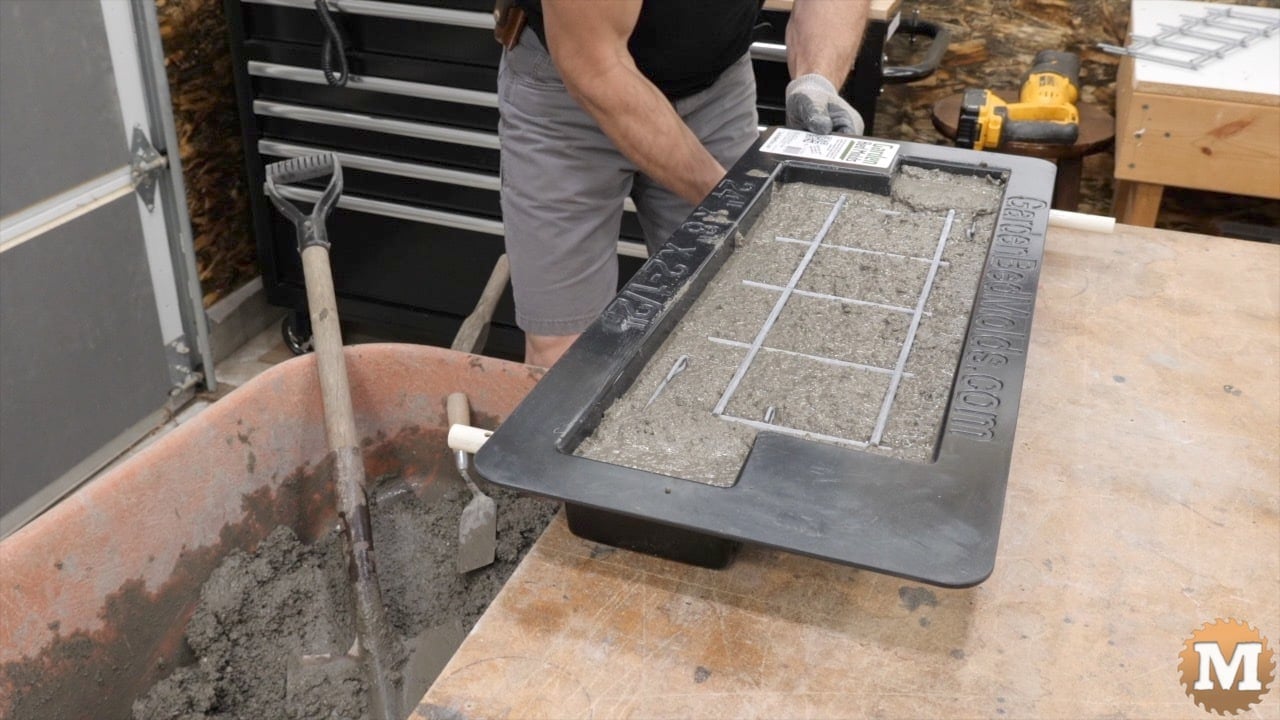
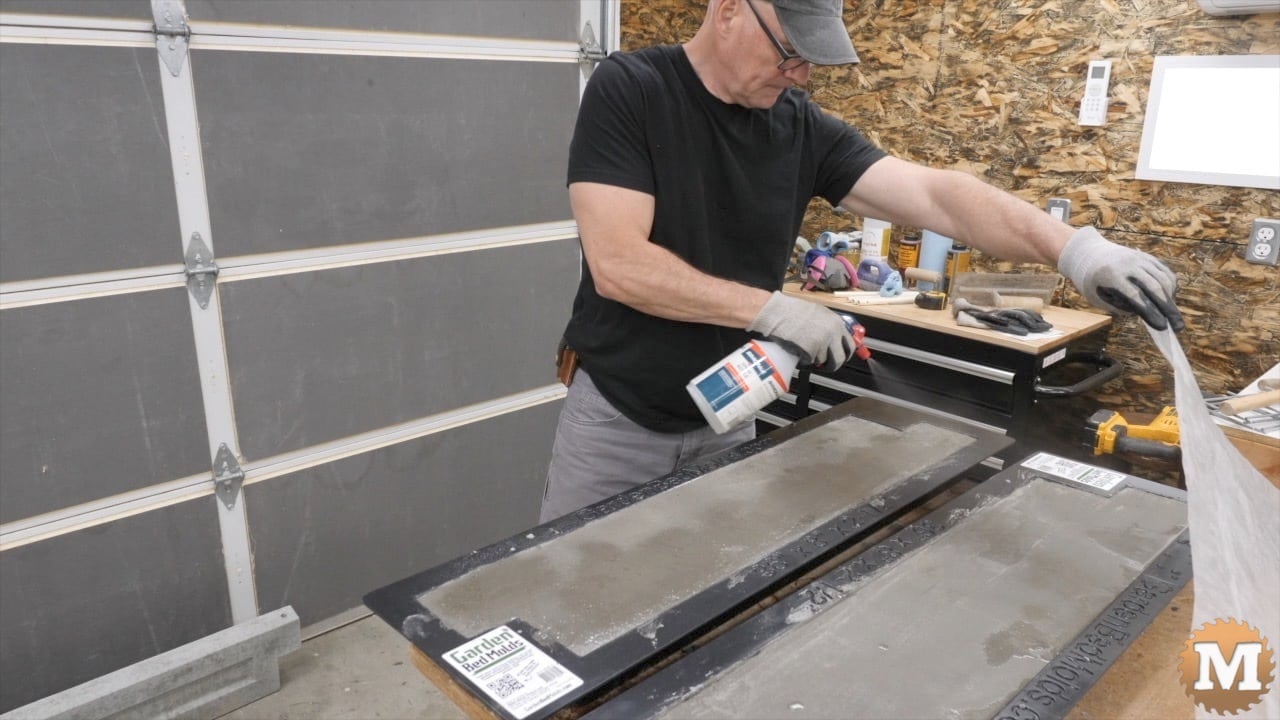
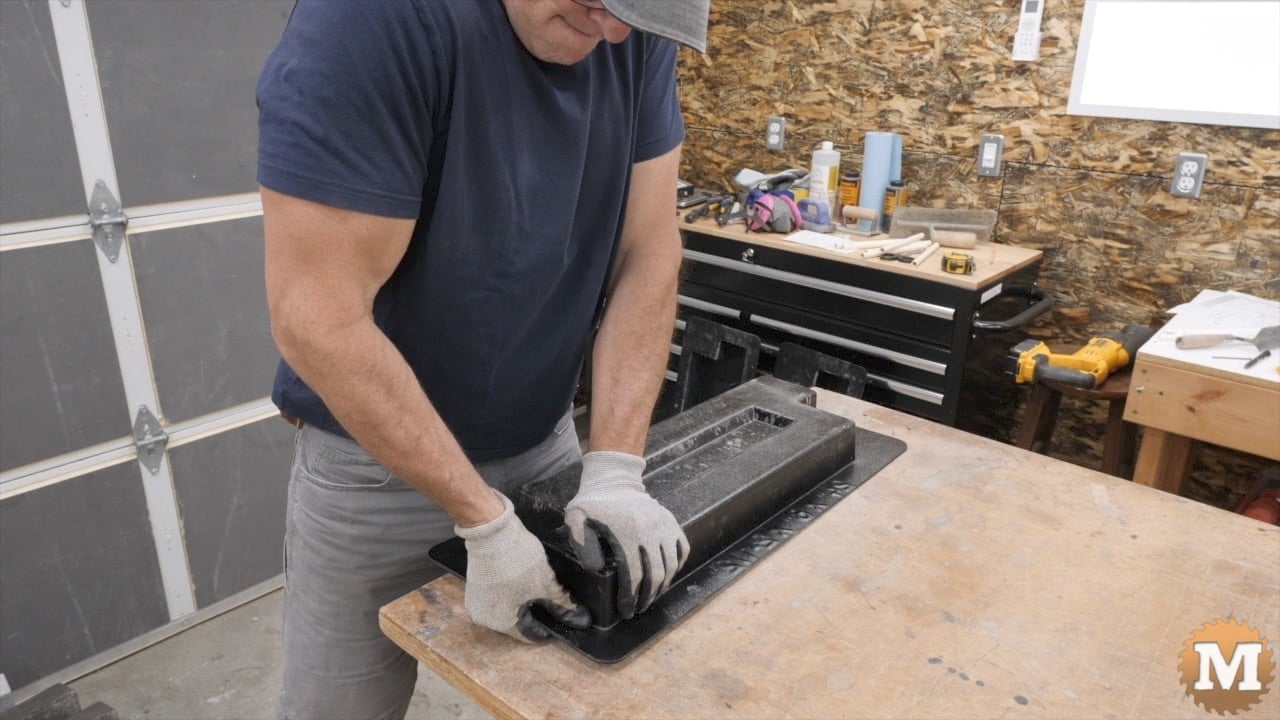
Fill the Molds with the Vermiculite Blend
Then into the shop to fill the molds. Both lightweight concrete blends are nice to work with when filling the molds. They trowel well and are pretty responsive to vibration to help settle them.
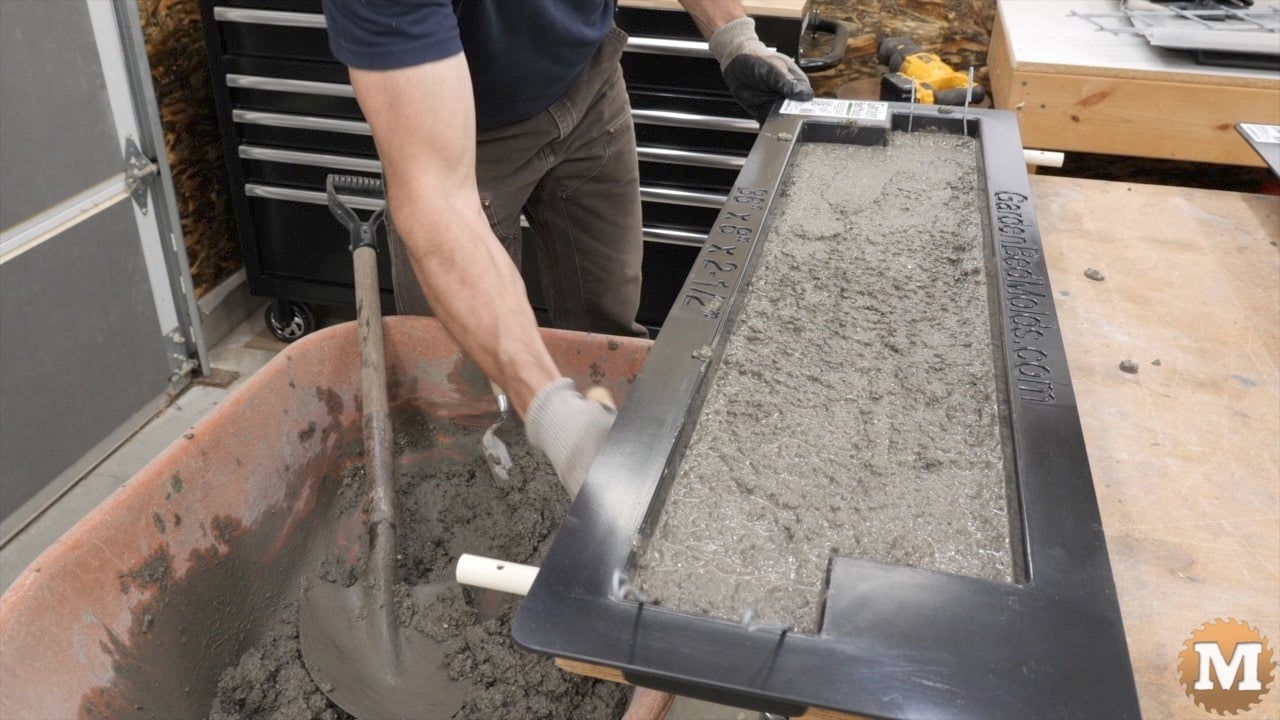
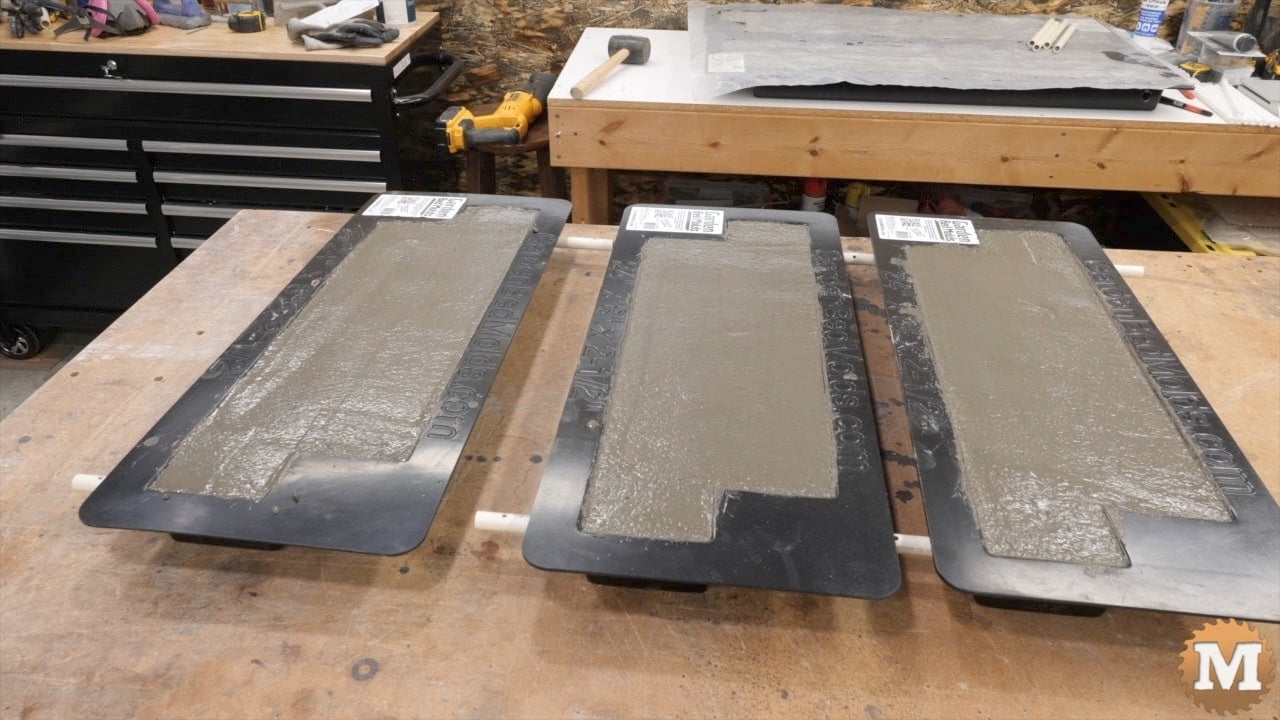
The two 36″ molds then mix another batch of the vermiculite blend then fill three 24″ molds.
Pull the Pipes – A longer Wait Time
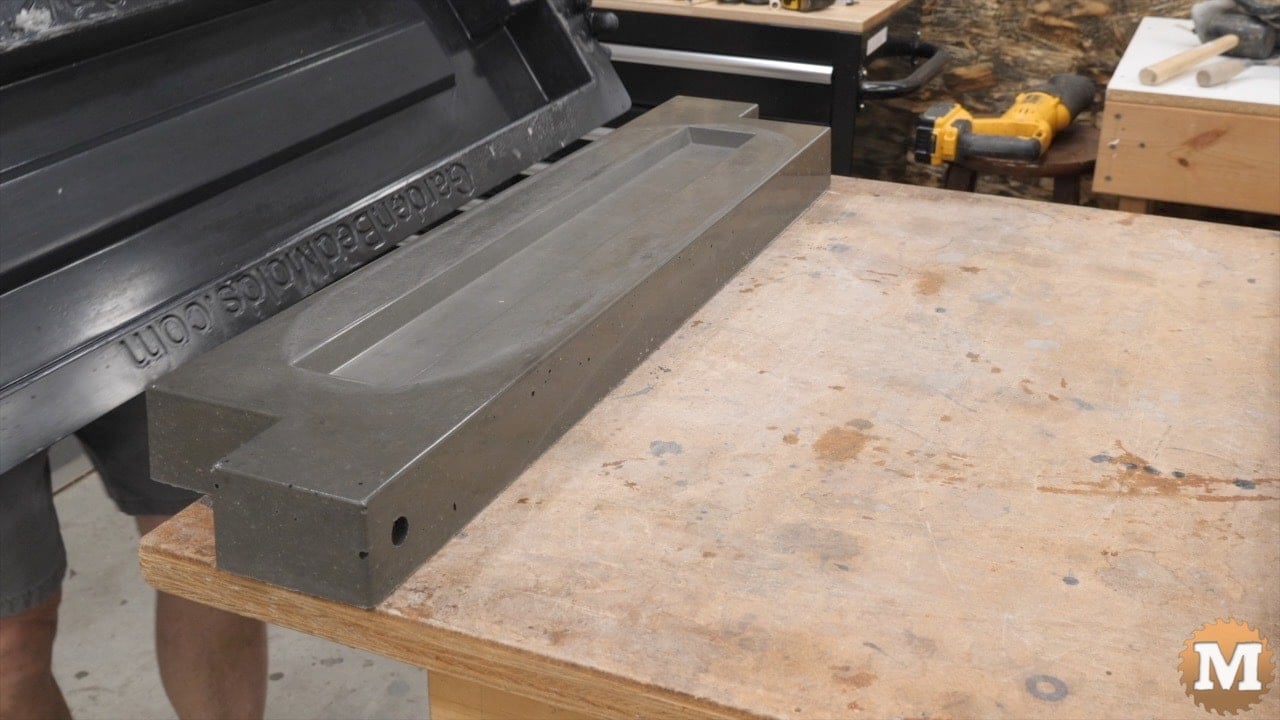
This time I purposely waited longer before pulling out the pipes to see how well the petroleum jelly worked. All the pipes came out without issue.

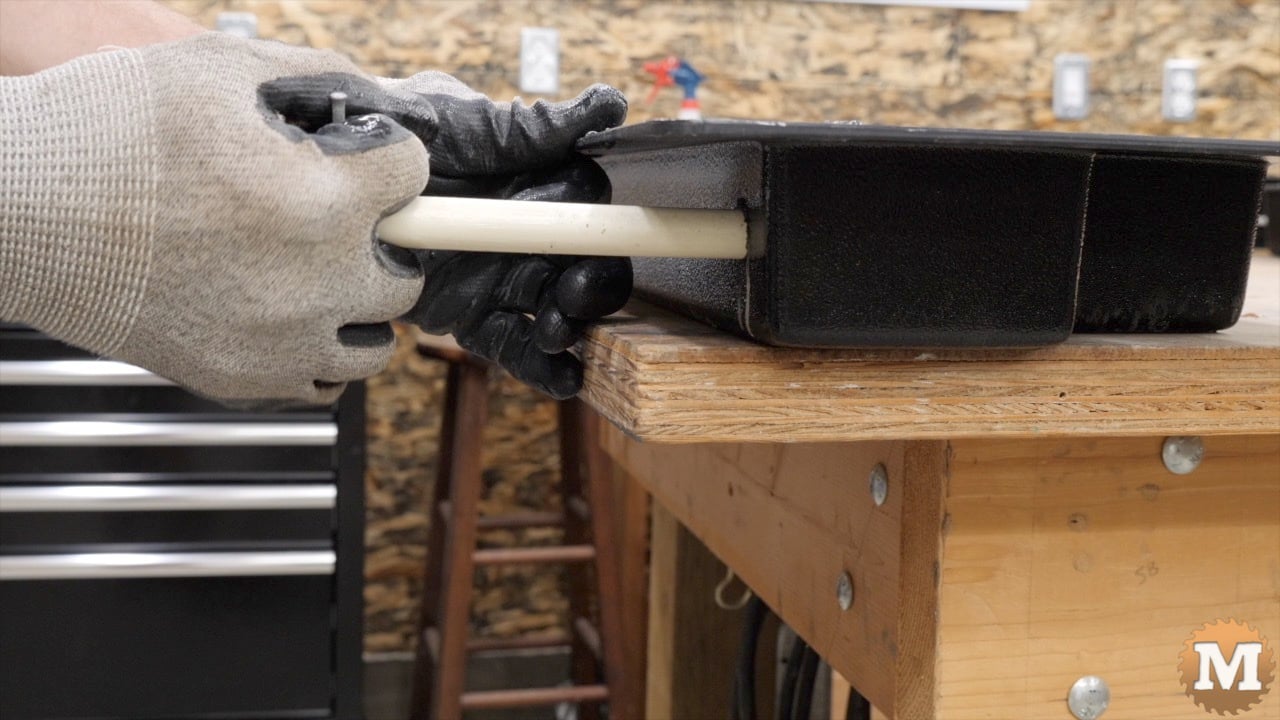
There might be a buildup of petroleum jelly left over on the molds when the pipes are pulled. This is easily wiped up after.
And all the pipes in the 24″ vermiculite blend casting also came out without any problems.
Vaseline (Petroleum Jelly) on the Pipes
So I’d say using petroleum jelly on the pipes works better than mineral oil.
I gave the concrete a spray with water before covering them back up with plastic.
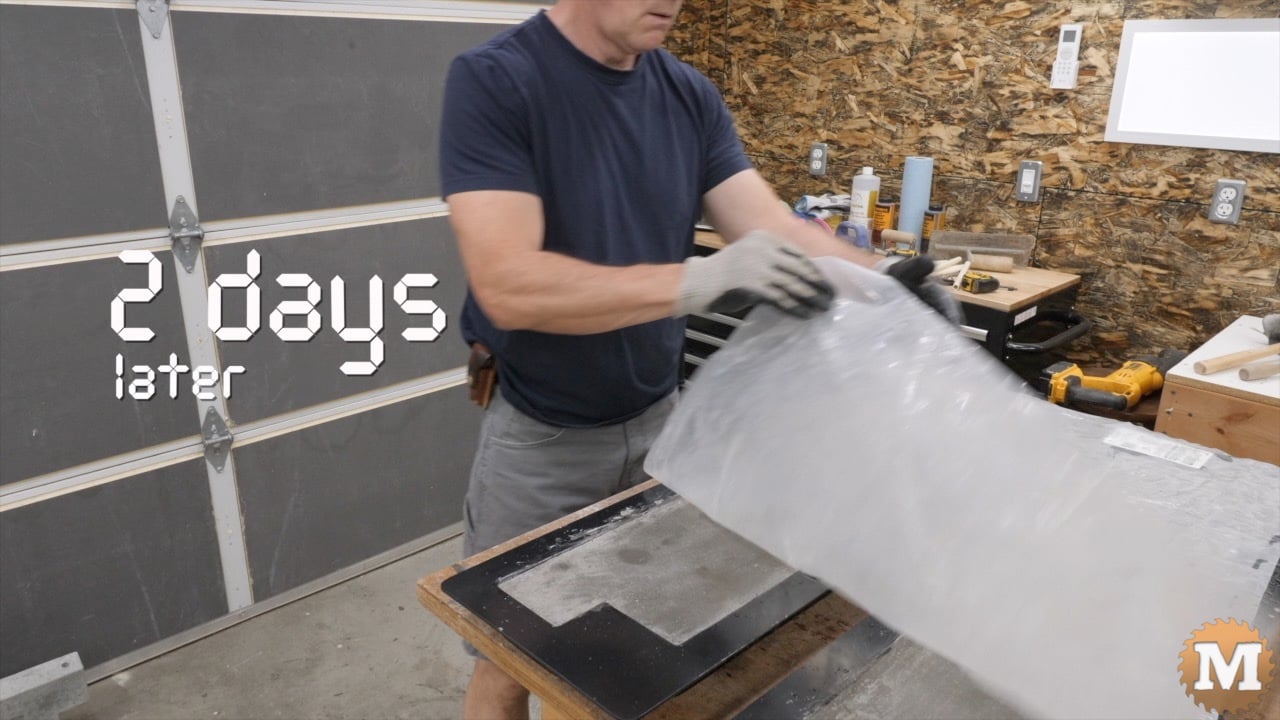
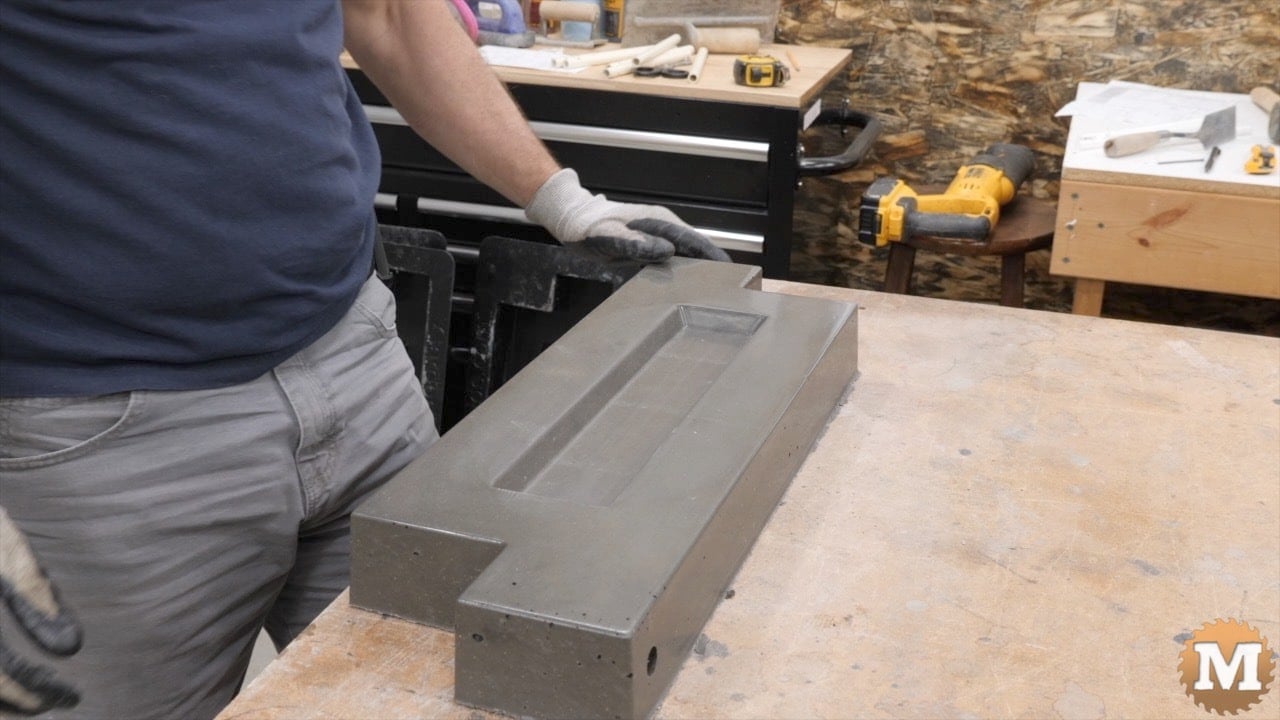
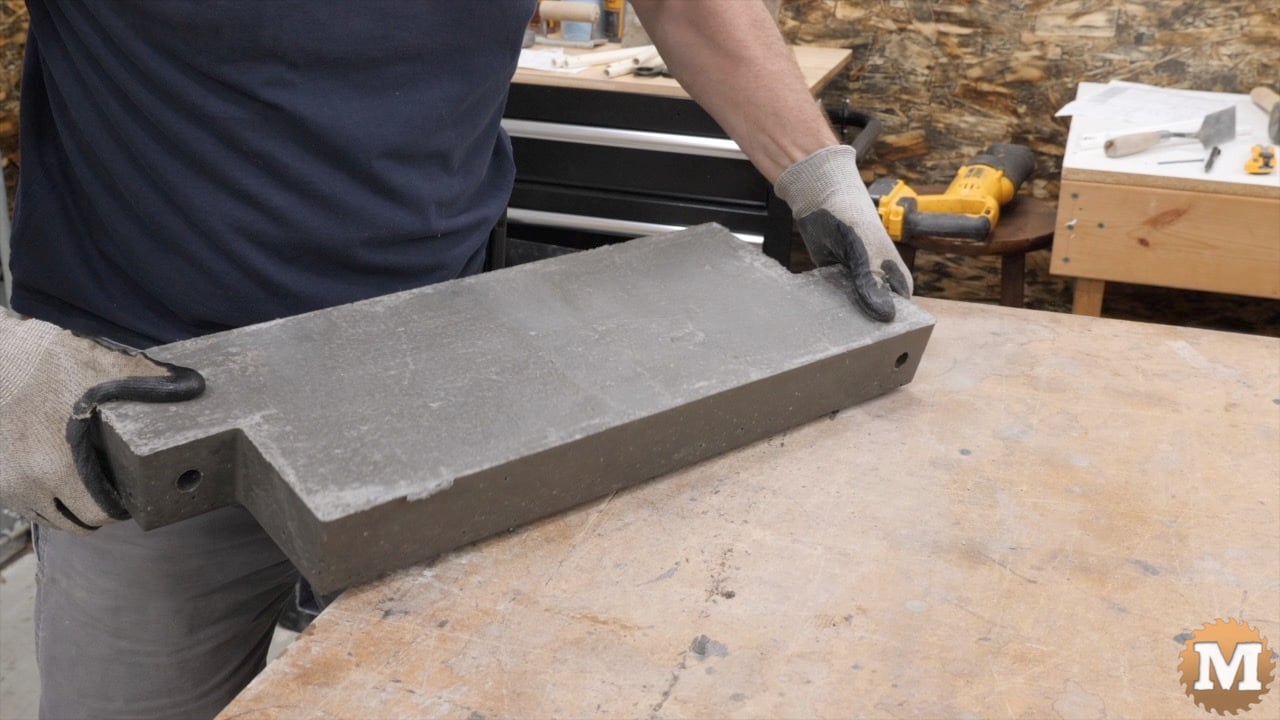
Free the Vermiculite Castings from the Molds
Two days later I unmolded the vermiculite castings.

With the mineral oil prepped molds I’ve been getting some trapped air on the surface of the forms. So I’m hoping that the wax treatment will eliminate that issue.
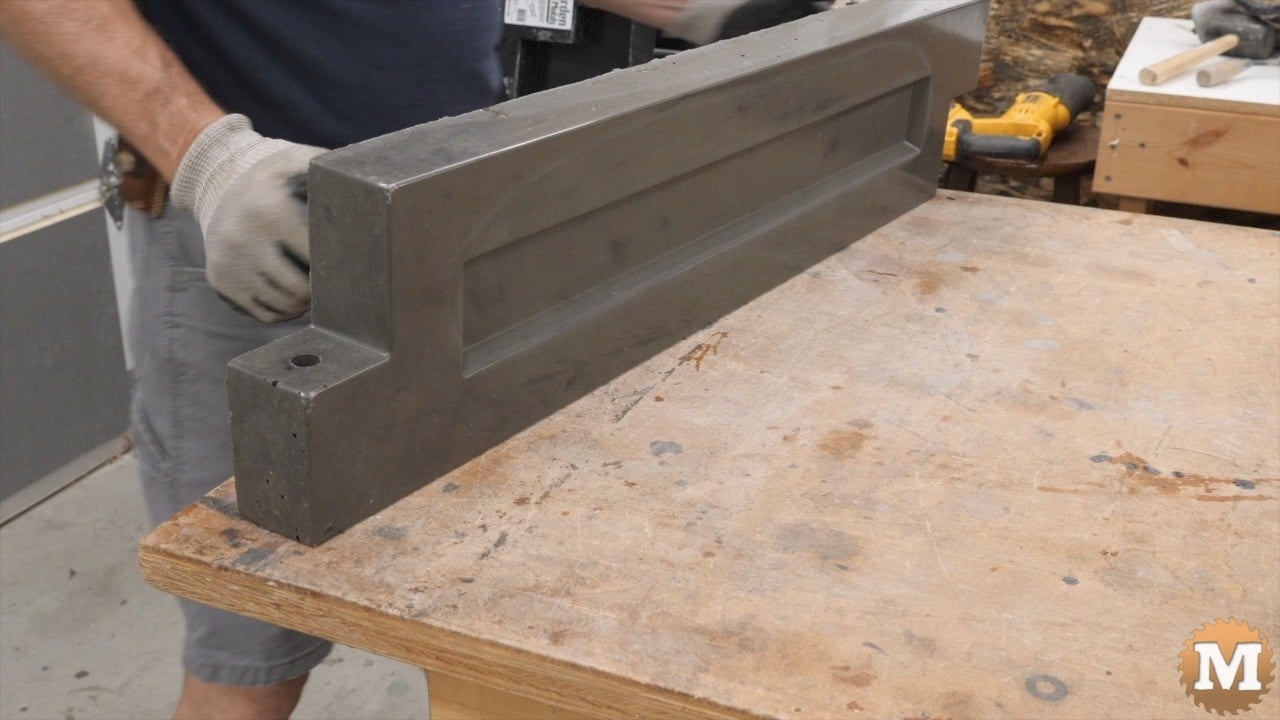
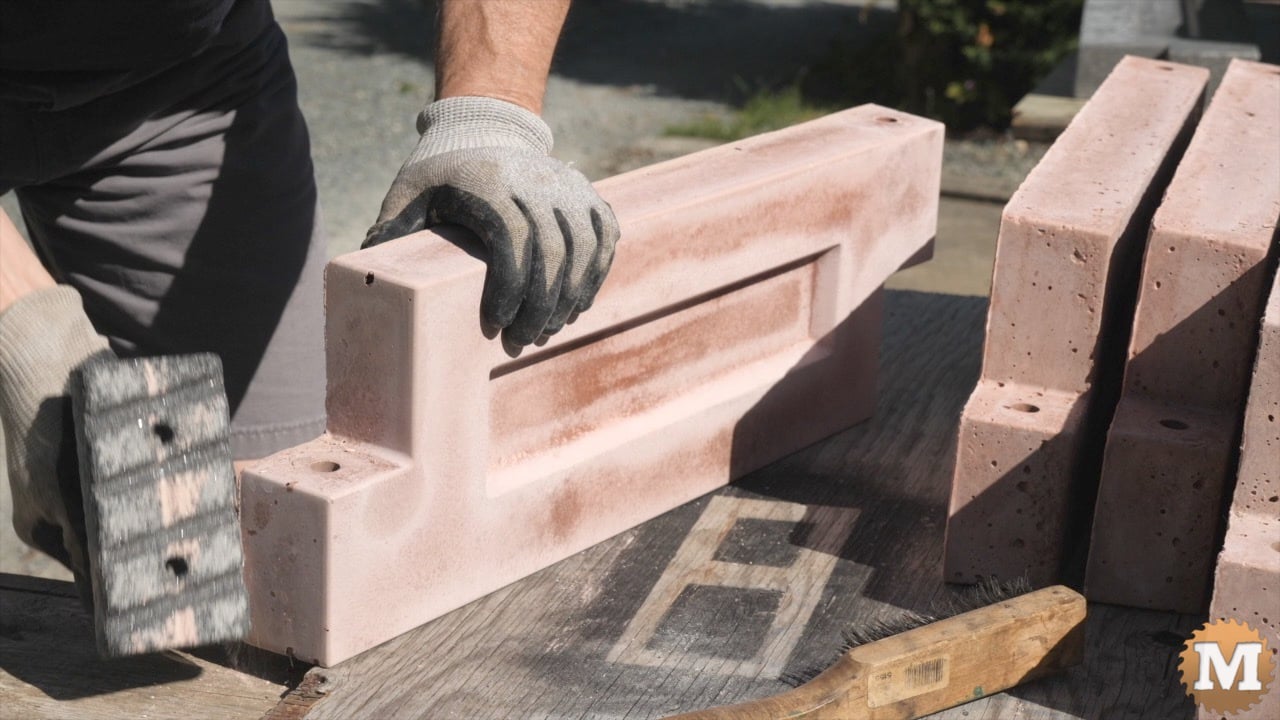
The 36″ ones looked really good. I was happy with the colour and surface finish. They came out clean.
After some gentle persuasion the 24″ panels came out as well. I think they look great. Very nice finish.
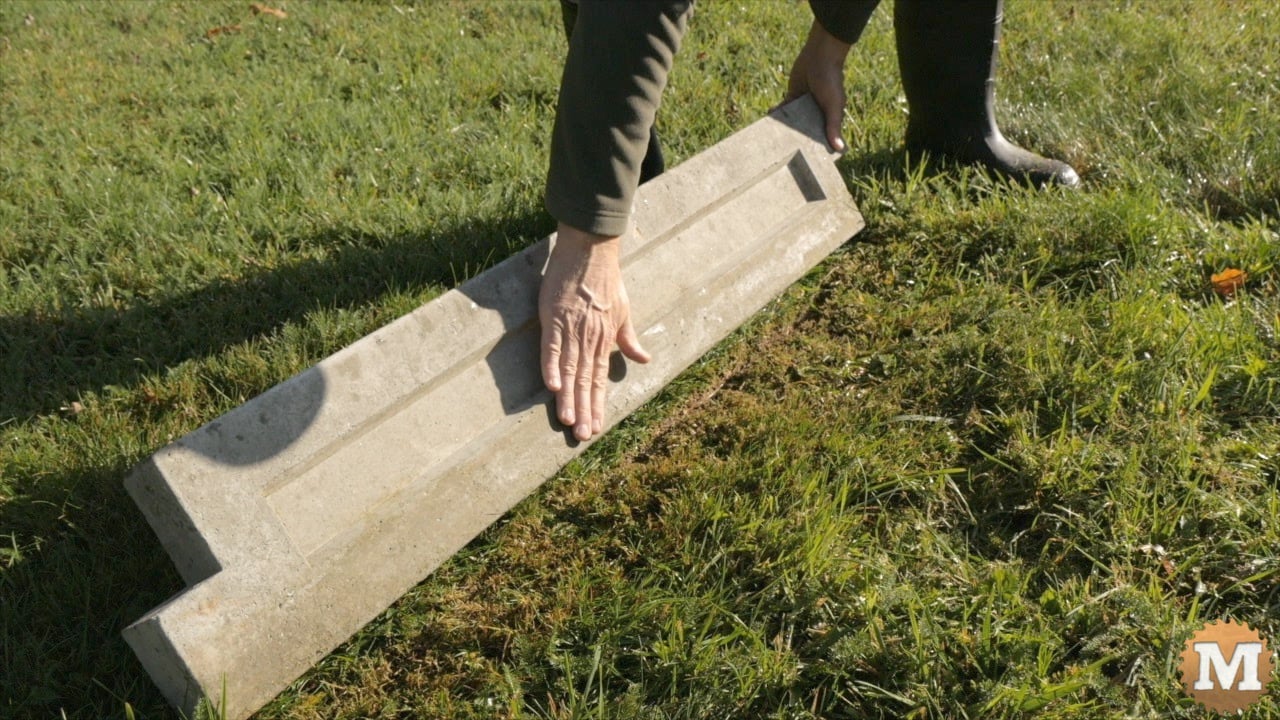
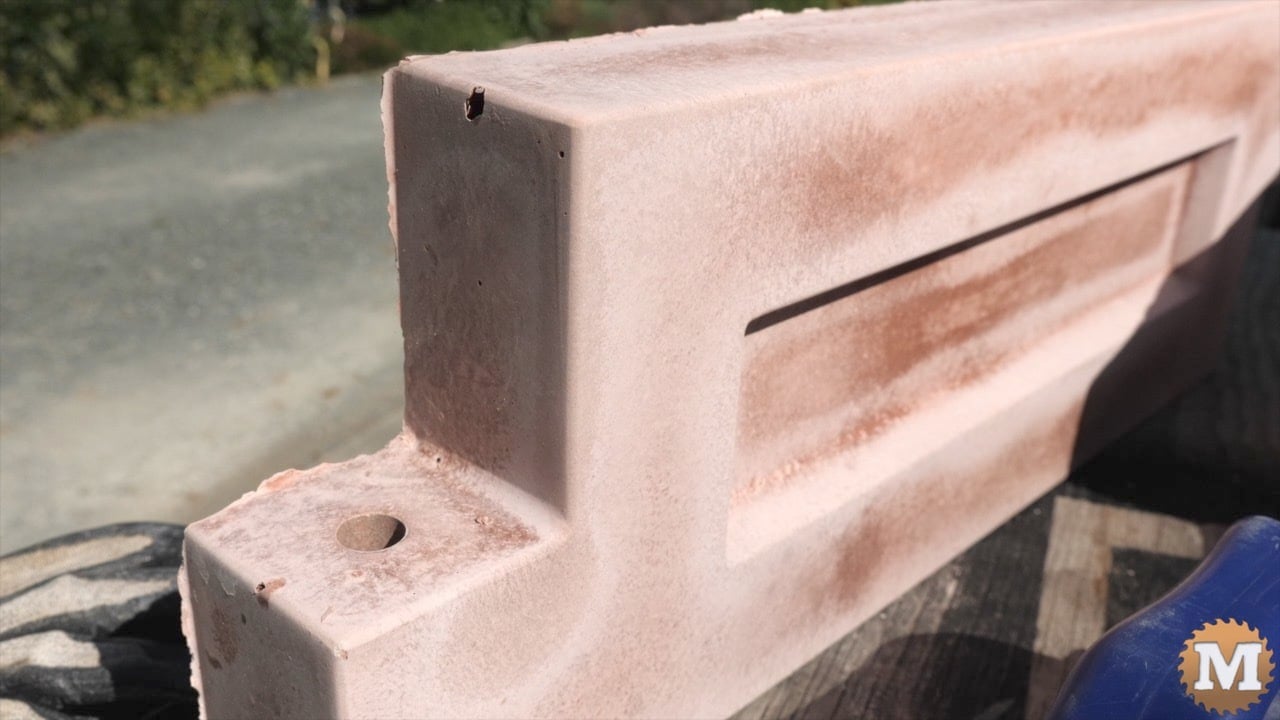
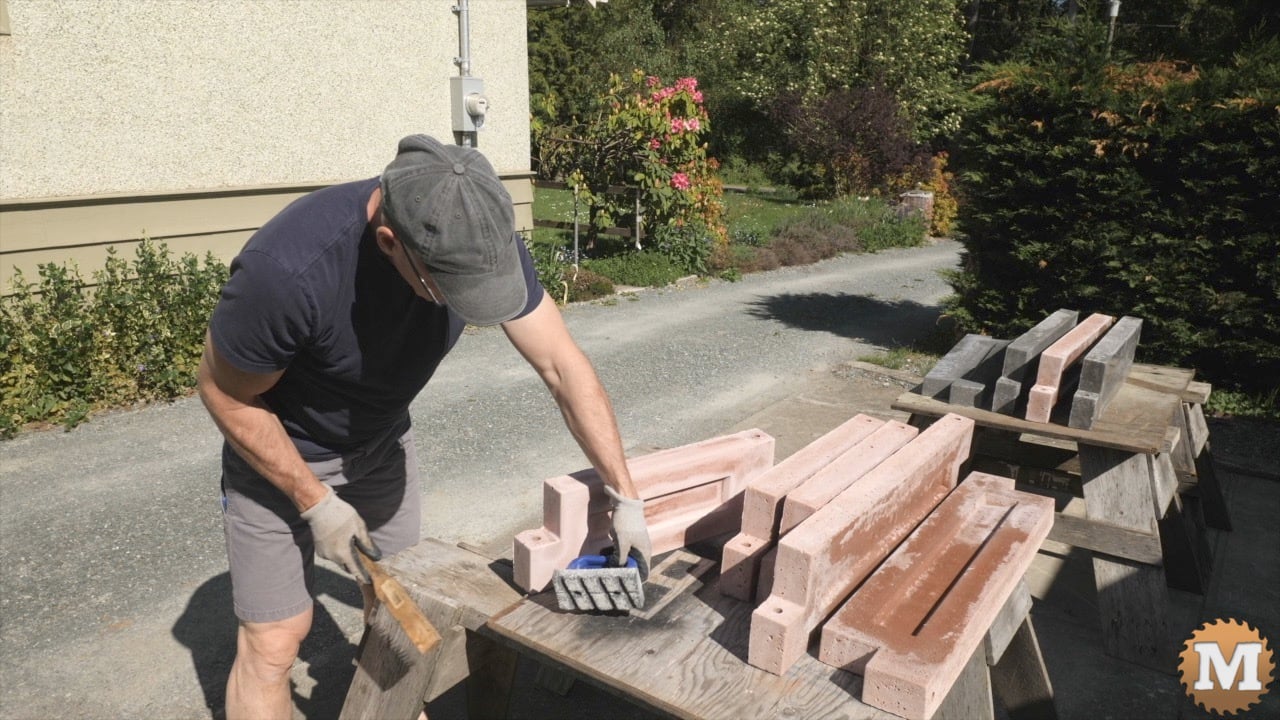
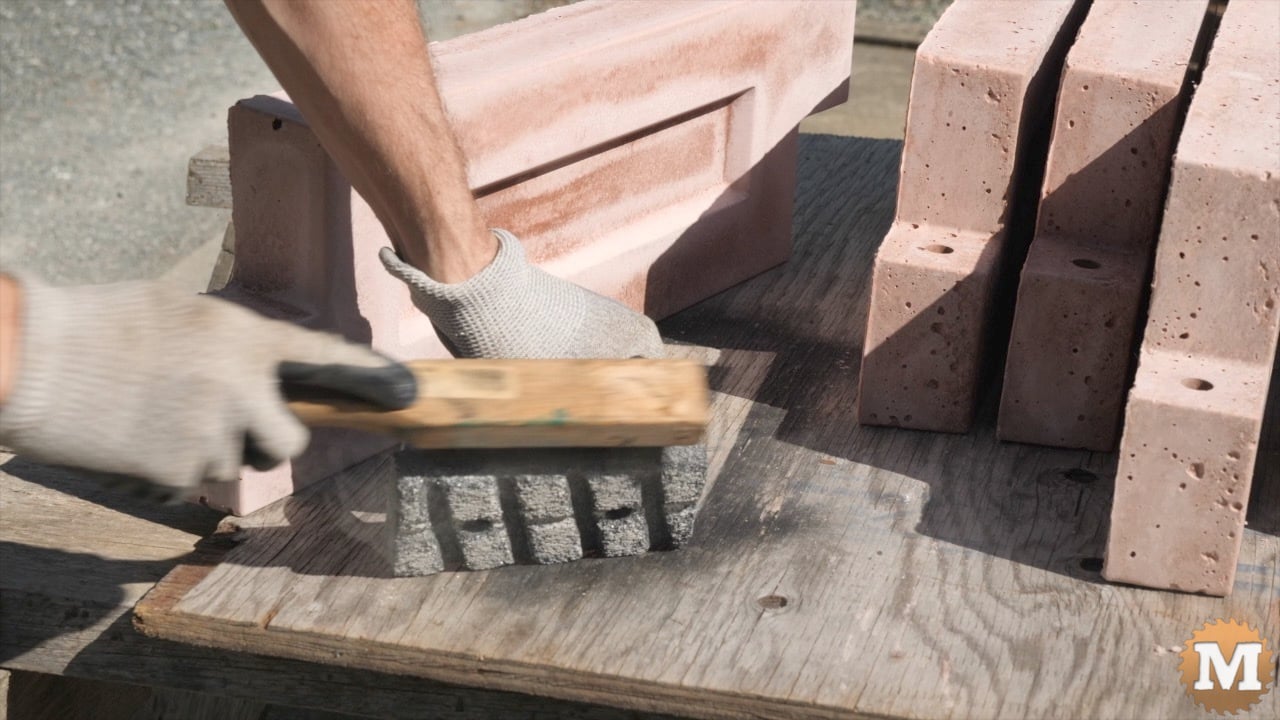
Dress the Cured Concrete Castings
After a few weeks I brought all the castings outside to dress any sharp edges and bits. I used a concrete rub tool to smooth these edges. If the tool gets clogged with concrete it can be cleaned with a wire brush.
Weights of the Lightweight Concrete Panels
After weighing I found that these panels were, on average, 22.3 pounds for the 24″. The same panel in regular sand and gravel portland cement weights 33 pounds. And the 36″ weighs 33.2 pounds instead of 50 lbs for regular concrete.
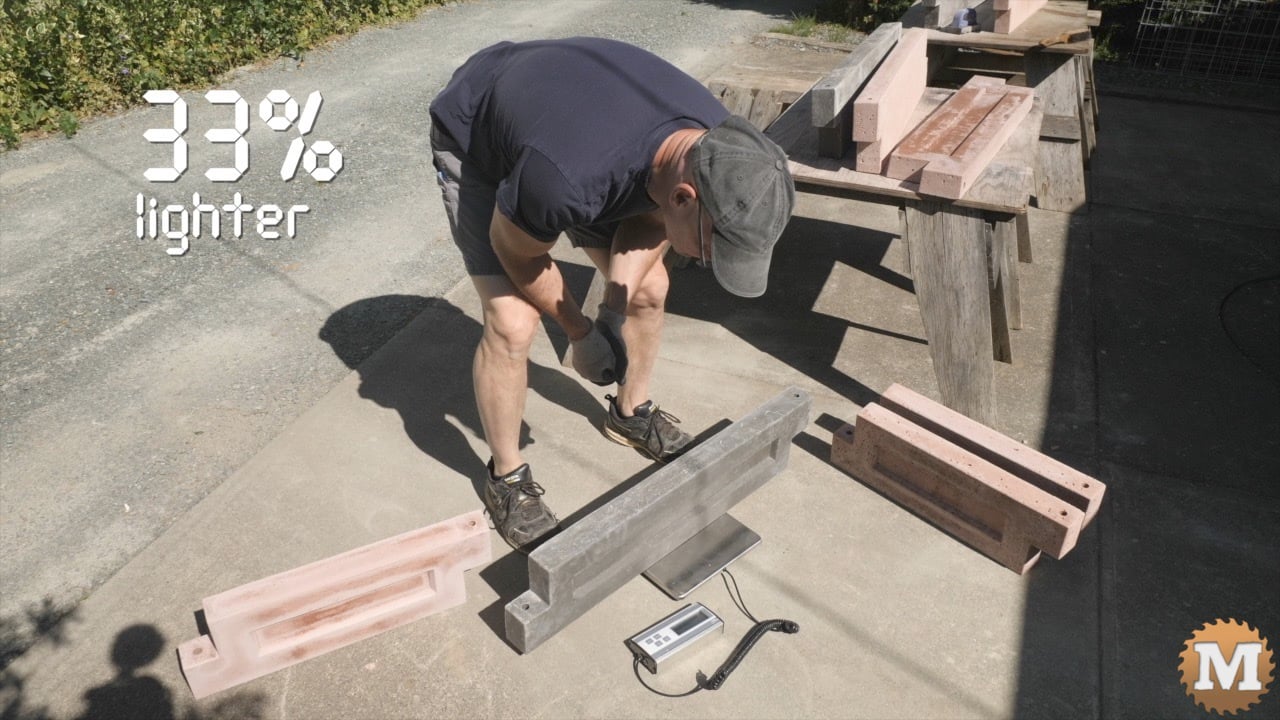
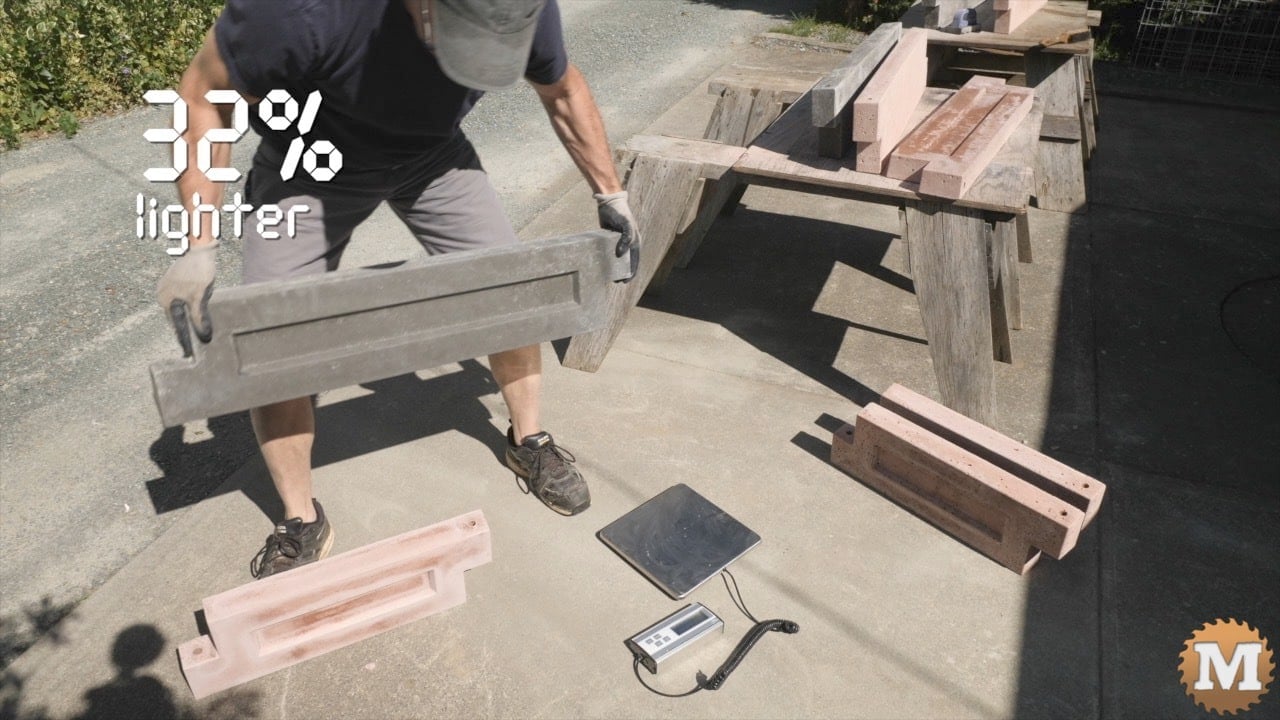
So, the perlite panels were, on average, 33% lighter than regular sand and gravel concrete and the vermiculite panels were 32% lighter. So pretty significant savings in weight.
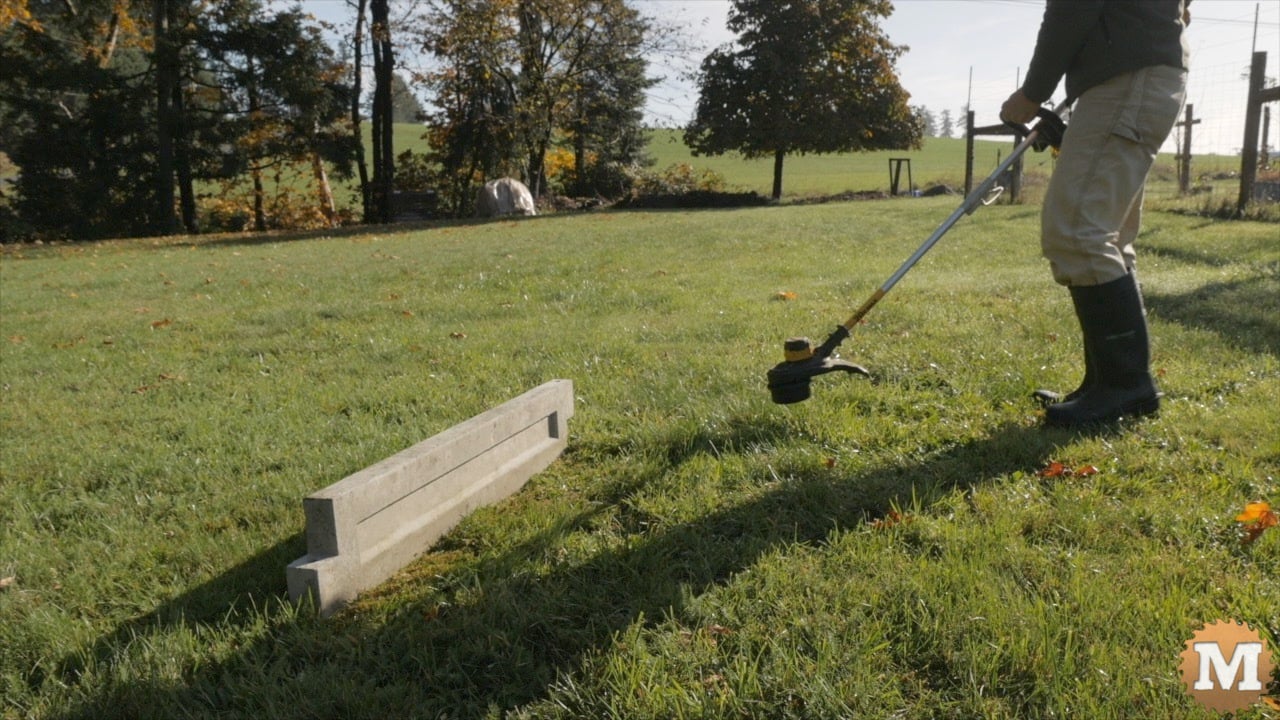
Lightweight Concrete Durability
In my previous line trimmer test with these blends the results were very good and they’re very durable. The line trimmer didn’t damage the perlite or vermiculite panels.