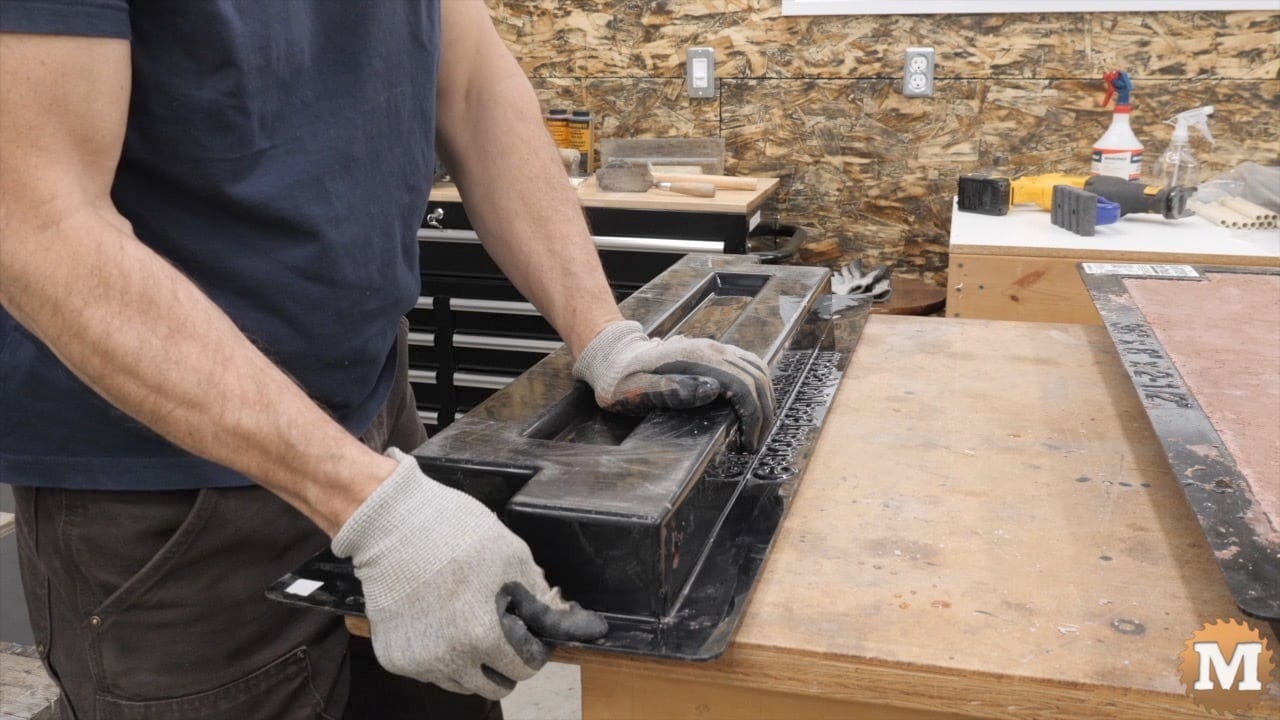
Remove the Pipes from the Molds
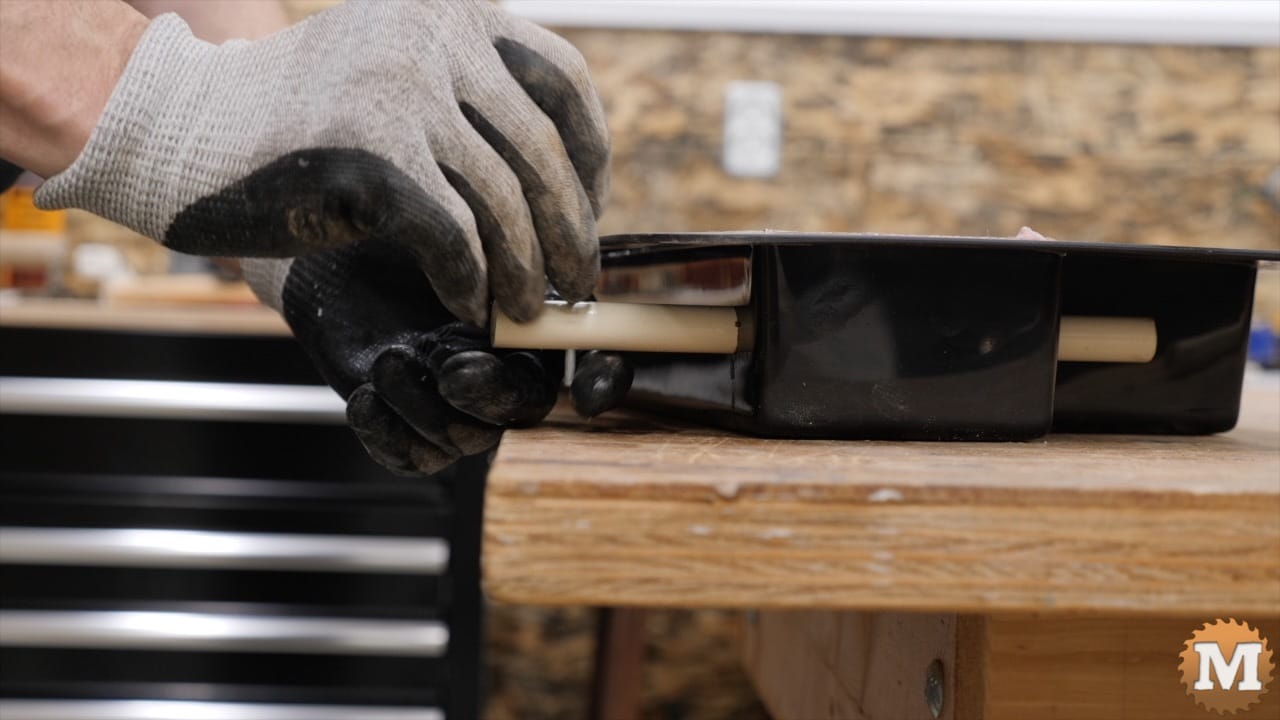
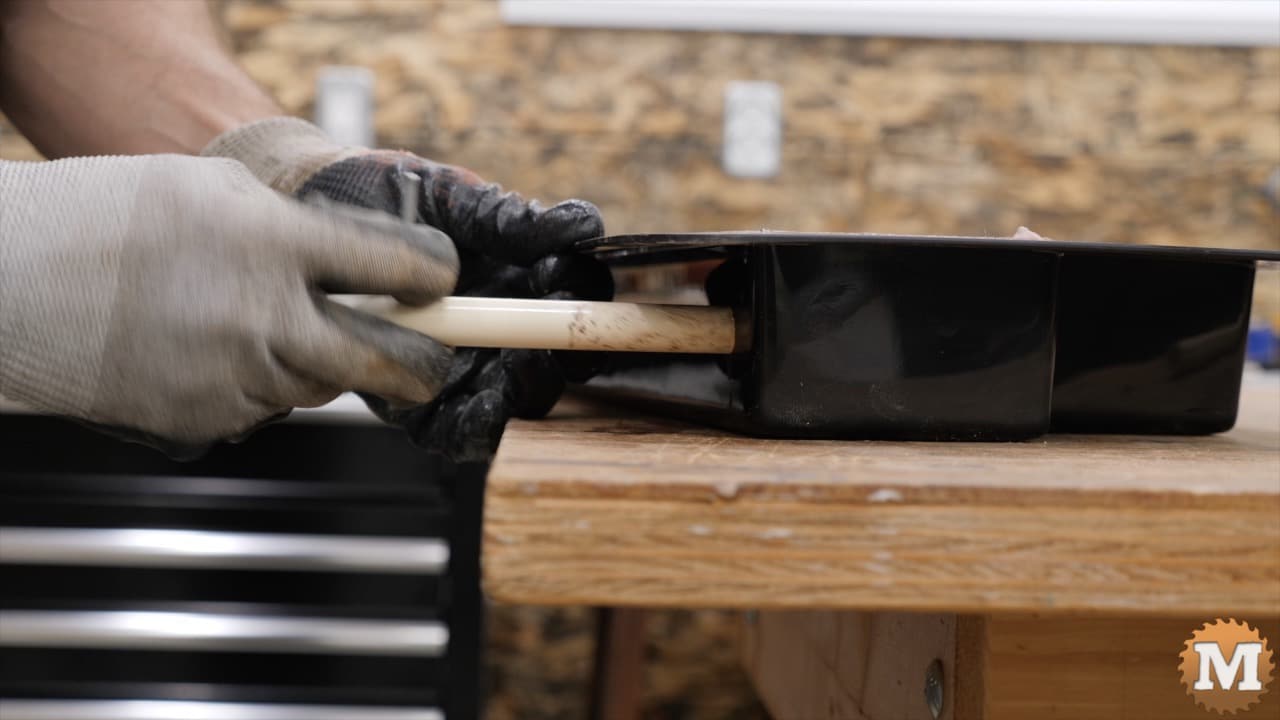
After 6 hours the concrete has solidified and I can then remove the pipes that form the holes in the castings. I use a small nail to pull and rotate the pipe. The pipes are easiest to remove when the concrete is still wet but solid.
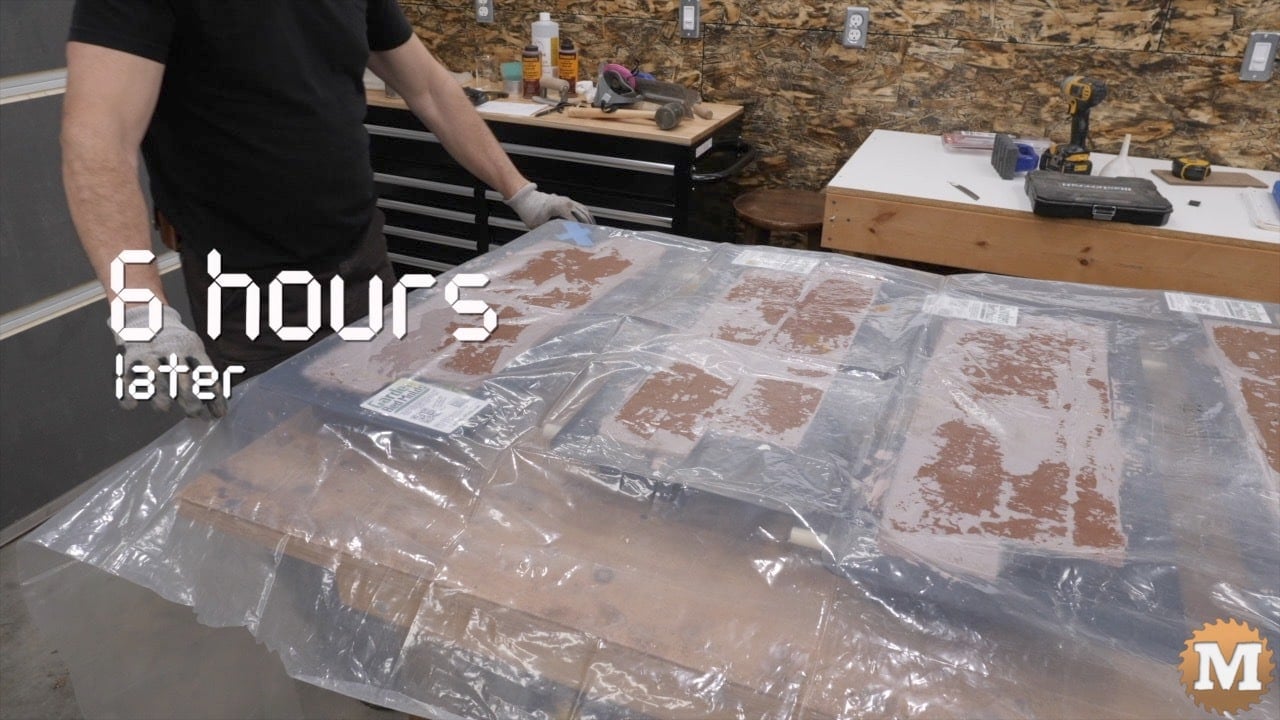
And the time that it takes to solidify is dependant on many factors. Those being the amount of water in the mix and the ambient temperature. For this mix and the temperature of my shop it works well to pull the pipes after 6 hours. This will take longer in a cooler environment.
Also, waiting longer will make removal more difficult. Sometimes you may have to gently tap the pipe with a rubber mallet to free it enough to pull it out.
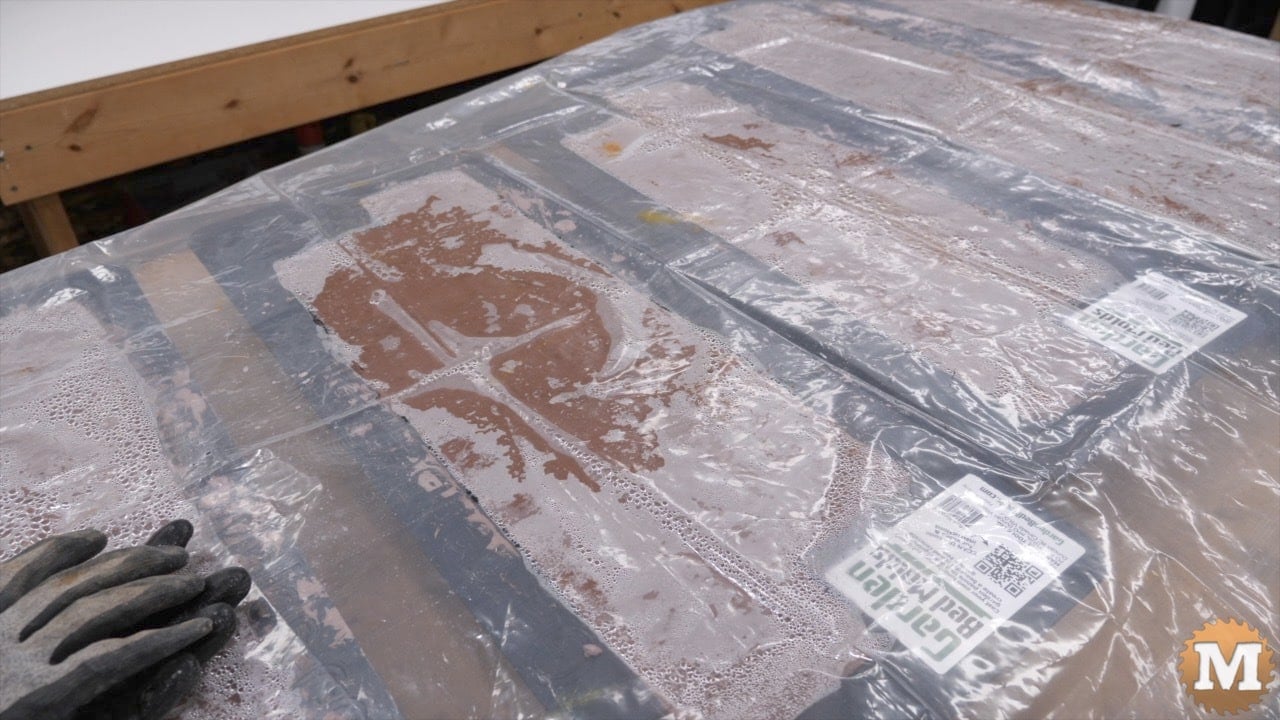
Cover the Molds with Plastic Again
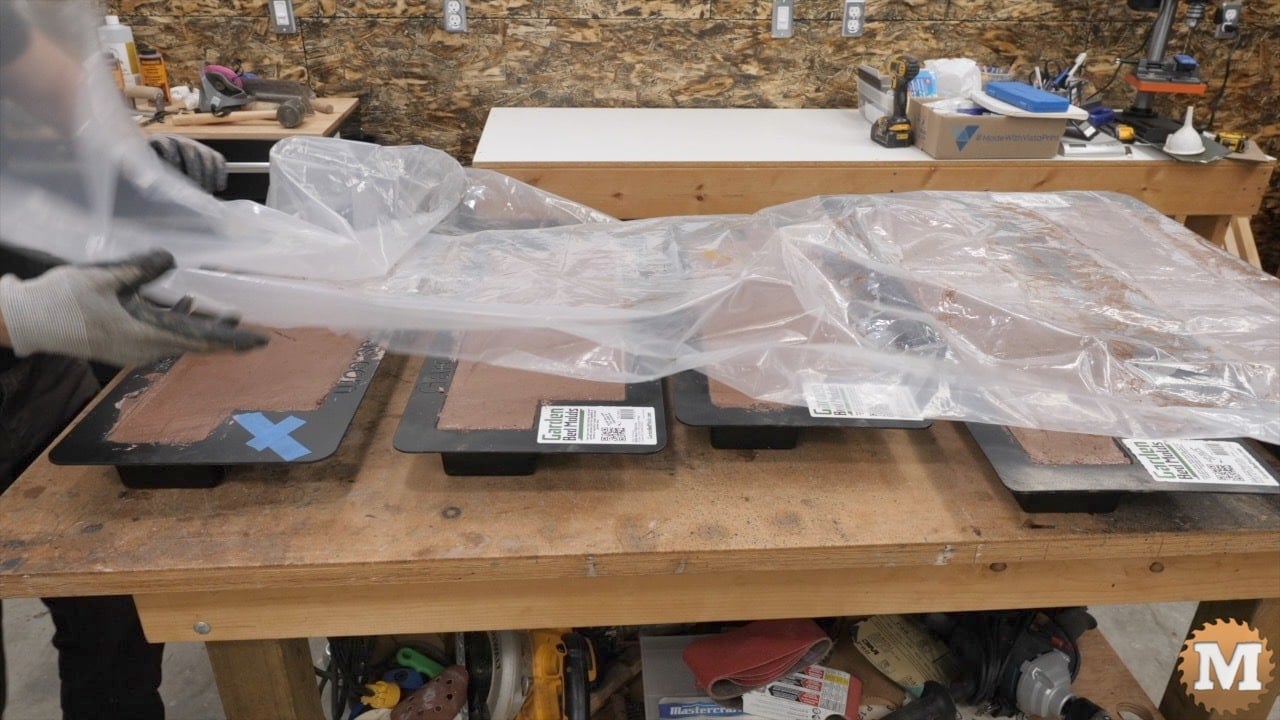
With that done I will cover the concrete again with plastic. While covered, you will see condensation forming under the plastic as the concrete is beginning to cure. This is a good sign and shows me that the plastic is holding in moisture.
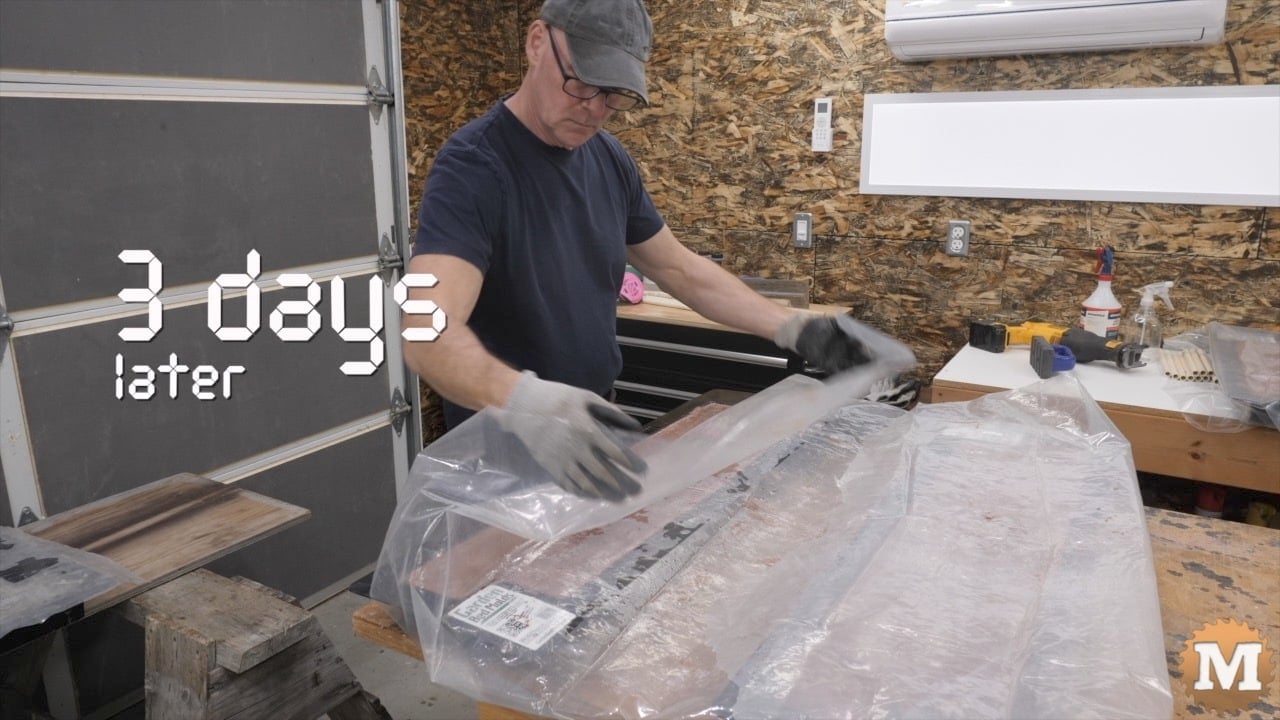
Unmolding the Perlite Lightweight Concrete Panels
I left the molds covered like this for three days. Now the best part, unmolding. I grab the ends of the mold under the flange, lift and pull it past the end of the table. Then push against the edge of the bench while rotating. I don’t want to stand a fully loaded mold on its flange edge.
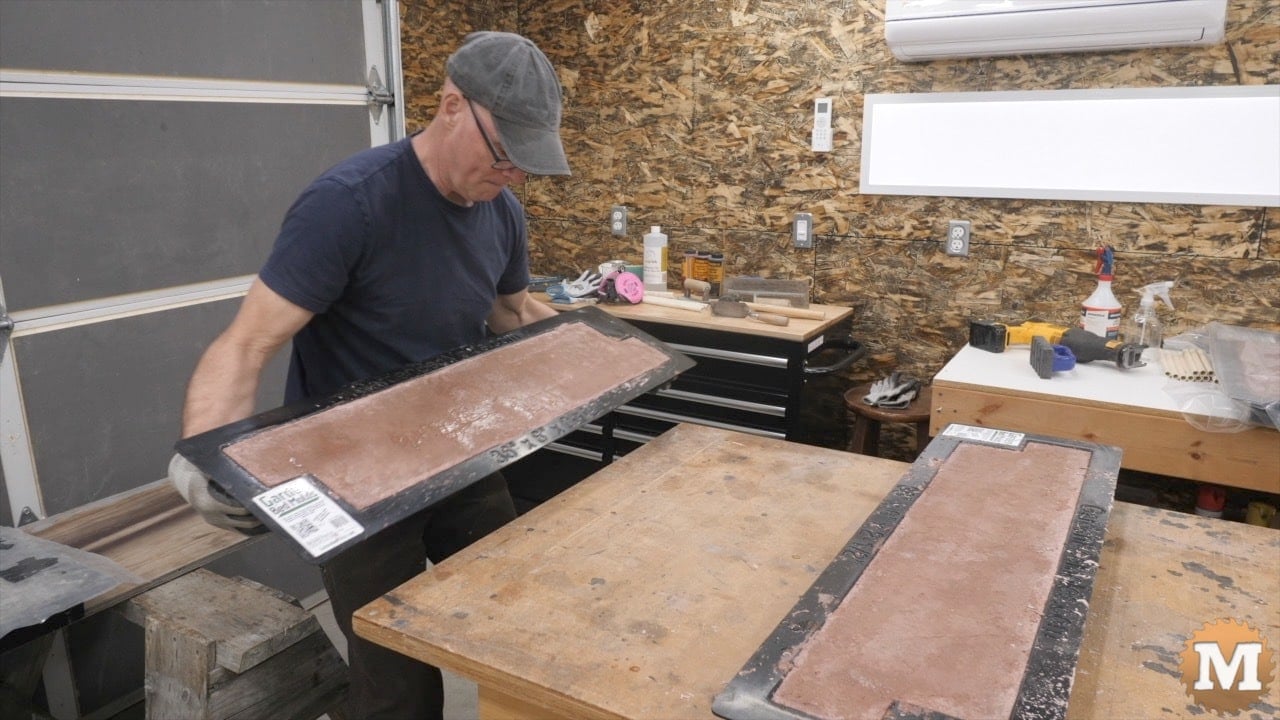
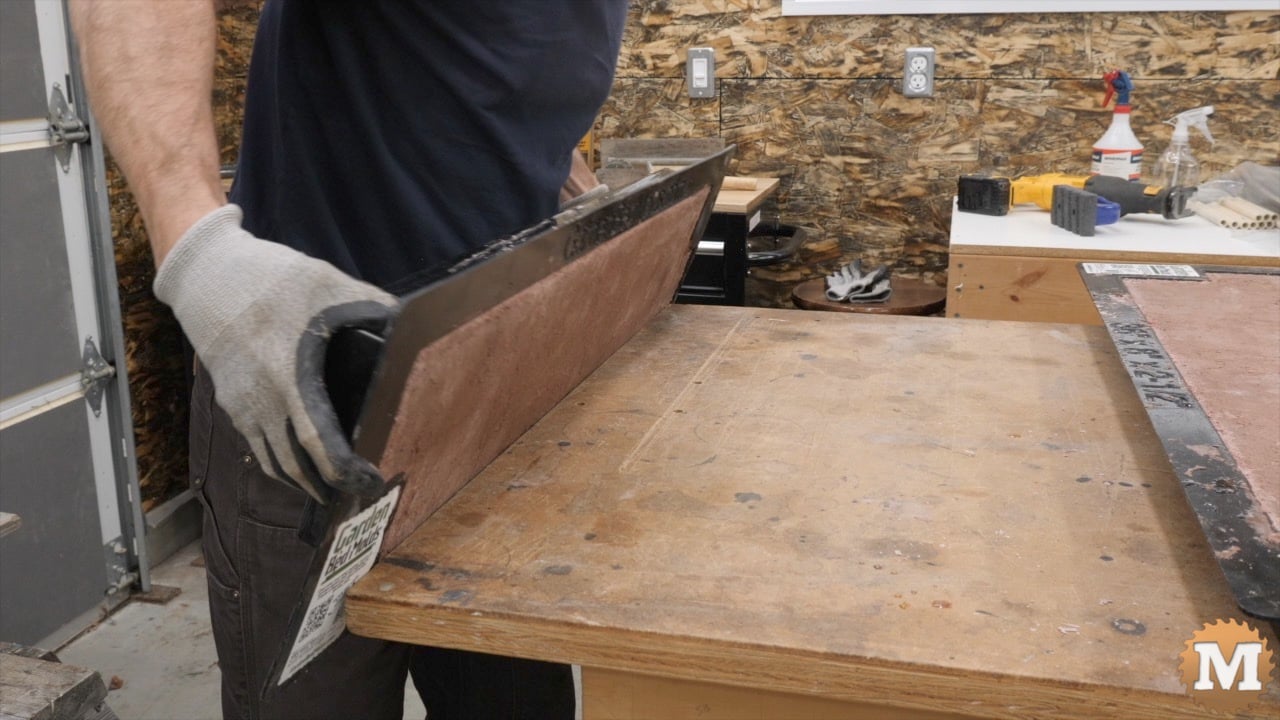
Once flipped over I gently lift the edge of the mold while pressing down with my other hand toward the center. And I alternate end to end with this until the mold becomes free.
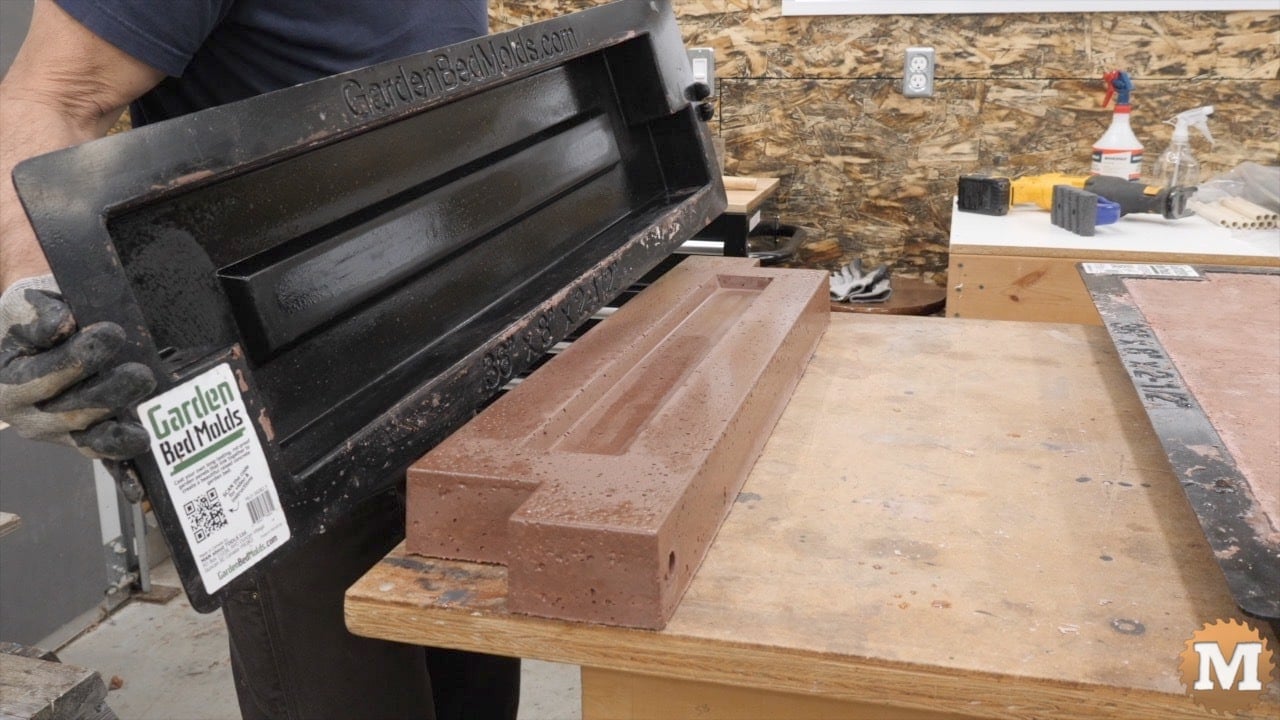
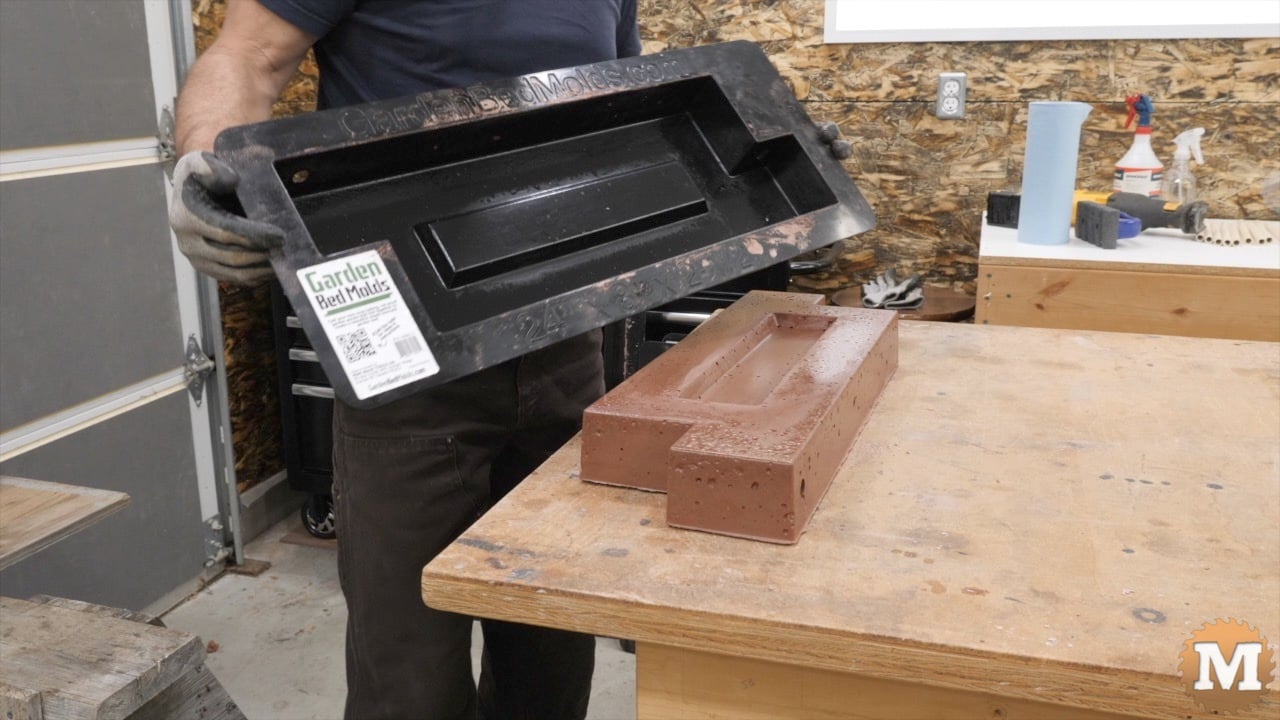
I’m happy when I see the clean inner surfaces of the mold.
Now onto the second 36″ form. Also, you can gently flex the flange edge downward around the mold to free the plastic sides from the concrete before lifting and rotating it over.
Any excess mineral oil can be wiped away with a cloth. The shorter 24″ molds have less overall flex so they can take a bit longer to free from the casting.
(Disclaimer: As an Amazon Associate I earn from qualifying purchases. Thank you for helping to support my content this way. )
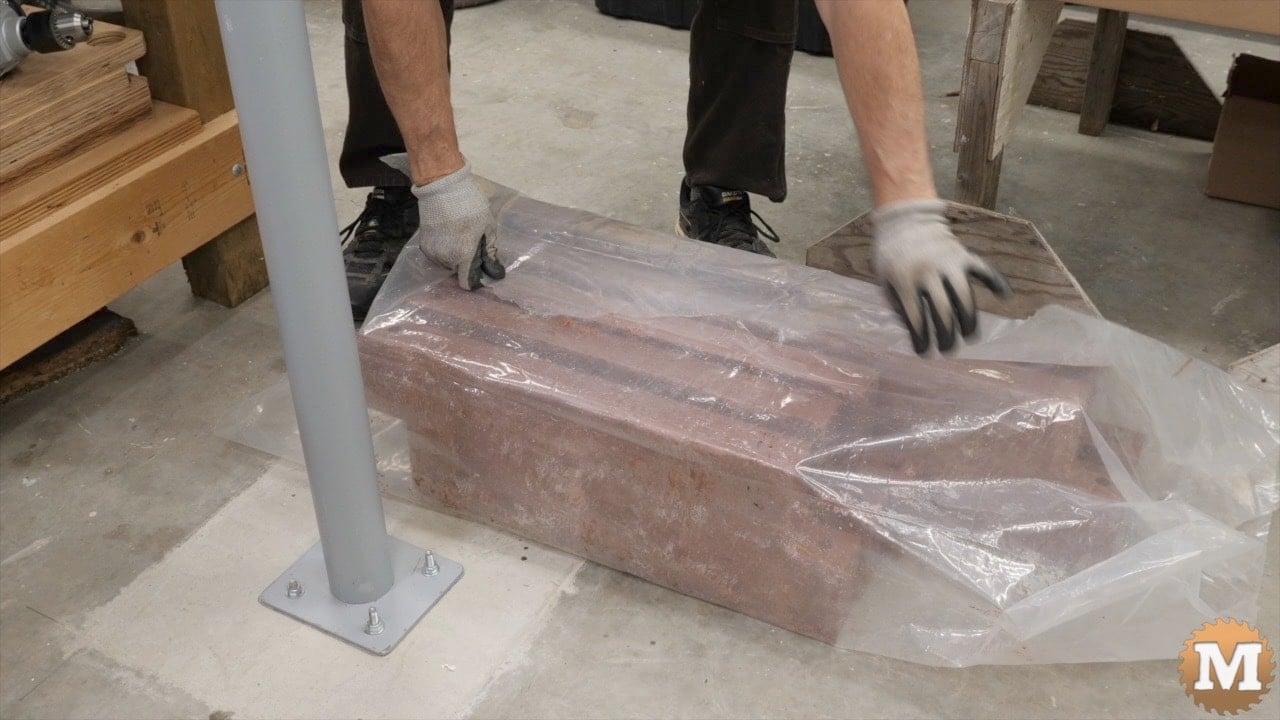
Covering Fresh Castings to Cure
I’ll leave these fresh castings wrapped in plastic in my warm shop to cure for a few weeks. I’ll periodically wet them down with water so they don’t dry while curing. This will give me the strongest panels.
New Mold Prep Method
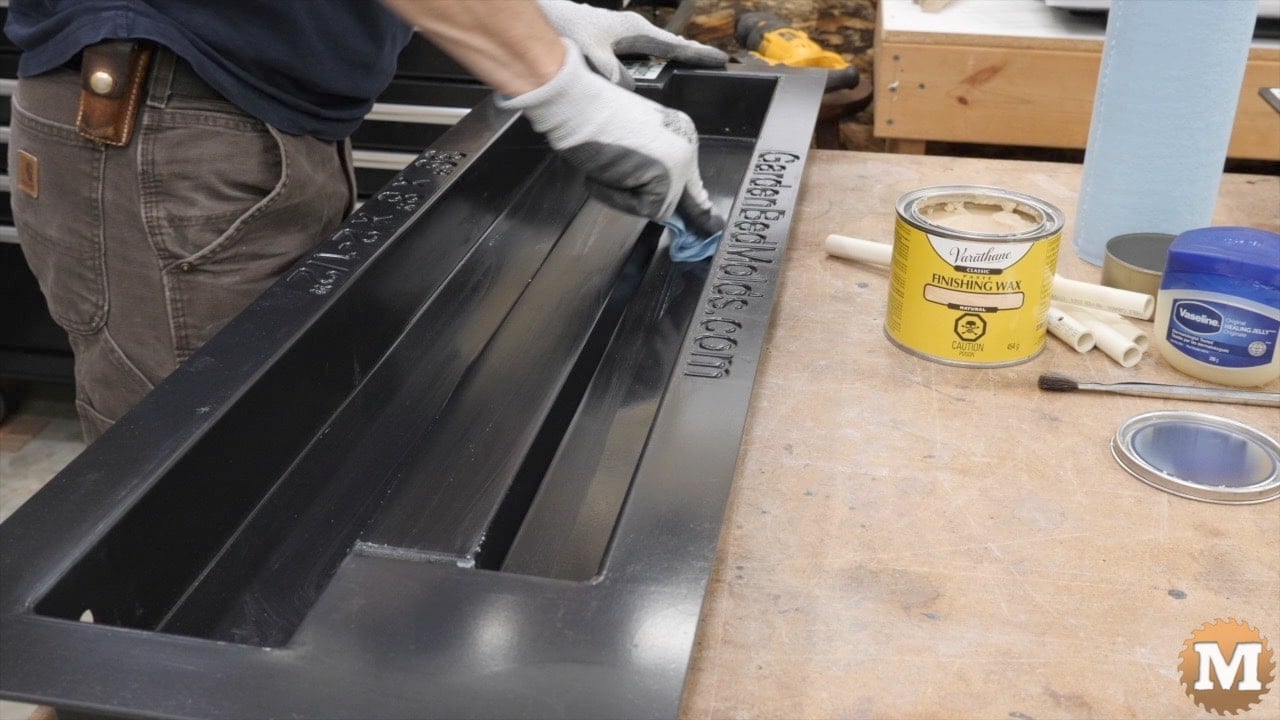
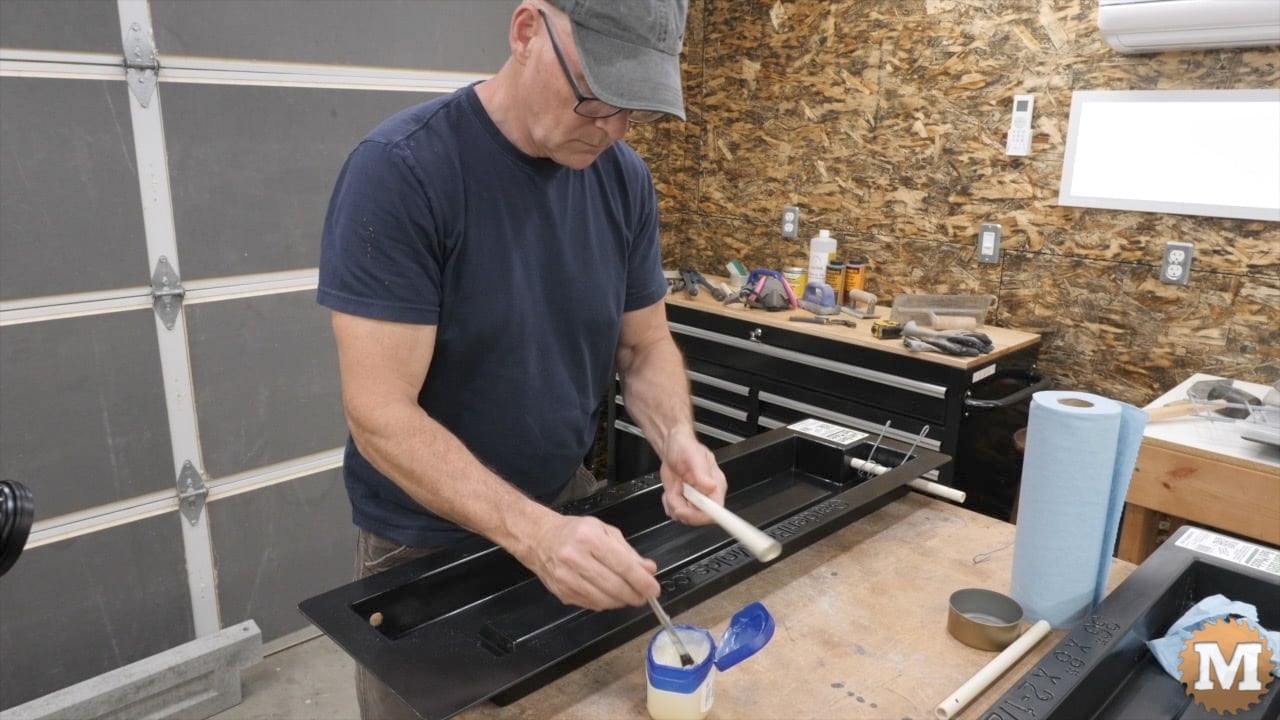
For the next lightweight mix I’ll prep my molds in a new way. I’ll be using a finishing wax in the cavity of the mold and petroleum jelly on the pipes.
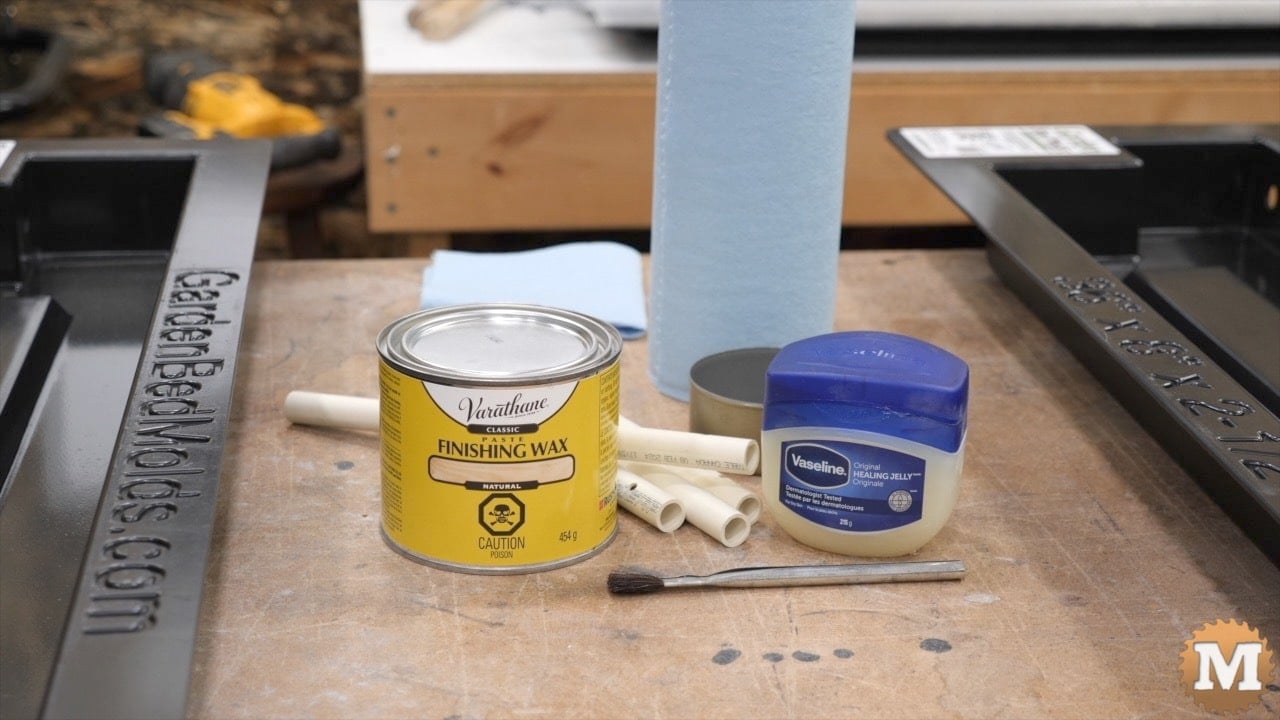
The finishing wax paste is applied to all the inner surfaces with a cloth.
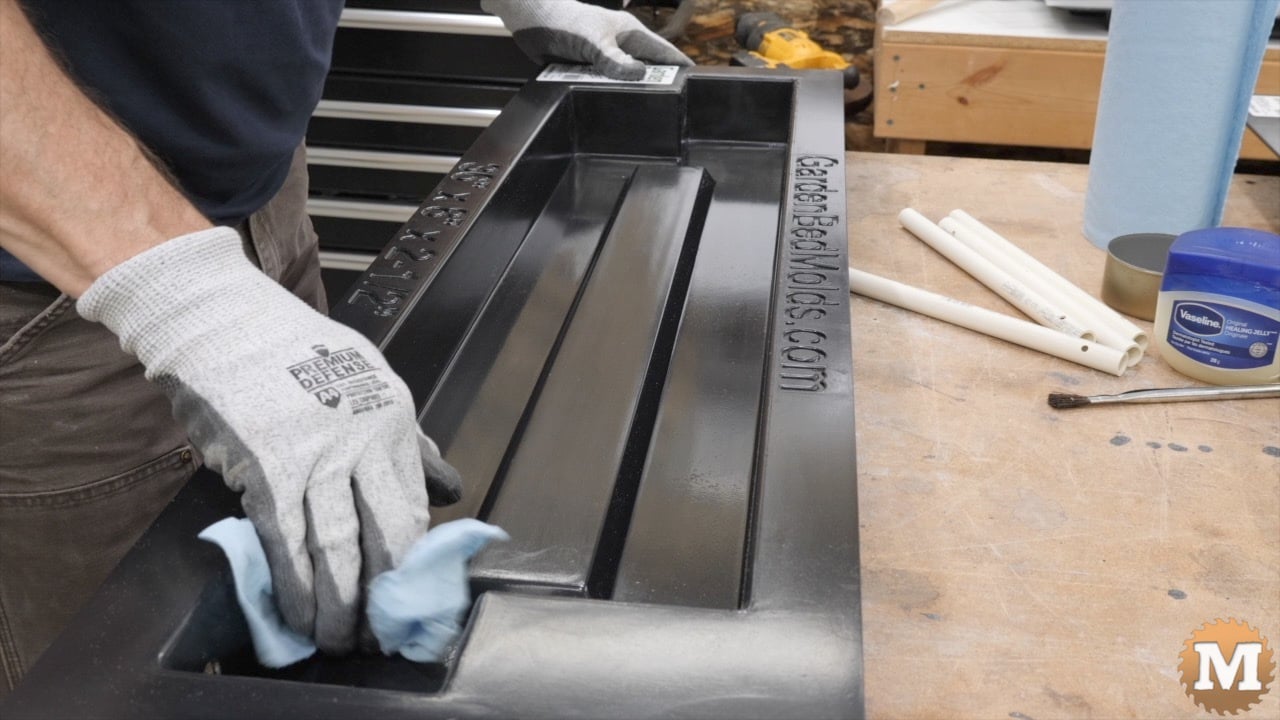
It dries in only 15 minutes or so. Then with a clean cloth I’ll buff away the wax haze until all the inner surfaces are shiny.
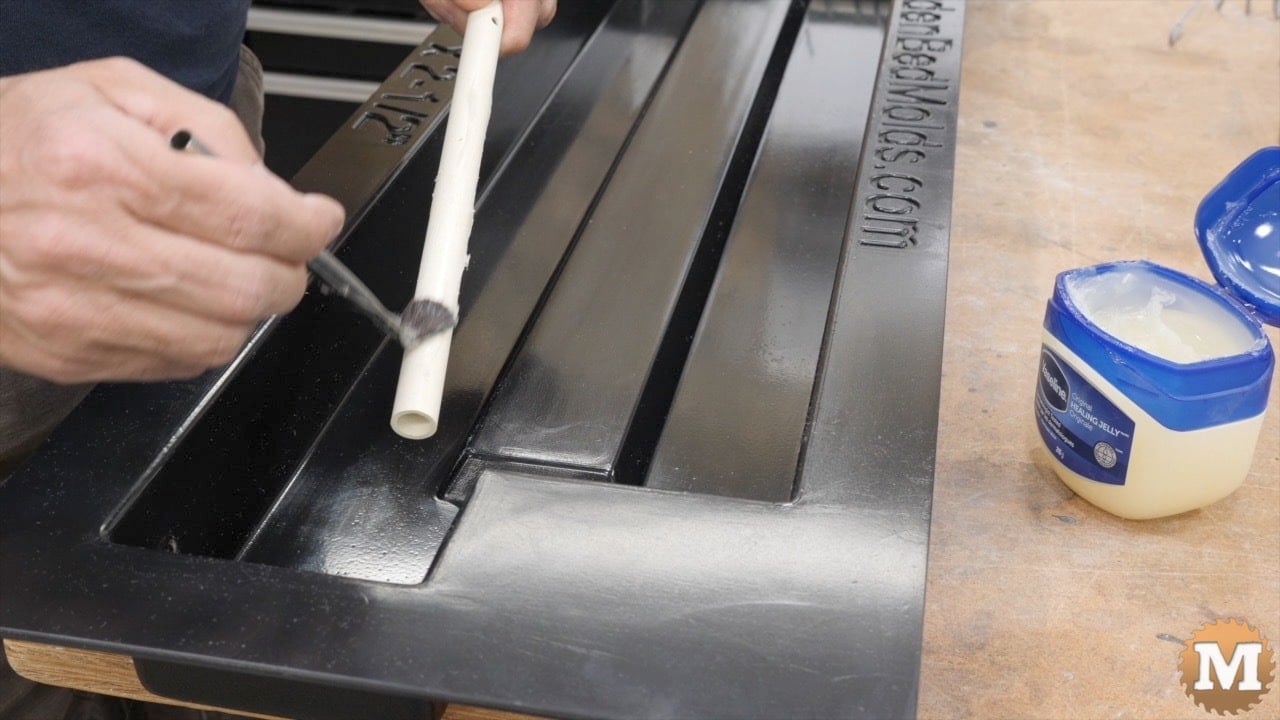
For the pipes I’ll brush on the petroleum jelly. This will give me a good even coat that is thicker than if I wiped it on with a cloth.
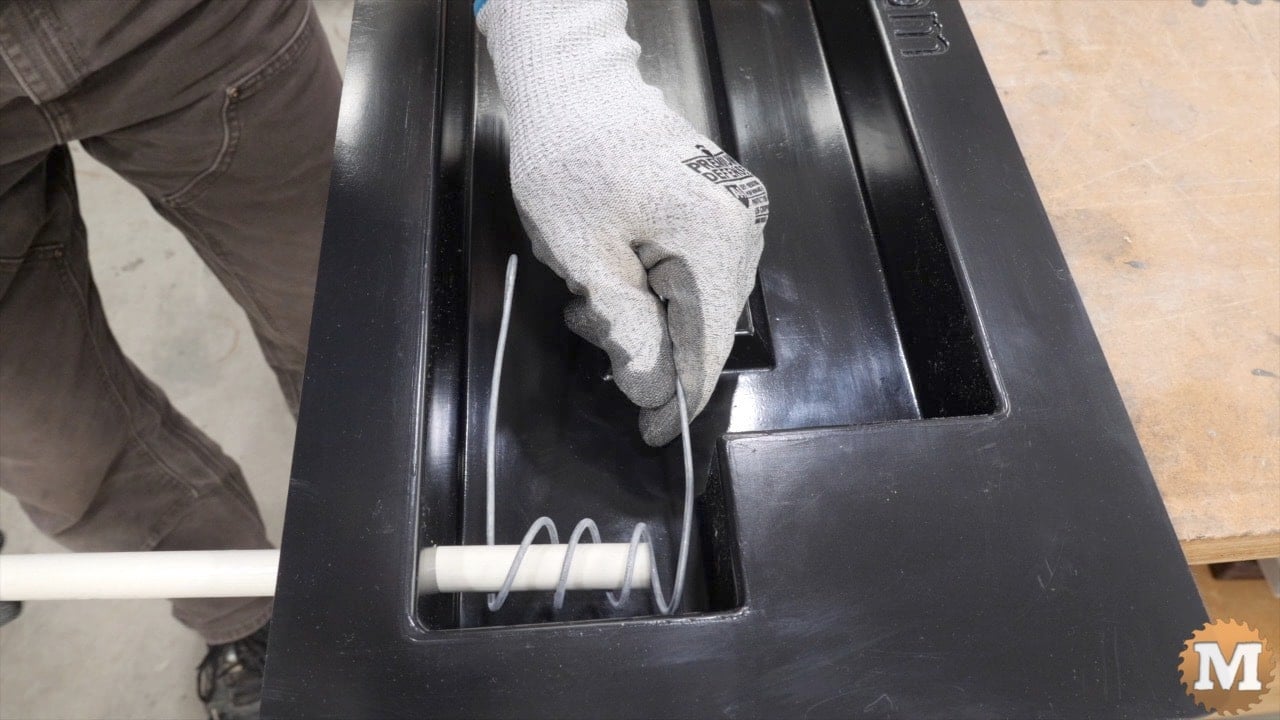
I’ll slid the pipe in, threading the wire wrap as I go.
My goal with this new prep method is to give me a better surface finish on the concrete and to make the pipes easier to remove if left in the forms longer than the ideal time.

