Cover Fresh Castings & Cure
I wrap all these new castings in plastic sheets on the floor of my shop. I wet them with a spray bottle from time to time and leave them to cure over the next three weeks. During warm months you can also bury the castings in wet sand to keep them wet while curing to full strength.
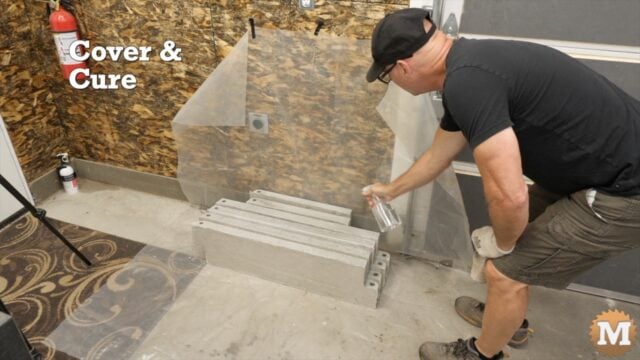
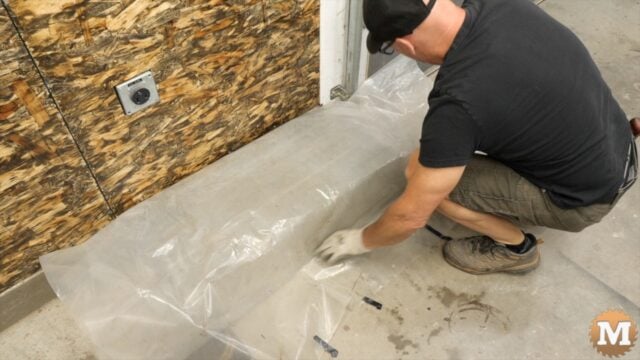
Working indoors allows me to cast these panels any time of the year. Then I can have a bunch ready for making new beds in the spring.
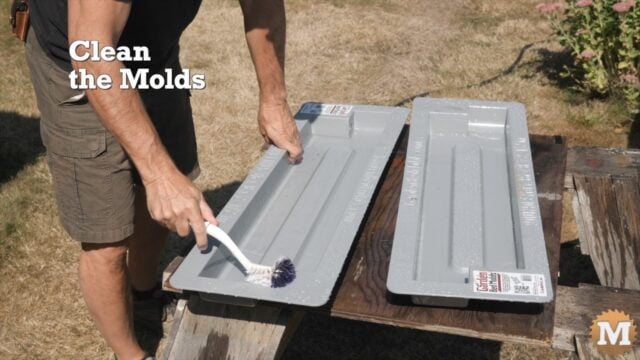
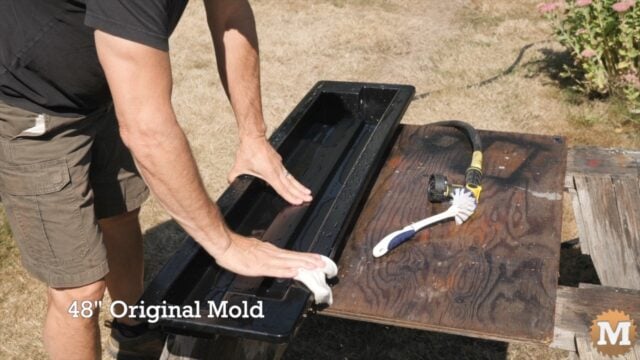
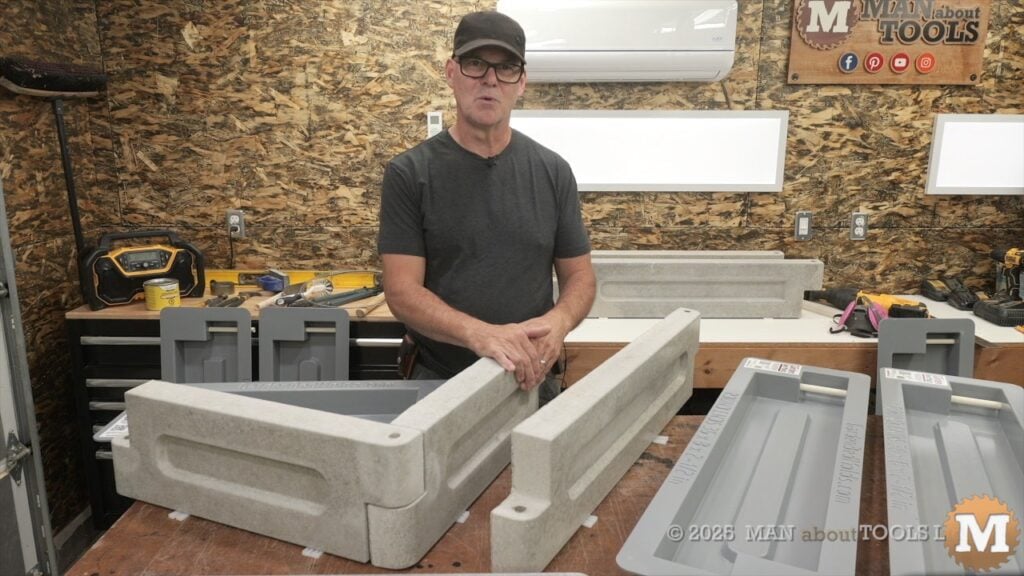
Clean the Molds
I’ll take the molds out, hose them off, give them a scrub with a brush to remove any concrete pieces. Then I’ll take a cloth and give the insides a wipe down to remove any final concrete dust residue. These are then dried and prepped for the next batch. I was cleaning a variety of molds that day.

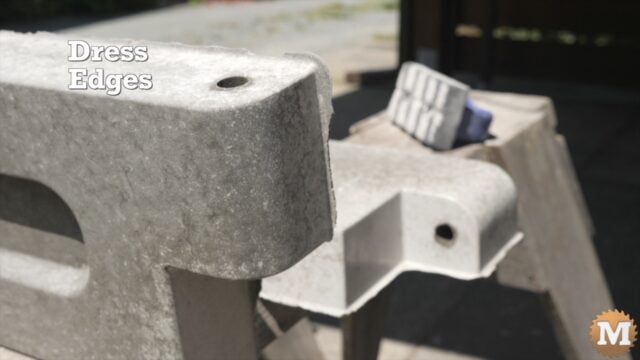
Dress Edges
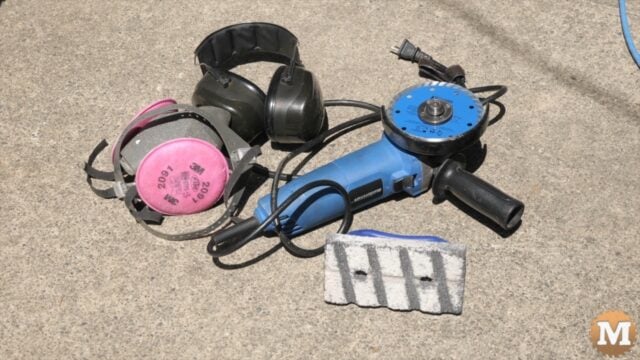
Once cured I take them outside and set them over sawhorses to dress any sharp edges formed at the top. You can do this by hand with a concrete rub brick that’s designed specifically for this purpose. And this is pretty quick and easy. I sometimes use the edge of the rub brick to gently dress the ends around the holes where they will mate with other panels.

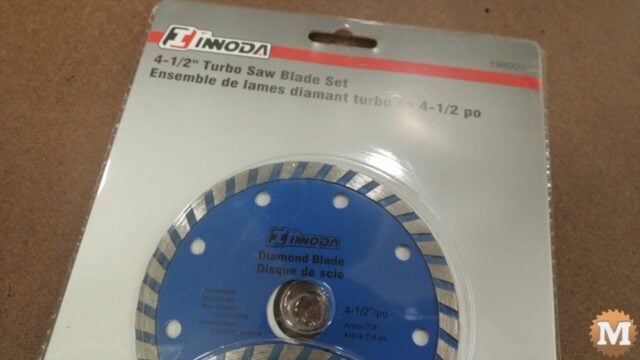
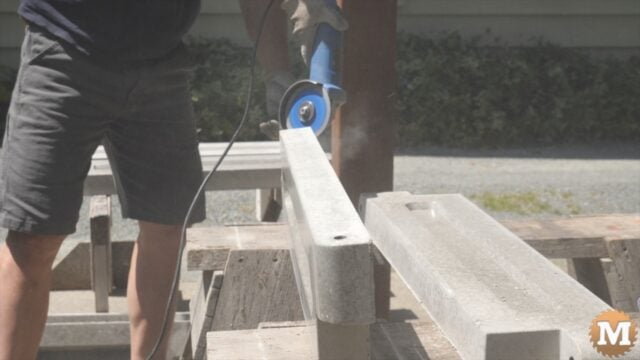
You can also use a diamond embedded concrete cutting disc on an angle grinder for dressing the panels. You will need a mask and hearing protection for this as it makes a load of dust and is very loud. The tradeoff is speed — it’s a very fast way to treat a large collection of panels.
It cuts the sharp edges down very quickly and might take some practice. A light touch at the beginning is recommended. And this is definitely an outdoor activity.
I dress one side then flip the concrete panel over to do the other side.
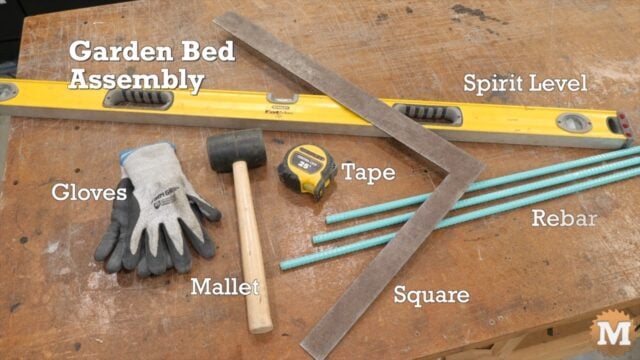
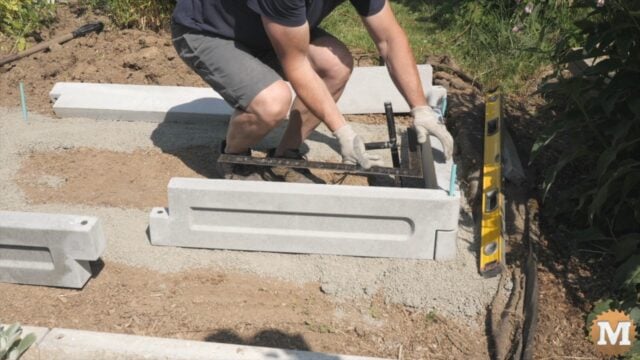
Concrete Raised Garden Bed Assembly
To assemble the garden box I use a 4 foot spirit level, a framing square, gloves, measuring tape, rubber mallet or small sledge hammer, and 1/2″ epoxy coated rebar.
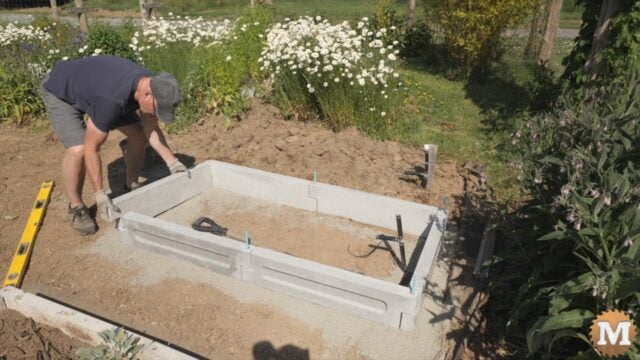
In my garden I have a spot ready for a new raised bed. I already had a water line in the ground for drip irrigation. With a shovel I layed out and levelled where the panels would sit. I added some crushed gravel and packet it down. This would give a good surface for the concrete panels to sit on. I used my spirit level here to get the gravel as level as possible.You can also use sand here as an alternative.
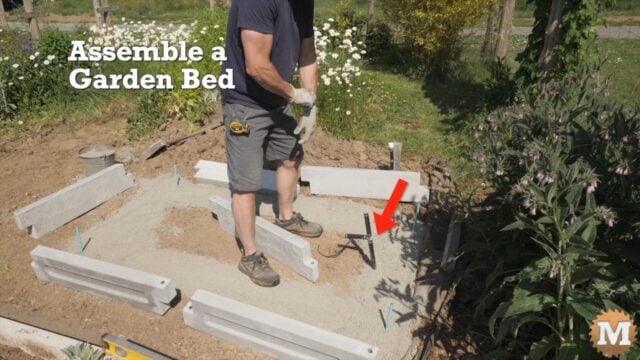
I tapped in some rebar to roughly mark the 4 corners of the box.
(Disclaimer: As an Amazon Associate I earn from qualifying purchases. Thank you for helping to support my content this way. )
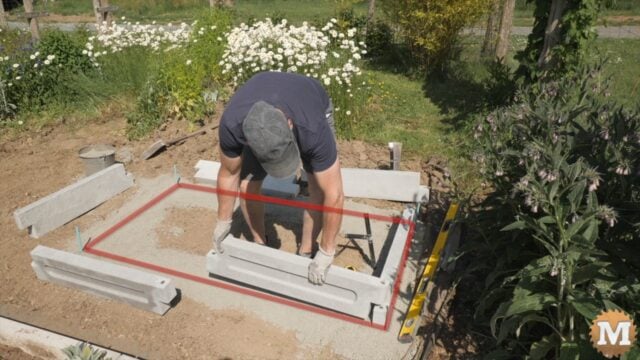
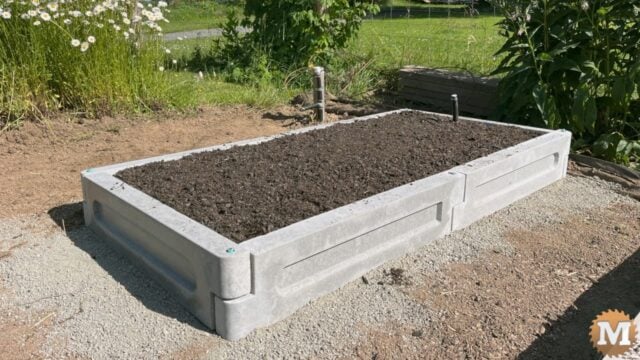
For this bed I’ll use two 36″ round end panels and four 36″ transition panels. The outside dimensions will be 36″ x 5′ 9-1/2″. The overlap at the end to end transition panels takes 2-1/2″ off the length of the box.
I set my first two panels in place and overlap them at the corners. With a 1 foot long piece of rebar I will pin them together. As I work at positioning the panels I’m checking for level and square and using the rebar to temporarily keep everything in place.
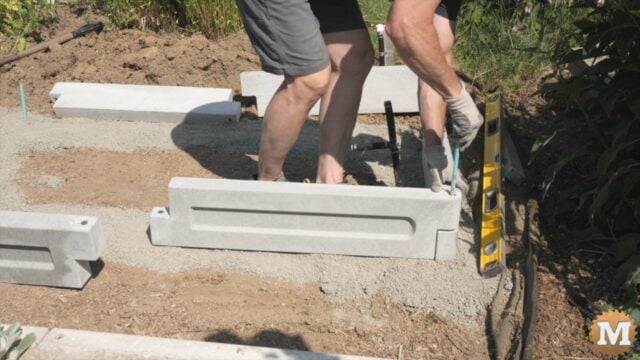
As I was working I would need to remove or add some gravel to make sure the panels sat level. I would use the spirit level to check that the transition panels were in line with each other.
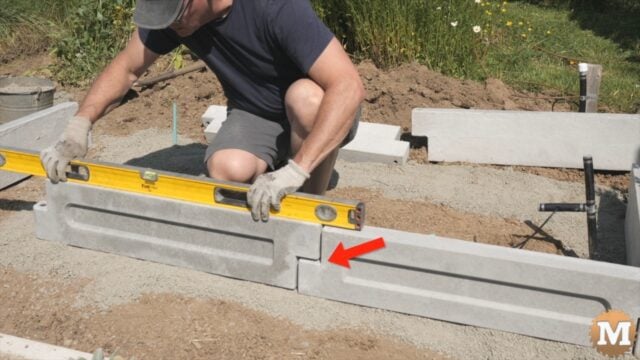

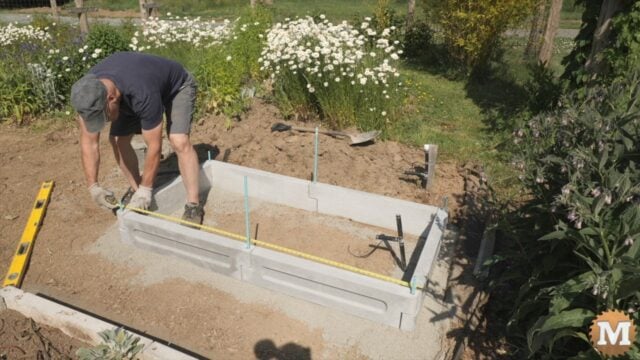
I use my measuring tape to check that the walls are consistently 36″ apart as I’m setting the 3rd and 4th transition panels.
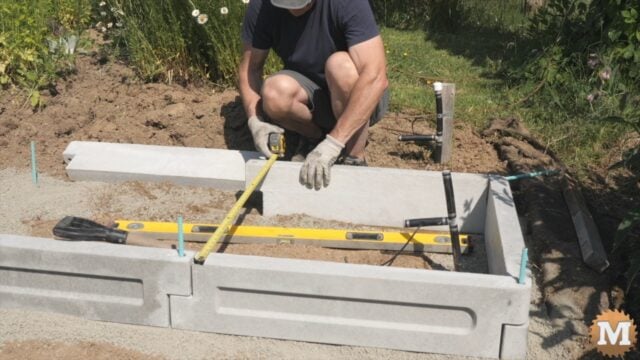
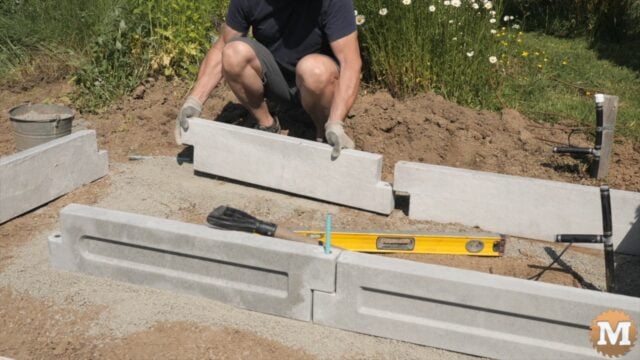
And I’ll slide in the final panel for this bed.
And a few final checks. Once I had the site prepped and levelled with gravel, this box took me a bit under 15 minutes to assemble.
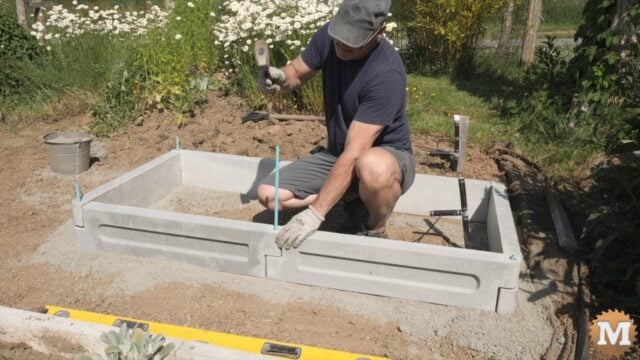
Once I have these 6 panels positioned I will tap in the rebar with a hammer. Where the transition panels meet end-to-end I will use 2 foot rebar here. This is to help prevent the panels from pushing out under the weight of the soil.
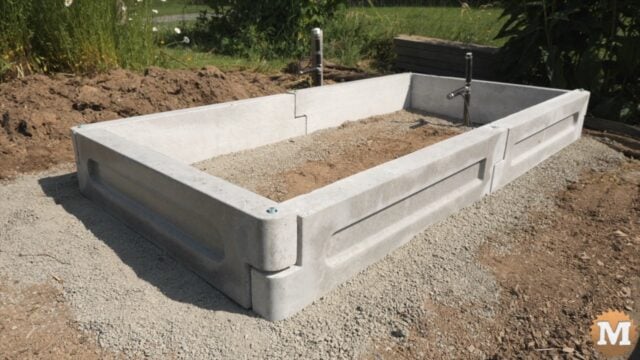
Later we will bring in some topsoil for planting.
Closing Remarks
I think that’s about it. I really like the look of these new rounded garden panels and how they also can fit with my existing original ones. Thanks for watching. If you have any comments or questions please leave them below. See ya in the next one.
(US patent obtained)