Retain Moisture in the Curing Concrete
After pouring, you will need some plastic sheets and a spray bottle. Thick, clear, plastic vapour barrier works well and lasts a long time.

There’s a few more items that will be needed after the concrete cures, and I’ll cover that later when we get to that part.
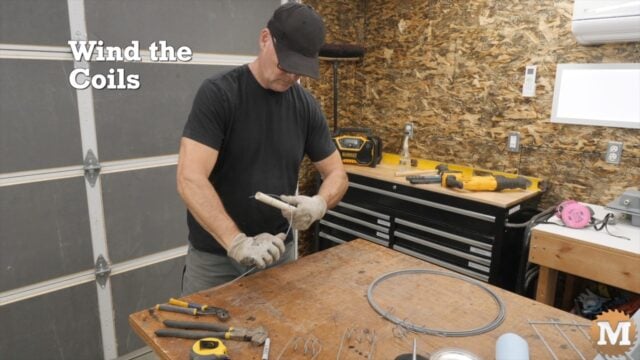
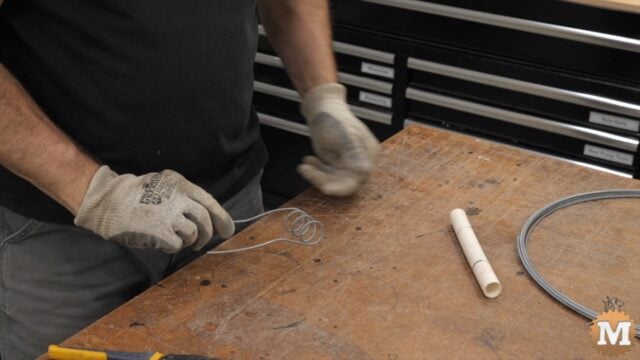
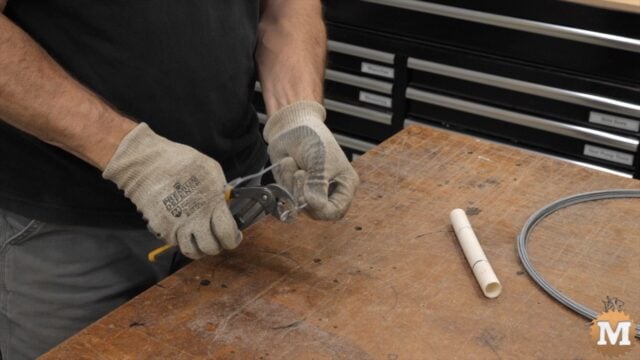
Wind the Coils
I use a galvanized 12 gauge fence wire that I first cut into 24 inch lengths. With a 1 inch diameter pipe or dowel I make 3 or 4 wraps. I take the last wrap half way past the first then wind it back to open up the coil so the ends are roughly parallel to each other. Then with pliers, I bend the ends over into a small loop. That step is more for safety as the ends can be sharp.
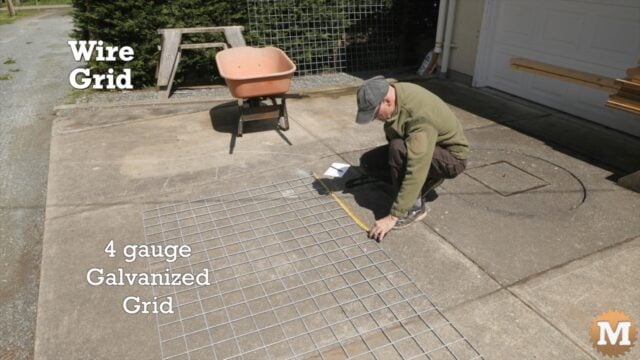
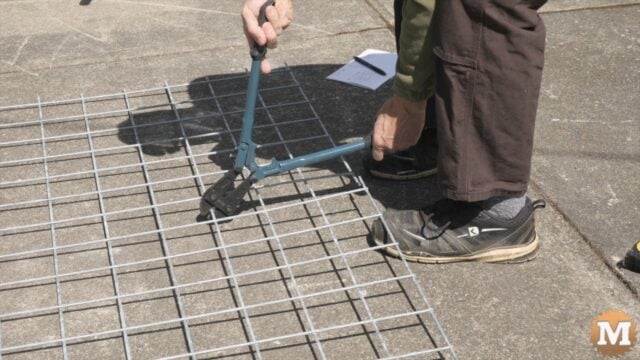
Wire Grid
I use a 4 gauge galvanized 6×6 or 4×4 wire grid for reinforcement. For panels that are 2-1/2″ thick like these ones it’s recommended that any wire embedded inside not exceed that thickness.
This grid can be bought at building supply or agricultural and feed stores. Sometimes it’s sold as hog panel. That thickness can be hard to cut so, I use small bold cutters. I cut it small enough that it sits an inch or more from any edge.
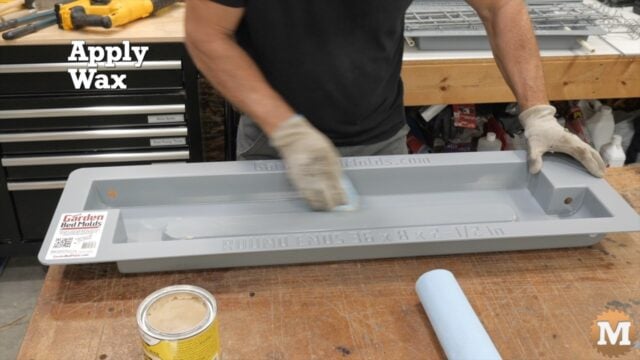
Apply Wax
With the wire coils and grid cut I now wax the mold and oil the pipes. I apply a thin and even coat of wax to all inside surfaces. I let that dry for 10 minutes or so then wipe away the dried haze with a clean towel or cloth. I turn the cloth often and rub it until I get a high gloss shine.
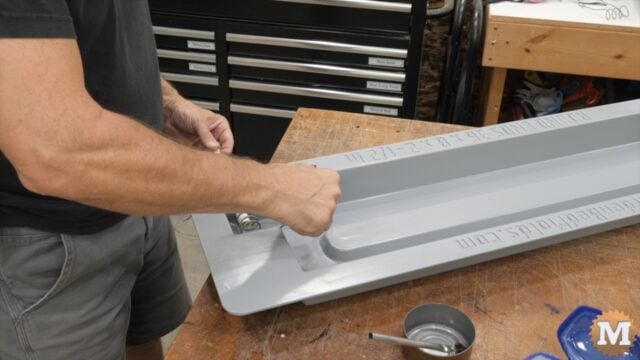
Lubricate Pipes
With a brush I apply a generous coat of petroleum jelly to the pipe. I am using Vaseline brand petroleum jelly here but any generic one is fine. I hold the pipe by the end with the small hole.
Now I can insert the pipe into the mold while threading the coil. I want the end with the hole to stick out past the flange edge of the mold. I check that my grid fits well inside the cavity and now the mold is ready for concrete.

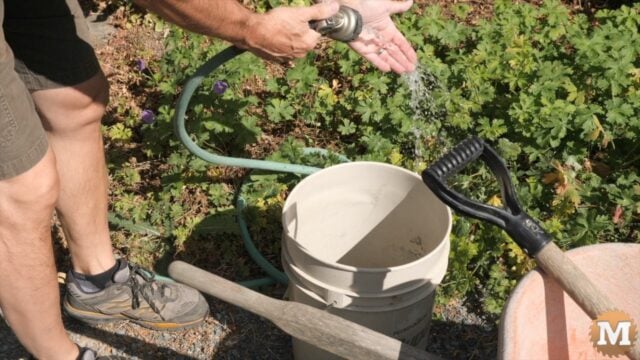
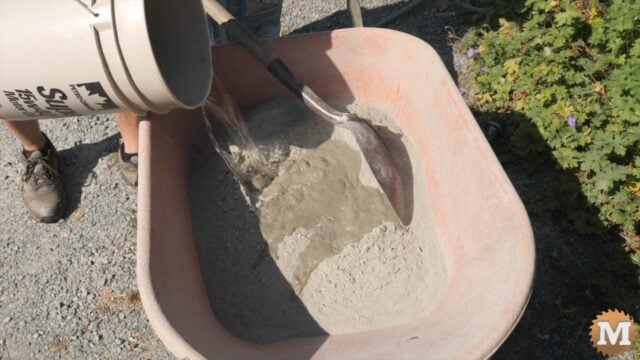
Cold Water
With my garden hose lying in the sun, the water in the hose is getting hot. I want to only use cold water as it gives me more working time before the concrete starts to set up. So, I run the hose into the garden for a few minutes until it turns cold then I add cold water to a pail in the shade. I’ll add a few gallons here to be sure I have enough.
(Disclaimer: As an Amazon Associate I earn from qualifying purchases. Thank you for helping to support my content this way. )
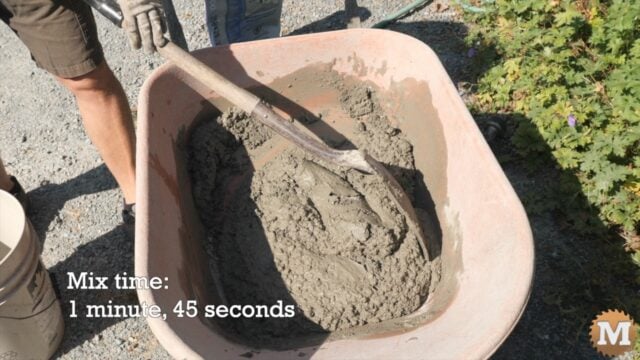
Mix Concrete
For all my casting I am now using this 6000psi high strength blend. I am even now using it in my thinner molds with excellent results. In that case, it’s easier than blending my own from the raw ingredients as I was in the video I did for the thin panel garden boxes. I’ll do an update for the thin panel molds soon.
I like the Quikrete brand. They make a 5000psi and a 6000psi, one or the other may not be available in all areas and countries so you might need to shop around. I have the 6000psi version where I am but, I’m sure the 5000psi one will give good results.
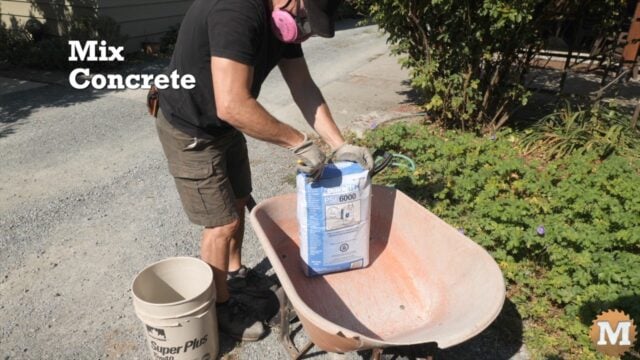
For small batches I find a wheelbarrow and shovel is adequate to mix the concrete with. I can keep the dust outside then wheel the mix inside when ready. The 36 inch mold requires about 50 pounds of concrete. This bag holds 55 pounds of dry mix. So, when I pour it into the wheelbarrow I hold some back.
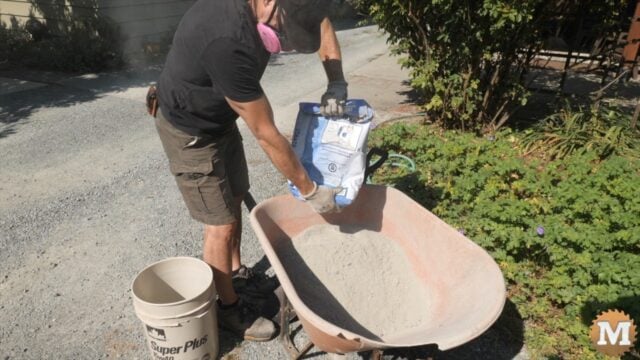
And I do this for two reasons. One, I don’t need that much for this pour. Two, I always hold some back in case I accidentally add too much water to the mix. With some extra dry mix at the ready I can thicken it again.
Water Recommendations
There will be water amount recommendations on the bag of concrete mix but, I don’t go by those. Ideally I want a blend that is completely wet but, not so wet that it settles like water in the wheelbarrow. I want a mix that is fully wet and smooth to blend but holds its shape — that holds peaks when folded with the shovel. And, this will come with some experience.
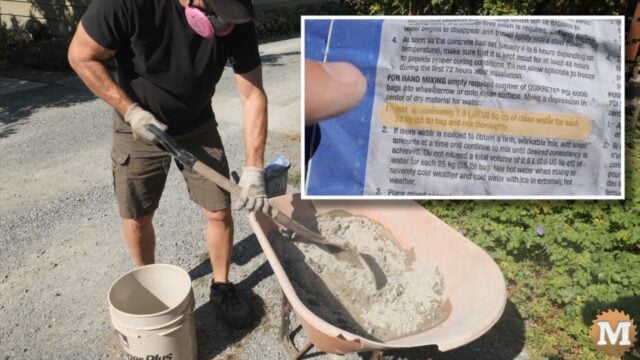
Now, I’m not saying you can’t follow the instructions on the bag, and that might be helpful when new to concrete mixing but, I have often found they suggest too much water.
Also, I believe these high strength blends have a water reducer as an additive. The mix has a certain smell that is similar to some dry water reducers (or plasticizers) I have used in the past. So, I find that when you add water the mix can quickly go from appearing too dry and somewhat crumbly to fully wet and smooth.
With this mix just right I can now head in and fill the mold.
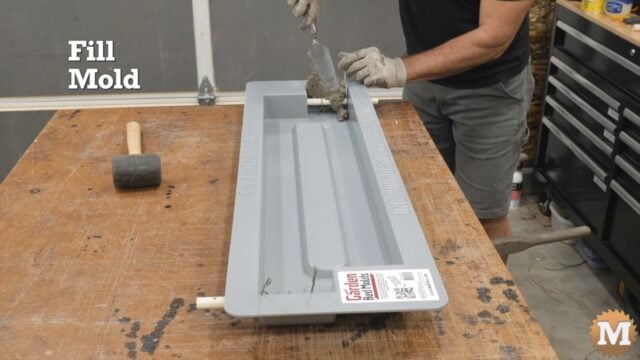
Fill Mold with Concrete
I have the wire coils rotated upwards and check that the small hole end of the pipes are past the flange edge of the mold. With a small trowel I’ll add some concrete mix around the coils and pipes. This ensures that I don’t have any air gaps in this area plus, I can then make sure that the wire coil is center positioned and held within the walls of the mold.
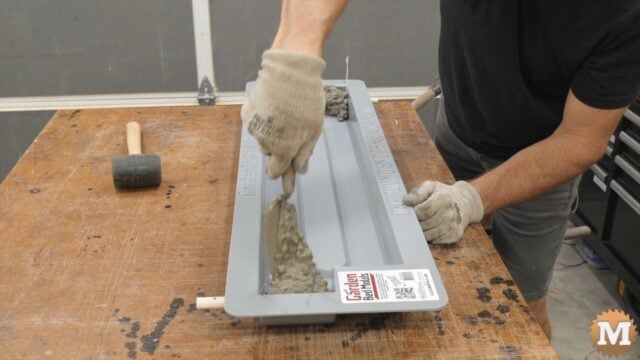
Now I will add about three shovels of concrete mix to the cavity. With the small trowel I’ll push the concrete into the corners and spread it out some. I’m looking to have the mold around half full.
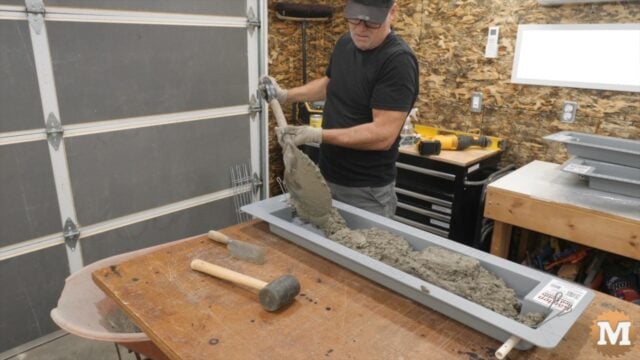

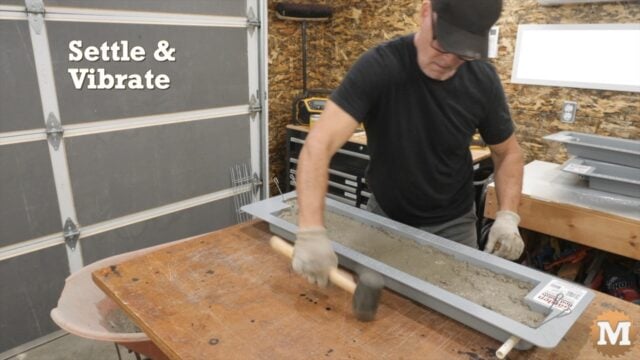
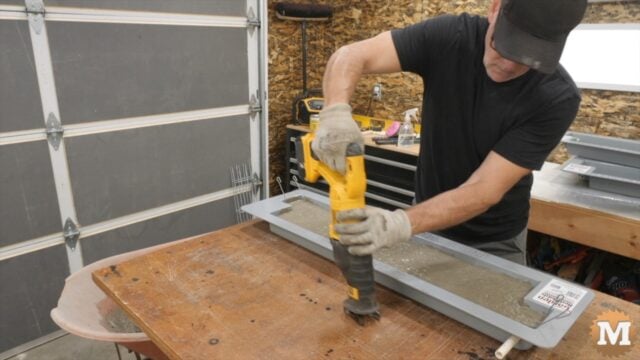
Settle & Vibrate
I can settle the mix and bring bubbles to the surface by tapping the bench with a rubber mallet. You can also get excellent results by settling with some vibration. Here I’m using a recip saw without a blade.
Now I’ll rotate the wires around and press the ends into the mix.