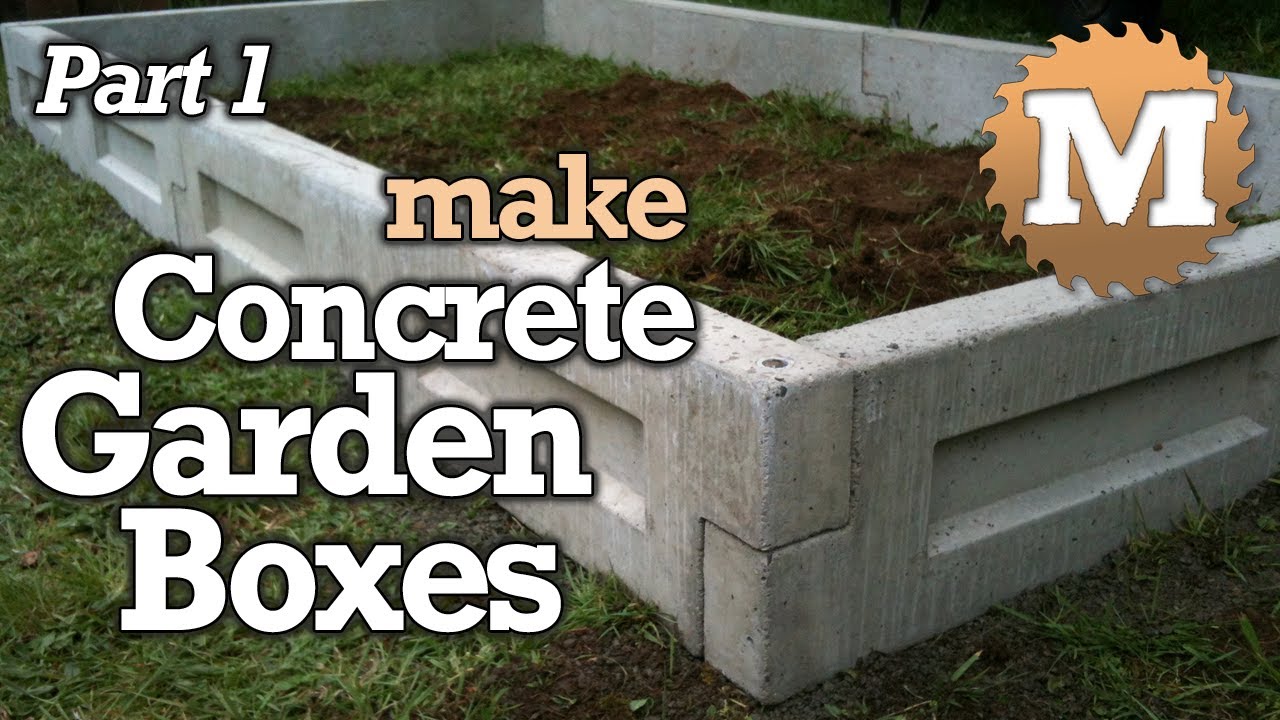
Make your own Concrete Garden Beds! Build the forms and precast your own 36″ reinforced concrete panels that lock together to make long lasting and durable concrete garden boxes. See the complete build video that shows step-by-step how to make the plywood molds for the precast garden boxes. An alternative to concrete garden edging.
Here is the weight of 3 panels that are cured: . 48″ – 69lbs, 36″ – 50lbs, 24″ – 33lbs.
See the Build Video and download the Plans.
How much concrete does it take to pour each size of panel? Here’s the approximate square foot volume of each size of the 2.5” thick panels:
24” panel = 0.23 cu ft
36” panel = 0.36 cu ft
48” panel = 0.49 cu ft
Bags of ready mix concrete are sold in various sizes. Here is how much a bag of Quikrete will make:
40lb bag = 0.30 cu ft
50lb bag = 0.375 cu ft
60lb bag = 0.45 cu ft
80lb bag = 0.60 cu ft
Check the instructions on the bag to see how much it makes.
Background for the Cast Concrete Garden Boxes Project

Hi is Kent from Man about Tools and today we are building plywood moulds to precast our own concrete garden box panels.
These panels link together to create long lasting, rot proof concrete garden boxes.
Precast concrete raised garden beds.
If you’re like me then you’ve made many wooden garden boxes only to see them rot away over time. Now, I know wooden boxes have their place and they are cheap and easy to build, but they just don’t last.
(Disclaimer: As an Amazon Associate I earn from qualifying purchases. Thank you for helping to support my content this way. )
I’ve used plastic liners, made them from longer lasting red cedar, bought a truckload of cheaper culled lumber and no matter what I do they still rot away.
So I decided to try making some boxes from concrete. One option is to build plywood frames, stake them into the ground and pour them in place. In a similar fashion as pouring building foundations or retaining walls. That does work well, and I like that option if you have the materials.
But instead, I want to make a more decorative, unique garden box, one that might be more suited for flowers, or closer to the house, instead of a large vegetable garden.
Poured concrete garden beds.
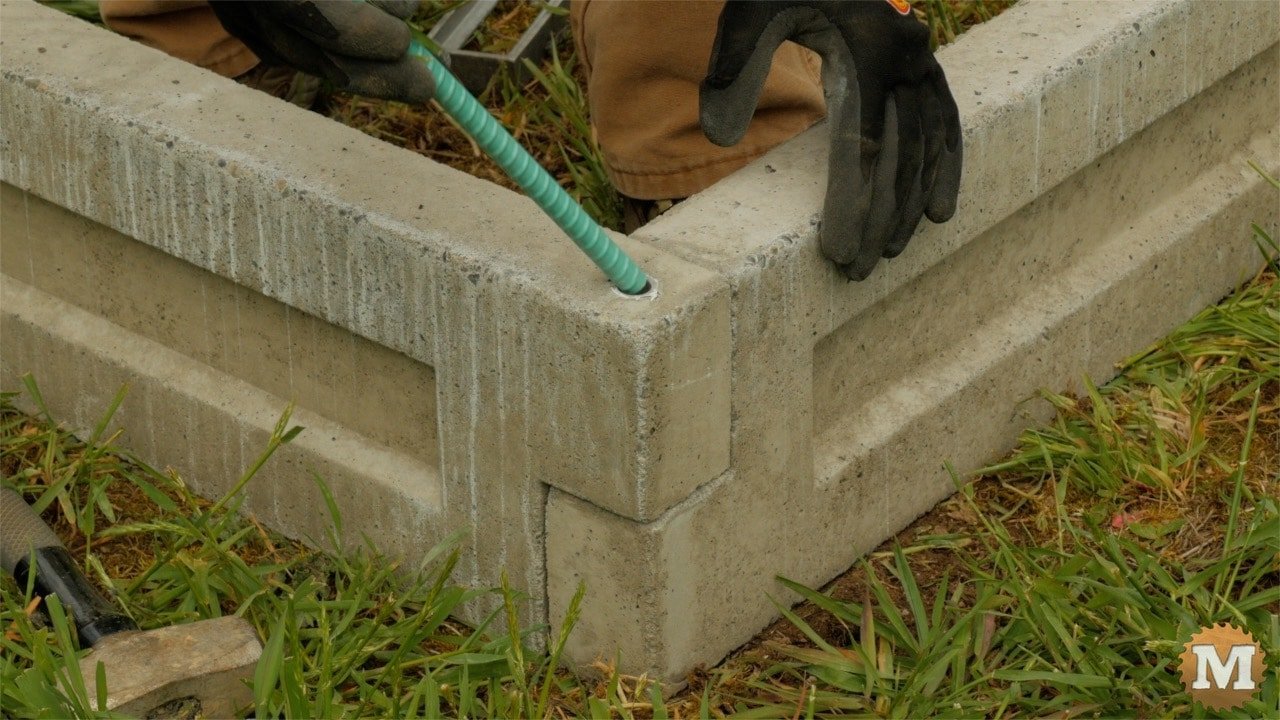
The panels that I make interlock in the corners in a straight line or at a 90 degree angle. I cast in plastic pipe so they lock together with rebar.
Pouring your own concrete panels gives you the flexibility to modify this simple design to your liking. You can easily change some of the dimensions to make them longer, shorter, taller, or thinner. You can also combine panels of different lengths as I’m going to do in this video.
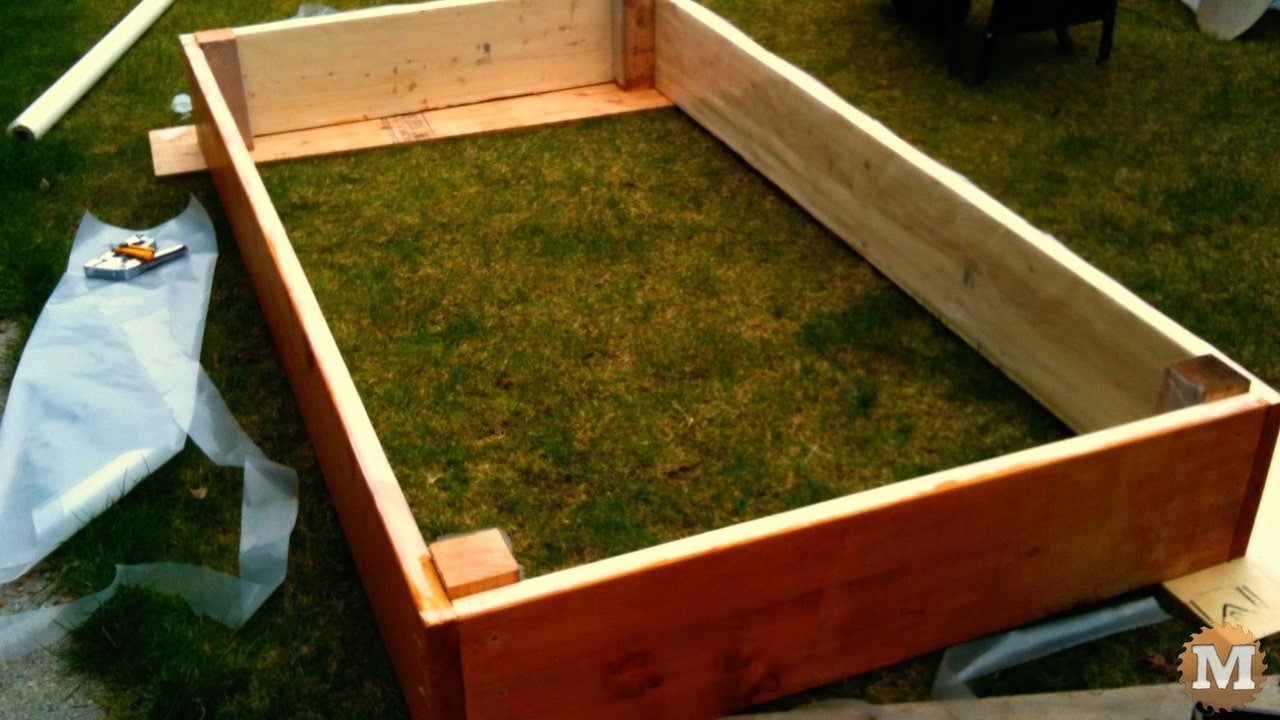
I have two identical moulds that make a 48 inch long panel that is 8 inches tall x 2 1/2 inches thick.
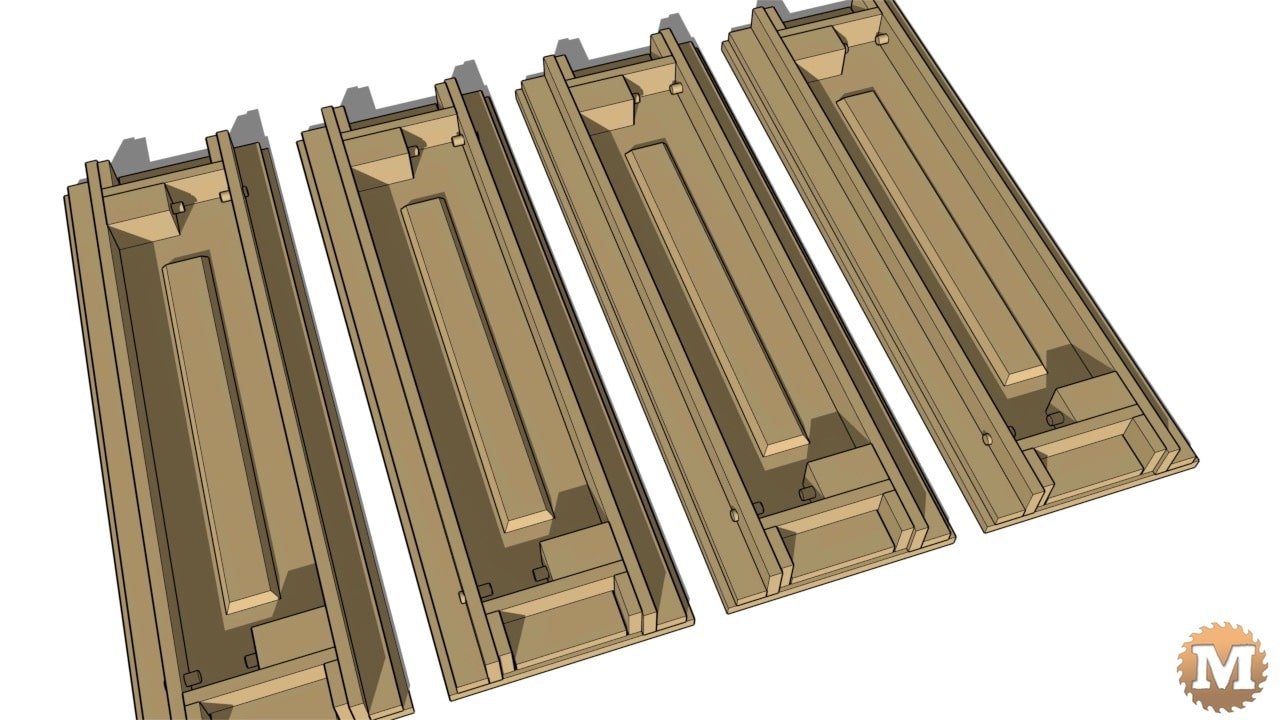
I’m going to make 4 new moulds similar to that original design but, I’m going to shorten the length to 36 inches. Having a box 3 feet wide can make it easier to reach in to plant and weed.
DIY concrete garden boxes.
I have plans available for download and I also have a list of all the tools I use for each project. So please check those out.
Concrete Garden Box Sides – the Build
Here’s how I build the forms to make the concrete panels.
The Parts
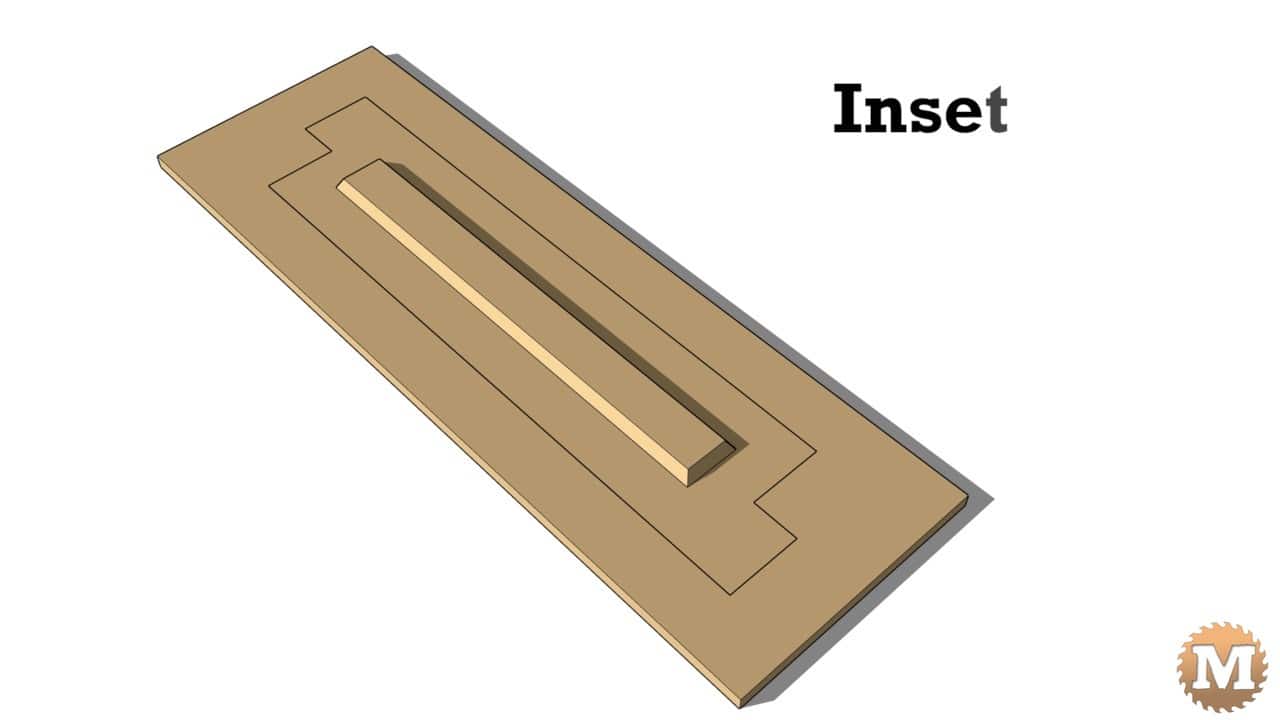
One sheet of 3/4″ plywood is enough for 4 forms. I’ll also need a length of 5/8″ material 3″ wide for the decorative insets (104″ in total). And a 4×4 – 32″ long that I’ll rip into a 2 1/2 x 2 1/2 inch block to hold one of the pins. These pipe holder pins are made from 5/8″ diameter doweling (16″ required).
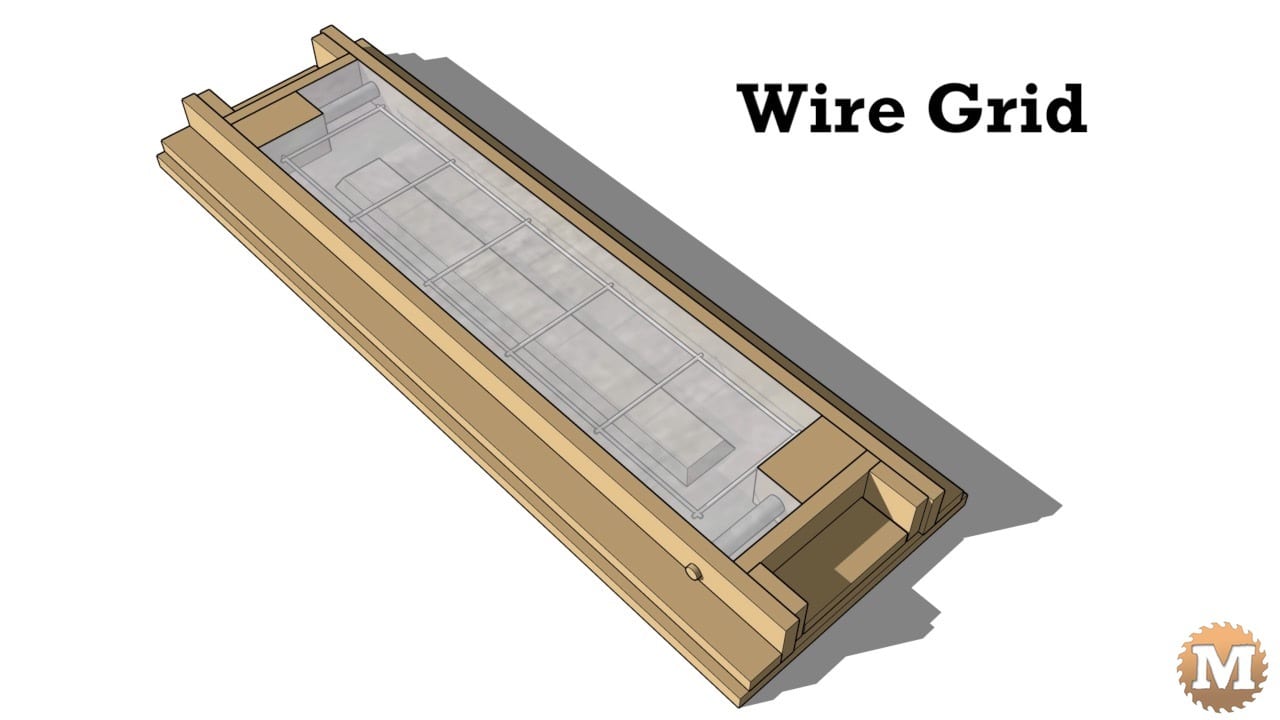
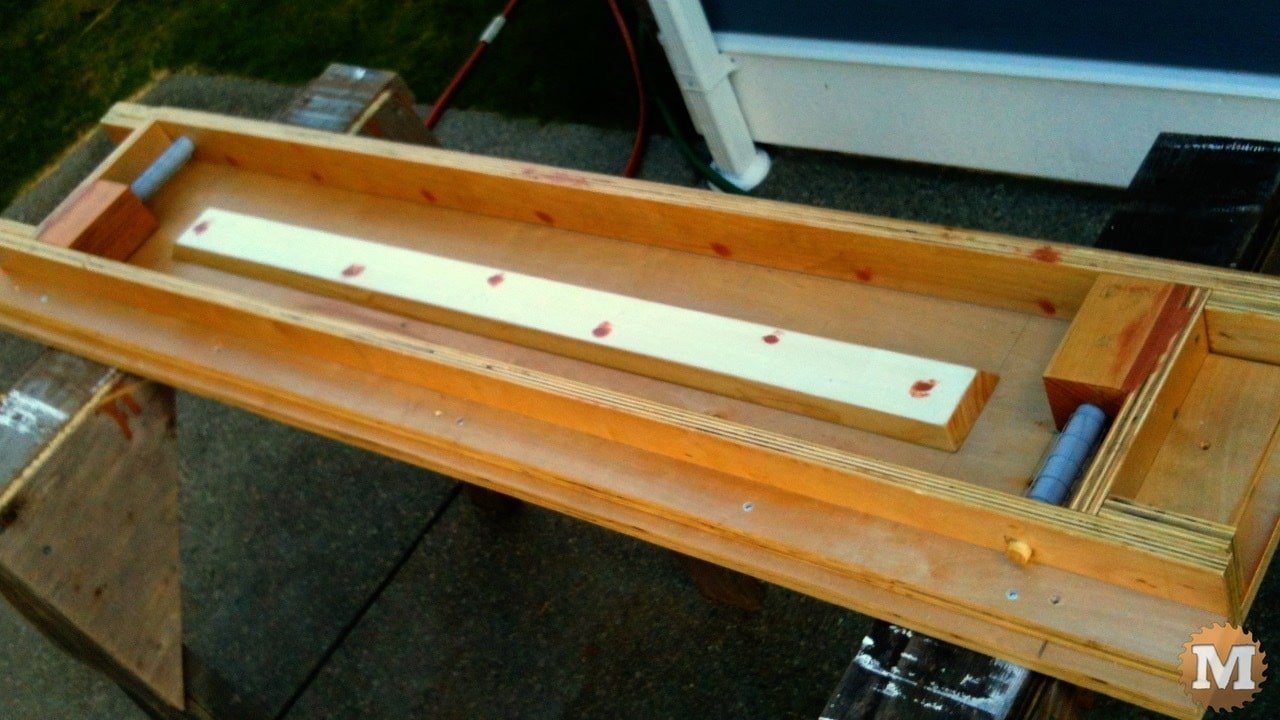
Here’s the main parts of the mould. A base, the inset, the sides, the ends, and pipe holder pins. Cast into the concrete there’s a reinforcing stiff wire grid, PVC pipe, and wire loosely wrapped around the pipe.

First Cuts
I had my lumber supplier cut a 3/4″ plywood sheet into 4 strips, each 14″ x 48″. I have a small portable table saw so working with a full sheet is challenging. You can use a circular saw with a guide as an option too.
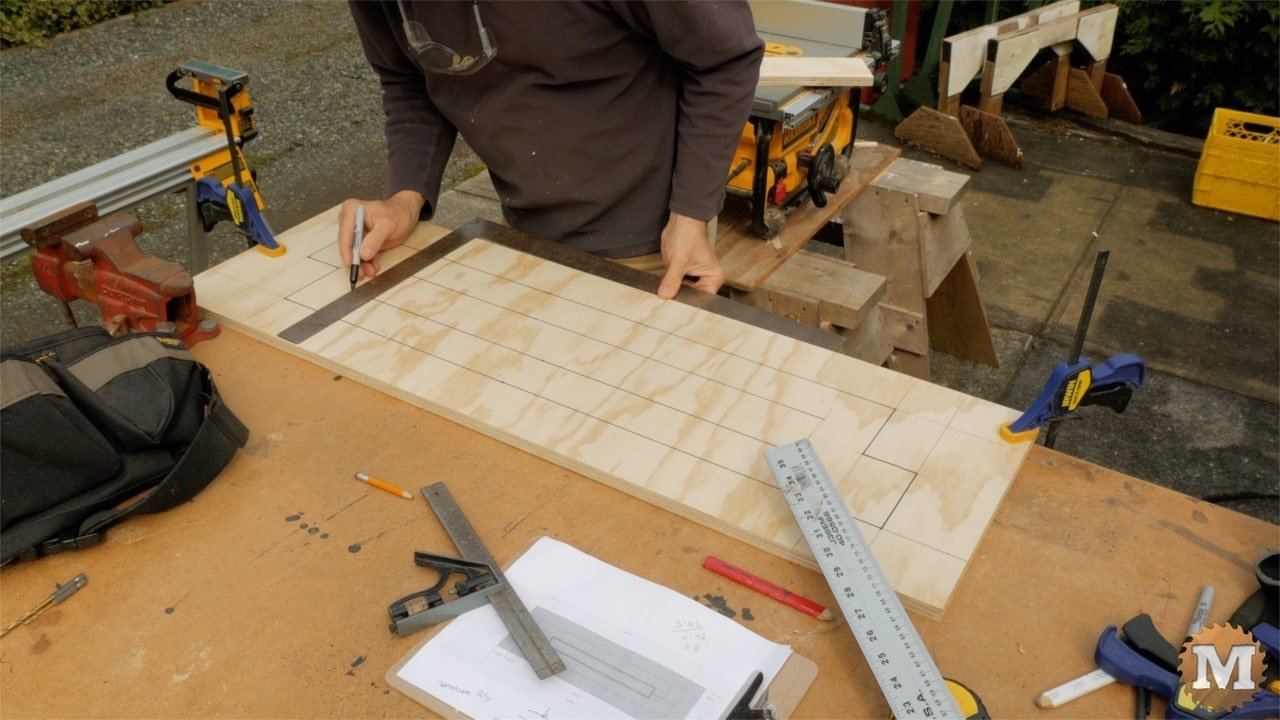
I’ll start by cutting these 4 bases down to the length of 43″. Then I lay out the design on each base. I’ll used a black marker to darken these pencil lines. I cut the rest of the 4×8 sheet roughly in half to make it more manageable.
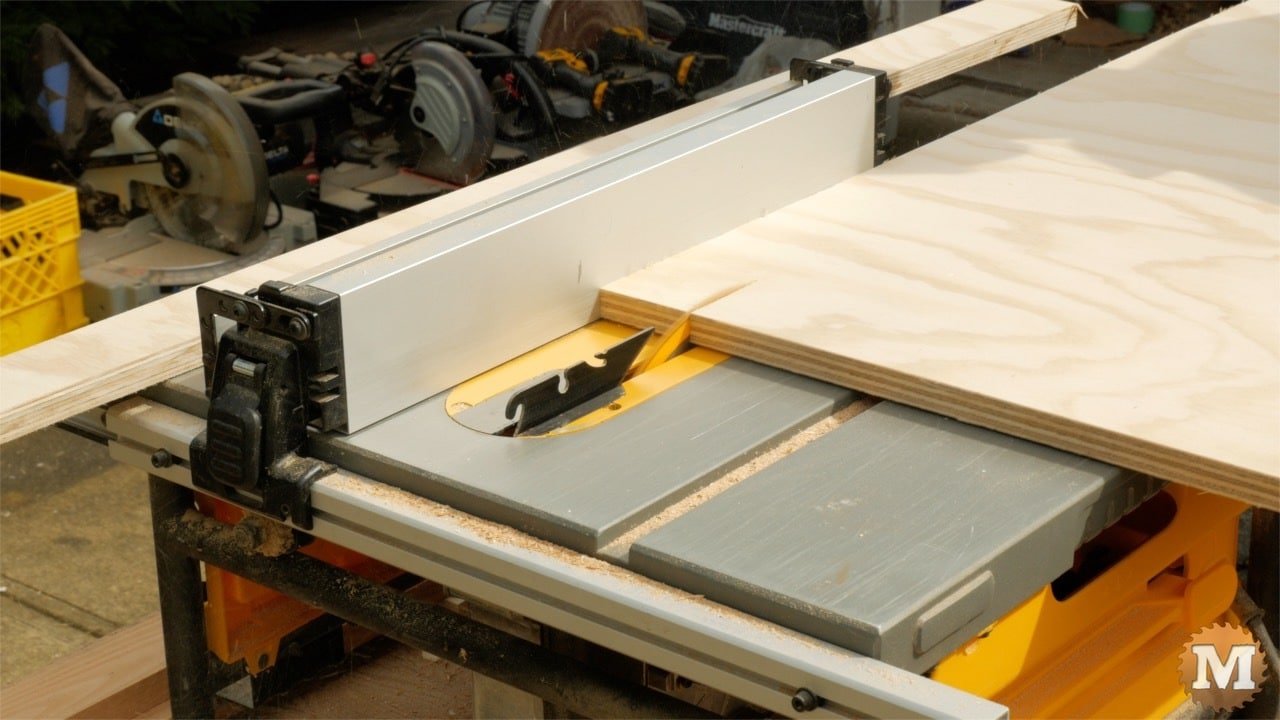
Cut the Side parts
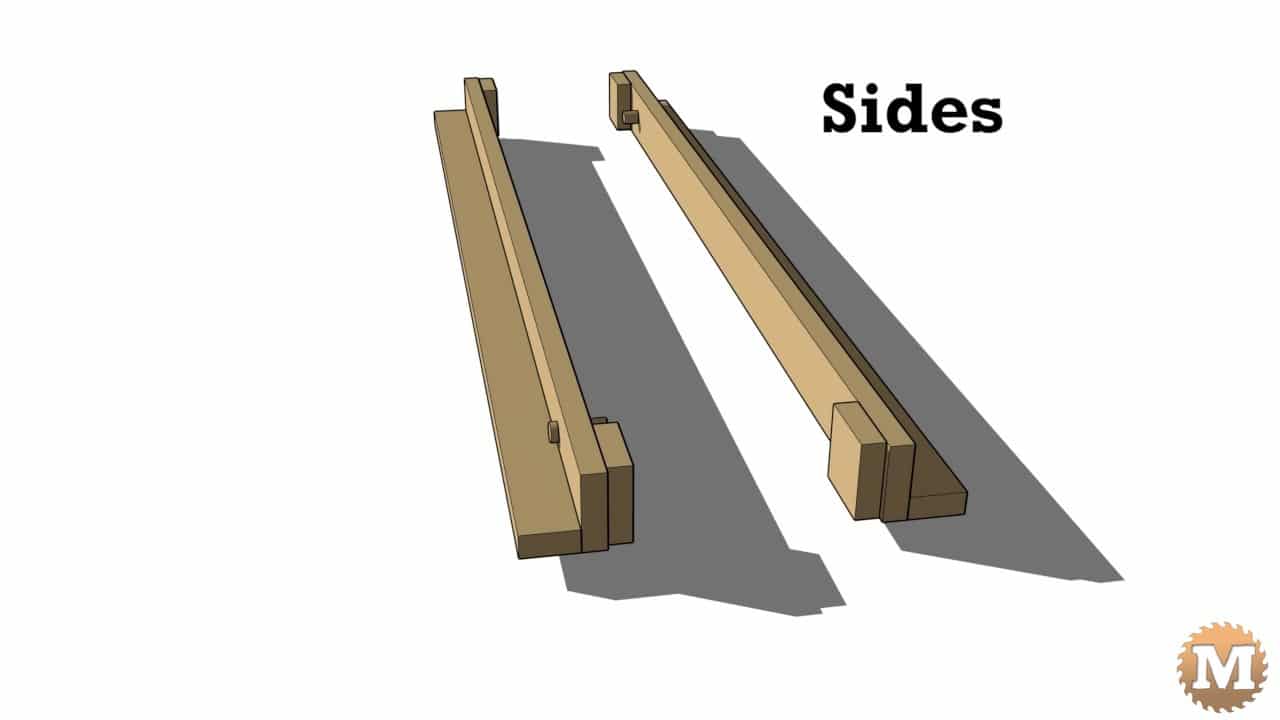
Once this is done start ripping the 8 Side Walls from the balance of the plywood sheet. Eight pieces are required. Then cut to length and label them part “B”.
Now rip the eight Side Hold-Down strips and also cut them to length. There’s going to be a lot of pieces to this build so label the parts as you go along. On the drawing you will find a scheme that I came up with that works well. For instance, all the Sides are B, the Hold-Downs for the Sides are labeled C, and so on.
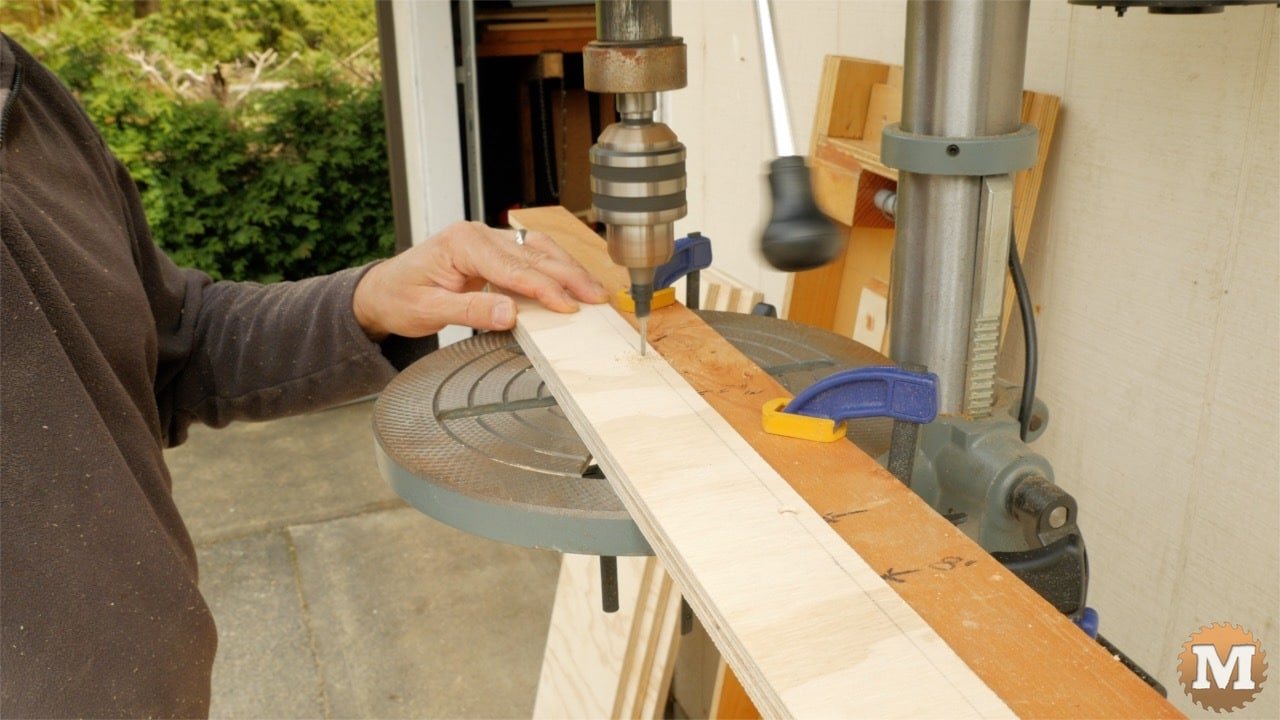
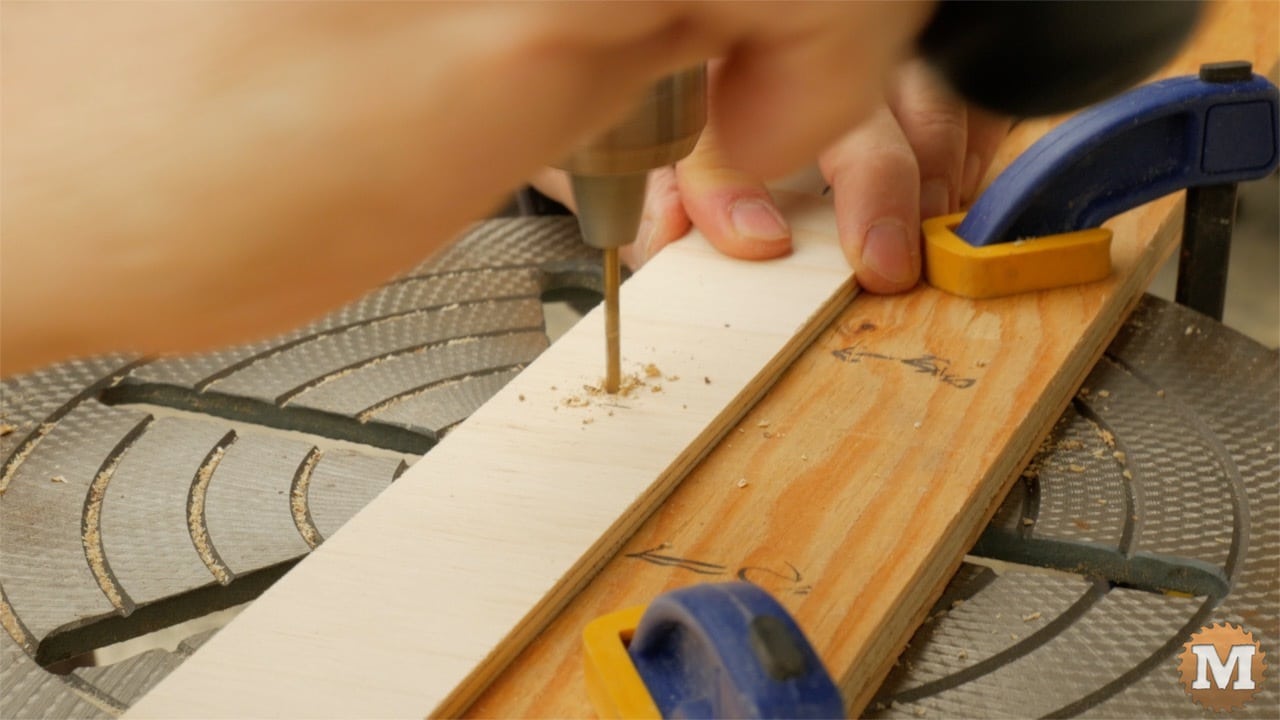
The Sides and Hold-Downs are attached to form a right angle “L” shape with glue and screws. I pre-drill the Sides on the inside face, 3/8″ up from the bottom edge with a countersink drill bit. Then draw a line and layout the hole locations approximately spaced 8 inches apart. A clamp as a stop on my drill press speeds this up. I also mark pencil lines on this stop as a spacing guide. I want the screw heads to be recessed into the hole. I’ll fill these holes with wood filler later after assembly.
I’ll also pre-drill the Side Hold-Down strips with a one eighth inch bit along the center line spaced about 8 inches apart. Later, during assembly, I’ll use pan head screws to attach the Sides to the Base, (part A on the drawings).
Mark the sides and drill a 5/8″ hole with a Forster bit in each for the Pipe Support Dowel.
Set aside parts B and C.
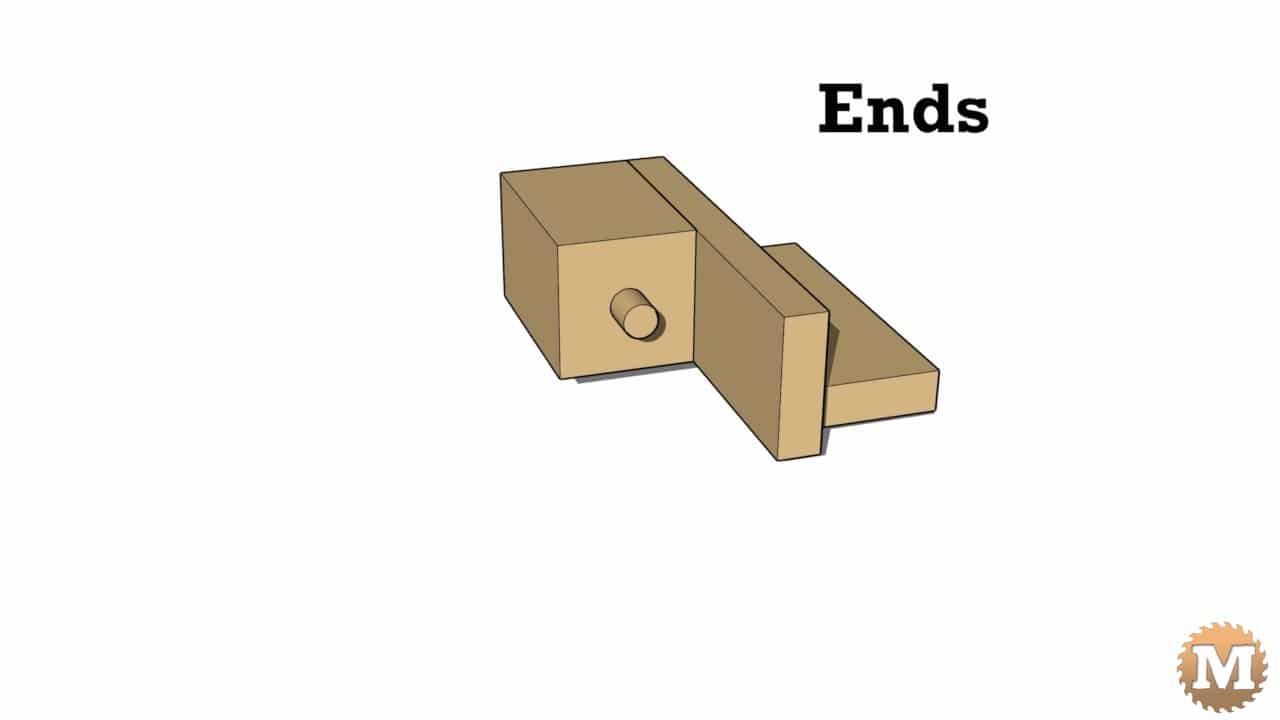
Cut the End parts
Now I’ll rip and cut to length the End Walls. They are 2.5 x 8 inches and labeled E. These have their own Hold-Downs. Rip and cut these to length and label F.
The Ends and End Hold-Downs get pre-drilled in the same manner as the sides and their accompanying Hold-Downs.
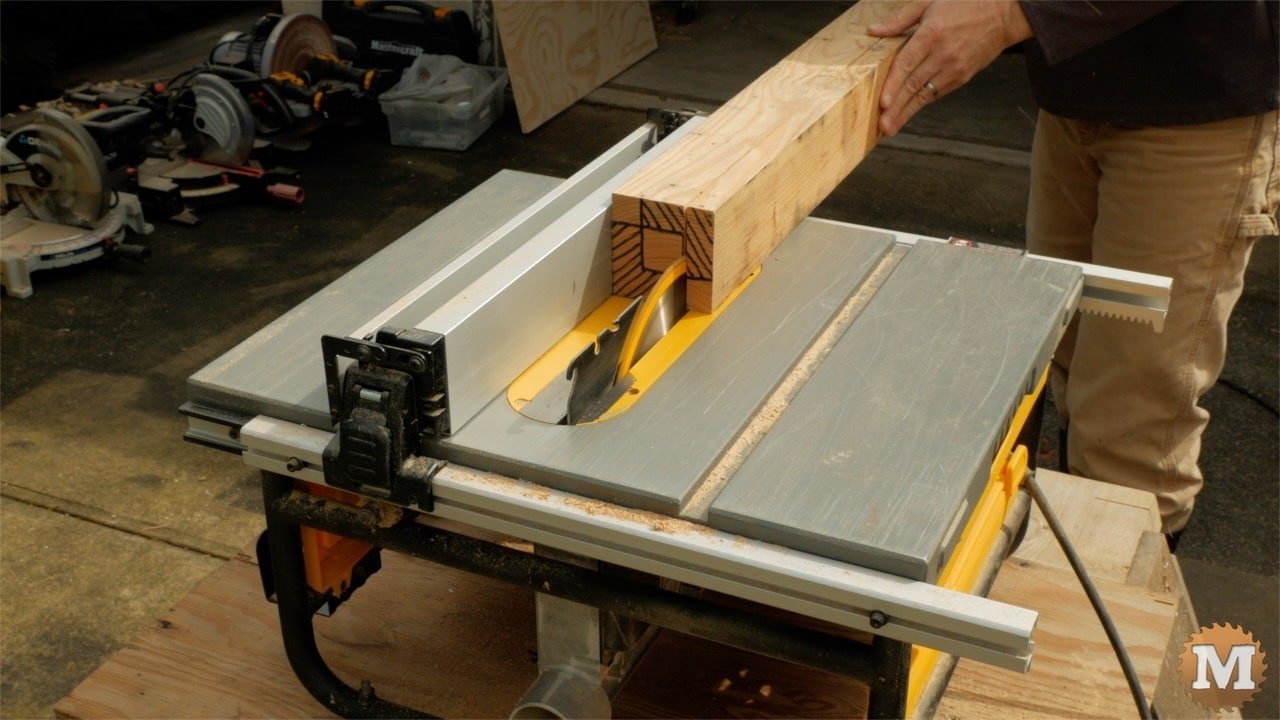
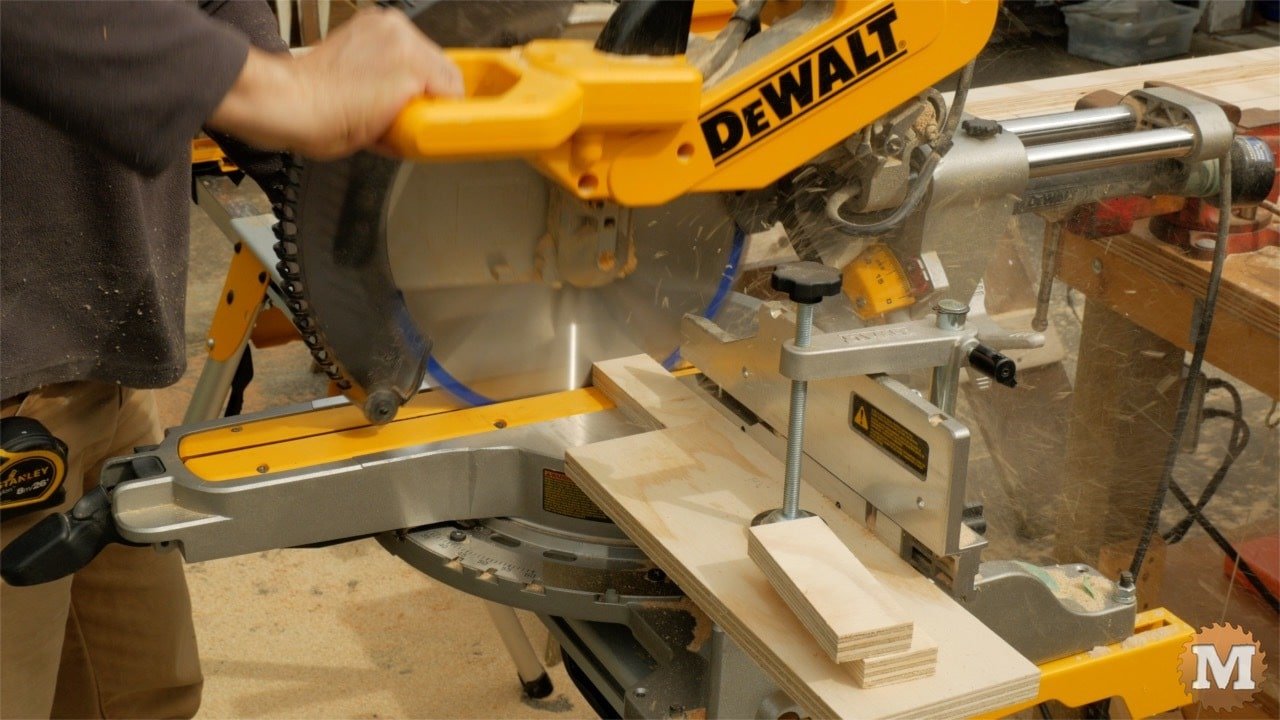
I make the Pipe Holder End Blocks, part G, from a fir 4×4. Then rip this on my saw using several passes from both sides down to 2.5 x 2.5 inches. I then cut these to 4 inch lengths using a stop on my miter saw.
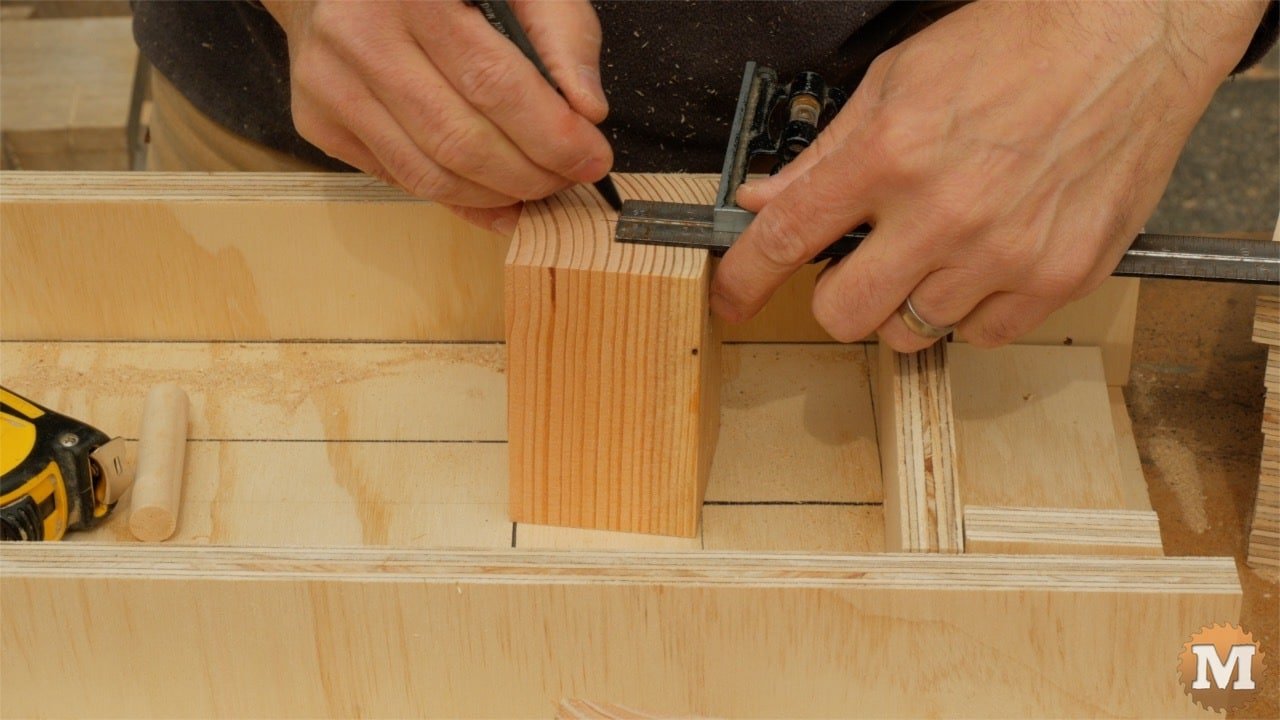
I inspect these blocks, label the UP side then with a square I mark the center of one end.
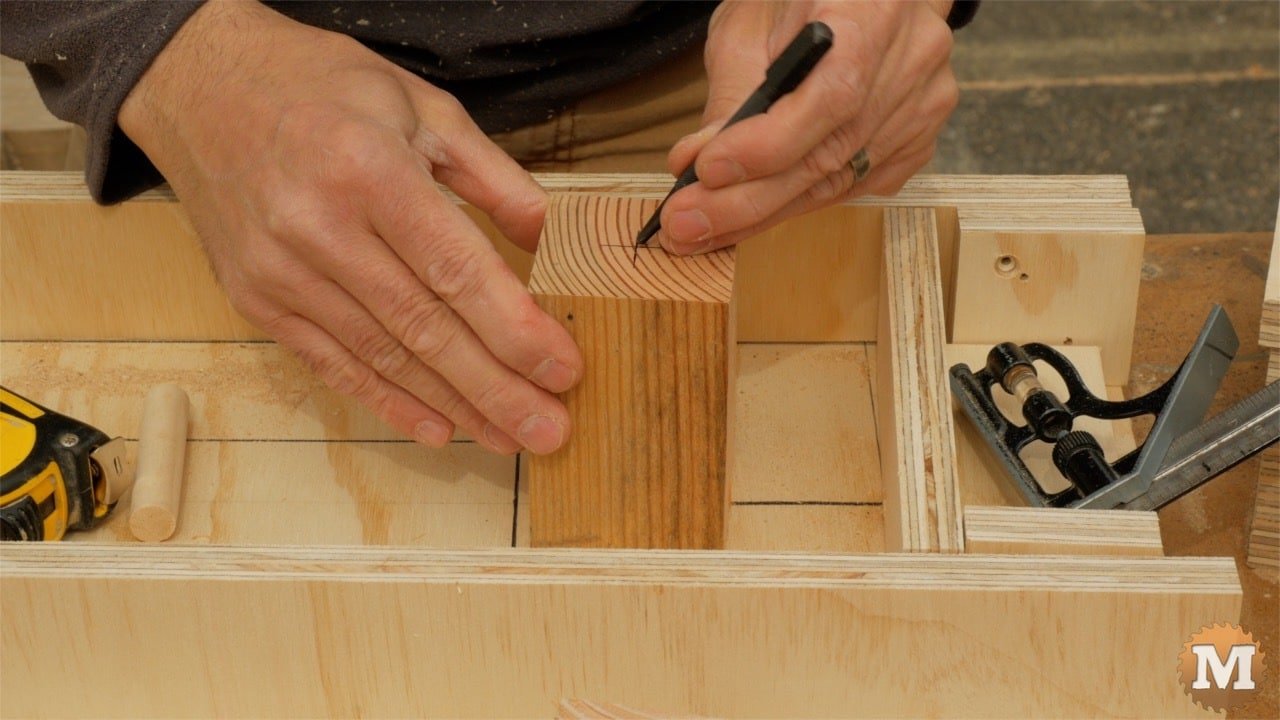
And use a punch to make a small divot that will held guide the drill bit.

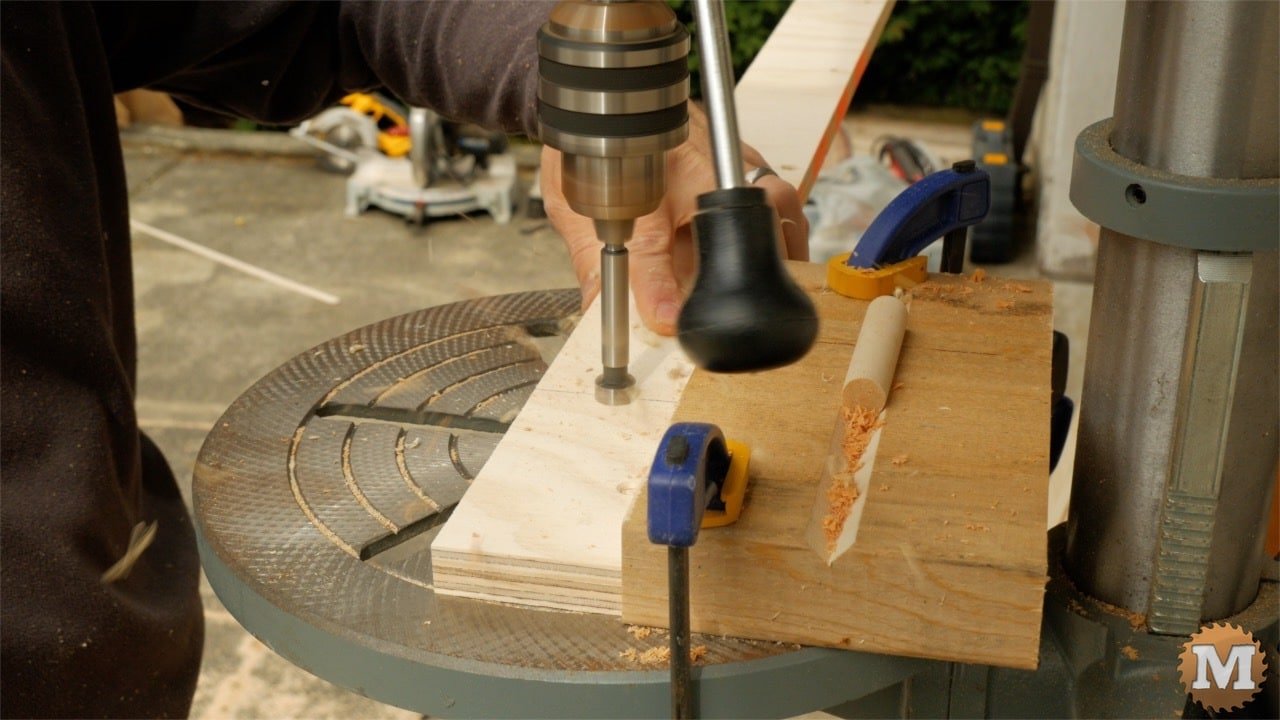
I chuck a 5/8 Forstner bit in the drill press. I have stop blocks clamped to the table to help secure the block during this processes. You can also use a vice to hold the block if that works better for you. Drilling into end grain like this can sometimes cause the bit to wander so go slow and allow the chips to clear. Drill this hole 1 inch deep.
Continued on the Next Page