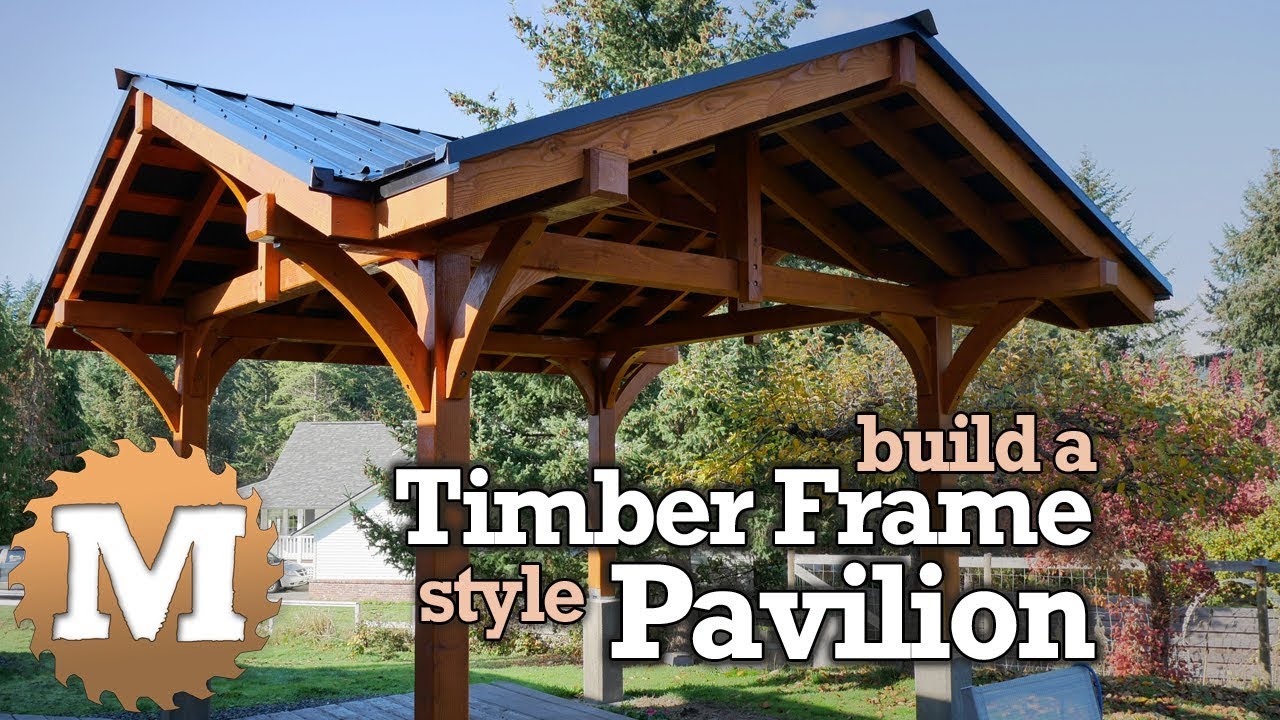
Build your own Three Gable Timber Frame style Pavilion. Plans available for download in PDF Format.
See the How to Video.
My good friend Connor, and his wife Sara, asked me to help them build a pavilion in their back yard. They wanted a timber frame three gable structure so I modelled up a design in Sketchup and drew up some plans.
Build the Timber Frame Style Pavilion
The Sketchup Model
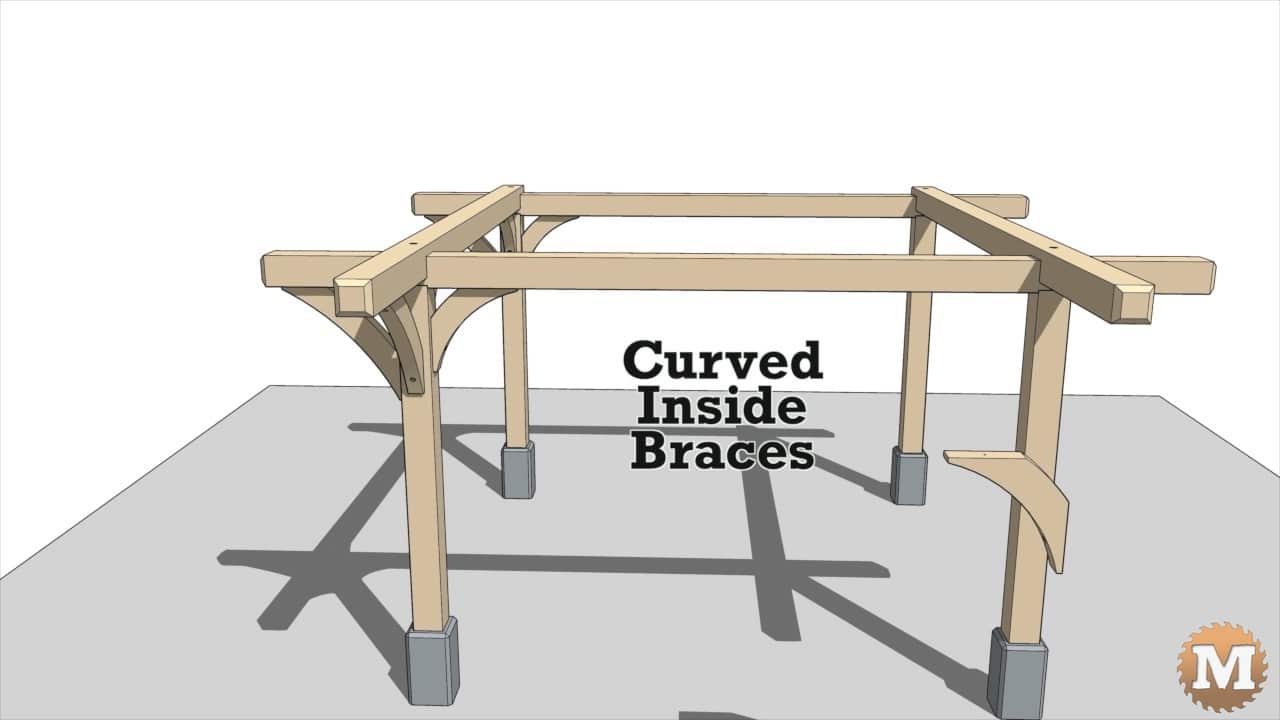
The posts will sit on formed concrete piers. There’s two beams running North to South. And two beams running East to West. Corner braces add rigidity to the frame at the intersection of the beams and posts.
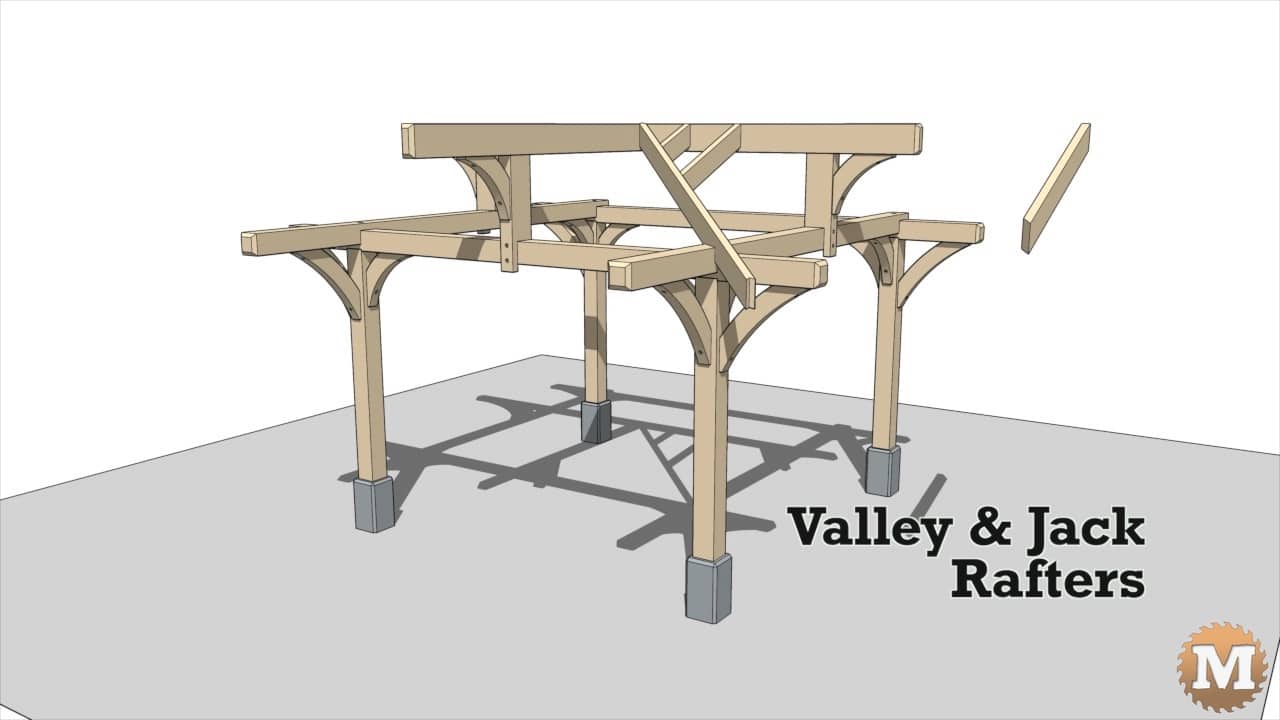
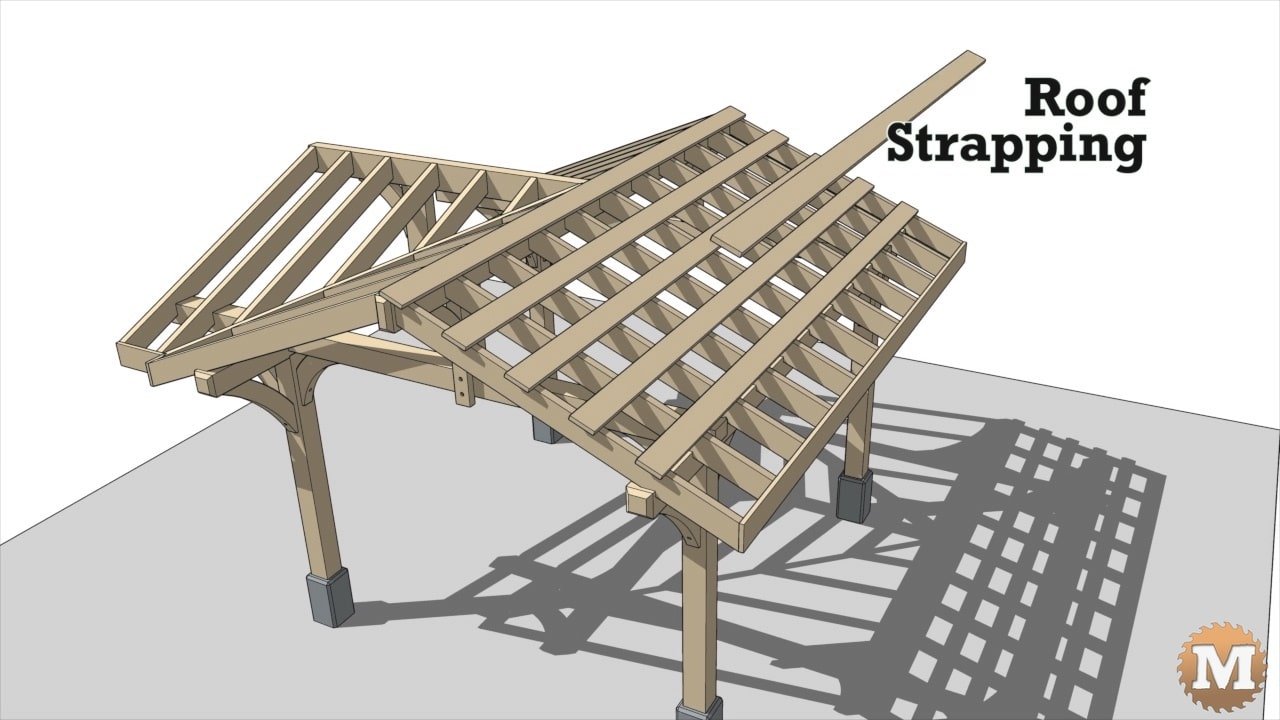
King posts sit mid span on the beams and support the upper ridge beams. Valley rafters run from the peak to the corners and support the jack rafters.
Common rafters finish the gable ends and the West facing roof slope.
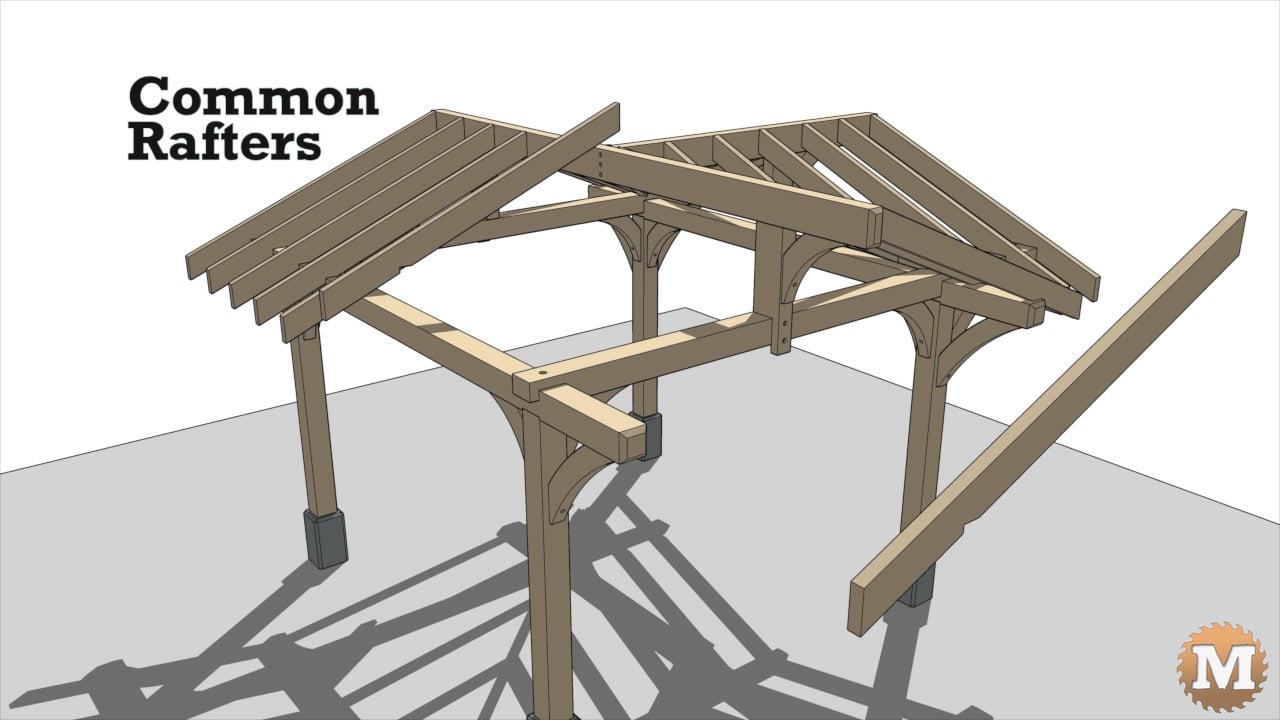
Strapping is laid over these rafters and over the jack rafters on the Northeast and Southeast corners.
The roof is finished with plywood then metal sheet.
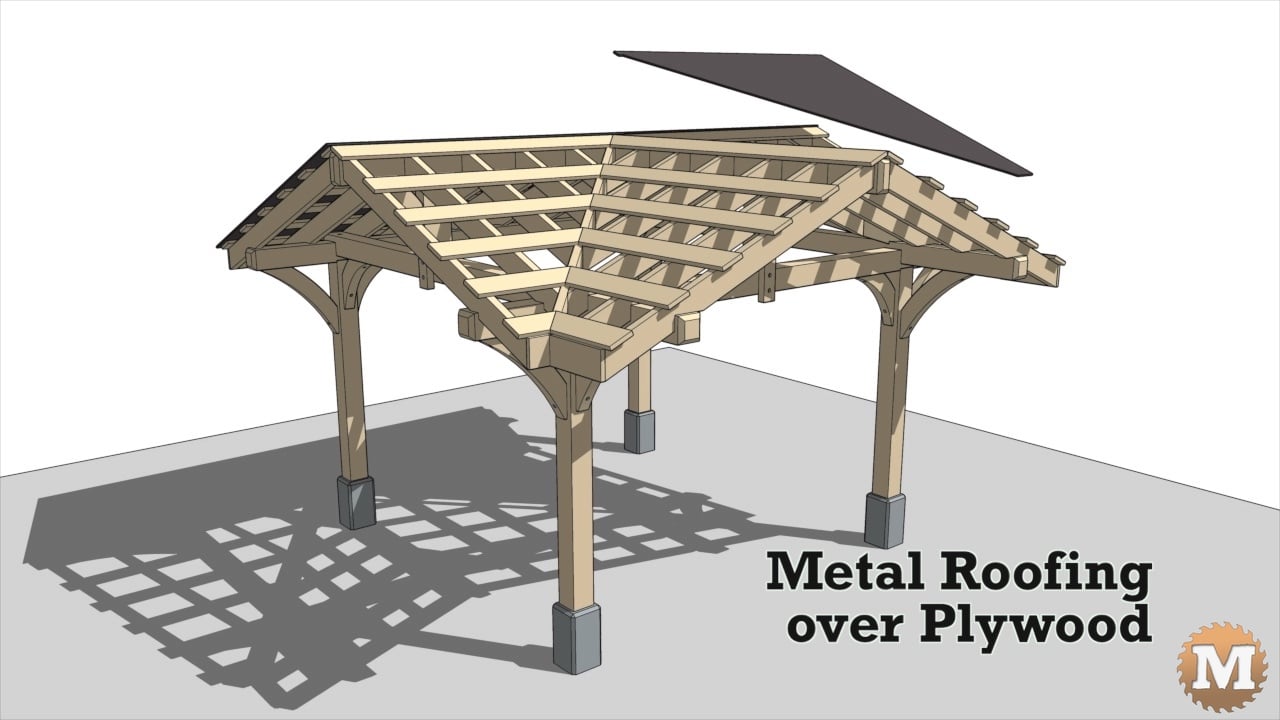
I have a full set of plans available for download. The overall dimensions are approximately 15’ x 14’ and 10’5” tall.
(Disclaimer: As an Amazon Associate I earn from qualifying purchases. Thank you for helping to support my content this way. )
Building the Three Gable Timber Frame style Pavilion
Forms for the Footings and Piers
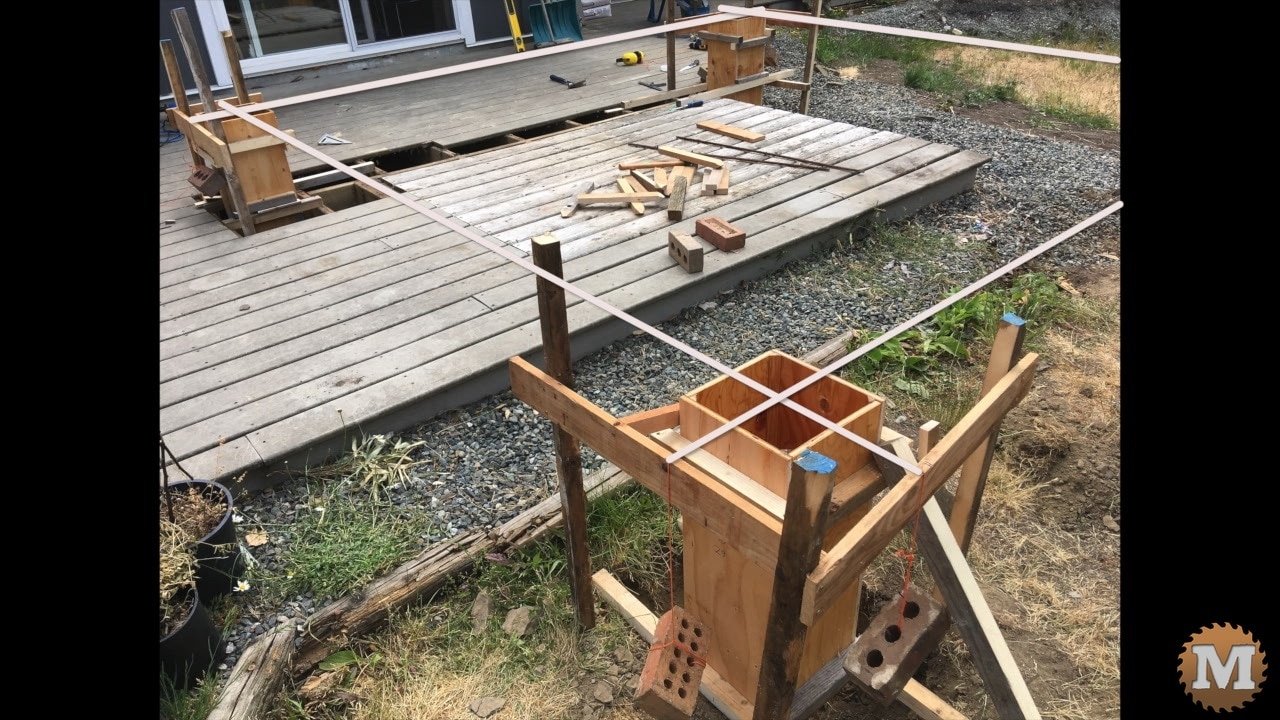
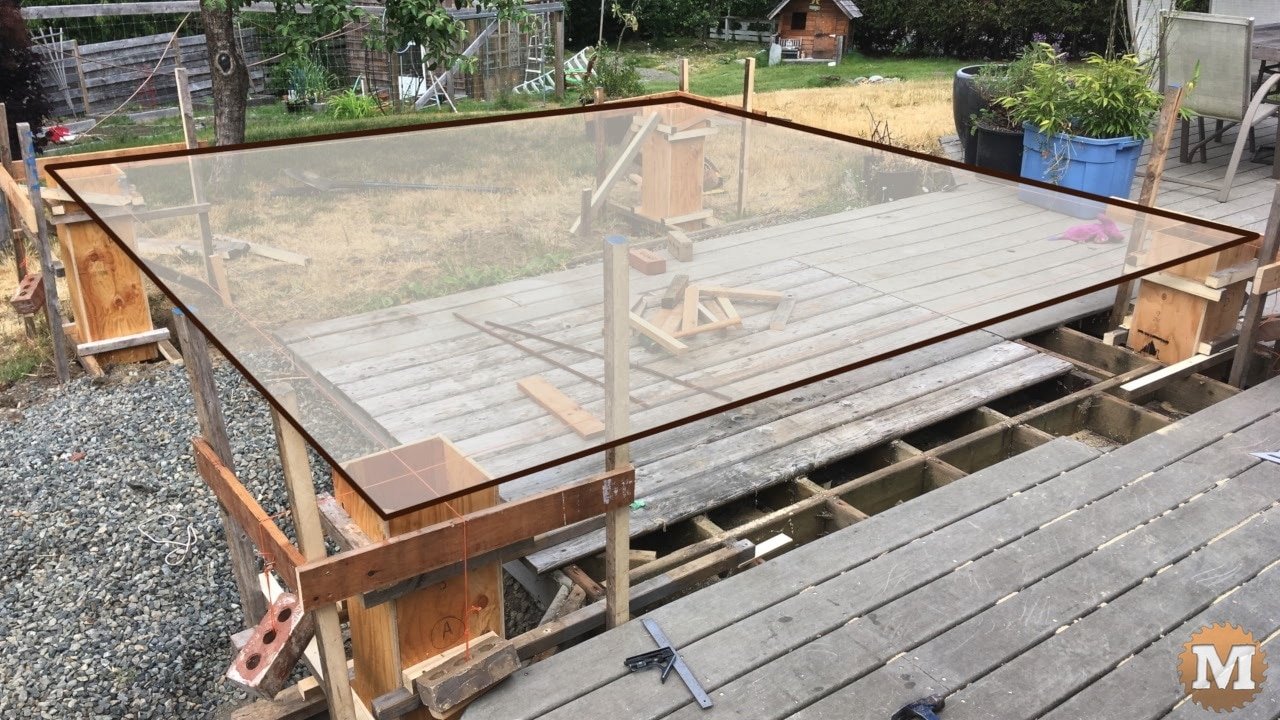
We cut into Connor’s deck and built batter boards to lay out the footings and concrete piers to support the structure. I used string drawn over the ledger boards to locate the center of each post.
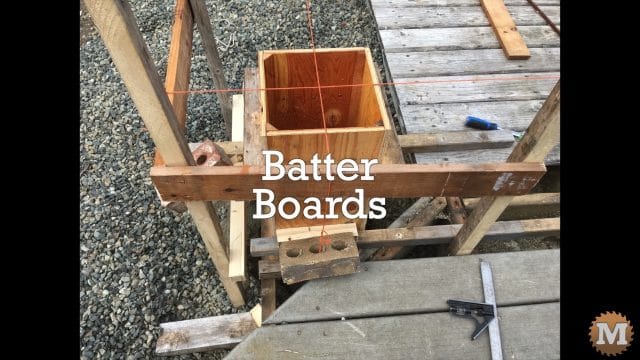
The strings are kept taught with bricks. They can easily be adjusted or pulled out of the way if needed.

The string lines are squared so the posts are 10′ x 10′ on center.
I levelled the tops of all the forms so they would be on the same plane. I used a laser level to help with this.
The pavilion is made from Douglas Fir rough sawn from a local mill.
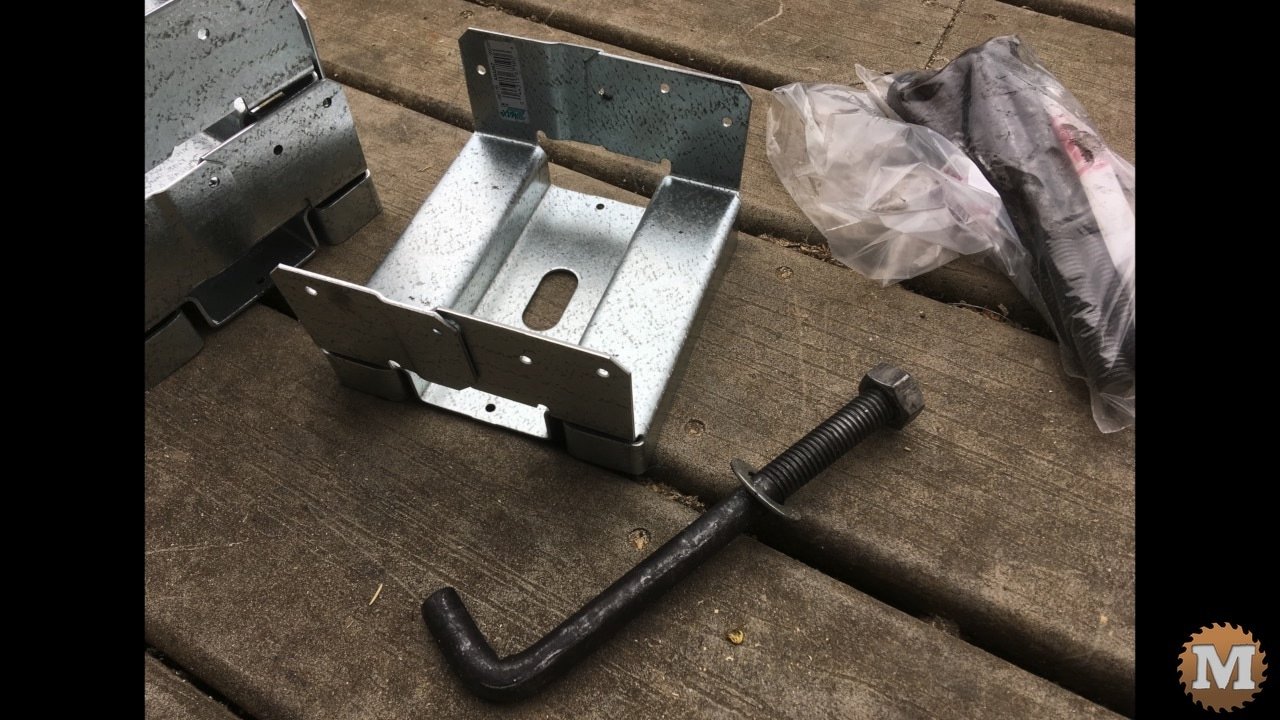
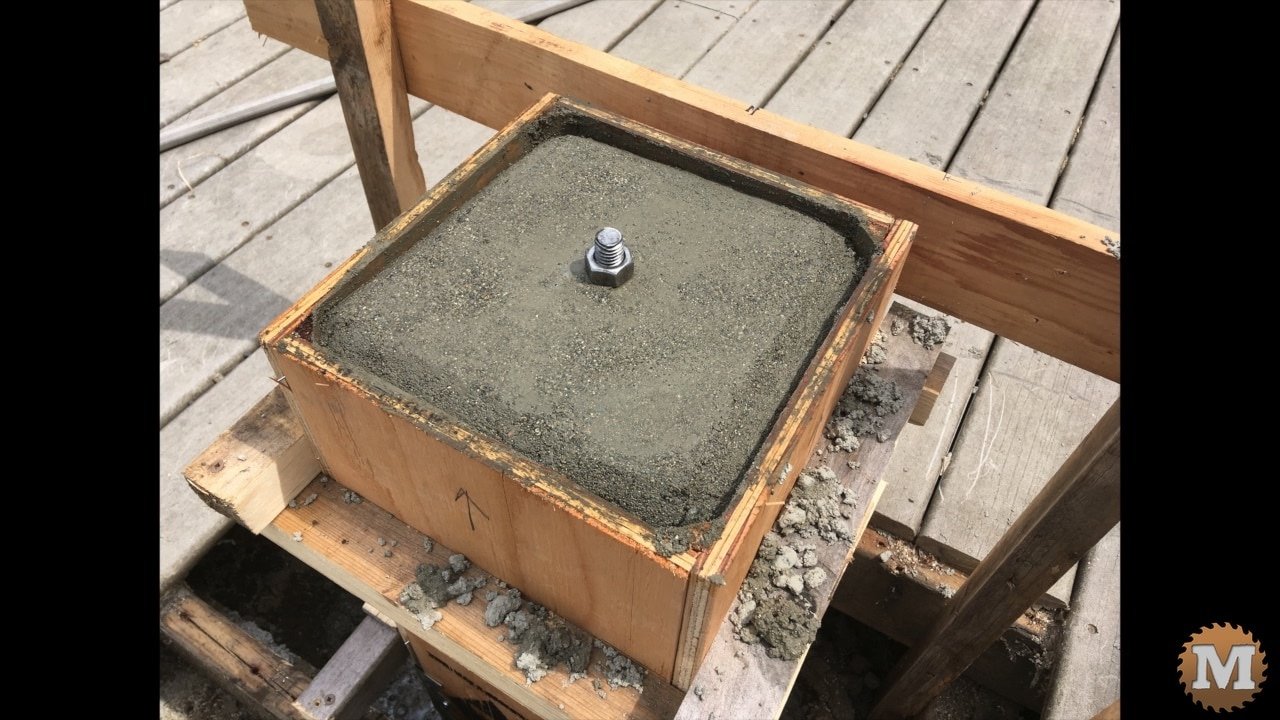
The posts sit on adjustable galvanized saddles attached to an anchor bolt embedded in the concrete.
The plywood forms are coated on the inside with vegetable oil then concrete poured in.
They are covered with plastic and left to cure for several days.
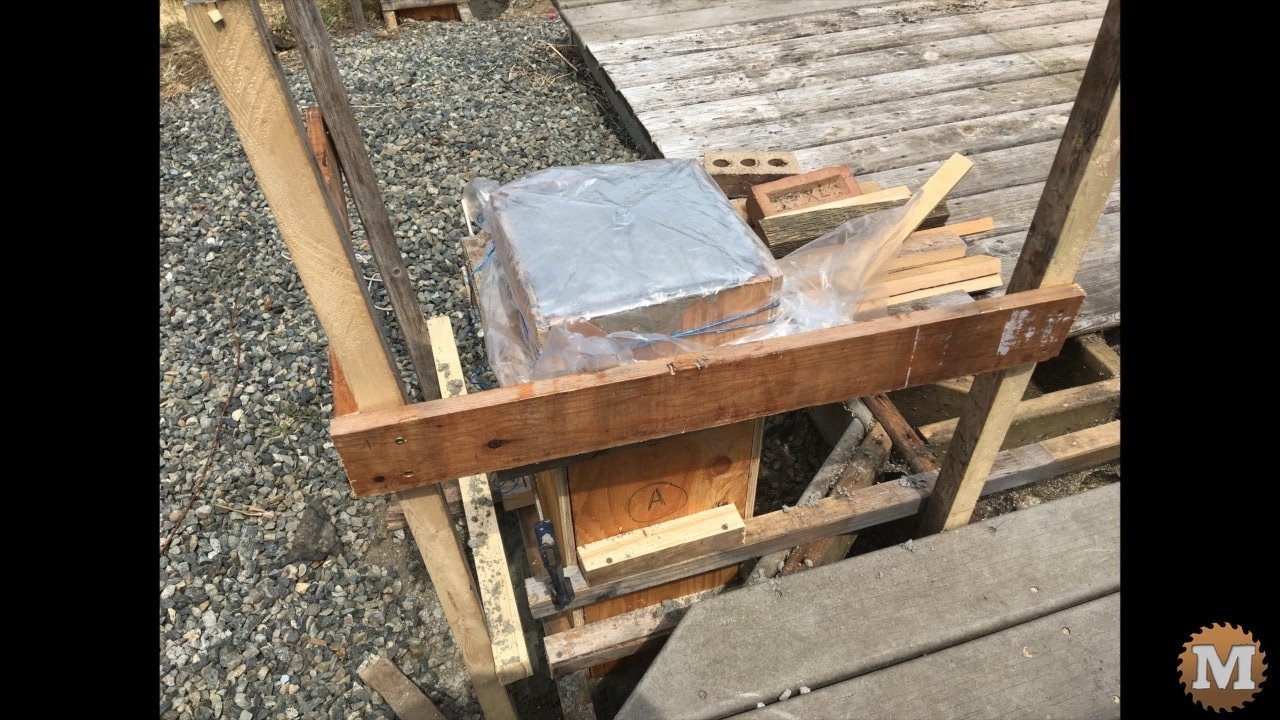
The screws are then removed and the forms stripped.

Posts and First Beams
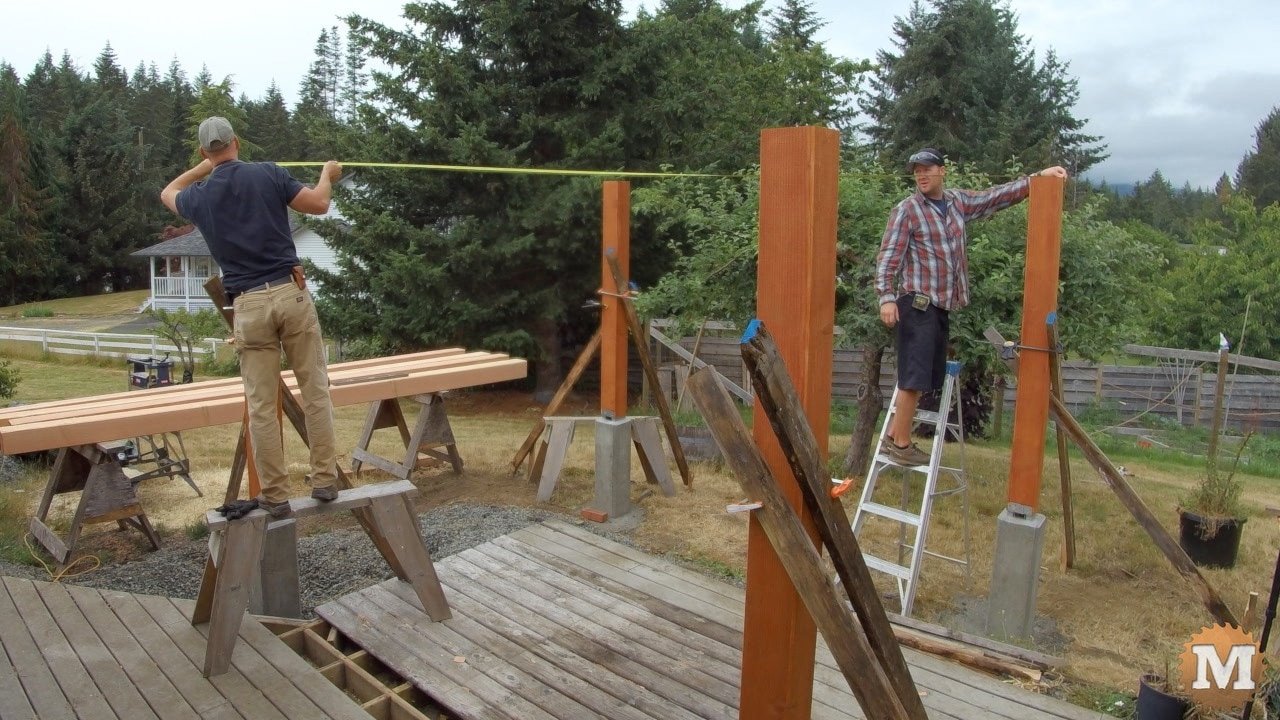
I shot time lapse for most of this build. The posts are cut to length then screwed to the saddles, plumbed, and held in place with temporary braces.

The four 6×6 beams are laid on sawhorses while I check the spacing of the posts with a tape measure. I also double check that they are plumb before I lay out and cut the first beams.
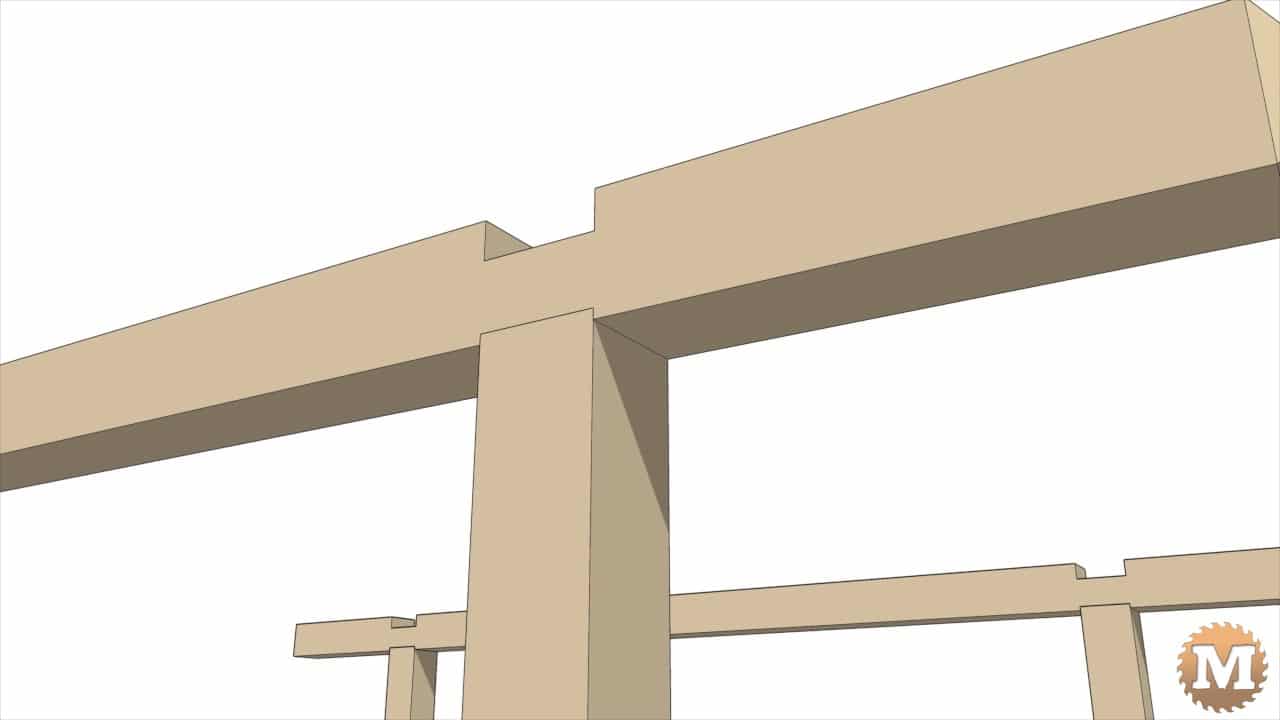
The North/South set of beams have a 45 degree chamfer on each end and two opposing grooves. The upper groove is 2″ deep and the lower groove that sits on the post top is a half inch deep.
With the posts in their final position, I cut the North/South beams to length with a circular saw.
Next I lay out the upper 2″ groove and Connor makes a series of thin slices into the beam with a circular saw. These are then broken off with a hammer then the groove (or lap) is cleaned up with a chisel.
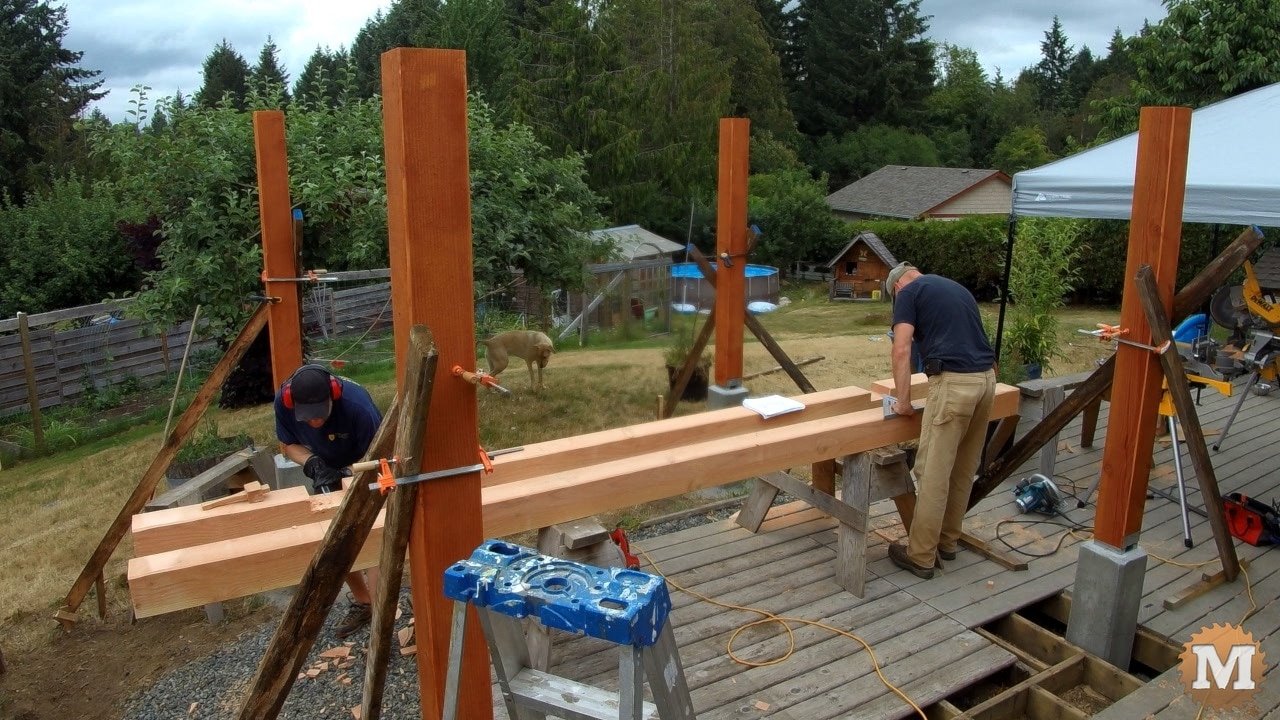
I lay out and cut the shallower groove on the opposite side of the beam in the same fashion as the first grooves.
These four grooves are then cut into the other beam.
The chamfers in the ends of the beams are cut with a circular saw set at a 45 degree angle. A large square is used as a guide.
Placing First Beam
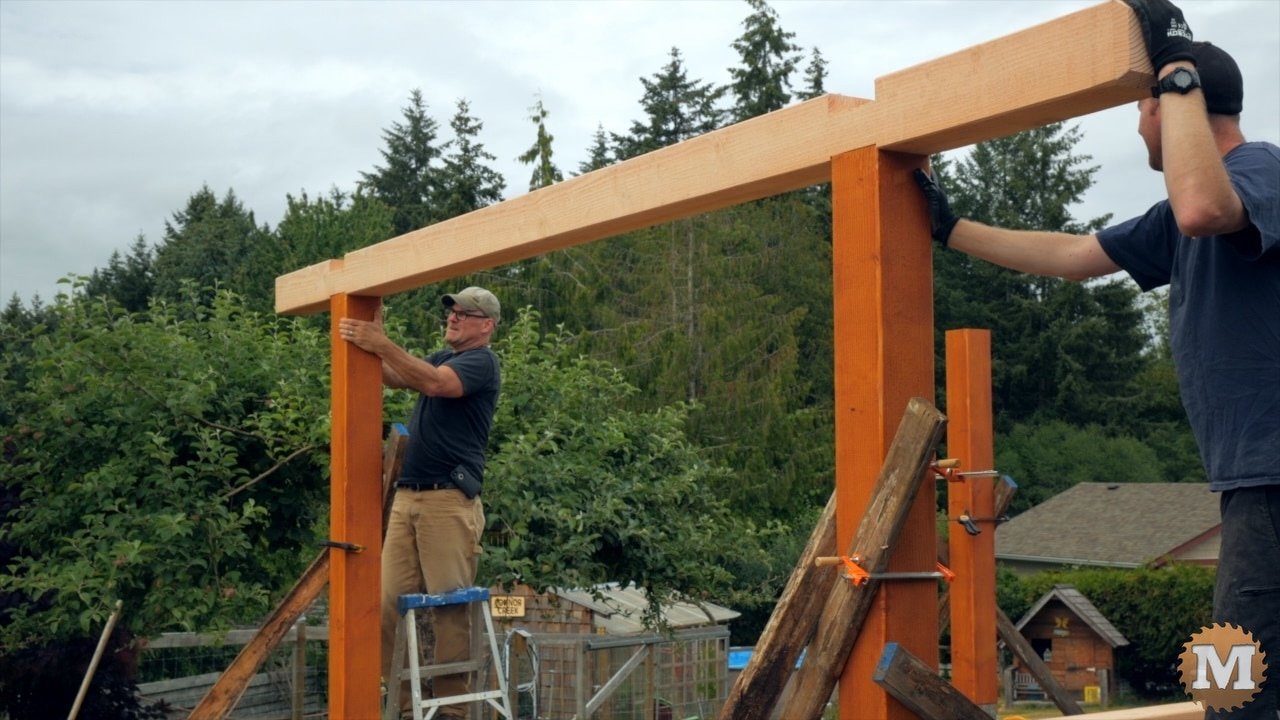
The first beam was lifted into place but the groove on my end was too tight, so we brought it back down and trimmed it a bit.
And we tried it again and this time it fit. A few screws will hold the beam in place for now.
The chamfers are cut on the ends of the next beam and it’s lifted into place.
The East/West beams have 2″ deep laps that are open on the West end. On the other end, grooves will fit tightly over the North/South beams.
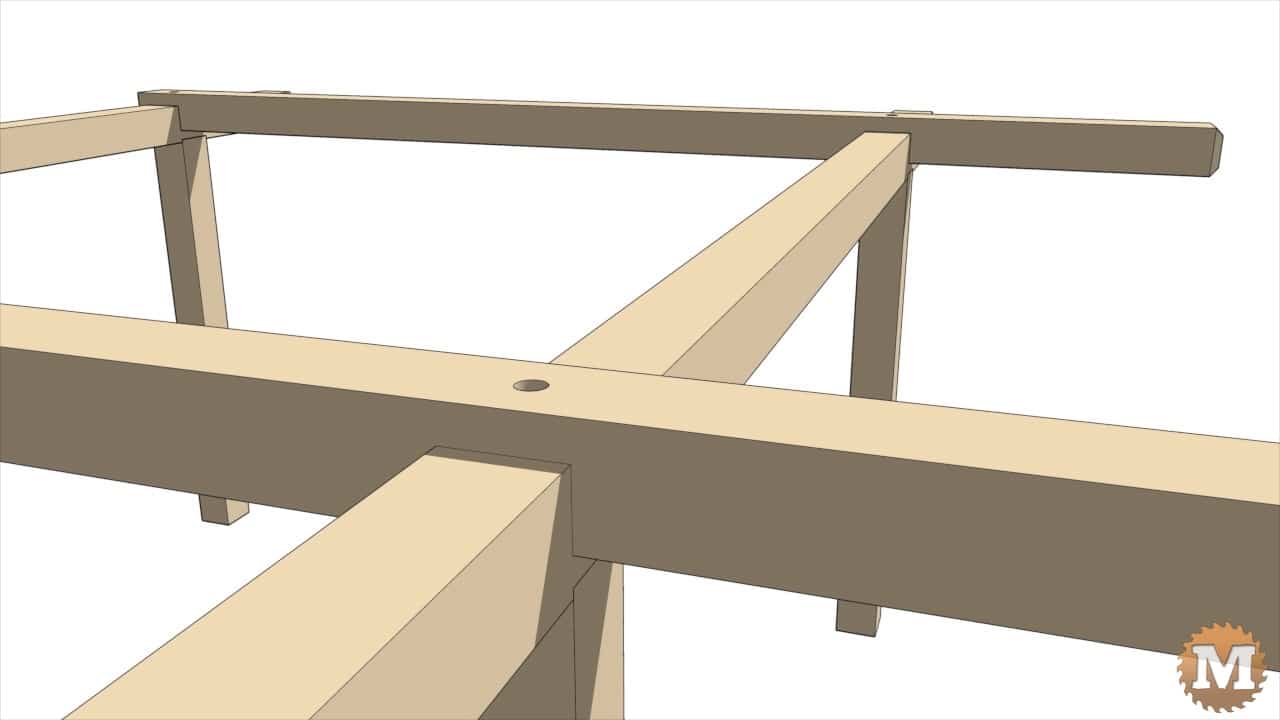
Countersunk holes are drilled in so a long lag bolt can secure the four beams to the posts.
Measurements are double checked, then these beams are laid out. They are cut to length and the grooves cut as before.
The East ends are chamfered in the same manner as the other beams.
Place East/West Beams
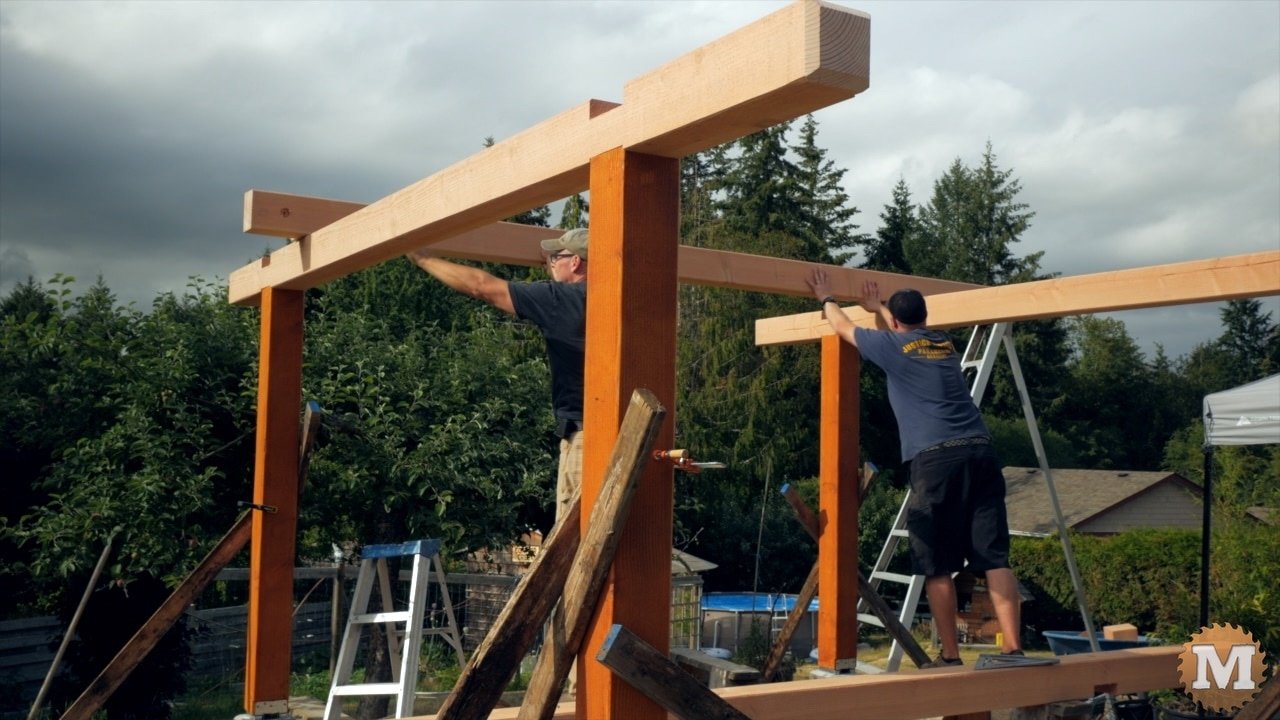
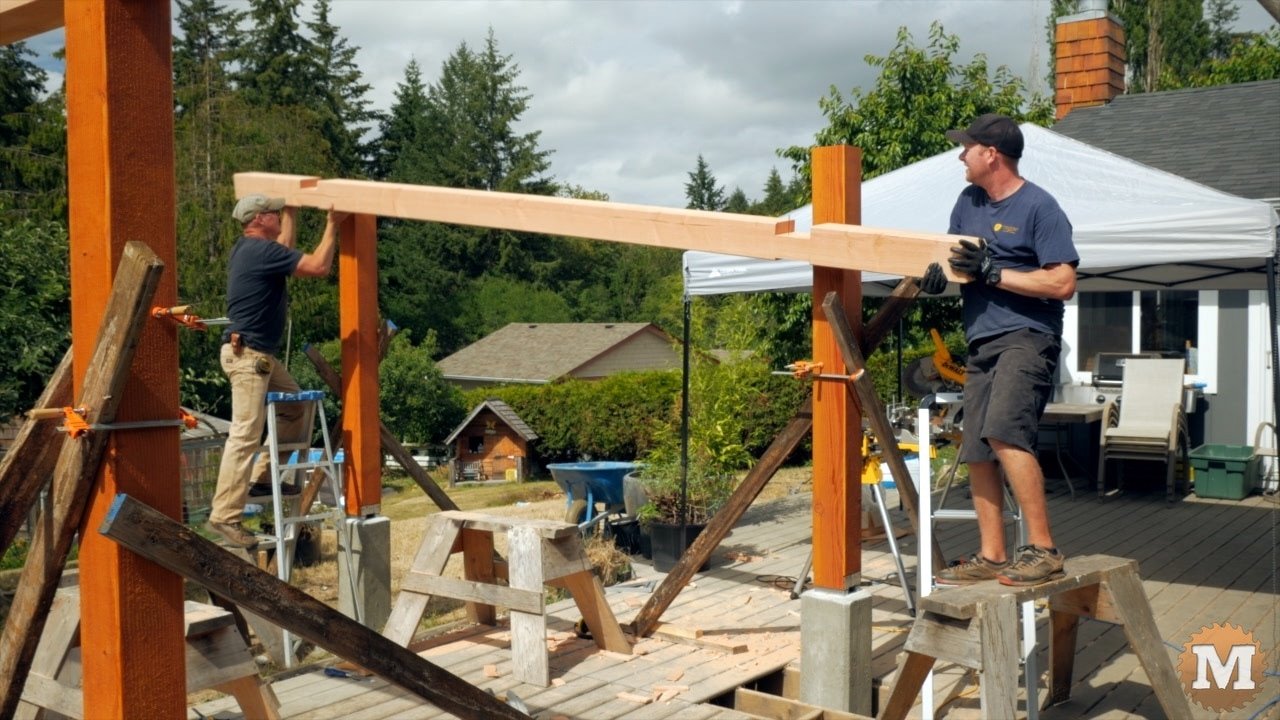
The first beam is brought up and laid over the two North/South beams. Then it’s slid over and into place.
My end didn’t fit so we lifted it back out. I grabbed a taller ladder and circular saw and opened the groove up a bit. Then this beam fell in nicely.
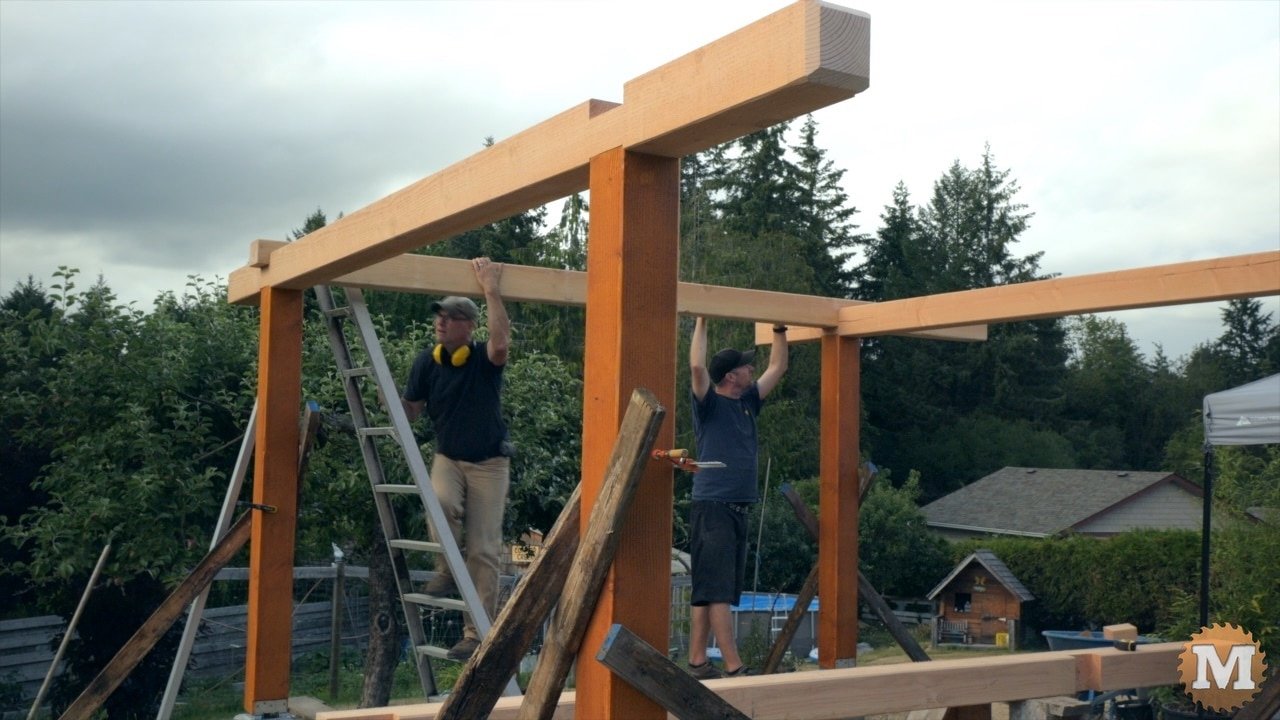
We lifted the last beam and laid it across the frame then slid it over and dropped it into place.
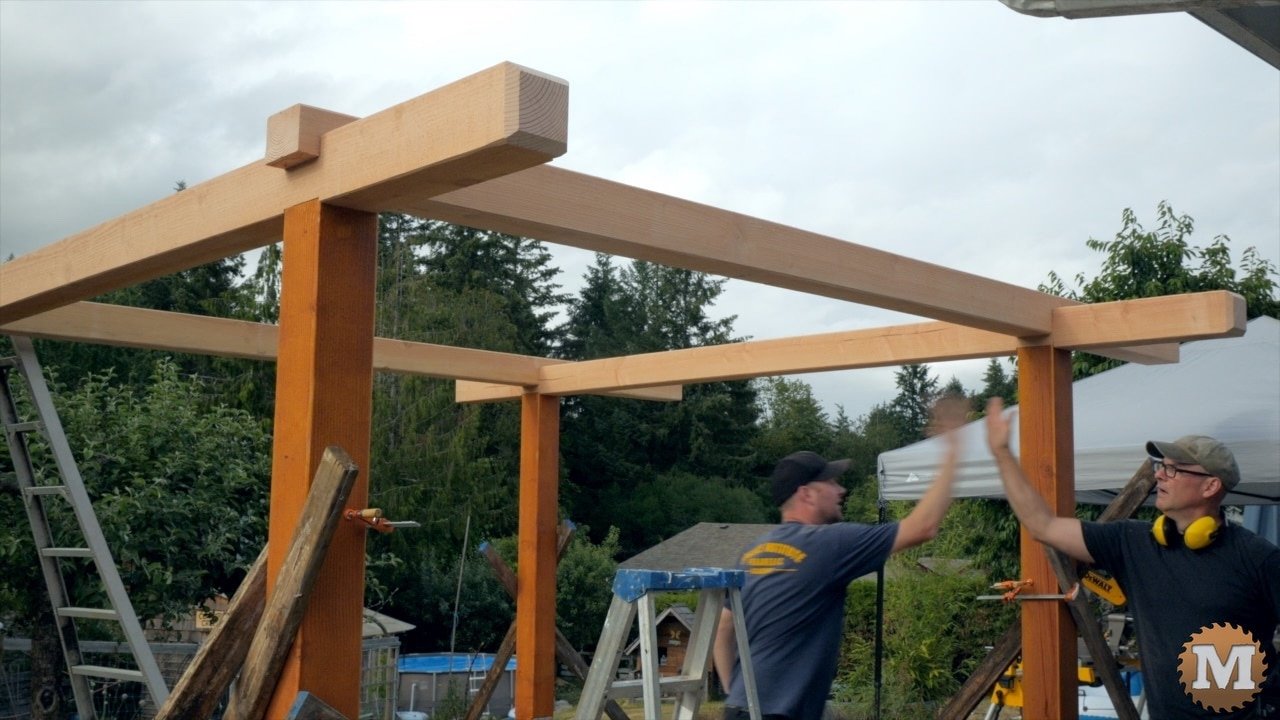
And that’s the end of a very satisfying day.