Elevate Your Outdoor Space: Embrace the Charm of Curved Cedar Rafter Pergolas

The BEAMS

6×6 beams sit on the posts.

Construction of a cedar pergola designed with curved rafters and curved corner braces
The beams have a point

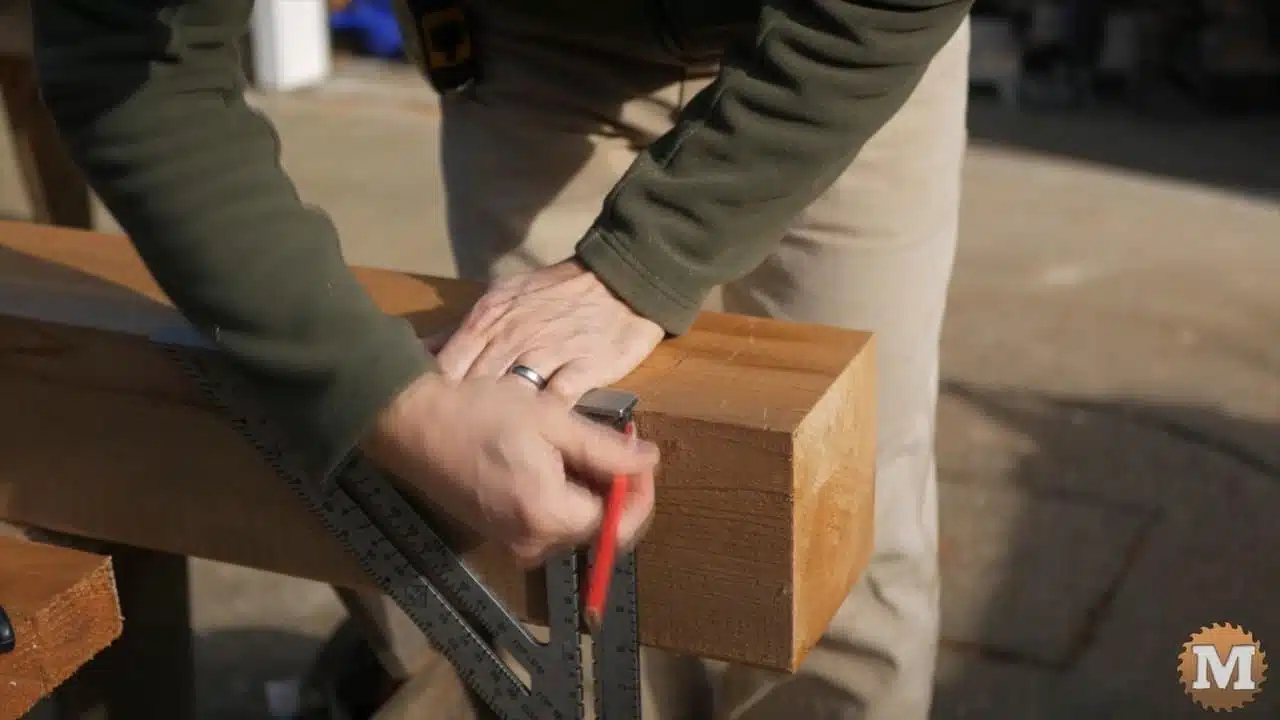
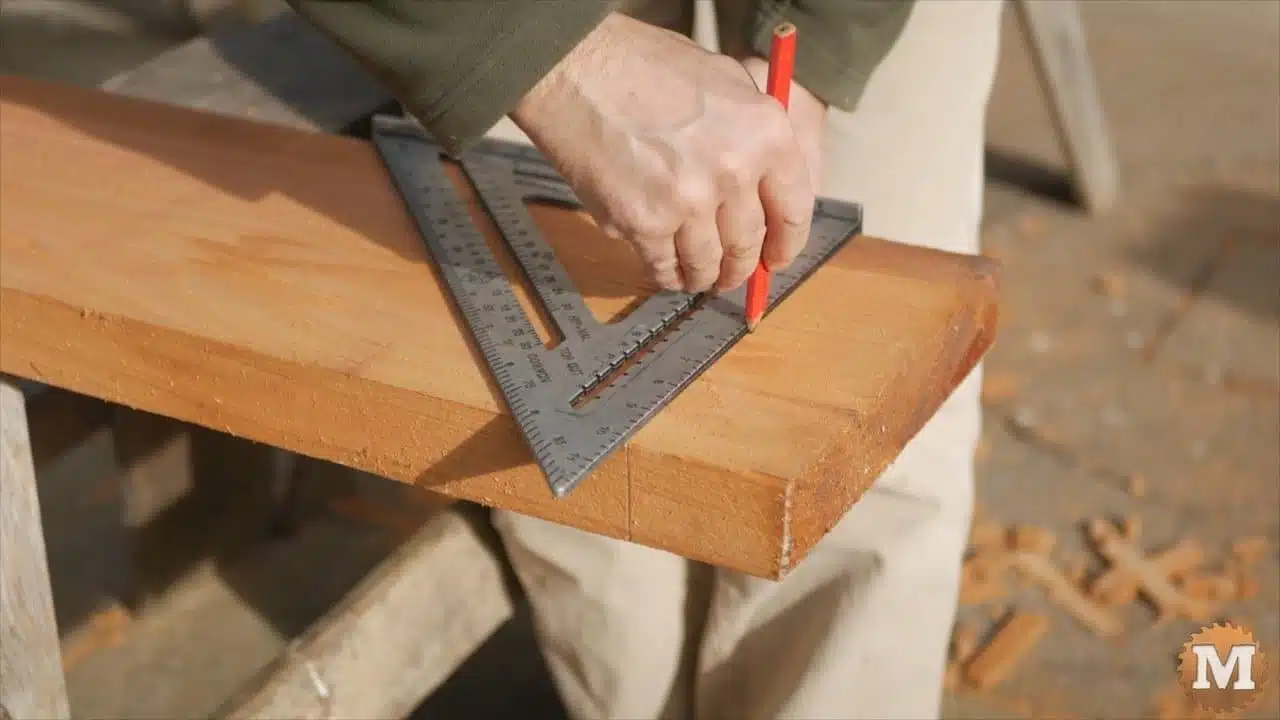
On each end they have a 30 degree bevel to form a point. Like the posts, I mark a line around each beam with a square.

Construction of a cedar pergola designed with curved rafters and curved corner braces
Setting circular saw to 30 degrees

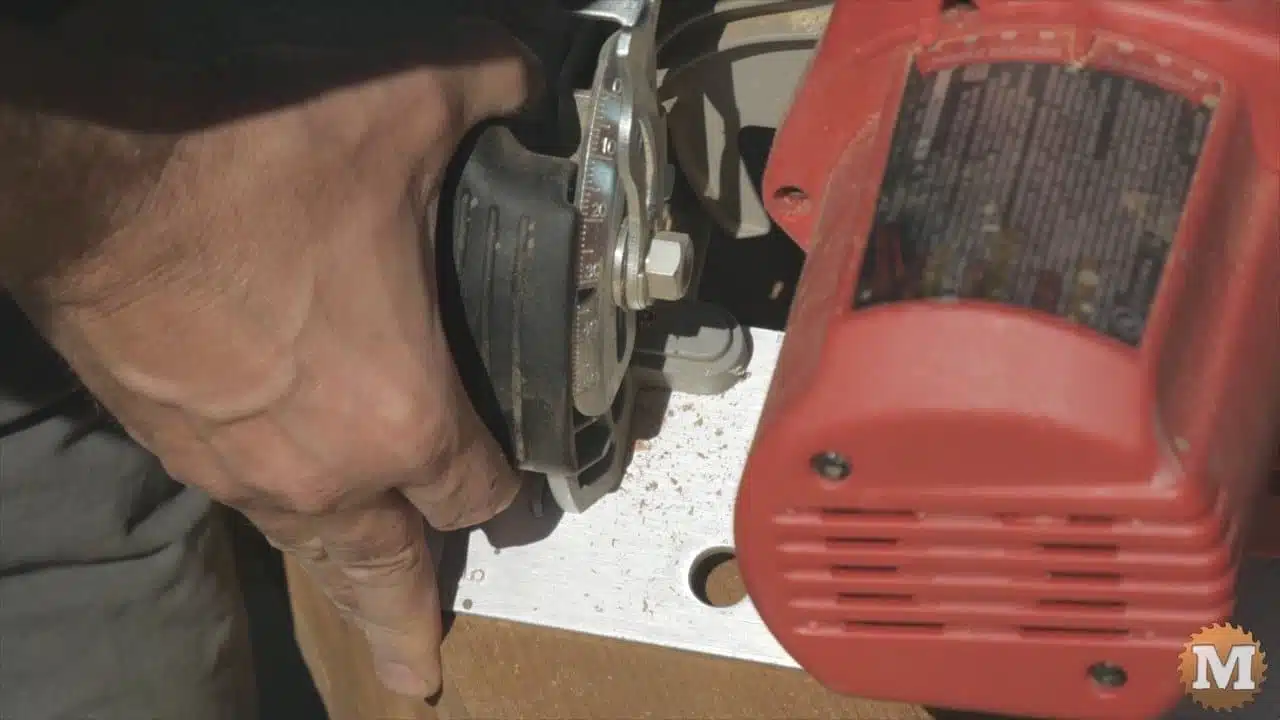
I set my circular saw at 30 degrees and make four cuts.

Construction of a cedar pergola designed with curved rafters and curved corner braces
Point of beams can be cut with a miter saw as well

The plans include a cut list for the saw mill. Every part of this build was cut at Doug’s workshop ahead of assembly so we were pretty fussy with tolerances and lumber selection from the mill.
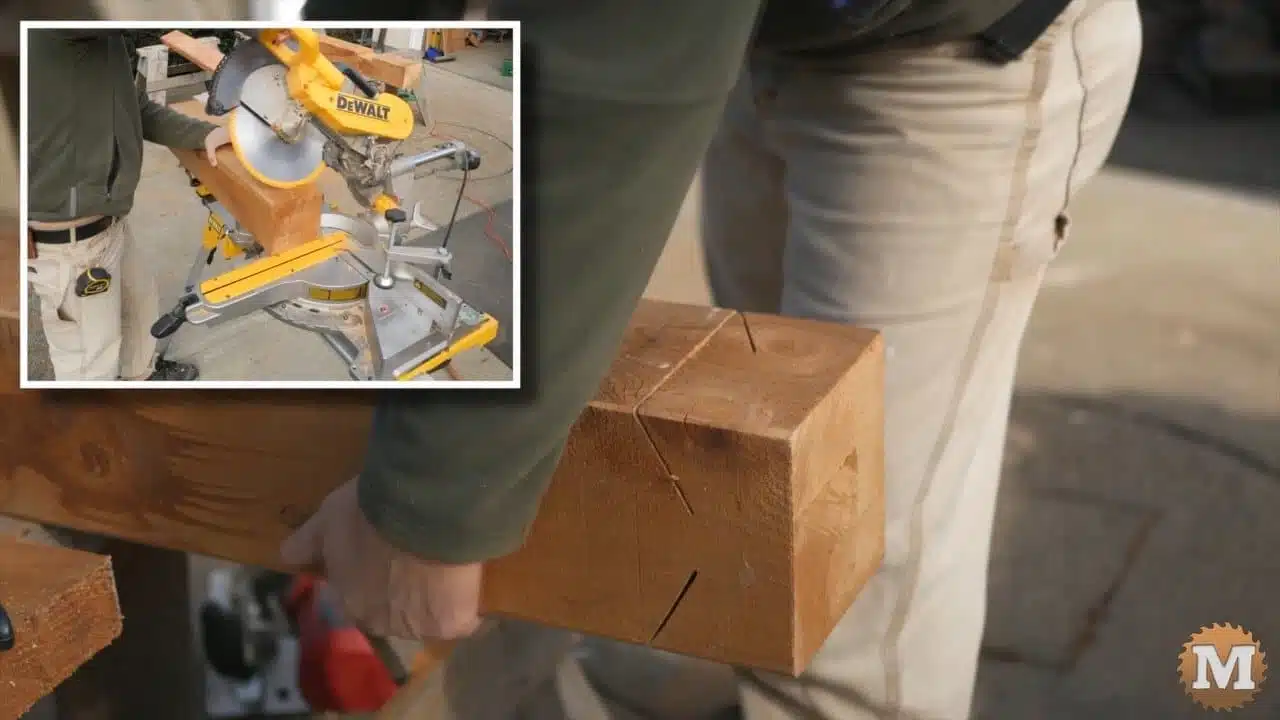
This could also be done with a large miter saw.

Chisel Work

Construction of a cedar pergola designed with curved rafters and curved corner braces
Saw cut cleaned up with sharp chisel

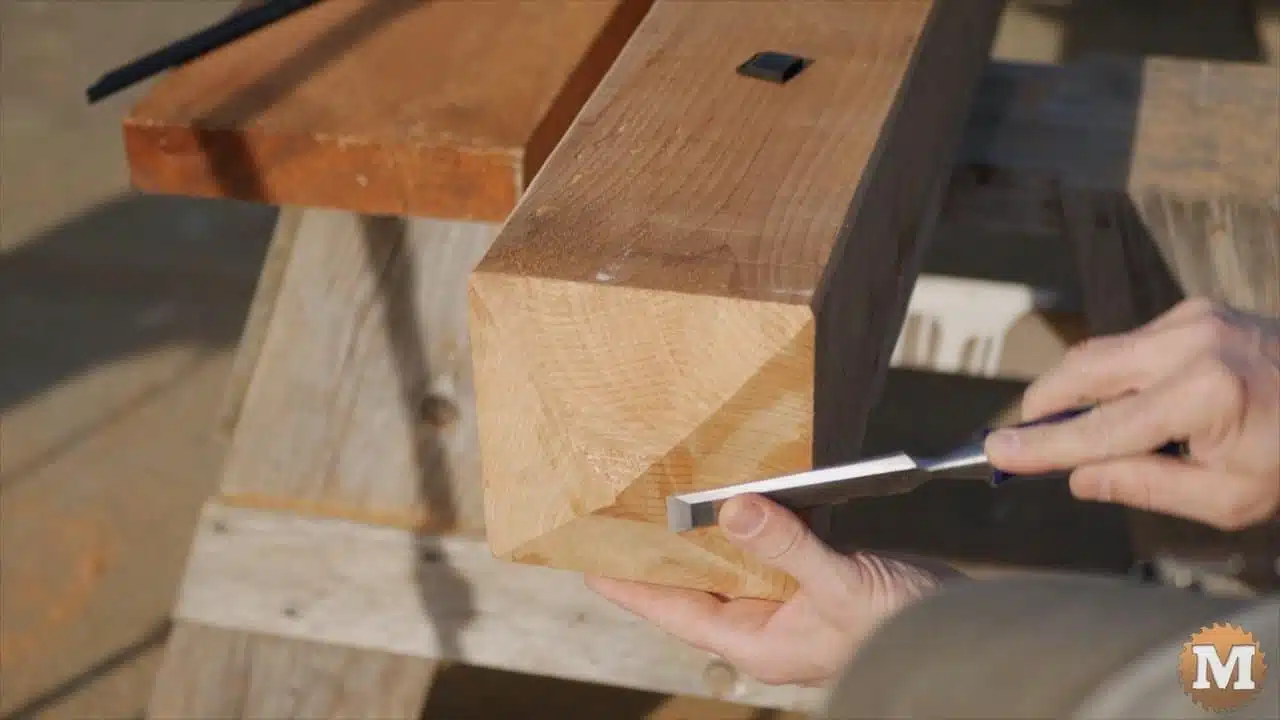
If the beam is square then you are left with a nice point. I cleaned up the handsaw cuts with a chisel.

Construction of a cedar pergola designed with curved rafters and curved corner braces
Making “bread” on the beam

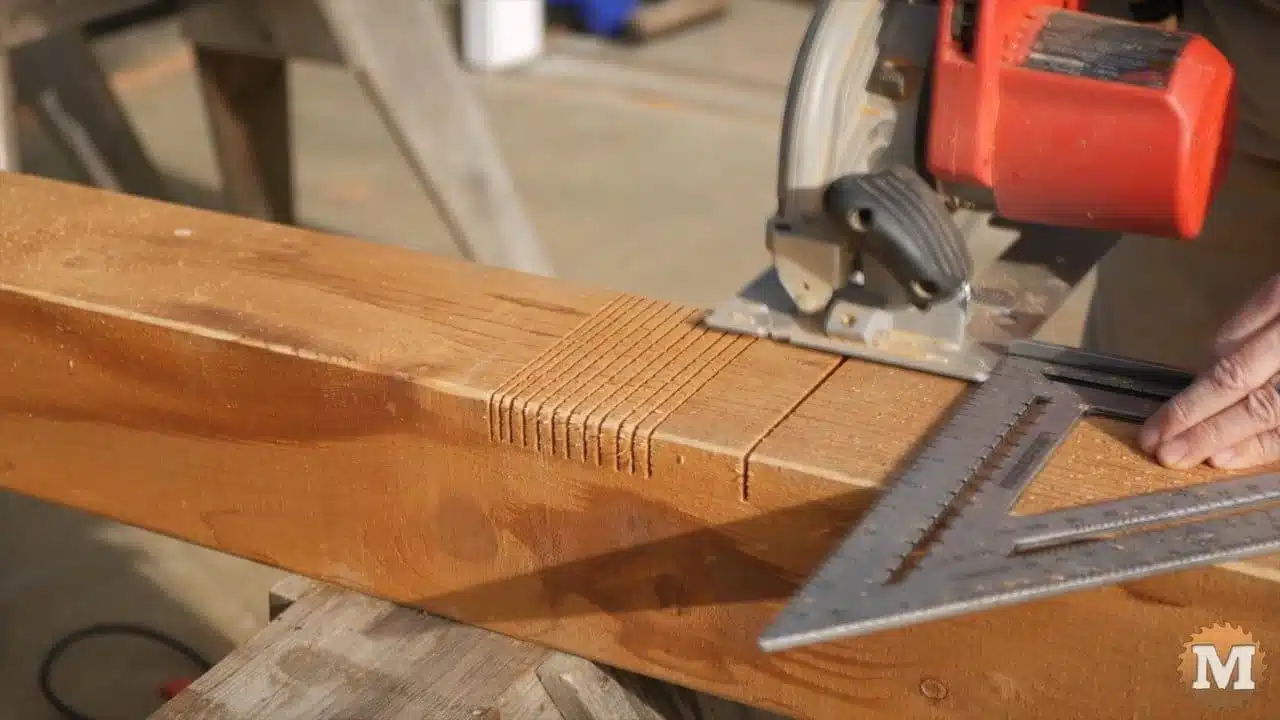
These beams sit down on the posts an inch. I cut this dado with a series of close saw cuts across the beam.

Construction of a cedar pergola designed with curved rafters and curved corner braces
Knocking off thin wafers to form a dado

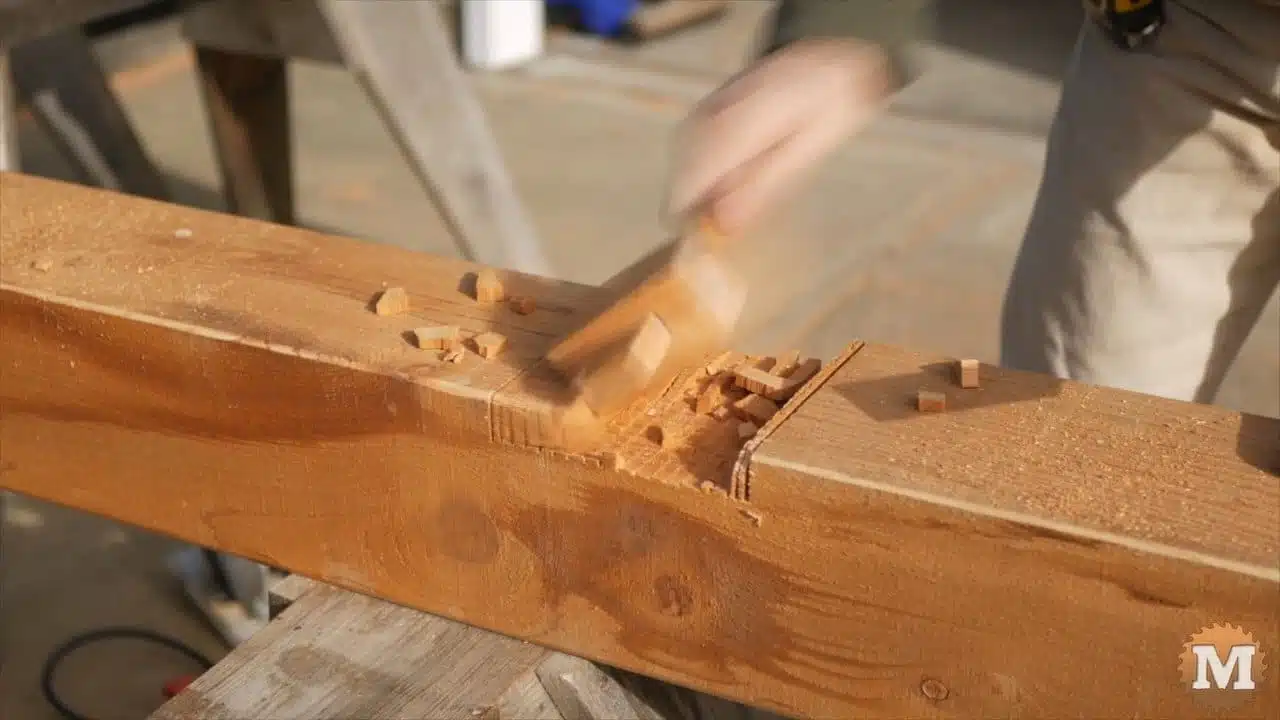
Then break off the pieces with a mallet. And finish up the groove with a chisel.

Construction of a cedar pergola designed with curved rafters and curved corner braces
Cleaning up dado with a chisel

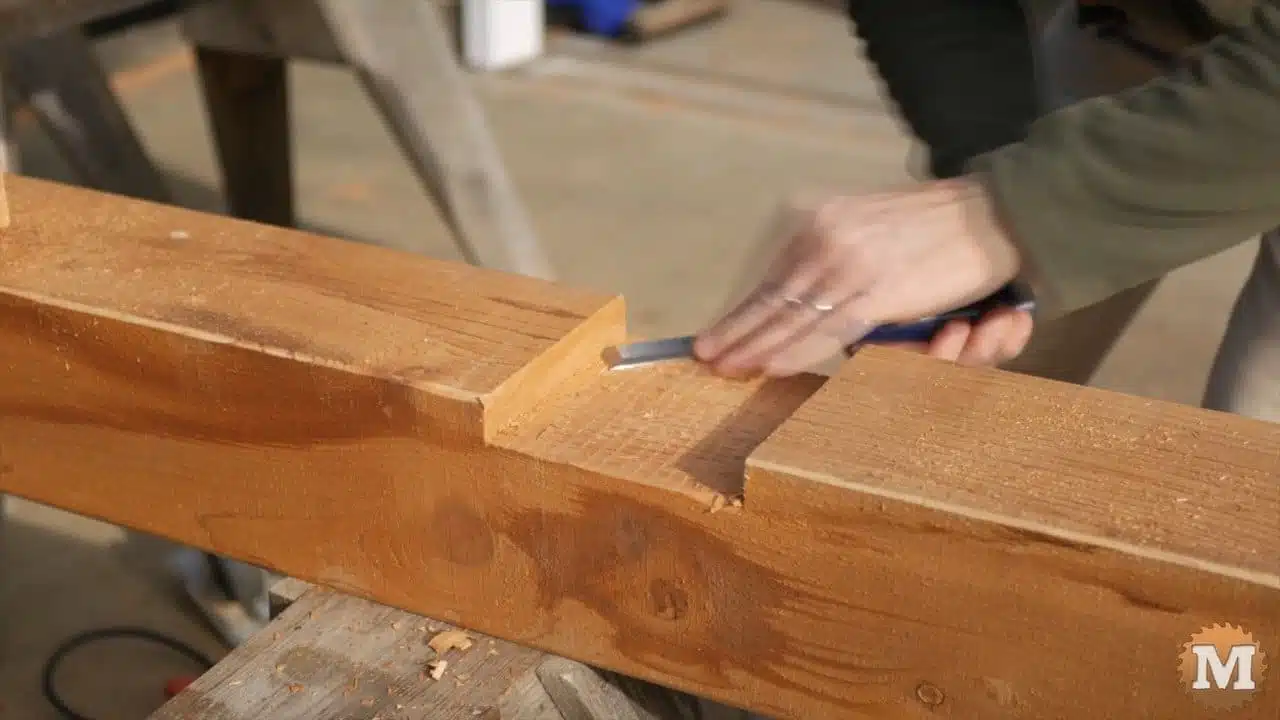
Each 6×6 beam has three of these dados. One for each post.

Drill Guide

Construction of a cedar pergola designed with curved rafters and curved corner braces
Drilling for the large lag bolt that will attach the beams to the top of the posts

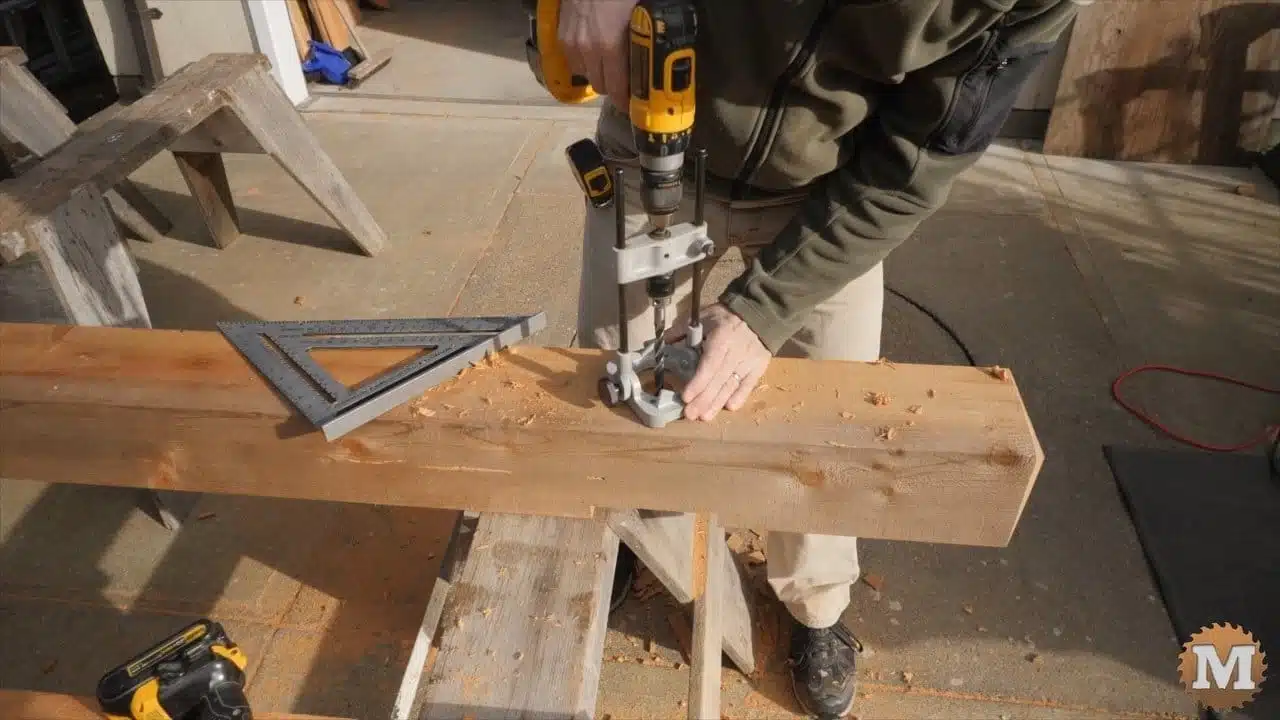
The beam is flipped over and a counterbore and hole drilled for the lag bolt that will secure the beam to the top of each post.

(Disclaimer: As an Amazon Associate I earn from qualifying purchases. Thank you for helping to support my content this way. )

Construction of a cedar pergola designed with curved rafters and curved corner braces
Marking the ridge beam end

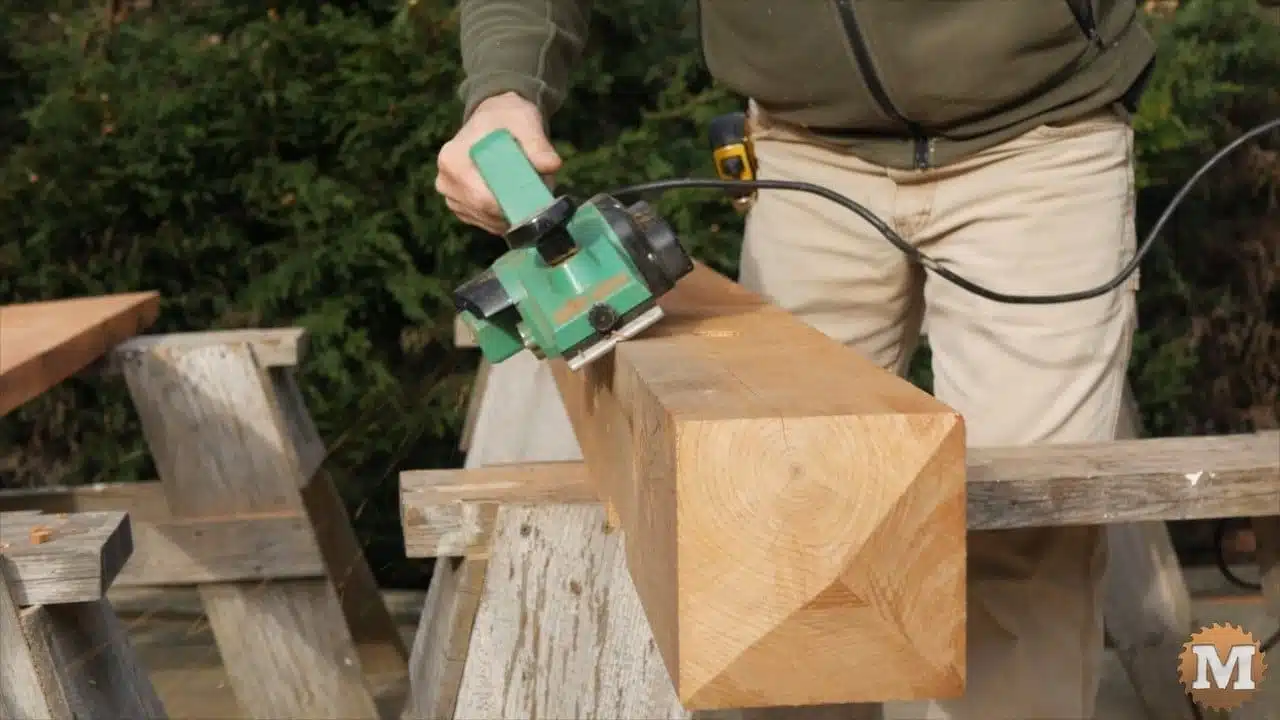
The ridge beam is 2″ x 9.5″. 30 degree angle cuts are made on each end of this beam. When complete, the beams are also chamfered with a power plane.
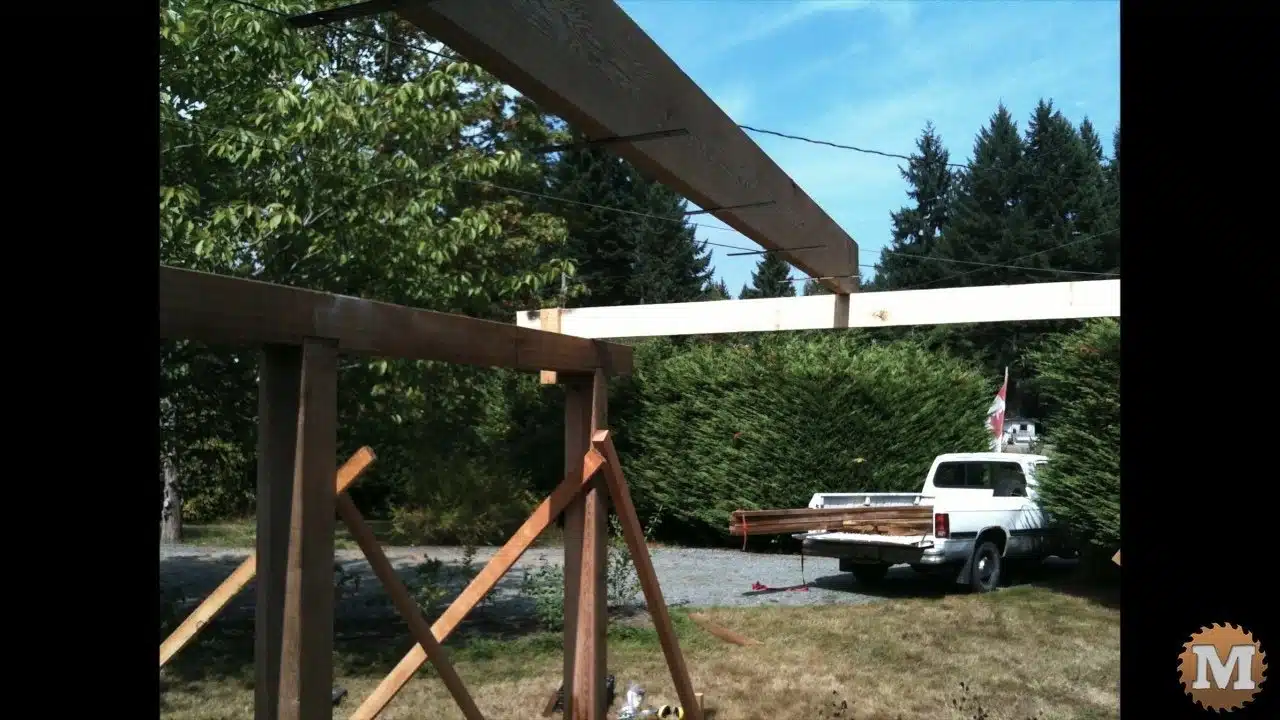
Construction of a cedar pergola designed with curved rafters and curved corner braces
Chamfering the beams and posts with a power plane

Temporary Bridge

The beams are lifted onto the posts and the lag bolts run in with a socket wrench.

Animation of a cedar pergola designed with curved rafters and curved corner braces
The beams in place

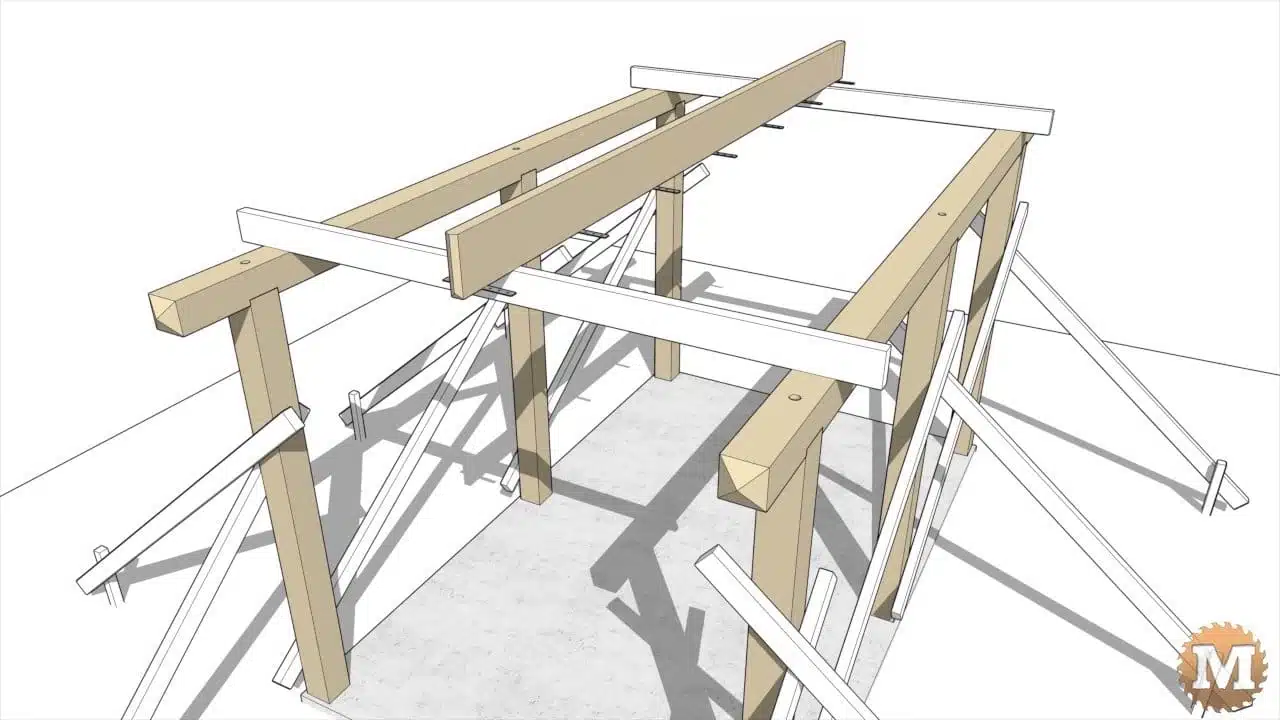
A temporary bridge is set in place across the beams to hold the ridge beam in place at the proper height. The assembly was considered in the pergola design.

Construction of a cedar pergola designed with curved rafters and curved corner braces
Pic of the site with my old dodge in the driveway

The rafter locations are marked on the underside of the ridge beam and galvanized strapping is screwed on. This strapping will make setting the rafters easier and will also add strength to the roof of the pergola and prevent sagging.
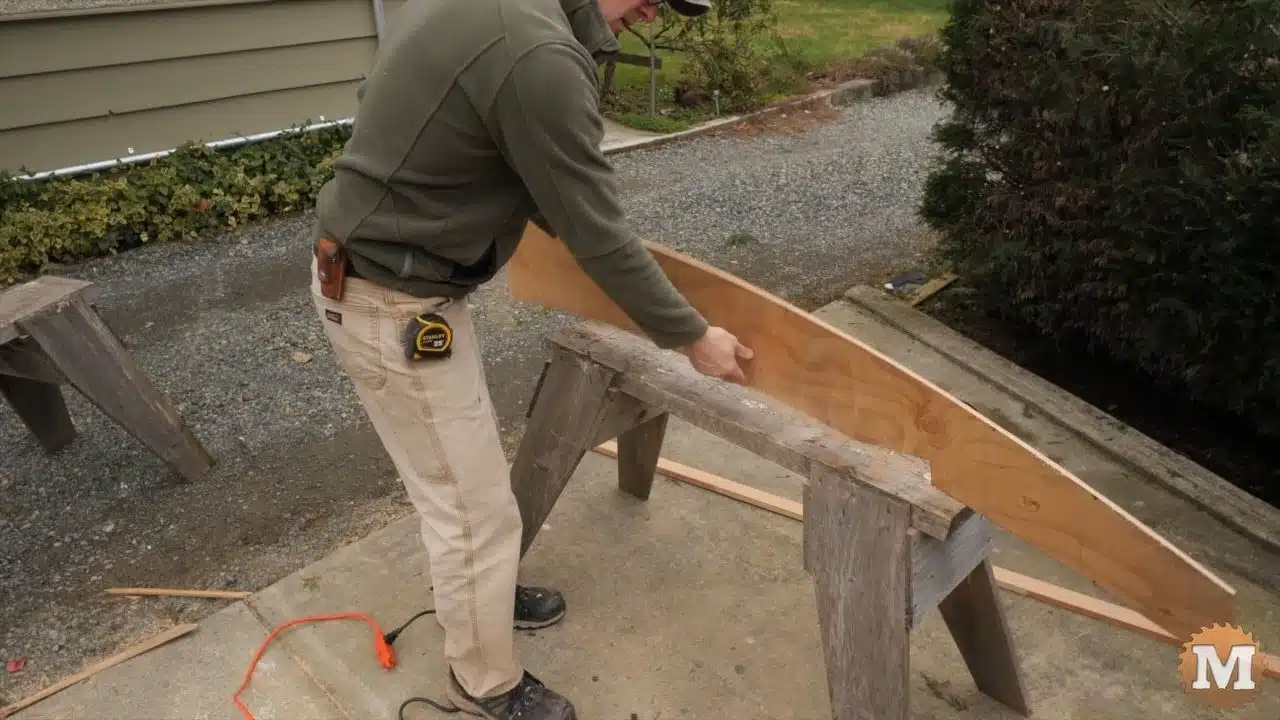
The Curved RAFTERS

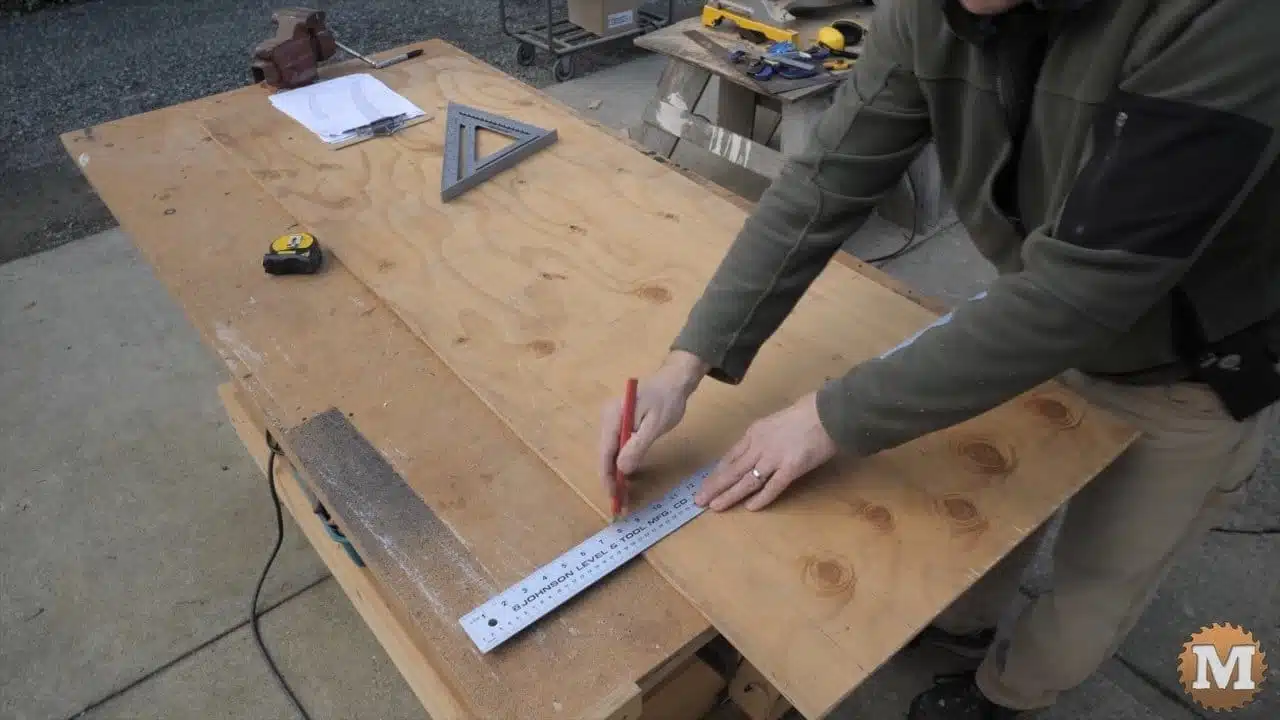
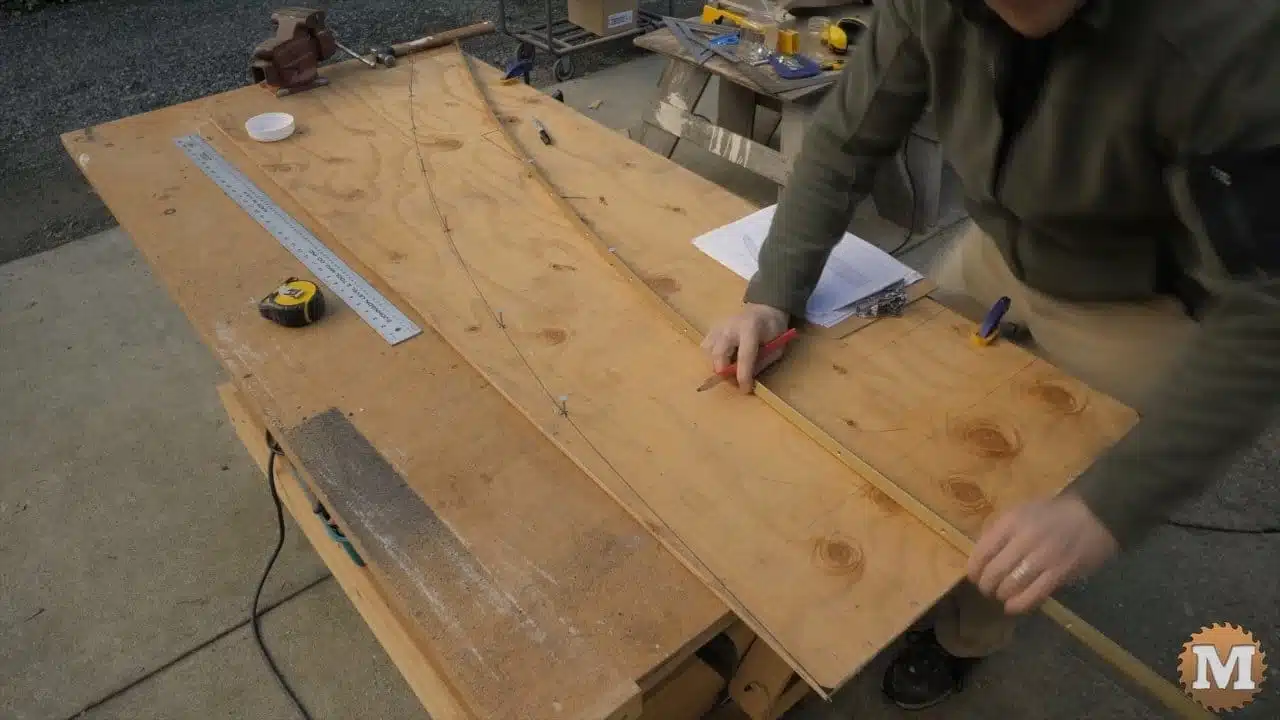
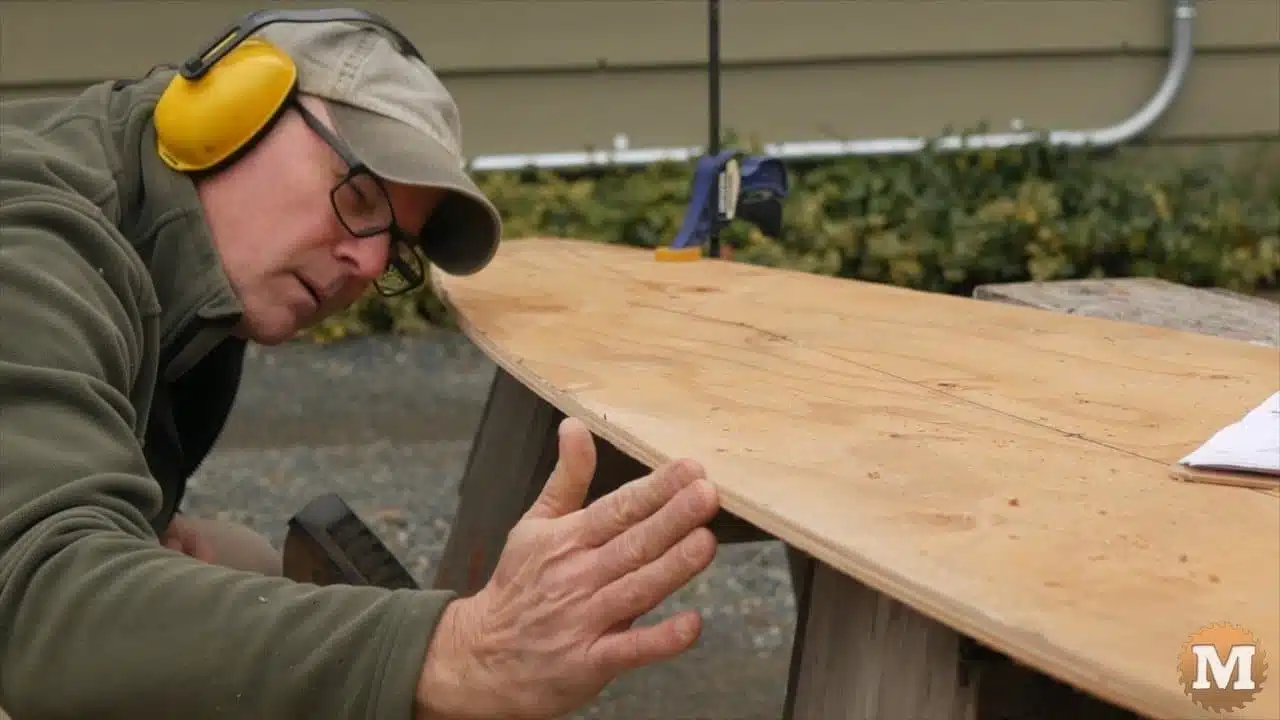
I start by making a pattern for the curved shape of the rafters.

Construction of a cedar pergola designed with curved rafters and curved corner braces
Cutting the pattern blank for the rafters

The pattern will be cut from thin plywood. I lay out a grid with tape measure, pencil, and straight edge.

Construction of a cedar pergola designed with curved rafters and curved corner braces
Marking a grid on the rafter blank

Then I mark points where the curve intersects the grid.

Construction of a cedar pergola designed with curved rafters and curved corner braces
Marking the points for the rafter pattern curves

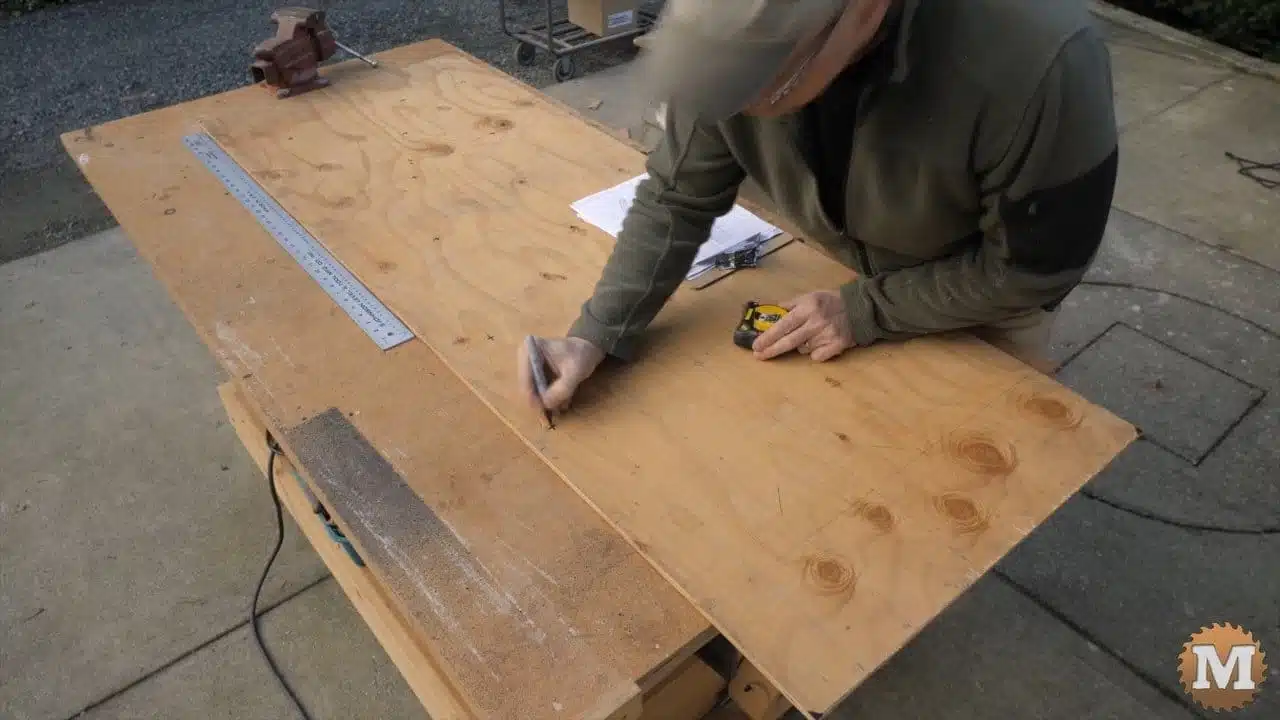
I tap in a nail at these points then bend a thin strip of metal across them to form the upper and lower curve of the rafter.

Drawing Curves

Construction of a cedar pergola designed with curved rafters and curved corner braces
Flexing a metal strip against the nails to draw a curve

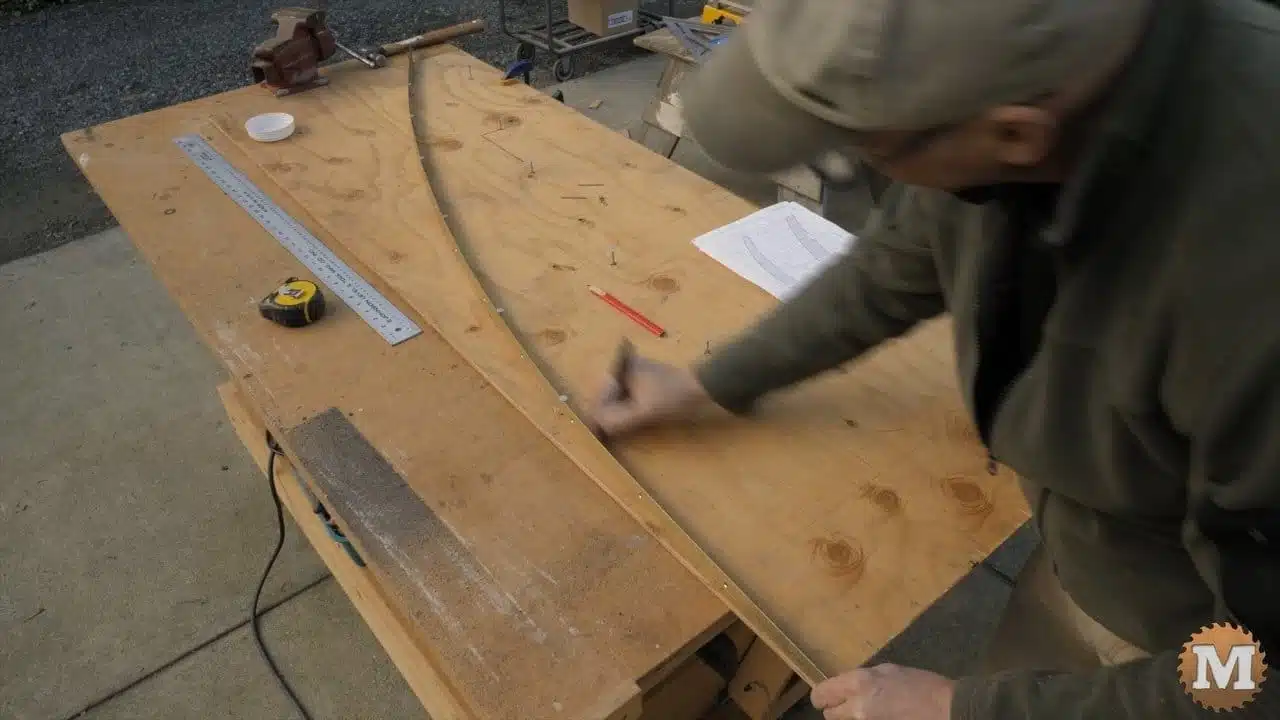
I used a strip of linoleum edge metal for this.

Construction of a cedar pergola designed with curved rafters and curved corner braces
Lower curve drawing

I trace the curve on the plywood with a sharpie.
On the plans I also show the radius values for the two curves that make up the shape of the rafter. The curves could also be struck with a long straight piece of trim like a compass.

Construction of a cedar pergola designed with curved rafters and curved corner braces
Rough some meat off the pattern for the next step

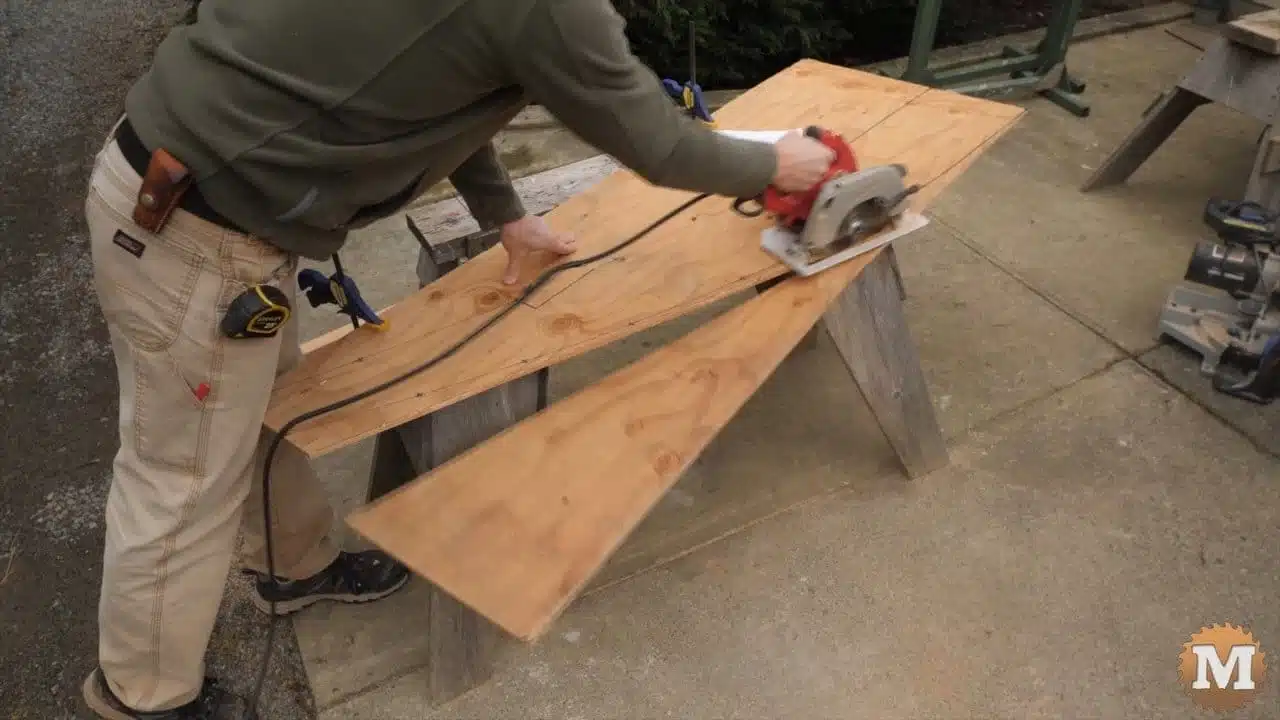
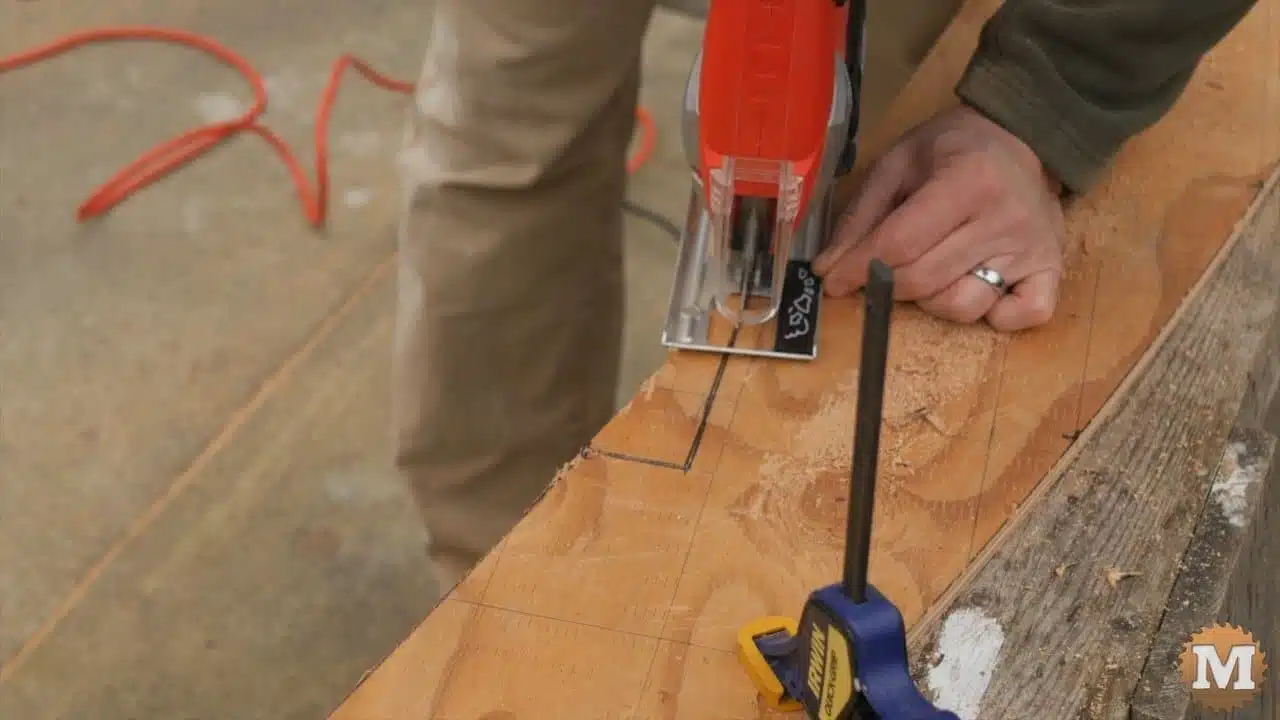
Over sawhorses I rough off a piece of the pattern to make the next step easier.

Construction of a cedar pergola designed with curved rafters and curved corner braces
Small jigsaw rips through the thin plywood

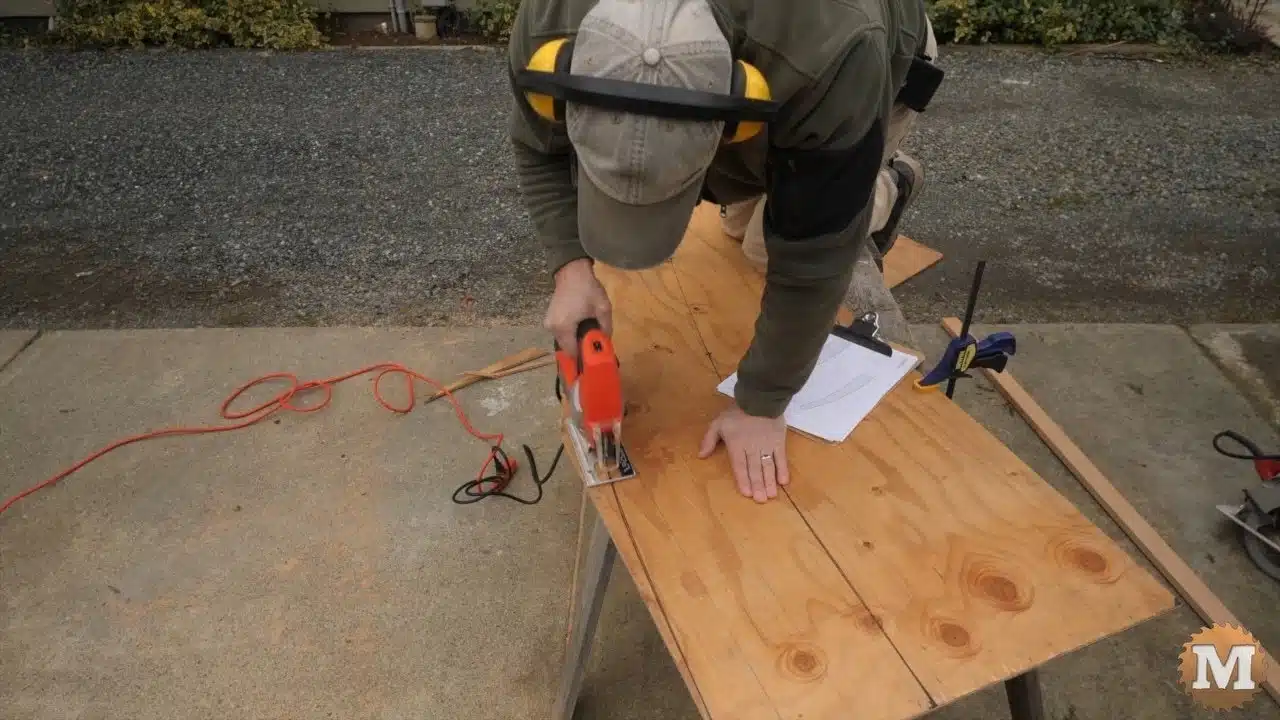
Then cut the upper profile of the pattern with a jigsaw. Then use a belt sander to smooth and shape.

Construction of a cedar pergola designed with curved rafters and curved corner braces
Belt sander is very fast at smoothing the curves

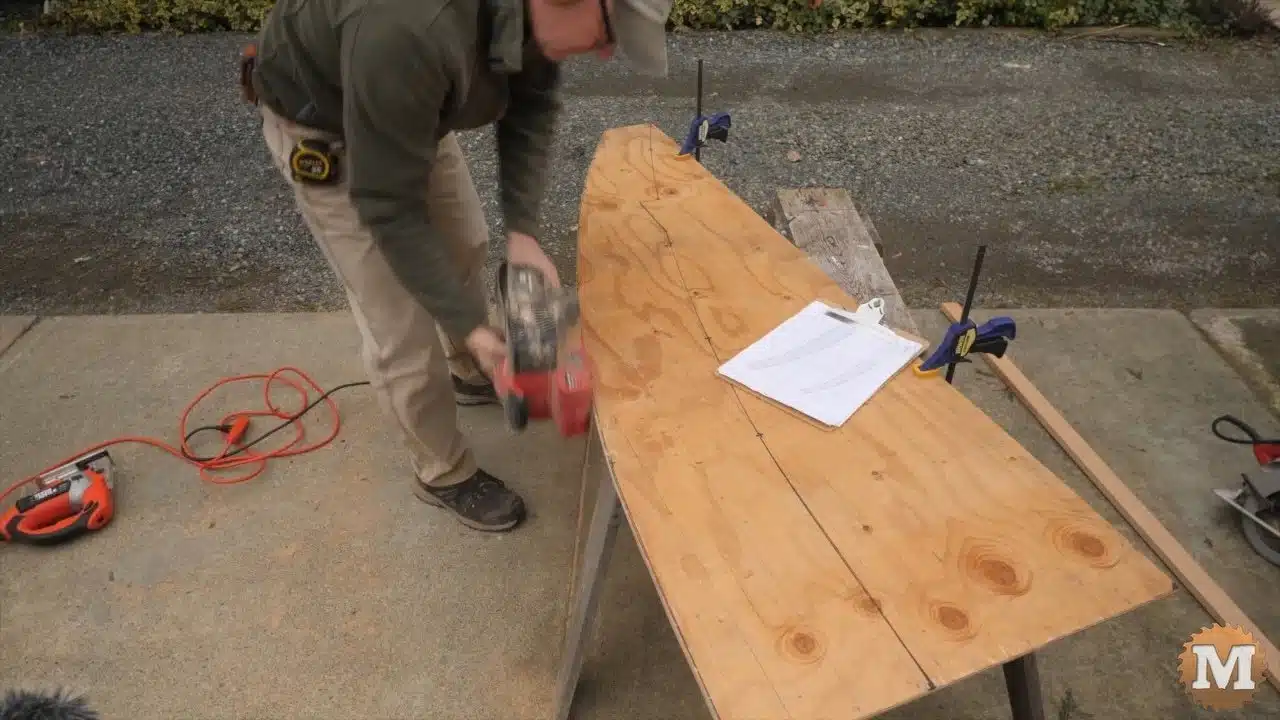
I reposition the pattern to cut the other curve.

Construction of a cedar pergola designed with curved rafters and curved corner braces
Nice!!

The location of the beam is also marked on the pattern then this birds mouth is cut.

Construction of a cedar pergola designed with curved rafters and curved corner braces
The birds mouth is also cut in the pattern

We had our sawyer mill boards just over 12″ wide for these rafters. Alternatively, thinner boards could be glued up to get the width required but, it’s a lot easier to just have them cut to what you need.

Completed Rafter Pattern

Construction of a cedar pergola designed with curved rafters and curved corner braces
The pattern is done! Yess!!!
Shopping Cart
Scroll to Top